In this lesson, you will learn how to mount external storage to Azure Container Instances (ACI) for persistent data storage. By the end, you’ll understand how to configure an Azure File Share and use deployment templates to safeguard your container data.Documentation Index
Fetch the complete documentation index at: https://notes.kodekloud.com/llms.txt
Use this file to discover all available pages before exploring further.
Understanding the Need for Persistent Storage
Azure Container Instances are stateless by default. This means that any data generated within a container will be lost once the container stops or crashes. To overcome this challenge, mounting an external volume—such as an Azure File Share—ensures that your application data persists beyond the container’s lifecycle.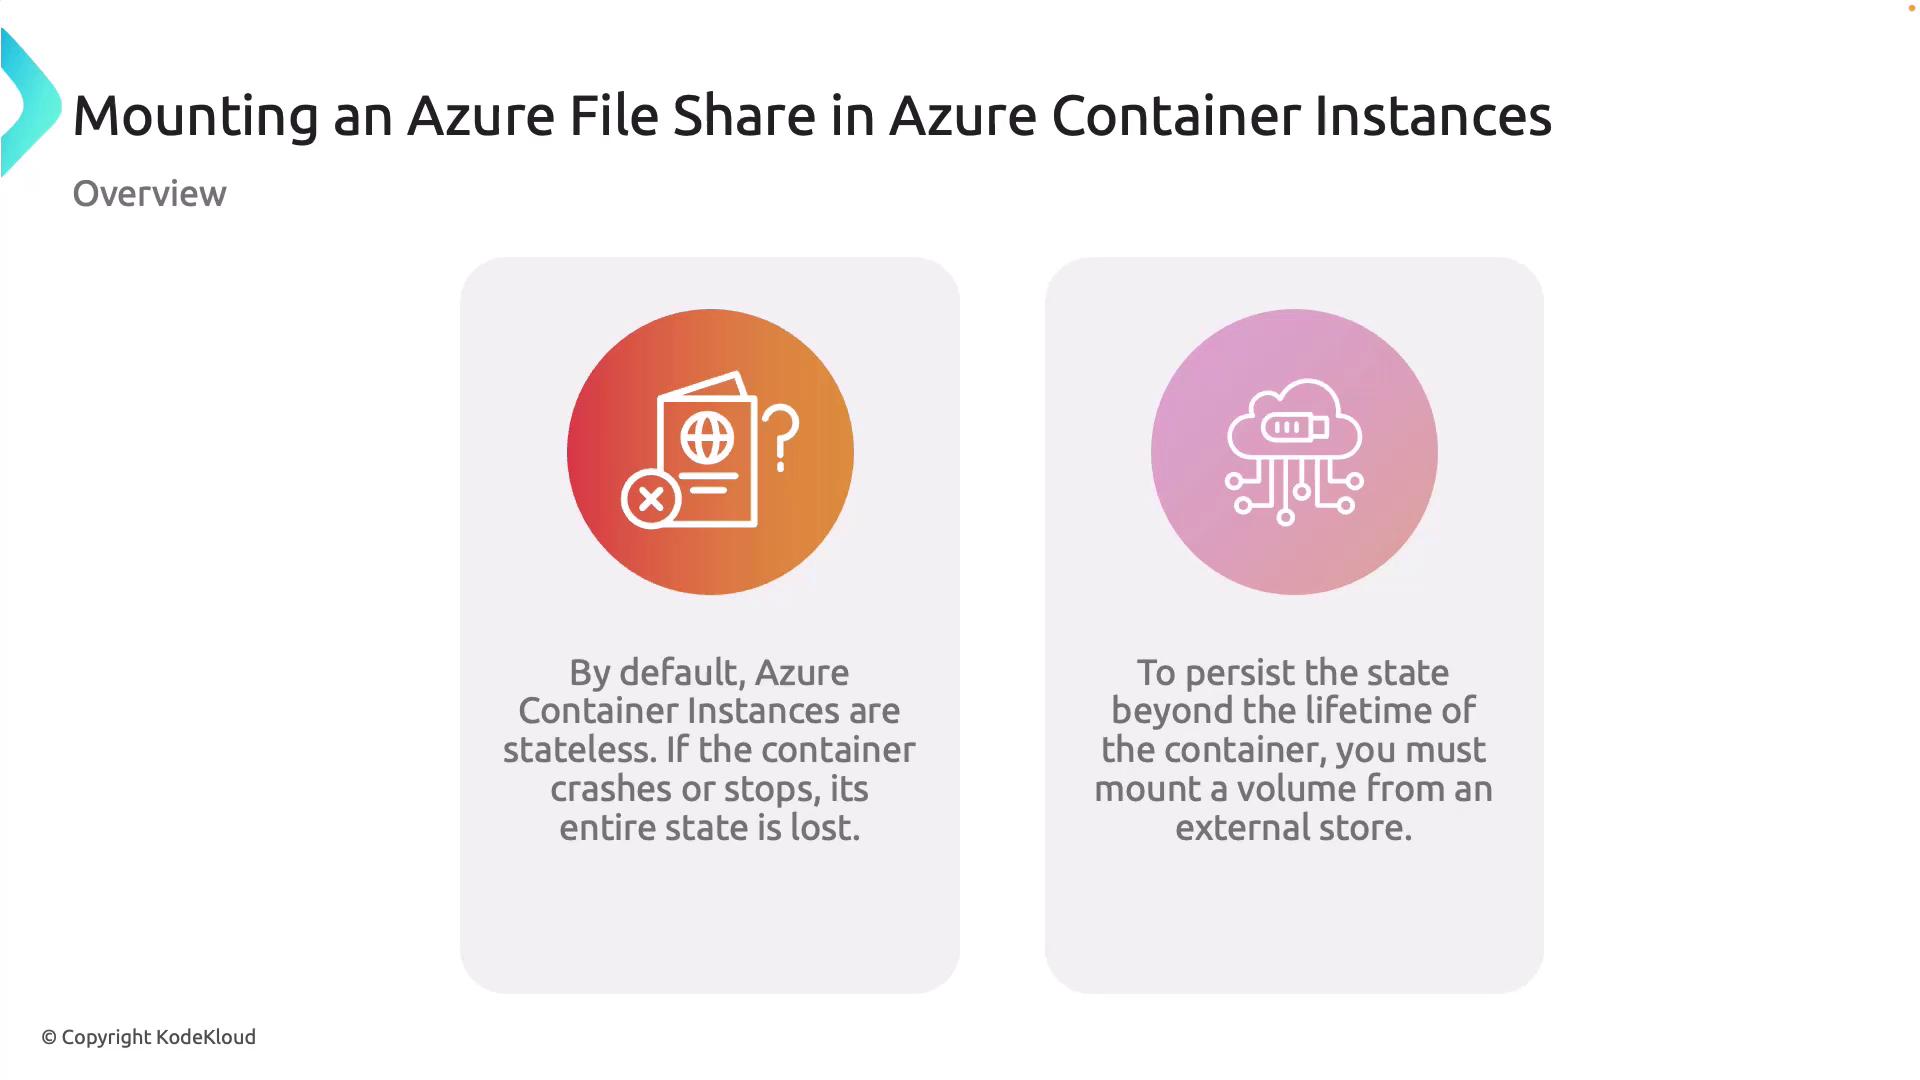
Mounting Volumes for Persistent Storage
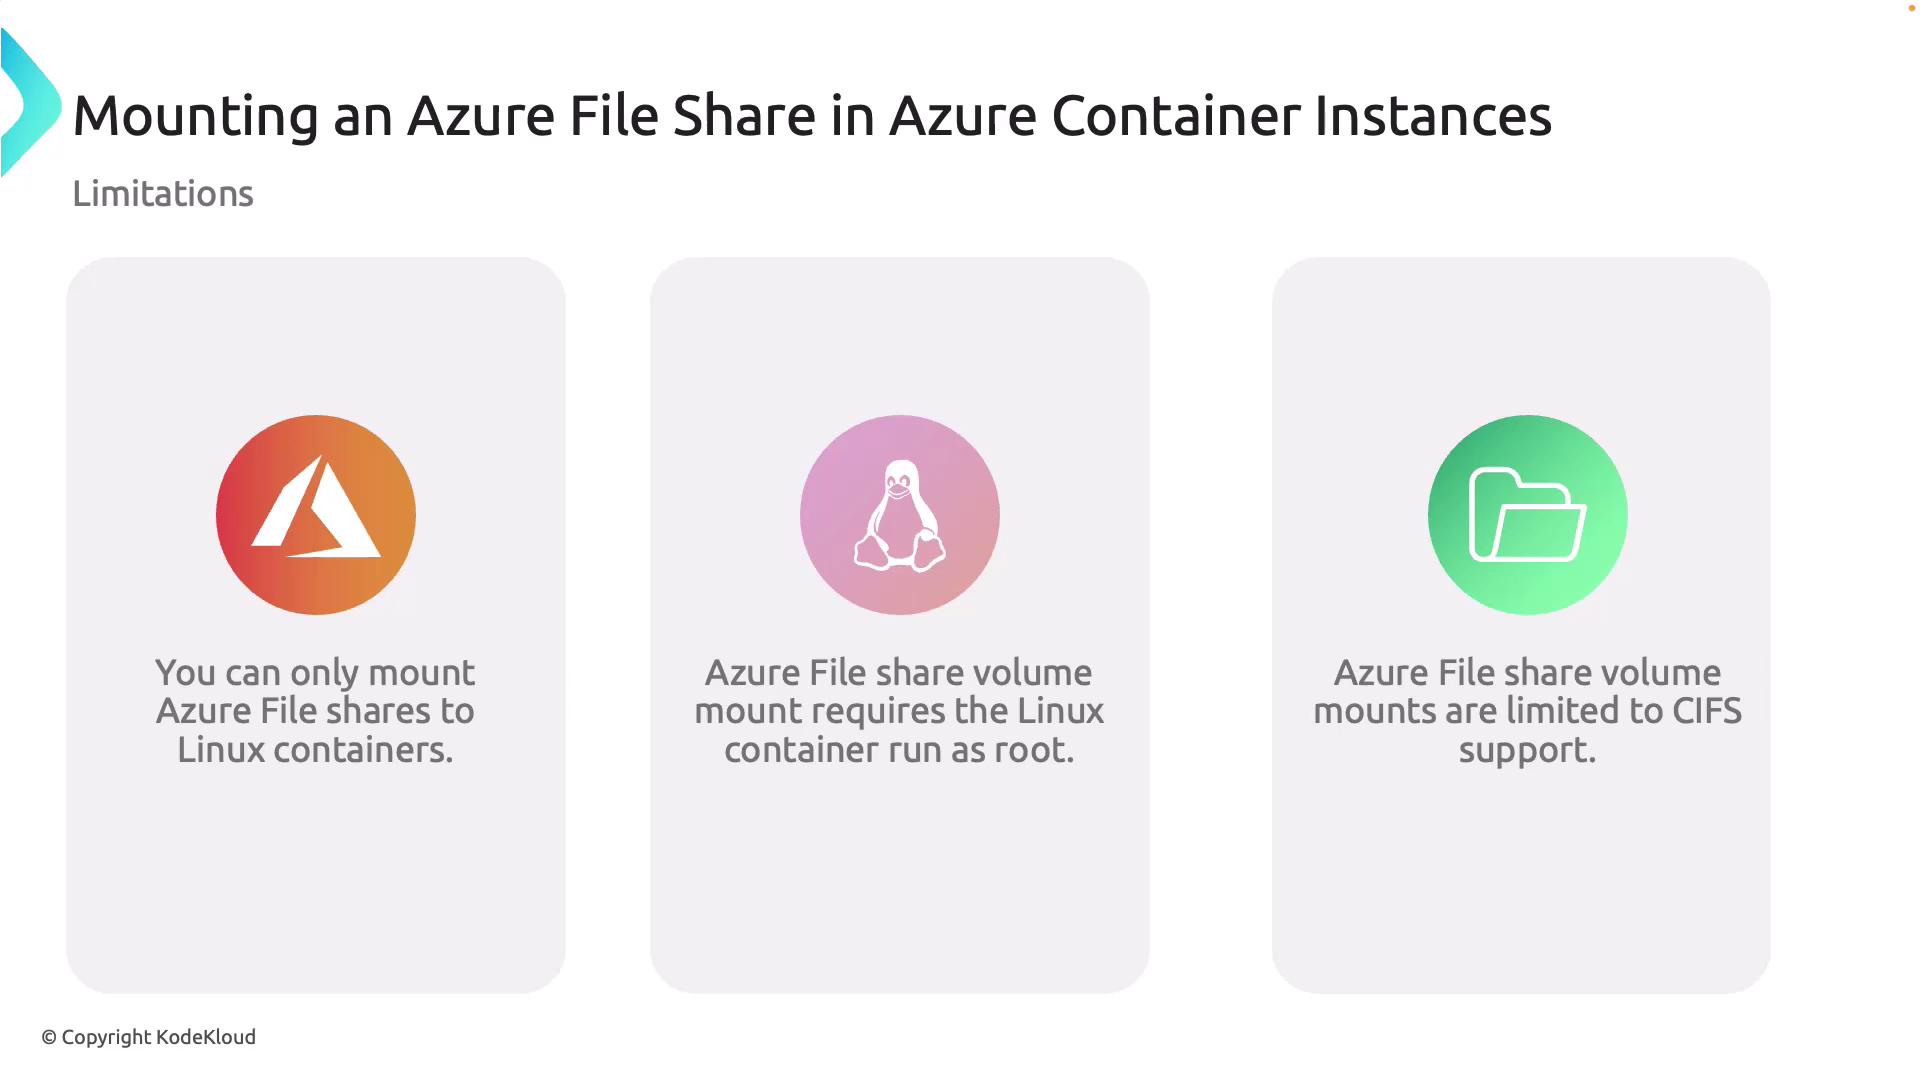
By mounting a volume from an Azure File Share into your container, you can ensure that your data remains safe even if the container stops or encounters an issue.Key Considerations for Azure File Shares
- Linux Containers Only: Azure File Share mounting is supported exclusively on Linux containers.
- Root Permissions Required: The container must run as root in order to set the correct file permissions needed for the File Share.
- CIFS Protocol: The Common Internet File System (CIFS) protocol is used for sharing files over the network.
Deploying Multiple Volumes Using Deployment Templates
When you need to deploy multiple volumes, you can utilize Azure Resource Manager (ARM) templates or YAML files. These deployment templates enable you to define shared configurations and list multiple volumes for mounting in your container environment, making it easier to manage complex storage scenarios.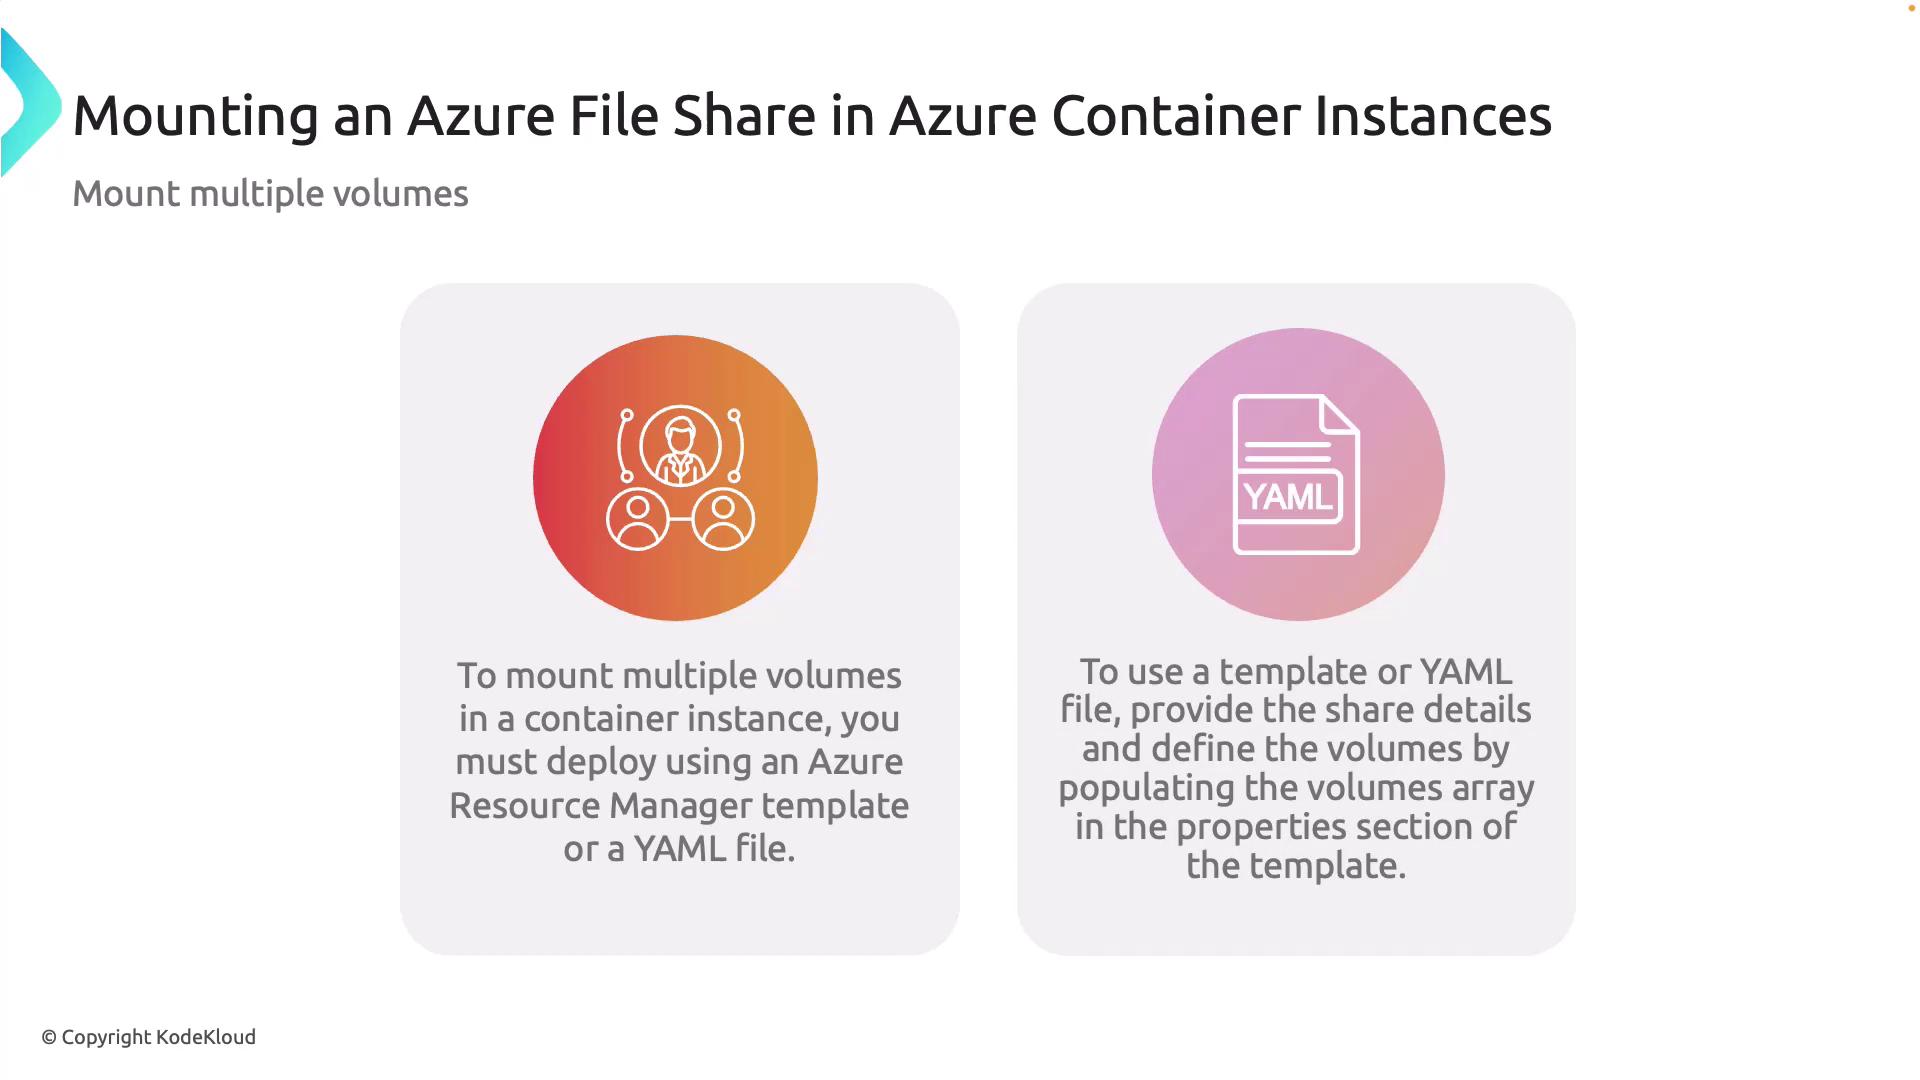
Using deployment templates not only streamlines the process but also ensures consistent configuration across your deployments.
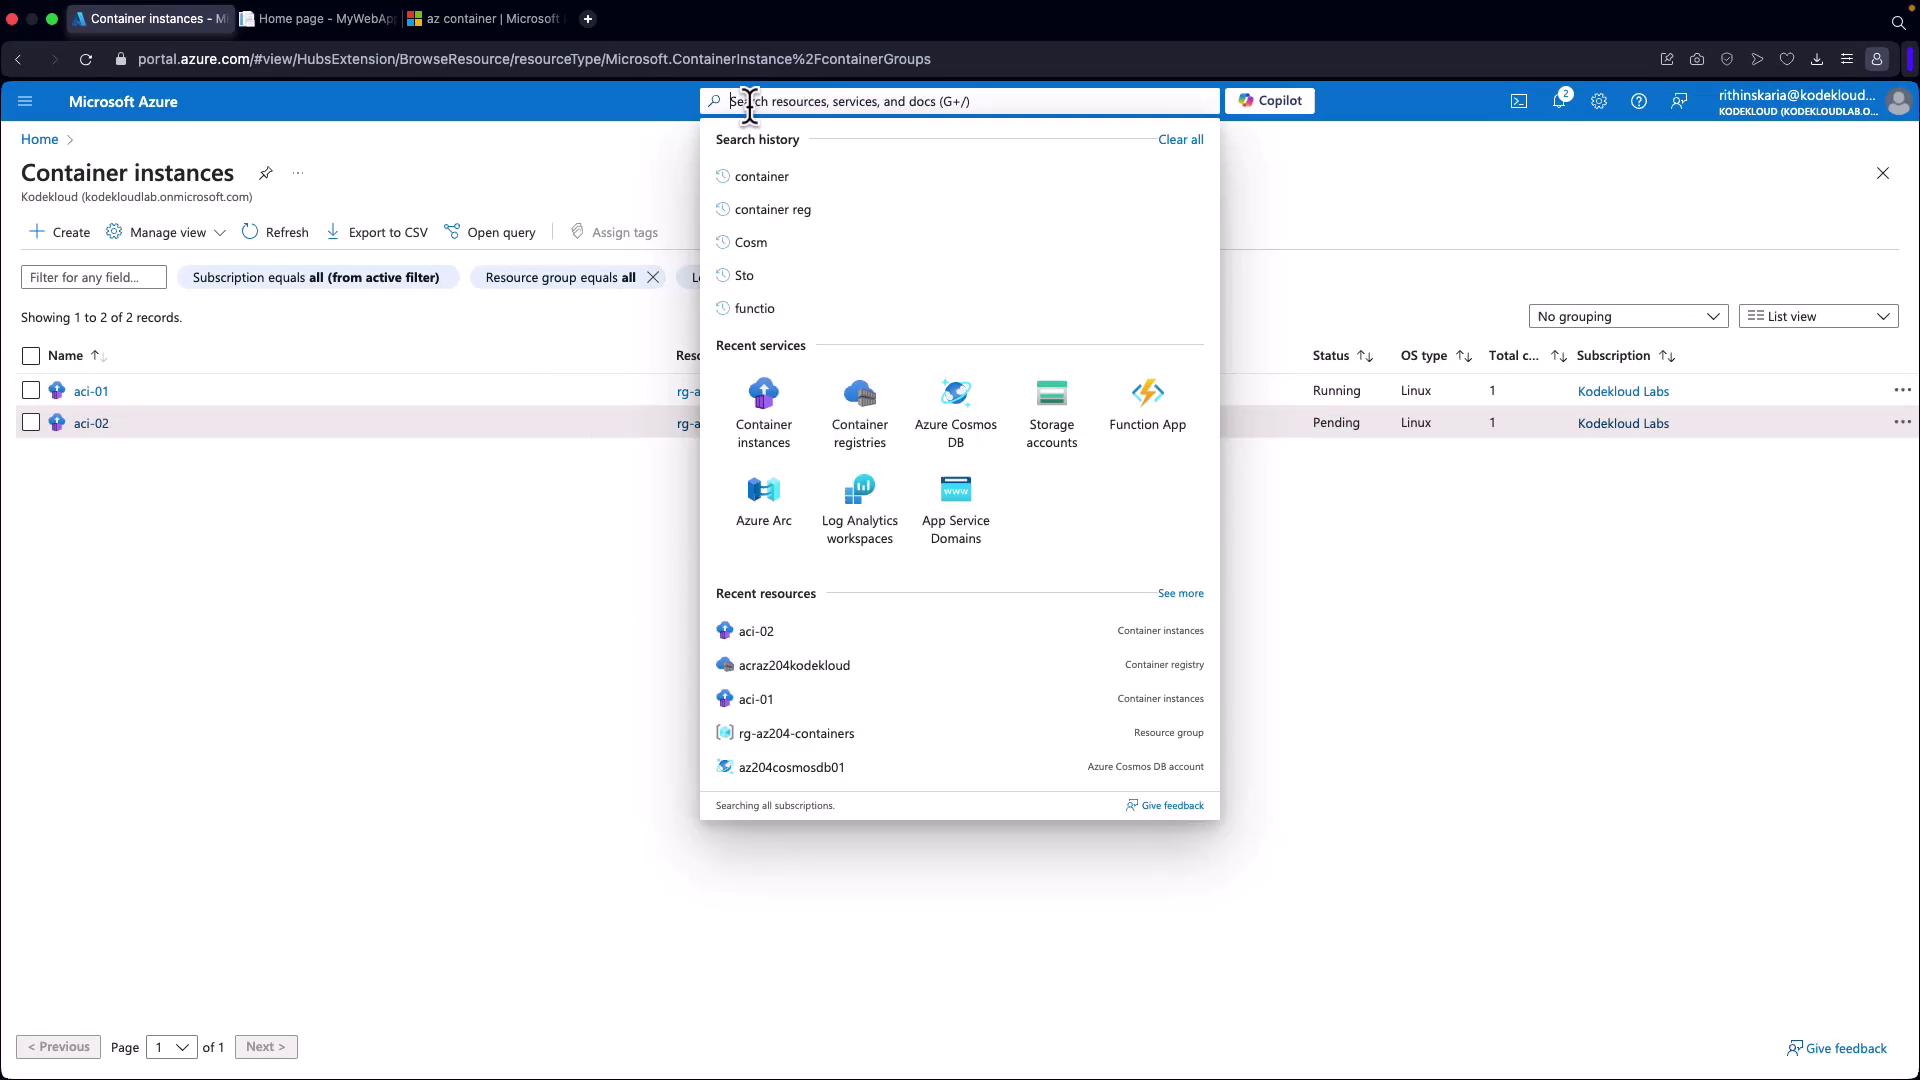
Configuring Storage in the Azure Portal
Follow these steps to configure your storage in the Azure Portal:-
Check or Create a Storage Account:
Navigate to your storage accounts. If one isn’t available, create a new storage account. -
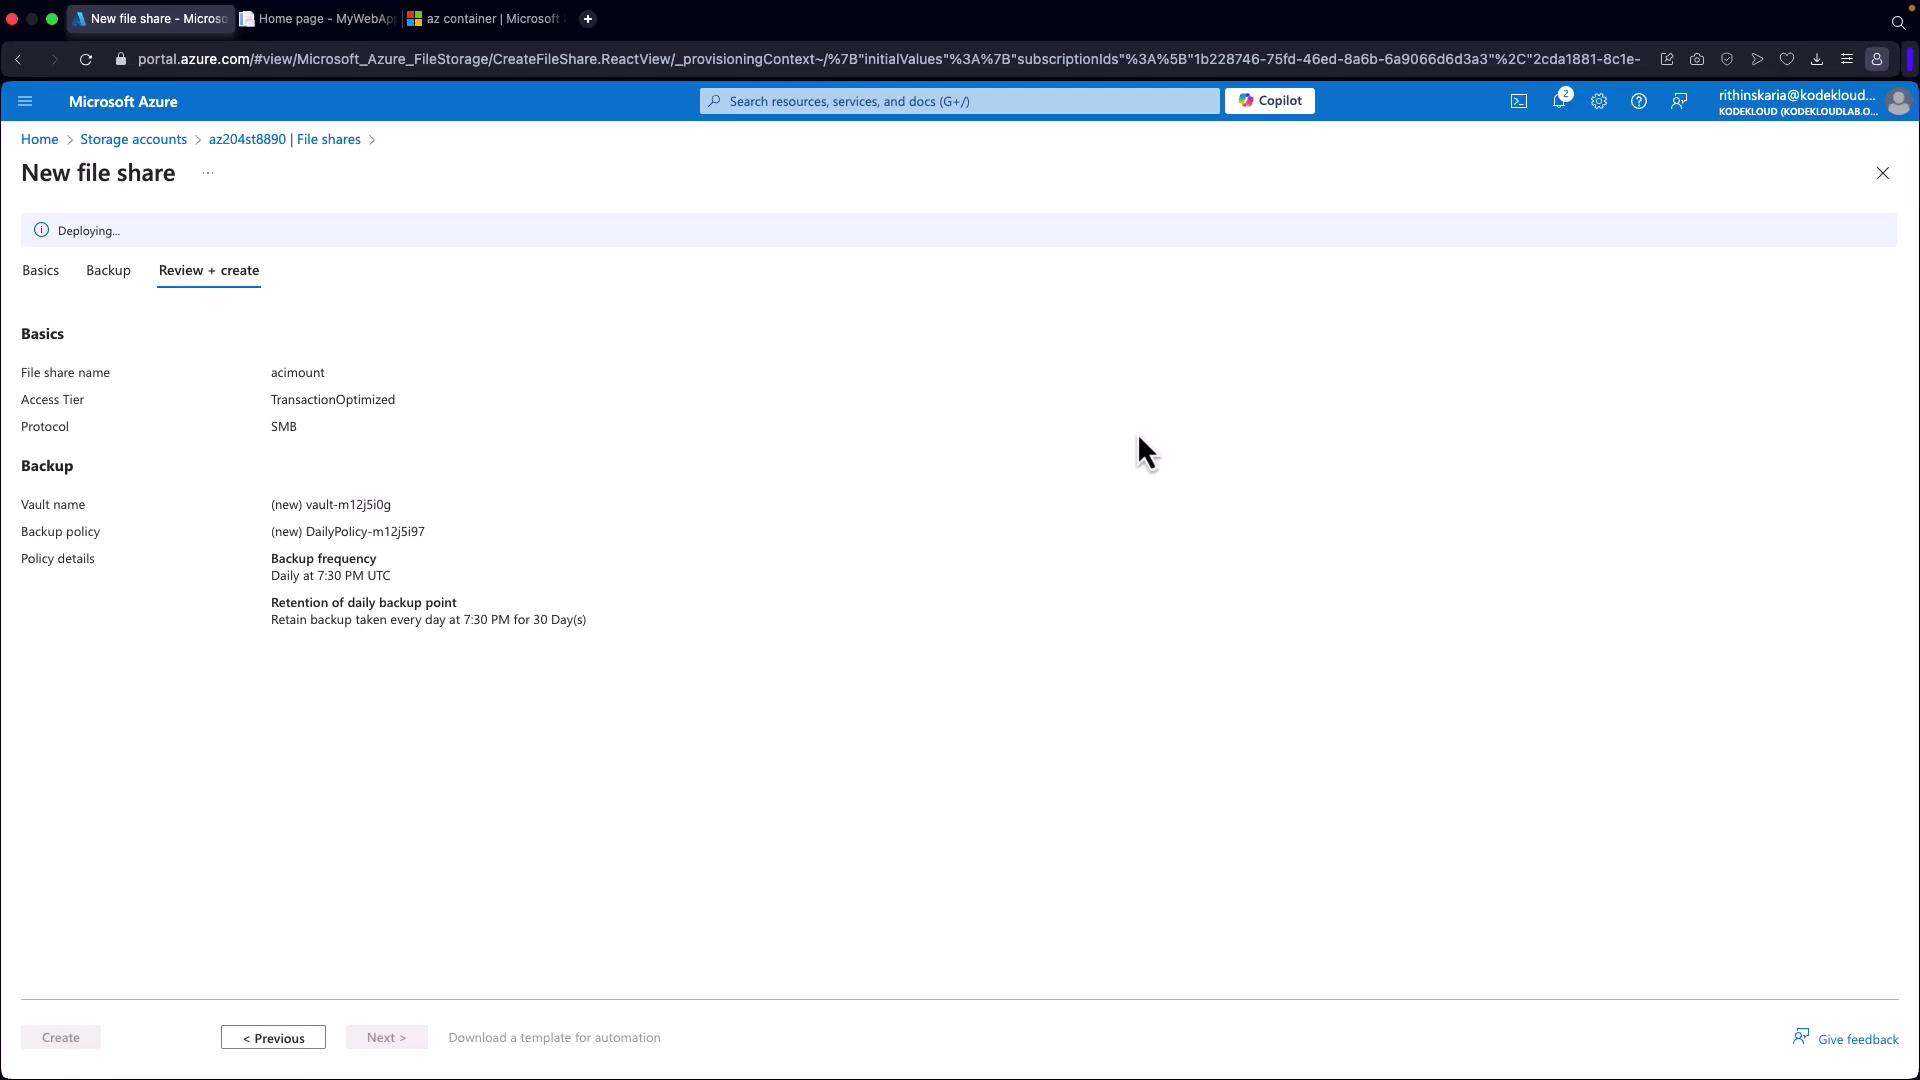
Create a File Share:
In your storage account, select “File Shares” and then create a new file share (for example, “ACI mount”).
- Deploy Using YAML:
Open your Cloud Shell to deploy your container instance using a YAML file.
Creating the YAML Deployment File
Create a file namedACI.yaml in Cloud Shell with the following content:
Replace
<StorageAccountName> with your actual storage account name and <StorageAccountKey> with the key available in the Access Keys section within your storage account. Ensure that the DNS name label (aci-demo-unique in this example) is unique to avoid conflicts.Deploying the Container Instance
With the YAML file prepared, deploy the container by running the command:Verifying the Mount
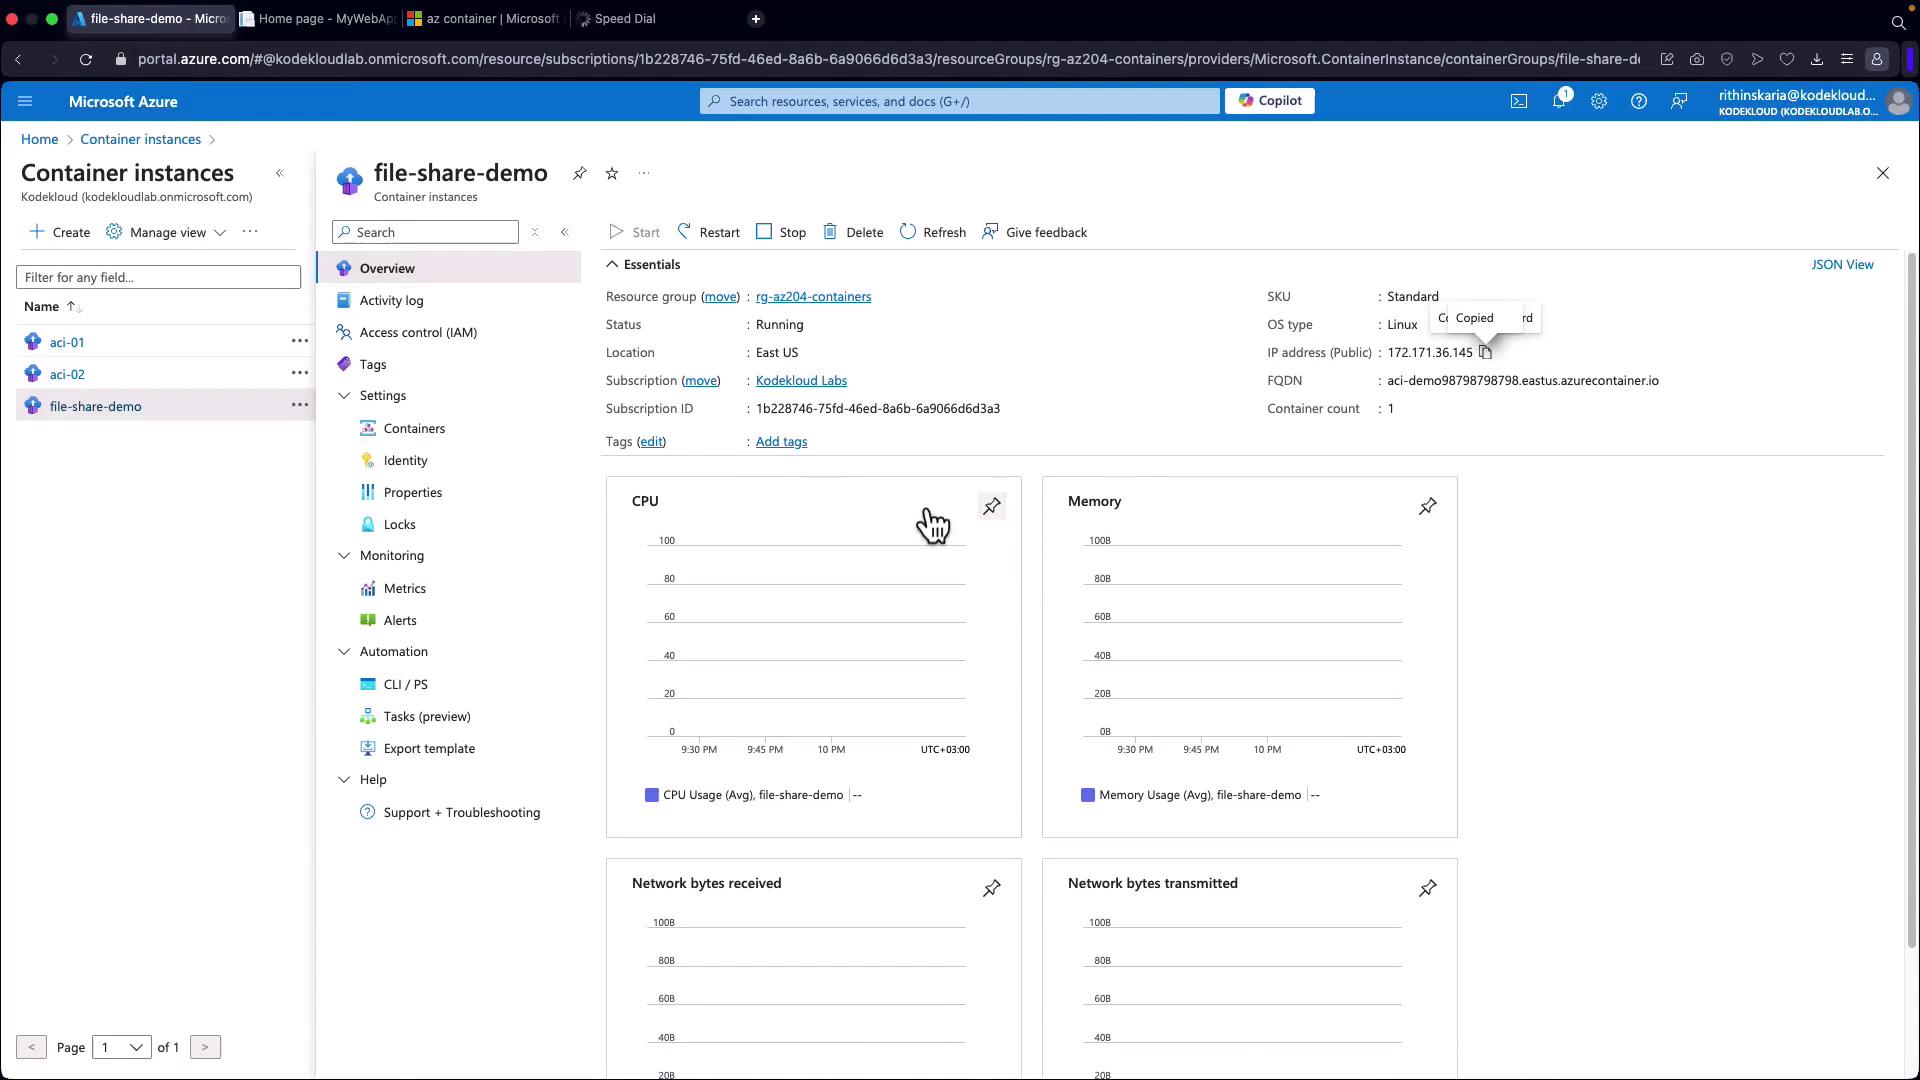
After deploying the container instance, follow these steps to verify that the Azure File Share is correctly mounted:-
Access the Container Terminal:
In the Azure Portal, go to your running container instance and click on “Connect” to open the terminal. -
Verify the Mount Point:
Change to the mounted directory and list its contents with the following commands: -
Create a Test File:
Ensure that the volume is writable by adding a test file: -
Cross-Check via the Storage Account:
Return to your storage account, navigate to the “ACI mount” file share, and ensure that the filesample.txtexists with the correct content.