Azure Table Storage
Azure Table Storage is designed to store non-relational structured (NoSQL) data in the cloud. Within a storage account, you can create multiple tables as long as each table has a unique name. Each table is made up of entities, and each entity contains a set of properties. For instance, an entity may have a property “name” with the value “Sylvia”, along with properties like “country,” “phone,” and “zip.” This service is ideal for managing large datasets (potentially terabytes of data) such as e-commerce product catalogs or user information for web applications. Its architecture uses a partition key and row key—comparable to rows and columns in relational databases—which supports efficient querying through clustered indexes. It is best suited for datasets that do not require complex joins, foreign keys, or stored procedures. Common examples include address books, device information logs, and simple web application data, where speed and cost-effectiveness are crucial. Below is a diagram that illustrates the key concepts of Table Storage as a NoSQL data store, showcasing benefits like scalability, simplicity, and efficient querying.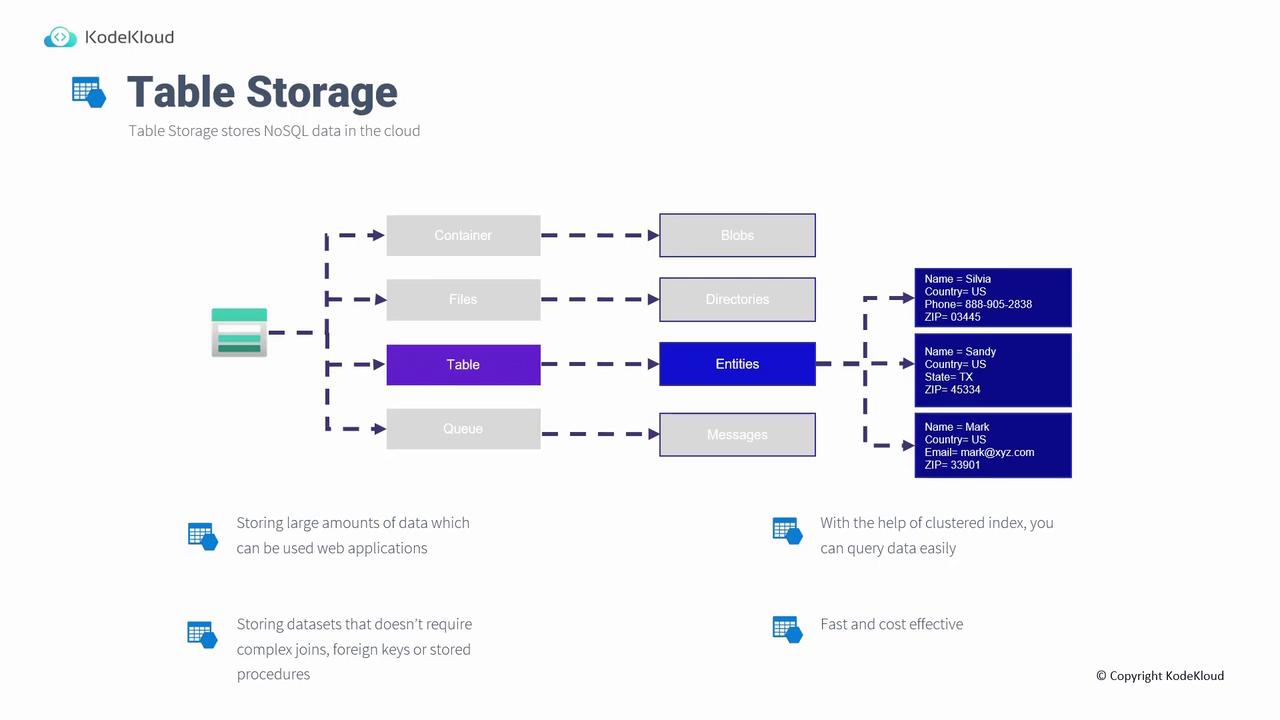
Working with Table Storage Using Azure Storage Explorer
- Create a Table in Azure Portal
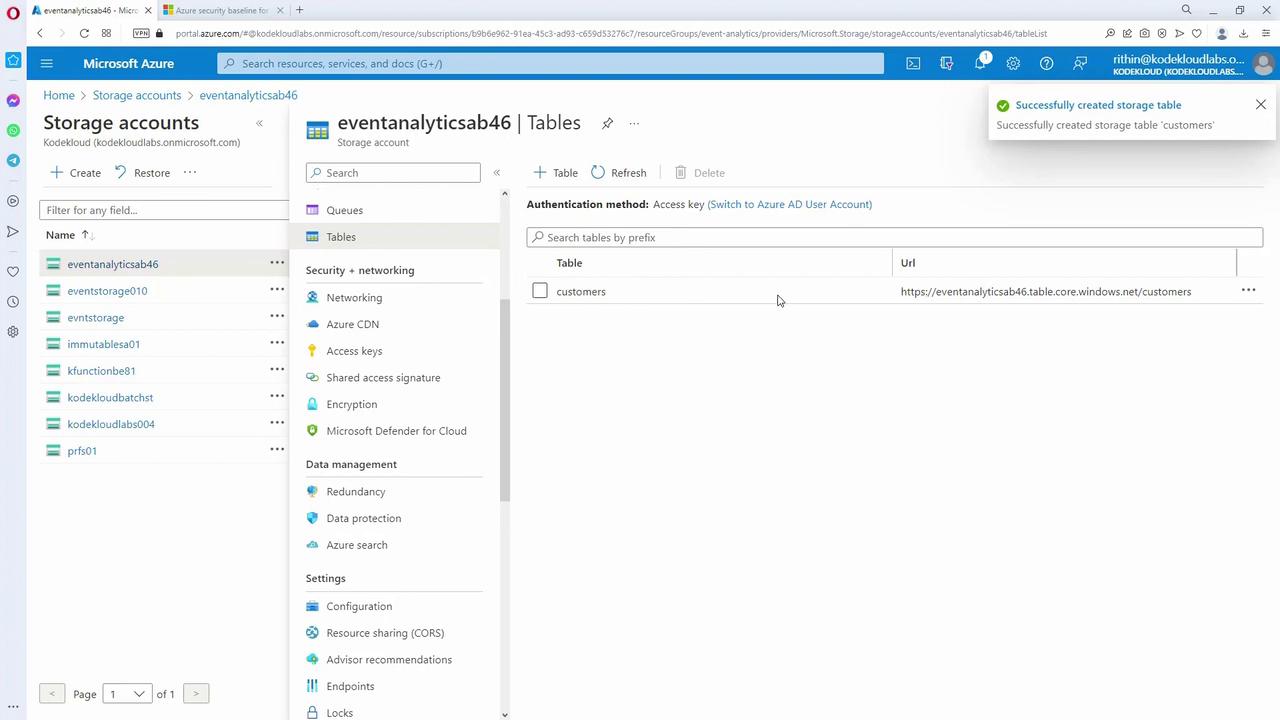
Log in to the Azure portal, navigate to your storage account, and select “Tables.” Click “Add a table,” provide a unique name (e.g., “customers”), and create the table. Note that clicking on the table name in the portal does not show its data—you need Azure Storage Explorer to view or modify its contents.
- Connecting via Azure Storage Explorer
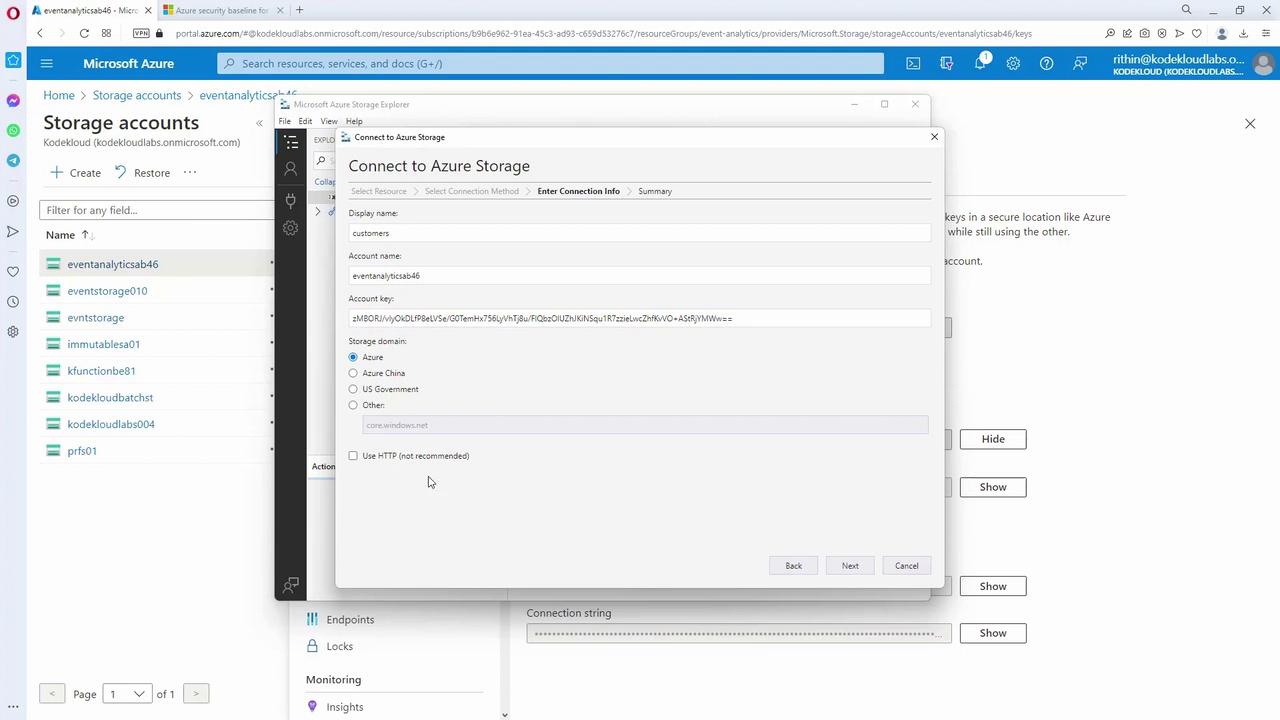
Open Azure Storage Explorer and click on the Connect button. Choose to connect to a storage account using access keys. Retrieve the account name and key from the Azure portal (“Account access keys” section), paste the key into Storage Explorer, and connect. Once connected, navigate to the “Tables” section to find your “customers” table.
-
Inserting Data into the Table
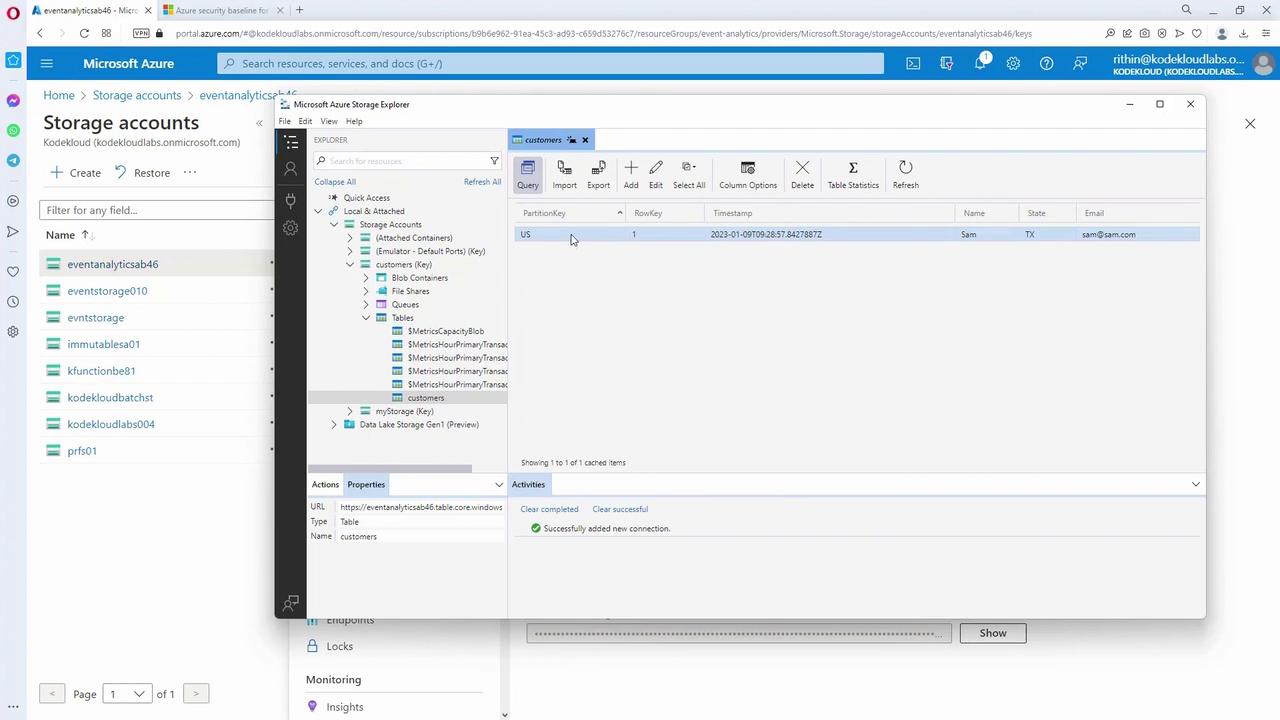
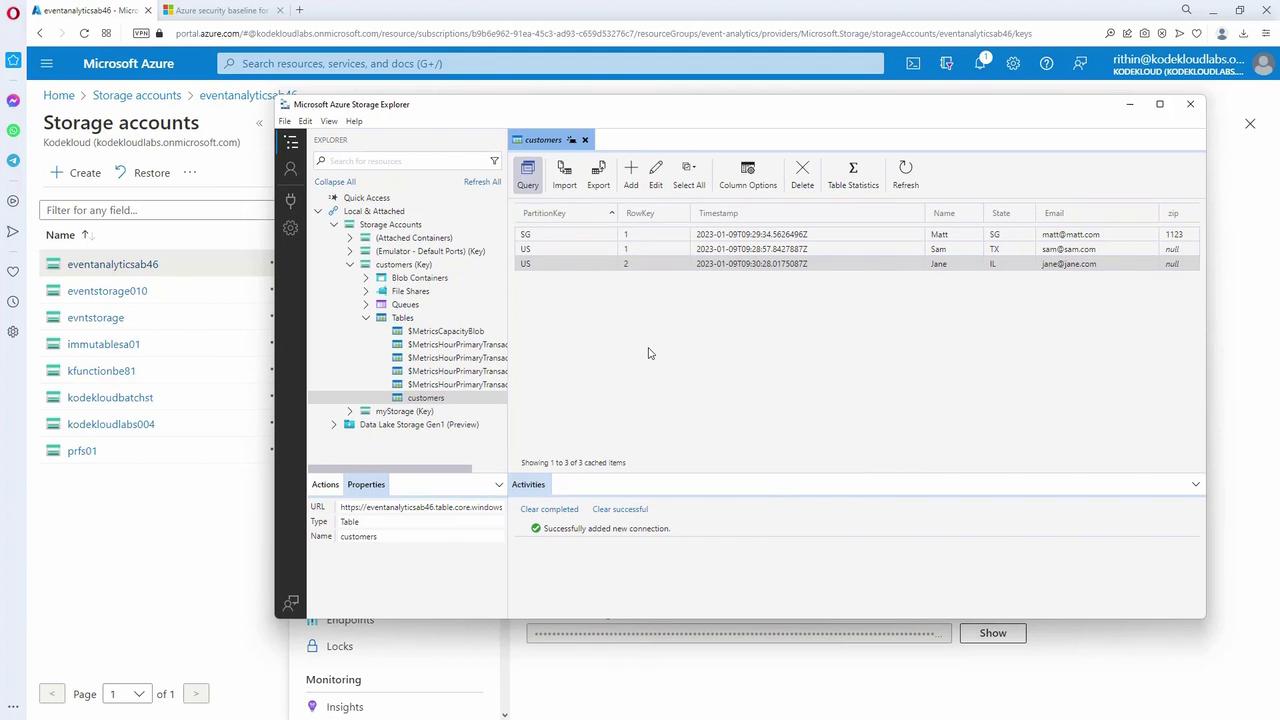
Within the “customers” table, you work with two default fields: partition key and row key—which function like XY coordinates for fast querying. For example, you might assign the partition key as a country and the row key as a unique user ID.-
First Entry:
- Partition key: US
- Row key: (first user ID)
- Properties: name (Sam), state (Texas), email (sam@sam.com) Click “Insert” to add the user.
-
Second Entry:
- Partition key: Singapore
- Row key: (first user ID for Singapore)
- Properties: name (Matt), state (“SG” since state data is missing), email (matt@matt.com), zip (e.g., 1123)
-
Third Entry:
- Partition key: US
- Row key: (second user ID)
- Properties: name (Jane), state (Illinois), email (jane@jane.com)
-
First Entry:
New properties (columns) are dynamically added to entities without recreating the table, and a system-maintained “timestamp” is automatically updated.
- Querying Data
Data retrieval is based on the partition and row keys. For instance, you might query all users belonging to the US partition and delete a specific record if necessary. In many real-world applications, such operations are executed via the Azure Storage SDK for tables or through its REST API.
Cosmos DB
Cosmos DB is a fully managed NoSQL database service on Azure that offers enhanced availability options compared to Table Storage. Unlike Table Storage, which uses the storage account’s default redundancy, Cosmos DB replicates data across multiple global regions, allowing both read and write operations on any replica.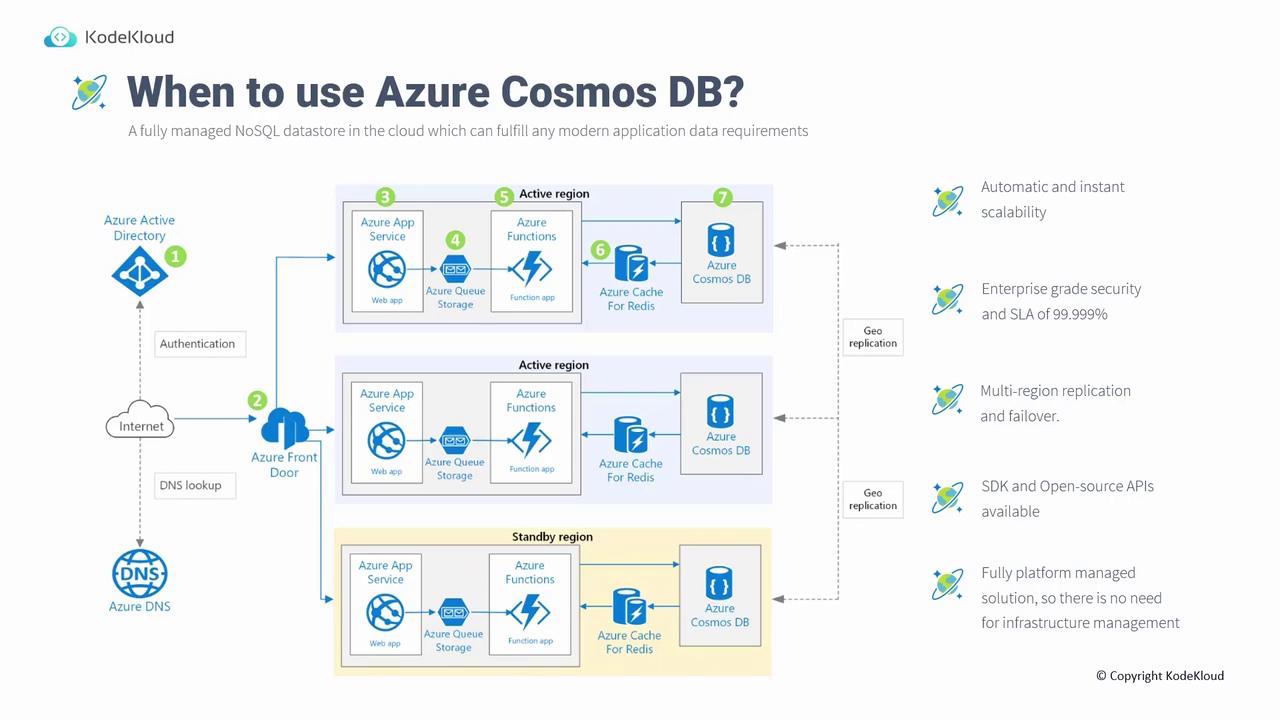
Creating a Cosmos DB Account
- Account Creation
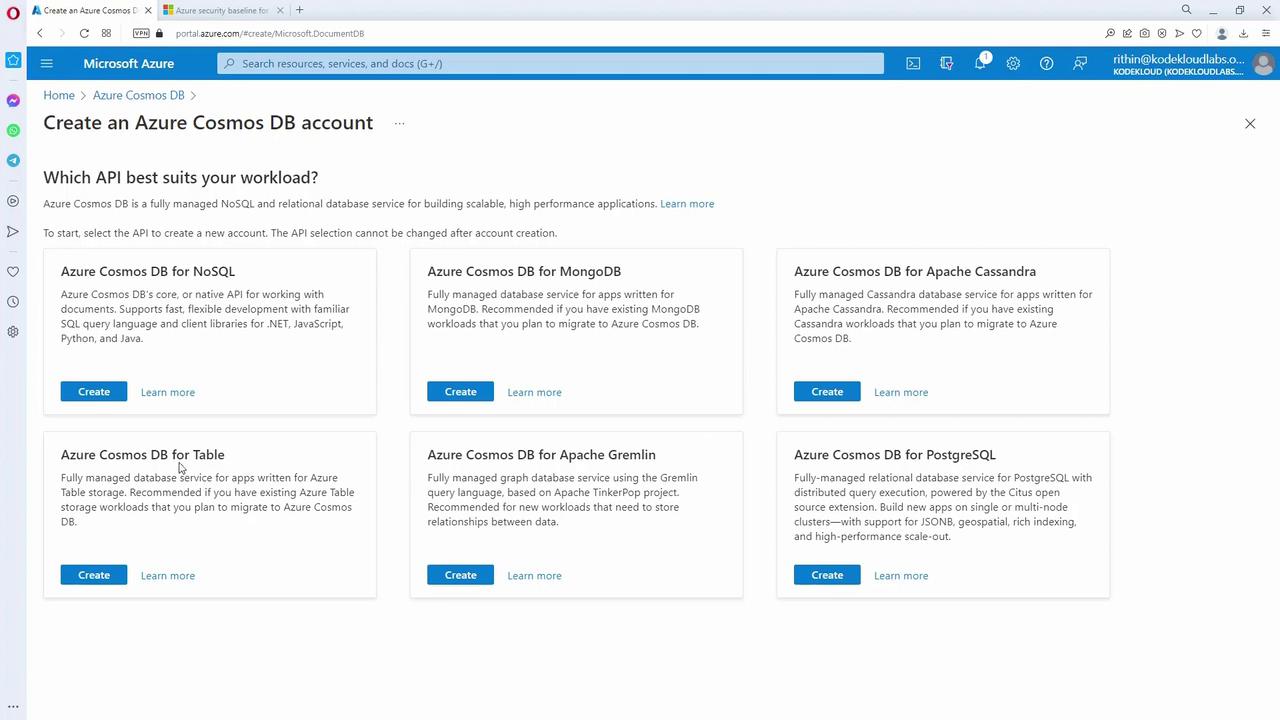
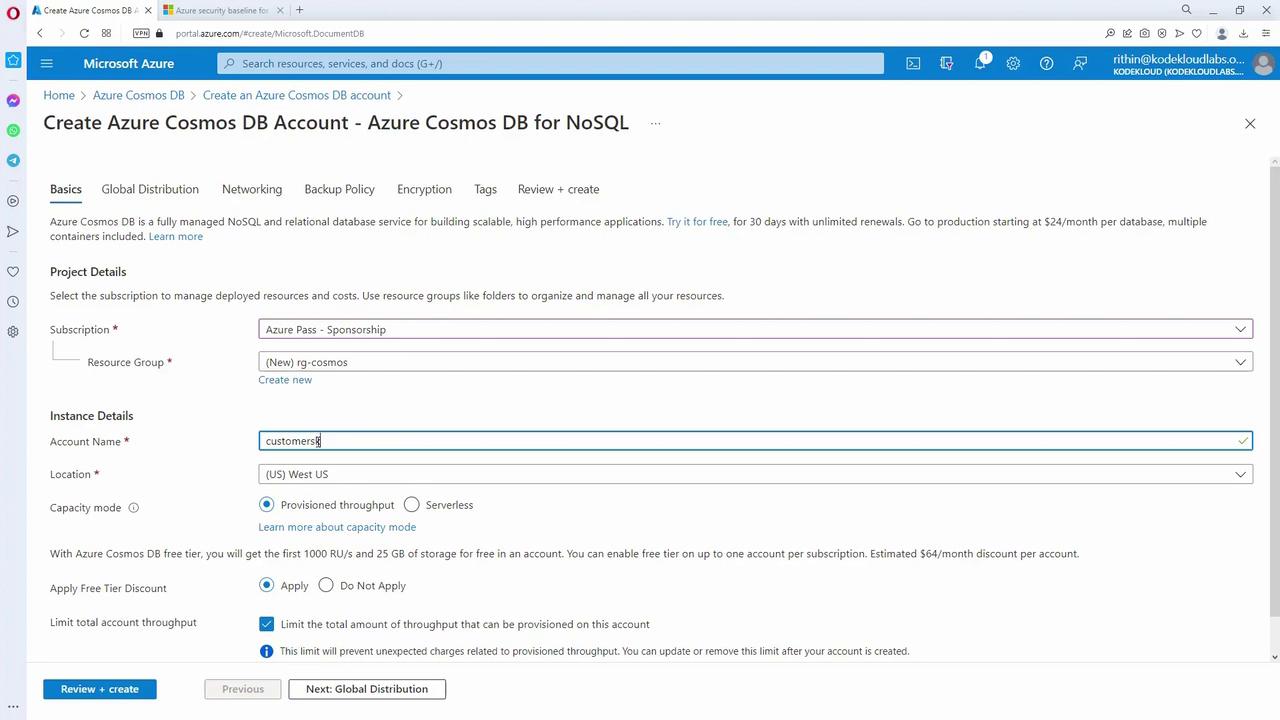
Create a Cosmos DB account in the Azure portal. Cosmos DB supports six APIs: NoSQL, MongoDB, Apache Cassandra, Table API, Gremlin API, and PostgreSQL. Choose the appropriate API based on your application requirements and skill set. For this lesson, we will use the NoSQL (SQL API).
- Configuration
- Select your subscription and create a new resource group if needed.
- Provide a unique account name and choose a region (e.g., East US).
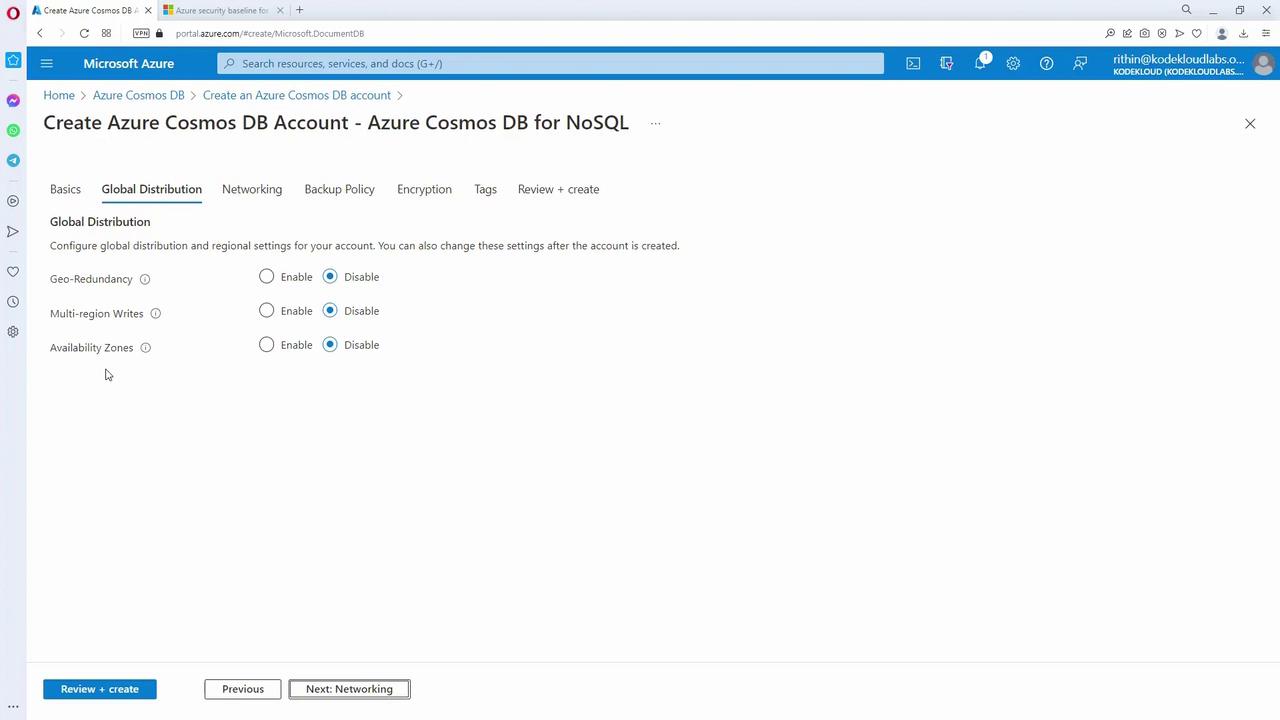
- Choose between provisioned throughput or serverless.
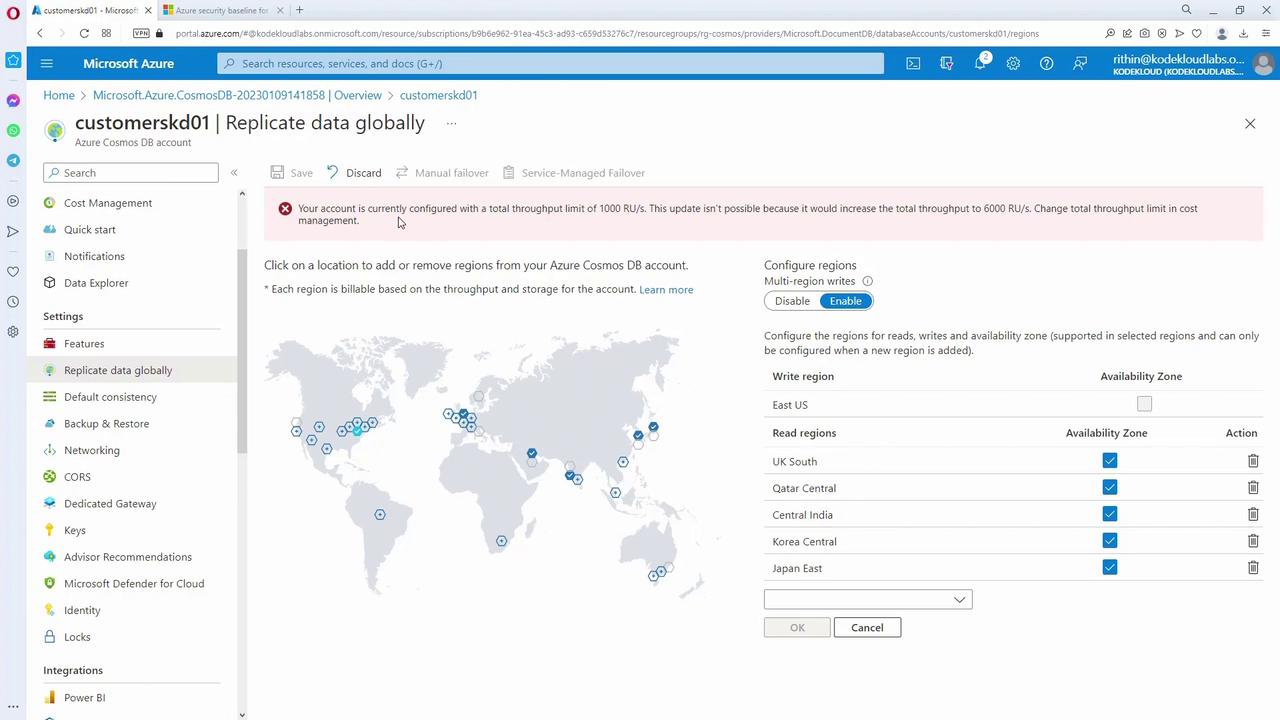
- Optionally, apply the free tier discount and configure global distribution settings (geo-redundancy, multi-region writes, availability zones).
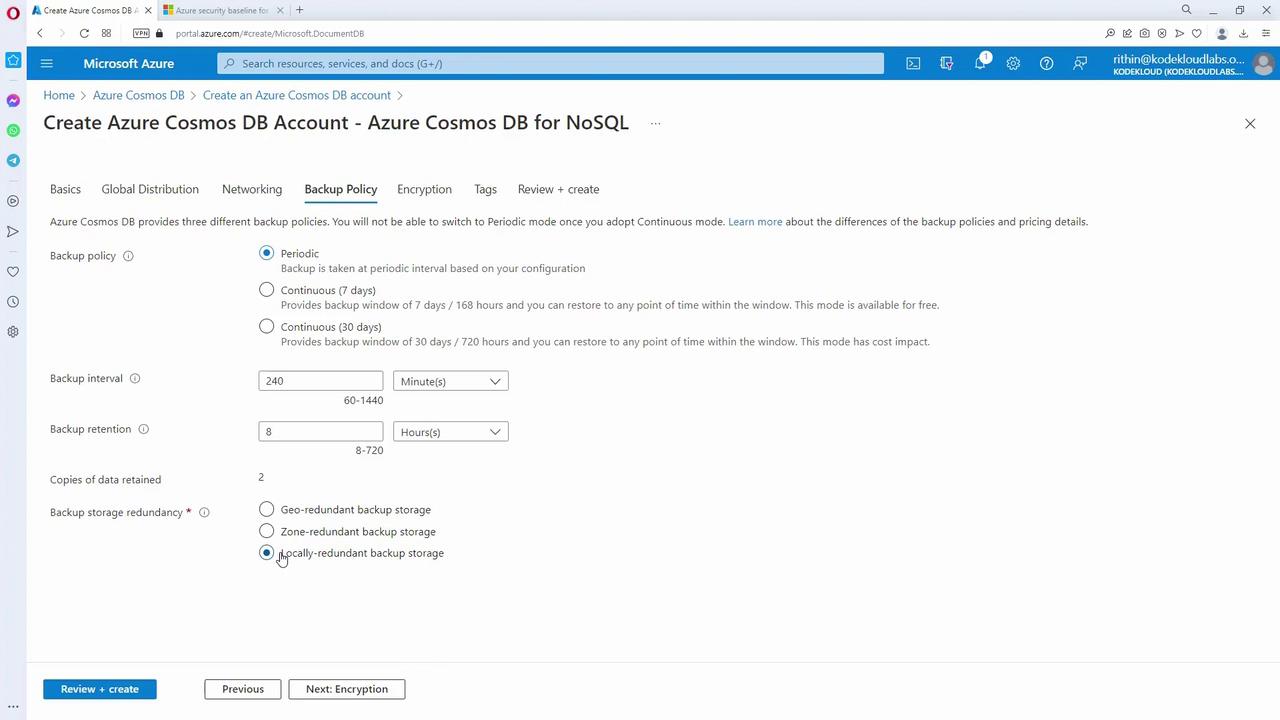
- Configure networking and backup policies based on your application’s needs.
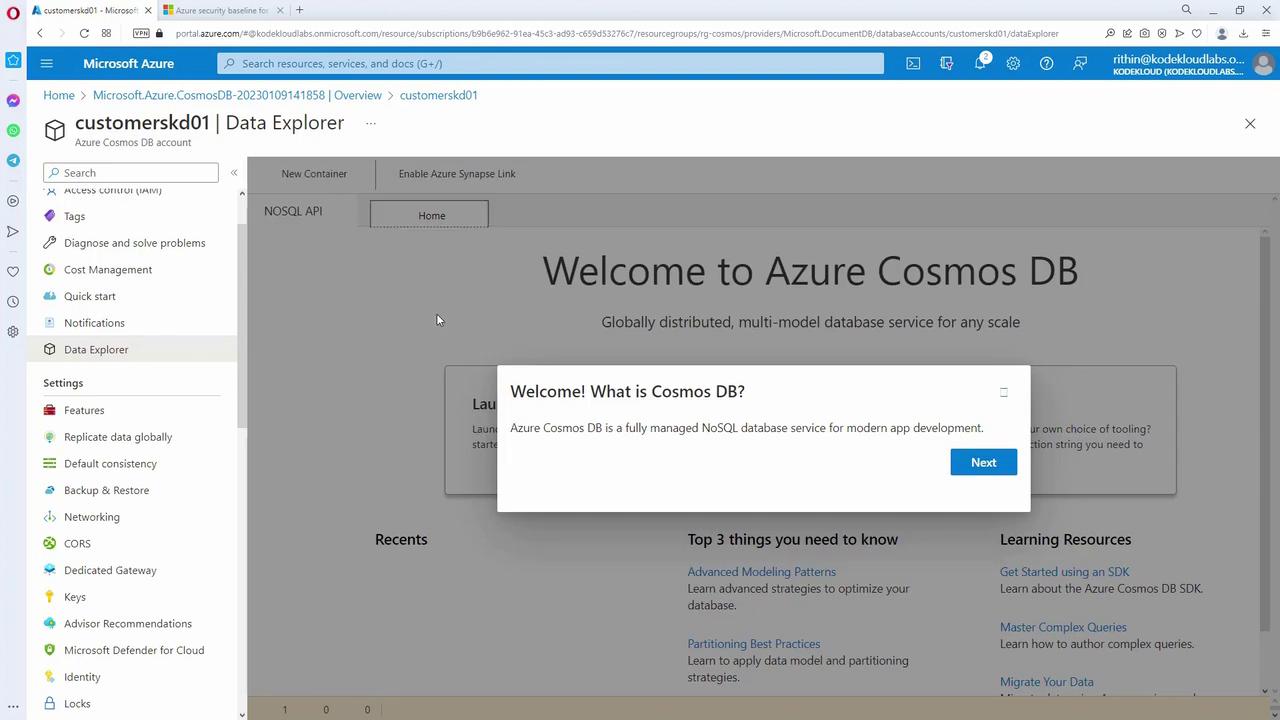
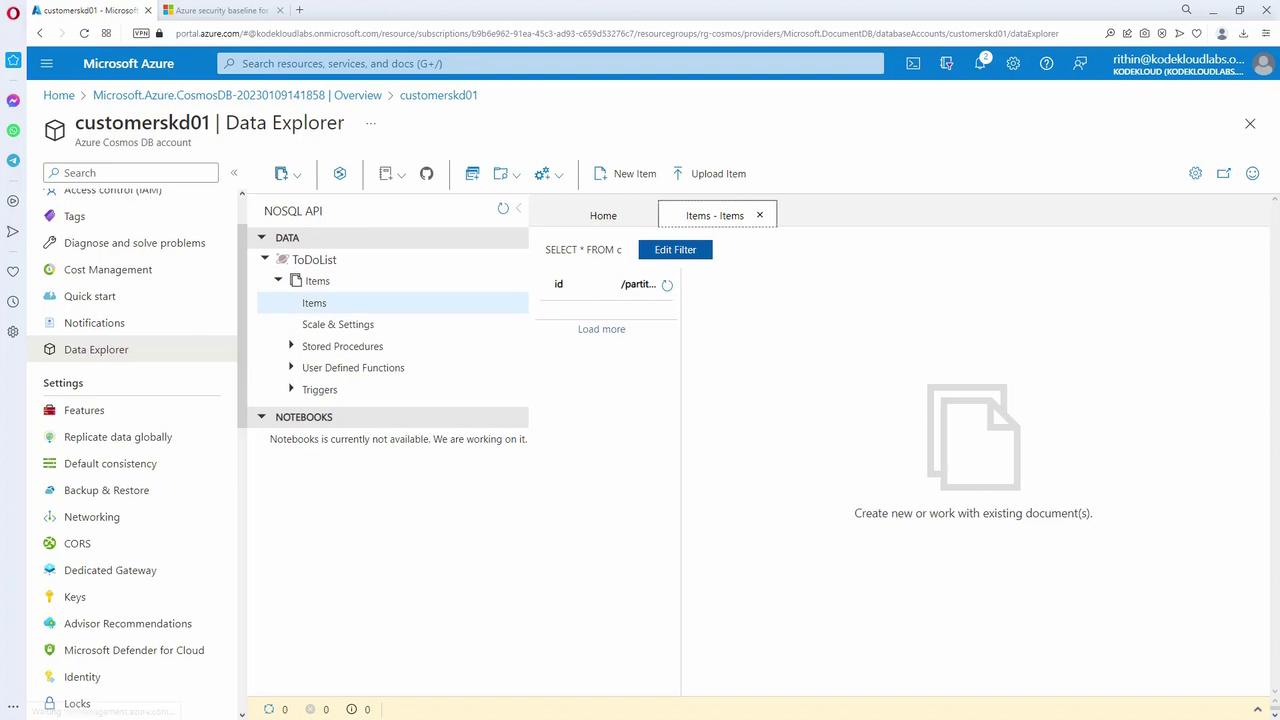
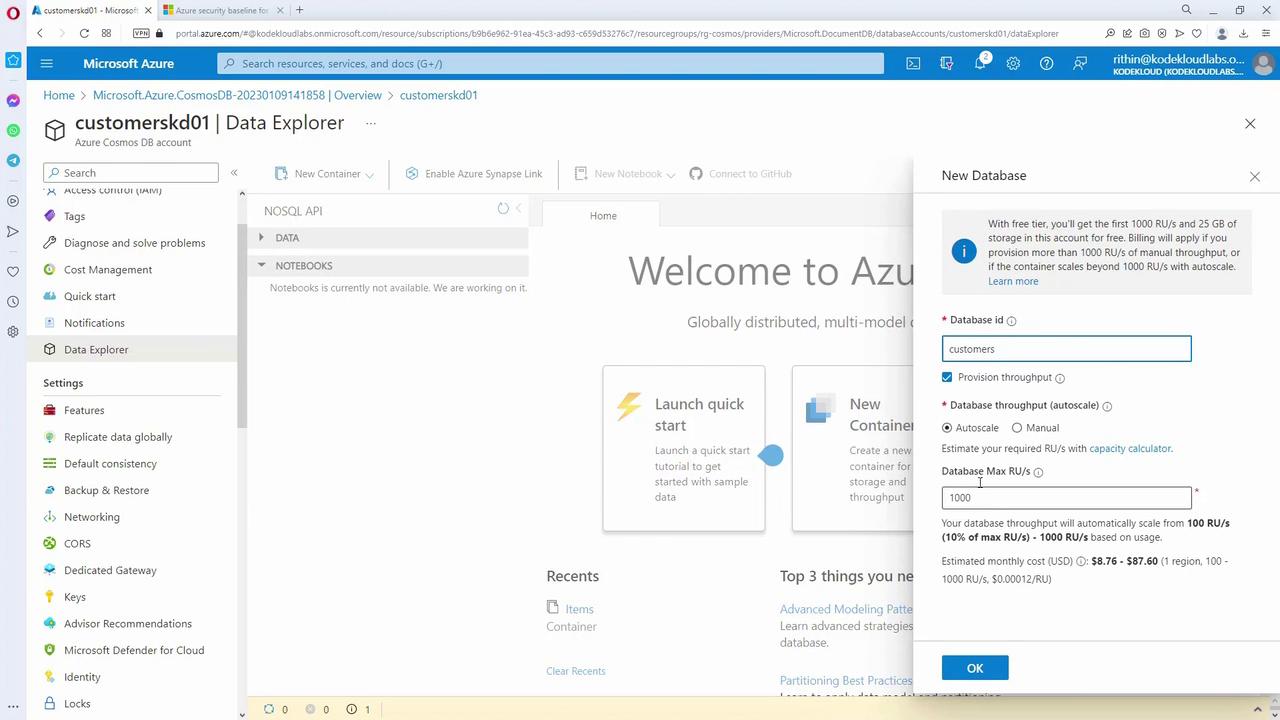
- Setting Up a Database and Container
- Open the Data Explorer within your Cosmos DB account.
- Optionally remove the default “ToDoList” database and create a new database named “customers.”
- Set the throughput (for example, 1000 RU/s) and create a container named “customer” within the “customers” database.
- Specify a partition key (for instance, using the “ID” field).
-
Data Import Using the Cosmos DB Data Migration Tool
Prepare a JSON file containing customer details and use the Cosmos DB Data Migration Tool provided by Microsoft to import data:- Add your JSON file.
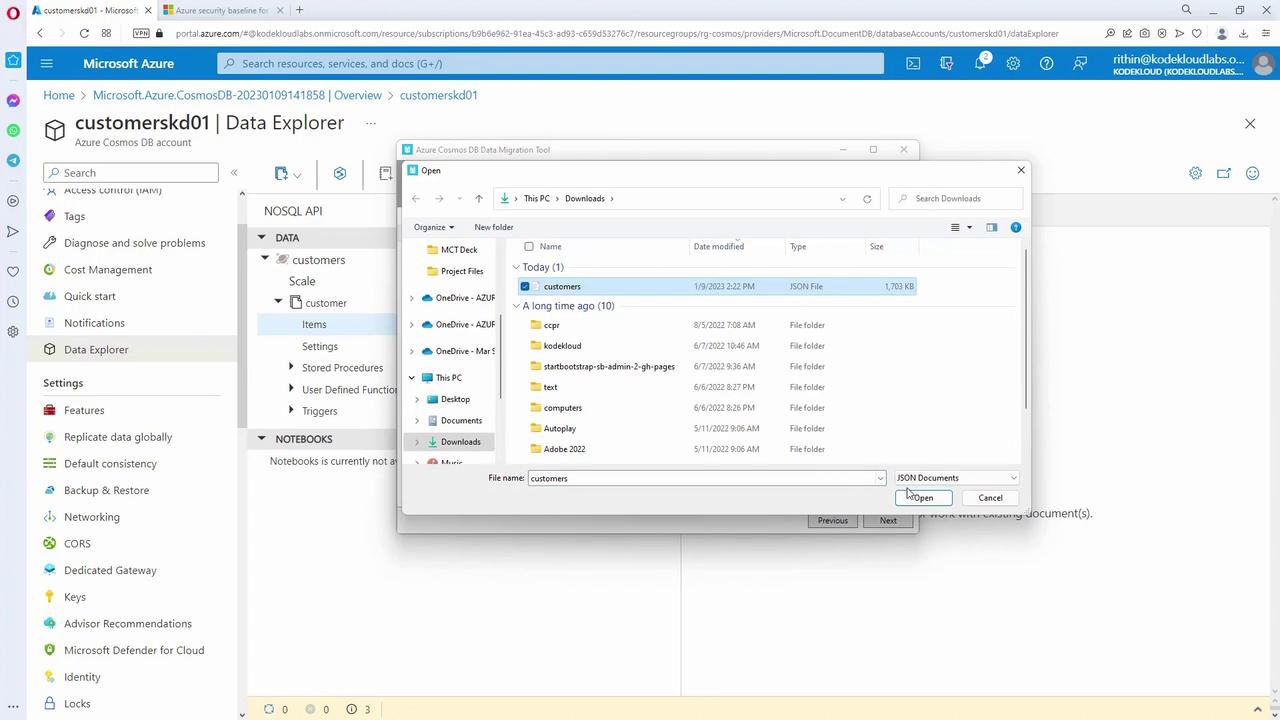
- Retrieve the primary connection string from the Cosmos DB account’s “Keys” section.
- In the migration tool, enter the connection string, specify the database name (“customers”), container name (“customers”), and the partition key (“ID”).
- Verify the connection and click “Import.” Depending on the dataset size (e.g., 100,000 records), the import process might take several minutes.
-
Querying Your Cosmos DB Data
After importing, use the Data Explorer to view your data. Run SQL-like queries to inspect records. For example, to fetch all records:You can inspect a single record to verify fields like “email”, “first”, “last”, “company”, and “created_at” (note that “created_at” is sourced from the JSON file rather than being auto-generated). To query users from Switzerland, you could run:An example output might look like this:
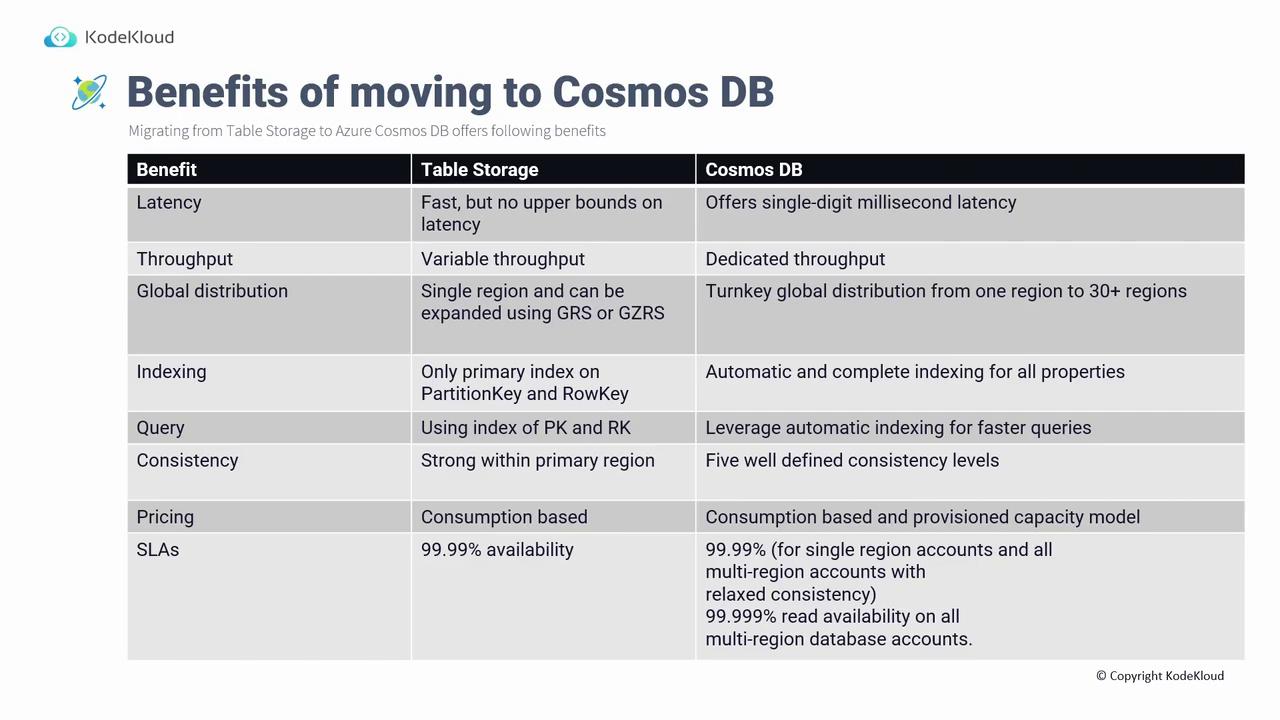
Benefits of Moving from Table Storage to Cosmos DB
While Table Storage provides fast access, it does not guarantee strict latency or throughput limits. Cosmos DB delivers several advantages:- Latency: Achieves single-digit millisecond latency.
- Throughput: Offers dedicated throughput measured in Request Units per second (RUs), ensuring predictable performance.
- Global Distribution: Supports turnkey global distribution across more than 30 regions.
- Indexing: Automatically indexes all properties, not only the partition and row keys.
- Query Capability: Provides flexible, SQL-like queries across all indexed properties.
- Consistency Levels: Supports five distinct consistency levels beyond the basic options in Table Storage.
- Pricing Models: Offers both consumption-based (serverless) and provisioned capacity models.
- SLA: Guarantees 99.99% availability in single-region accounts and up to 99.999% read availability in multi-region accounts.
Choosing the Right Cosmos DB API
Cosmos DB provides six different APIs to support various application requirements and development needs:- NoSQL (SQL API)
- MongoDB
- PostgreSQL
- Apache Cassandra
- Gremlin
- Table API
- For migrating an existing application that already uses MongoDB, Gremlin, or another API, choose the corresponding API.
- If building a new application and you need native SQL syntax with the latest features, opt for the NoSQL (SQL API).
- Alternatively, if your team has expertise in MongoDB, PostgreSQL, or Cassandra, you can select the familiar API.
