Overview of Access Tiers
Azure provides multiple access tiers to help you balance performance and cost according to your data usage patterns.Hot Tier
The hot tier is comparable to the section of your closet where you keep your most frequently worn clothes. Data in the hot tier is stored for rapid, repeated access in high-demand scenarios—such as streaming videos. However, its high performance comes with a higher storage cost.Cool Tier
The cool tier is similar to the clothes you wear occasionally. Although the data is still readily available, it is accessed less frequently (for instance, a monthly report). While this tier offers lower storage costs, it does have a higher cost per access, and data must be stored for at least 30 days.Cold Tier
Think of the cold tier as the rarely used formal wear tucked away for special occasions. It offers even lower storage costs, while still keeping data reasonably accessible. This tier is ideal for data seldom referenced, like old photographs. A minimum storage duration of 30 days applies to ensure cost efficiency.Archive Tier
The archive tier is like storing keepsakes in a storage unit. It is the most cost-effective option for long-term data retention and is built for data that is rarely or never accessed, such as legal documents. Be aware that retrieving data from this tier requires more time and effort compared to the other tiers.
As you progress from the hot tier to the archive tier, you will notice that while storage costs continuously decrease, the cost and time required for data retrieval increase.
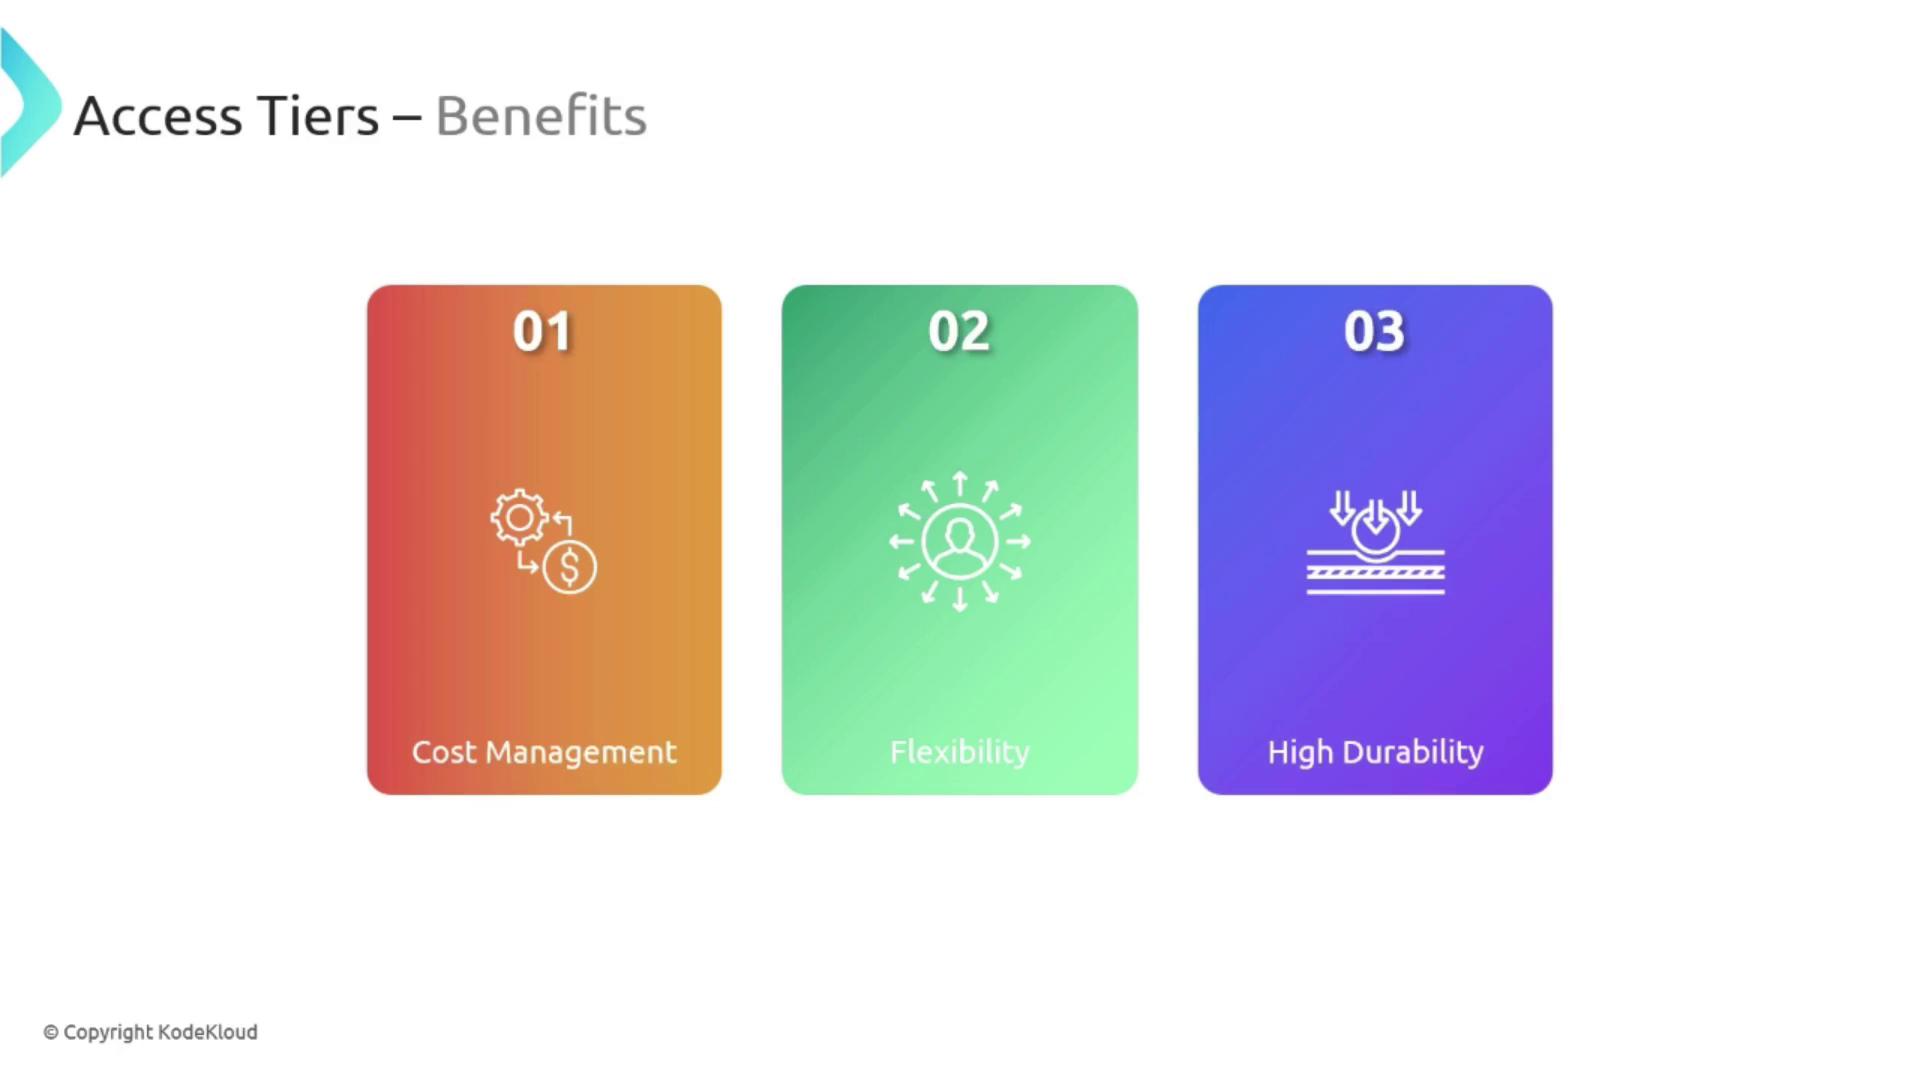
Benefits of Using Access Tiers
Adopting access tiers in your Azure storage strategy offers several advantages:- Cost Management: Select the appropriate tier to balance how often your data is accessed with the corresponding storage costs.
- Flexibility: Easily switch between tiers as your storage needs evolve. Lifecycle management policies can automate these transitions based on the last modified date.
- High Durability: Regardless of the selected tier, Azure ensures that your data remains secure and highly durable.
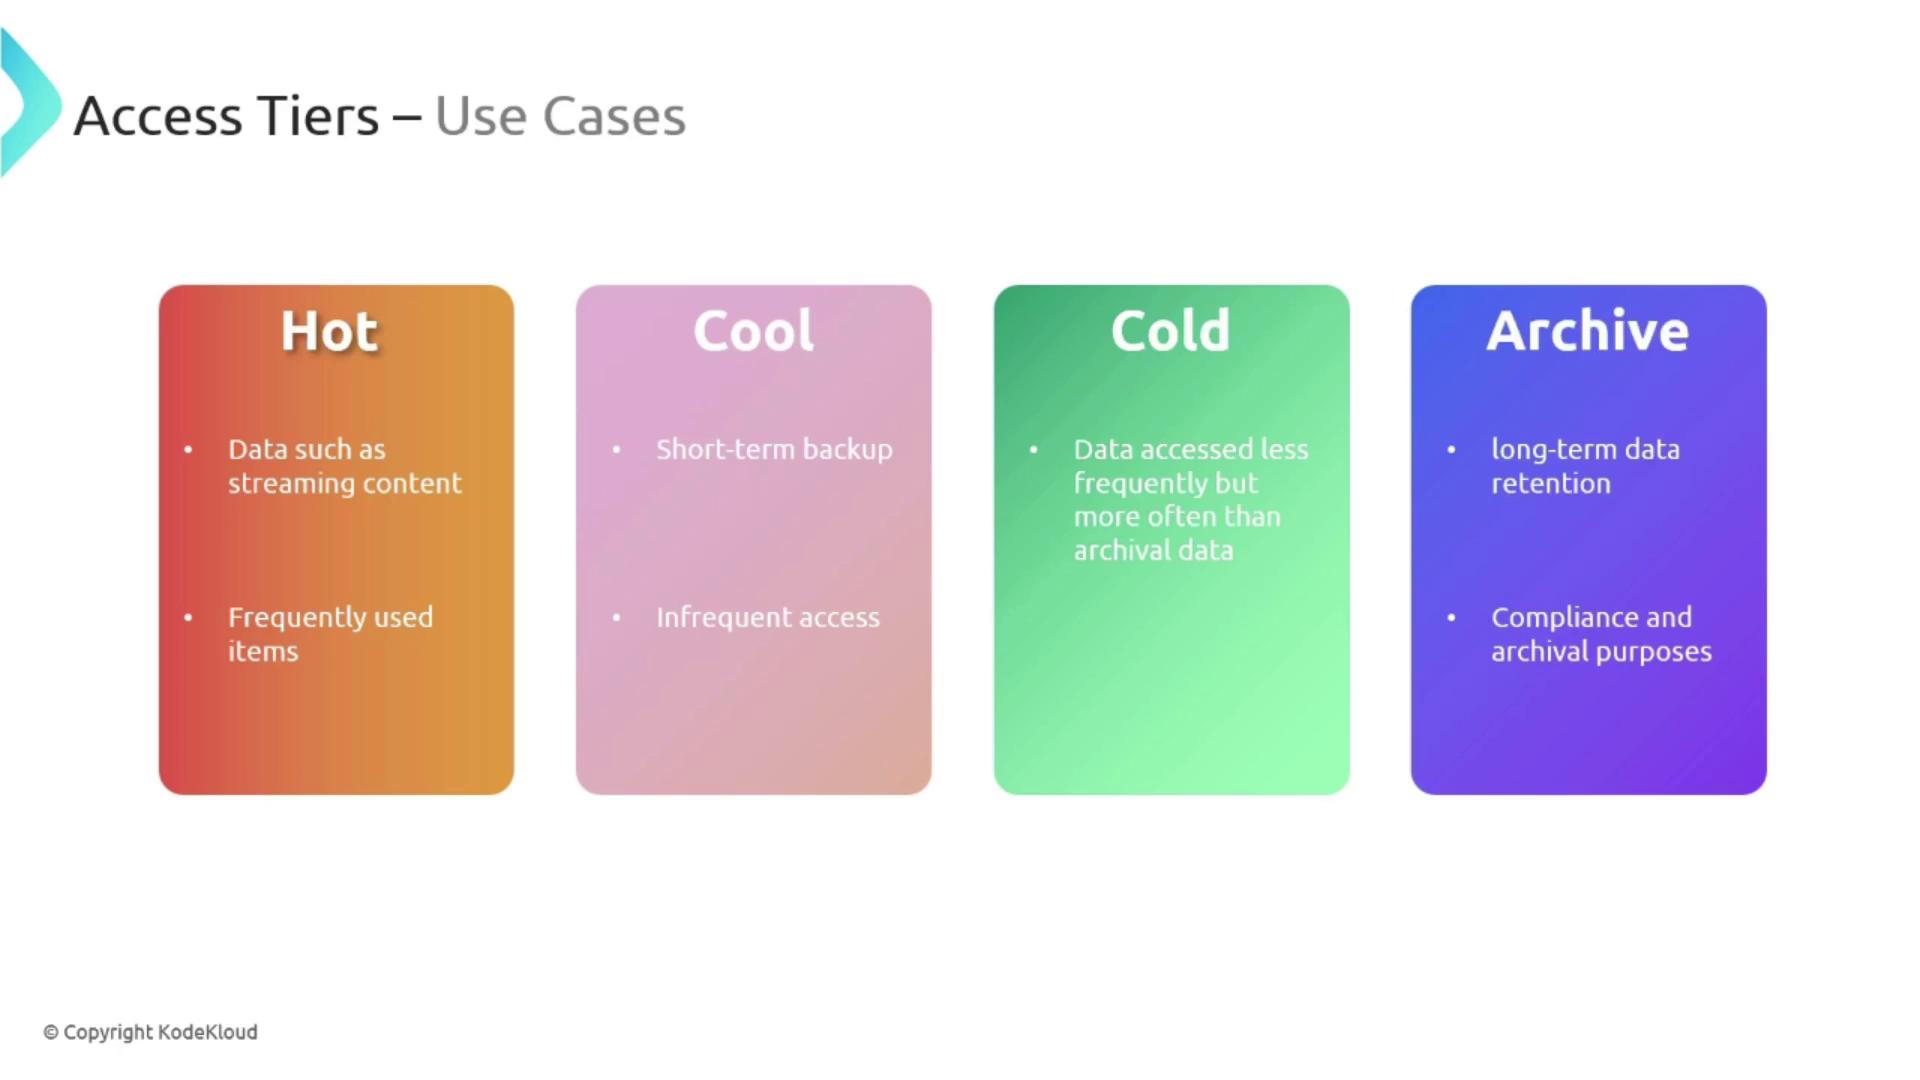
Use Cases for Access Tiers
Different access tiers are optimized for various use cases:- Hot Tier: Best suited for frequently accessed data, such as content streaming.
- Cool Tier: Ideal for short-term backup scenarios or data that is accessed sporadically.
- Cold Tier: Designed for infrequently used data that still needs to be retained.
- Archive Tier: Perfect for long-term retention and compliance purposes, where data is rarely retrieved.
When selecting an access tier, always consider the frequency of data access, required storage duration, and overall financial impact.
Working with Azure Storage Accounts
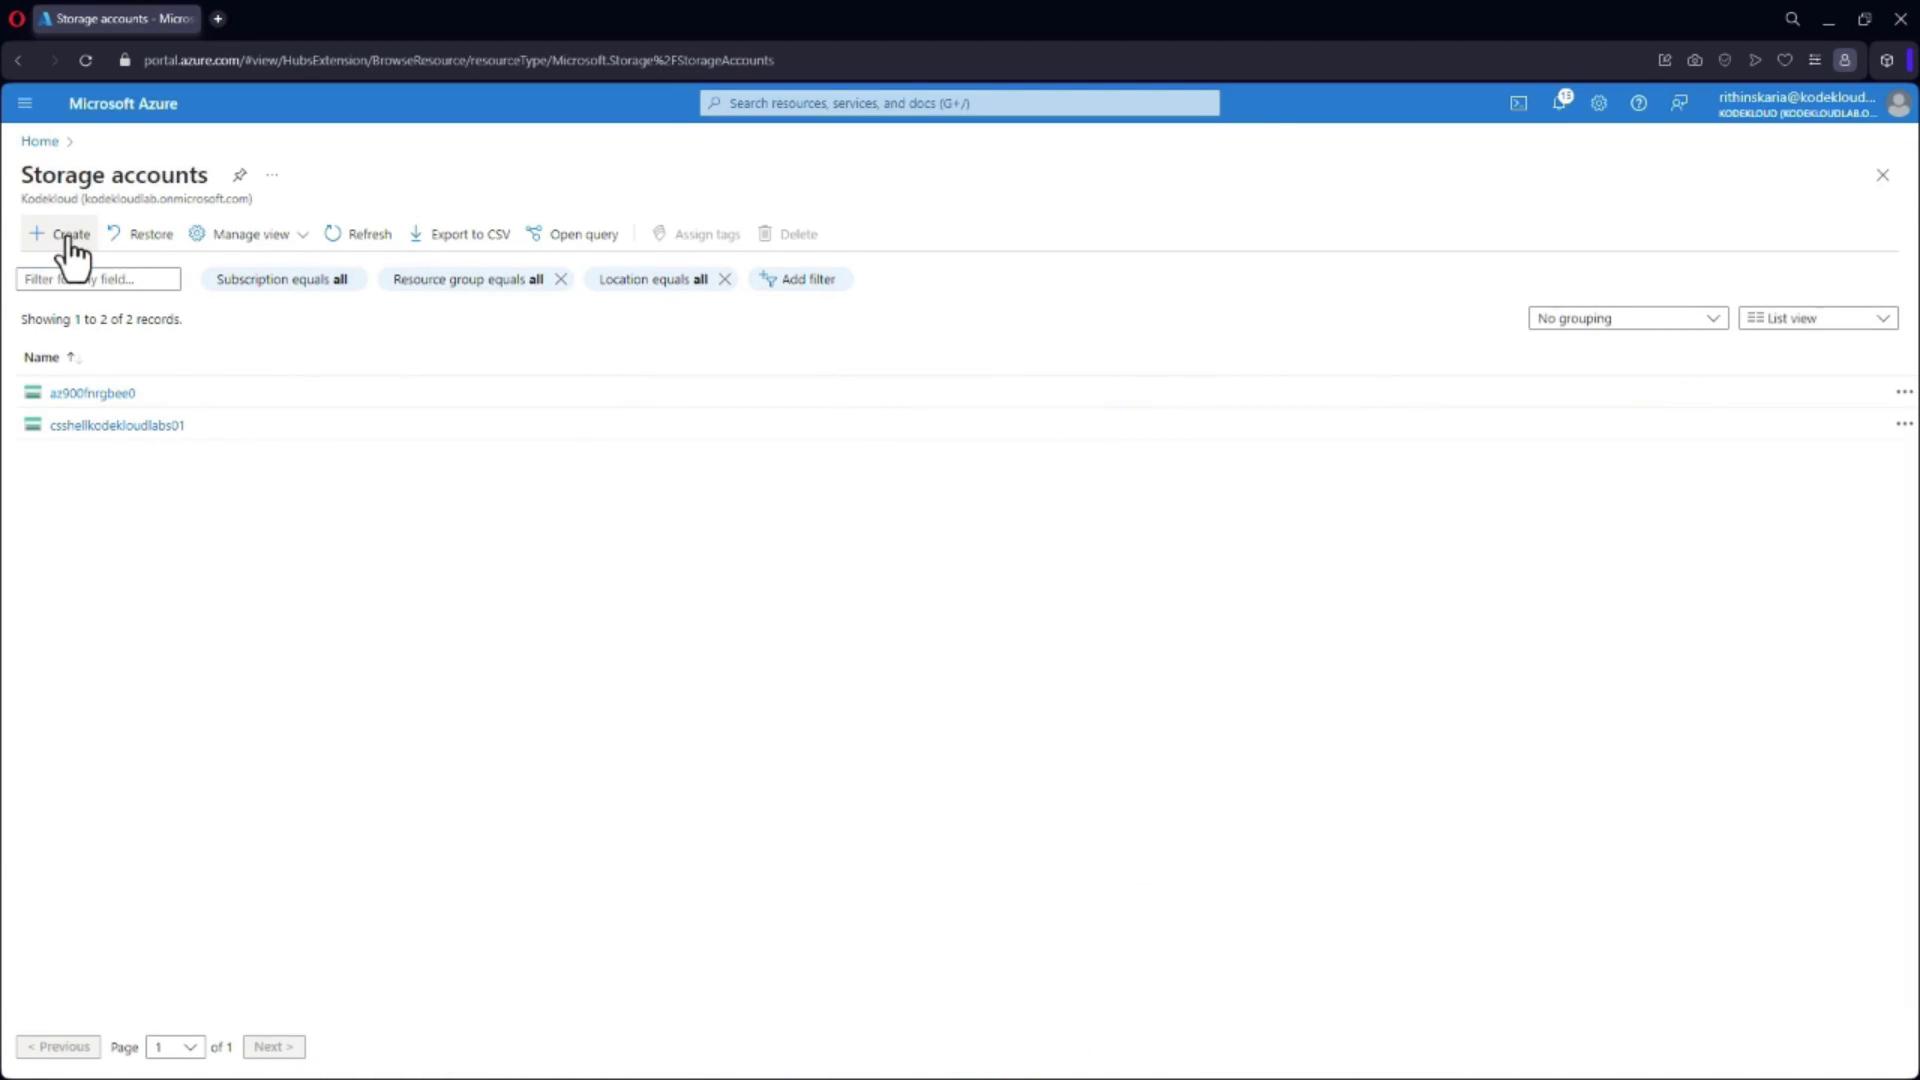
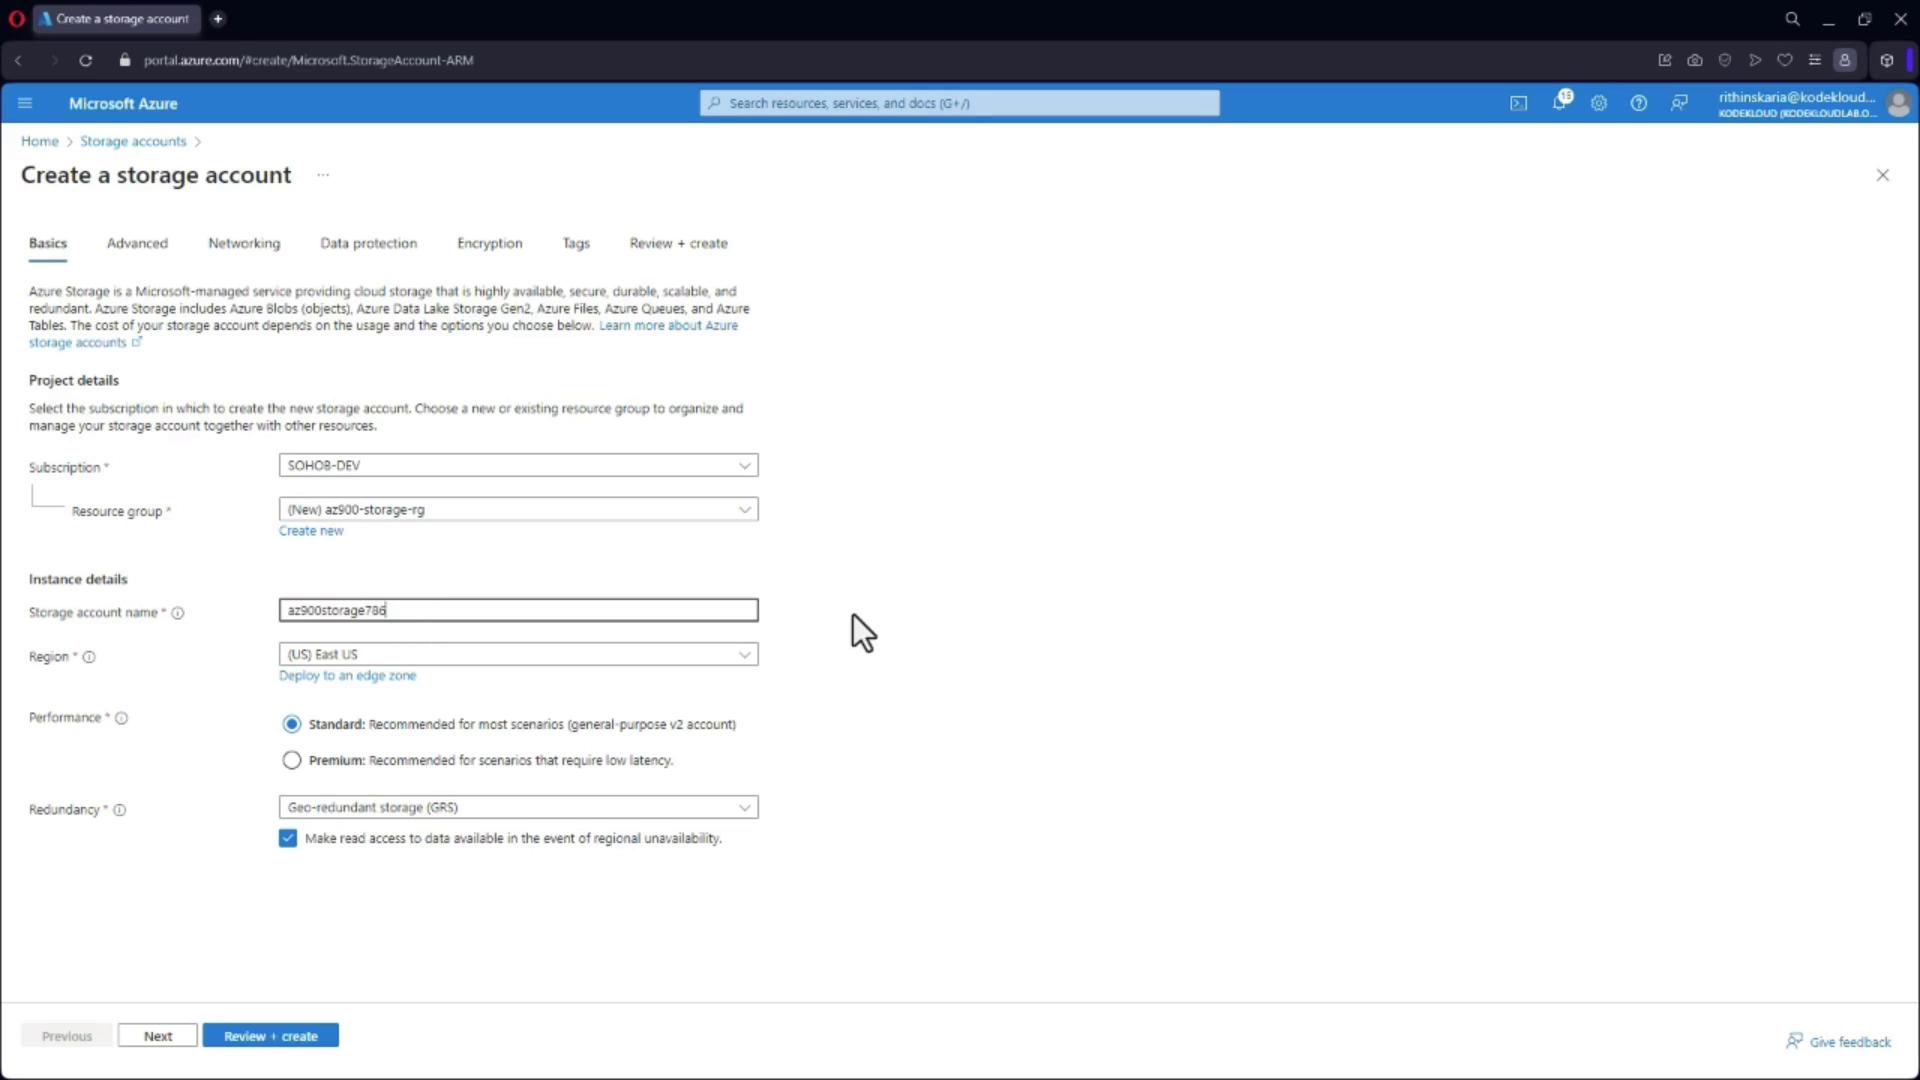
Now that you understand the concepts of access tiers, let’s explore how to create and manage an Azure Storage Account using the Azure Portal.1. Creating a Storage Account
- Open the Azure Portal and search for “Storage Accounts.”
- Click on “Create” and set up a new resource group (for example, “az900-storage-rg”).
- Provide a unique name for your storage account (e.g., “az900-storage”). You can append random numbers to ensure uniqueness.
- Choose your region and select the performance option (Standard with SSDs or Standard disks). For this scenario, select Standard.
- Select the redundancy option (LRS, GRS, ZRS, or RA-GRS). For simplicity, choose LRS.
- Click on “Review + Create.” Once validation passes, click “Create” to begin the deployment.
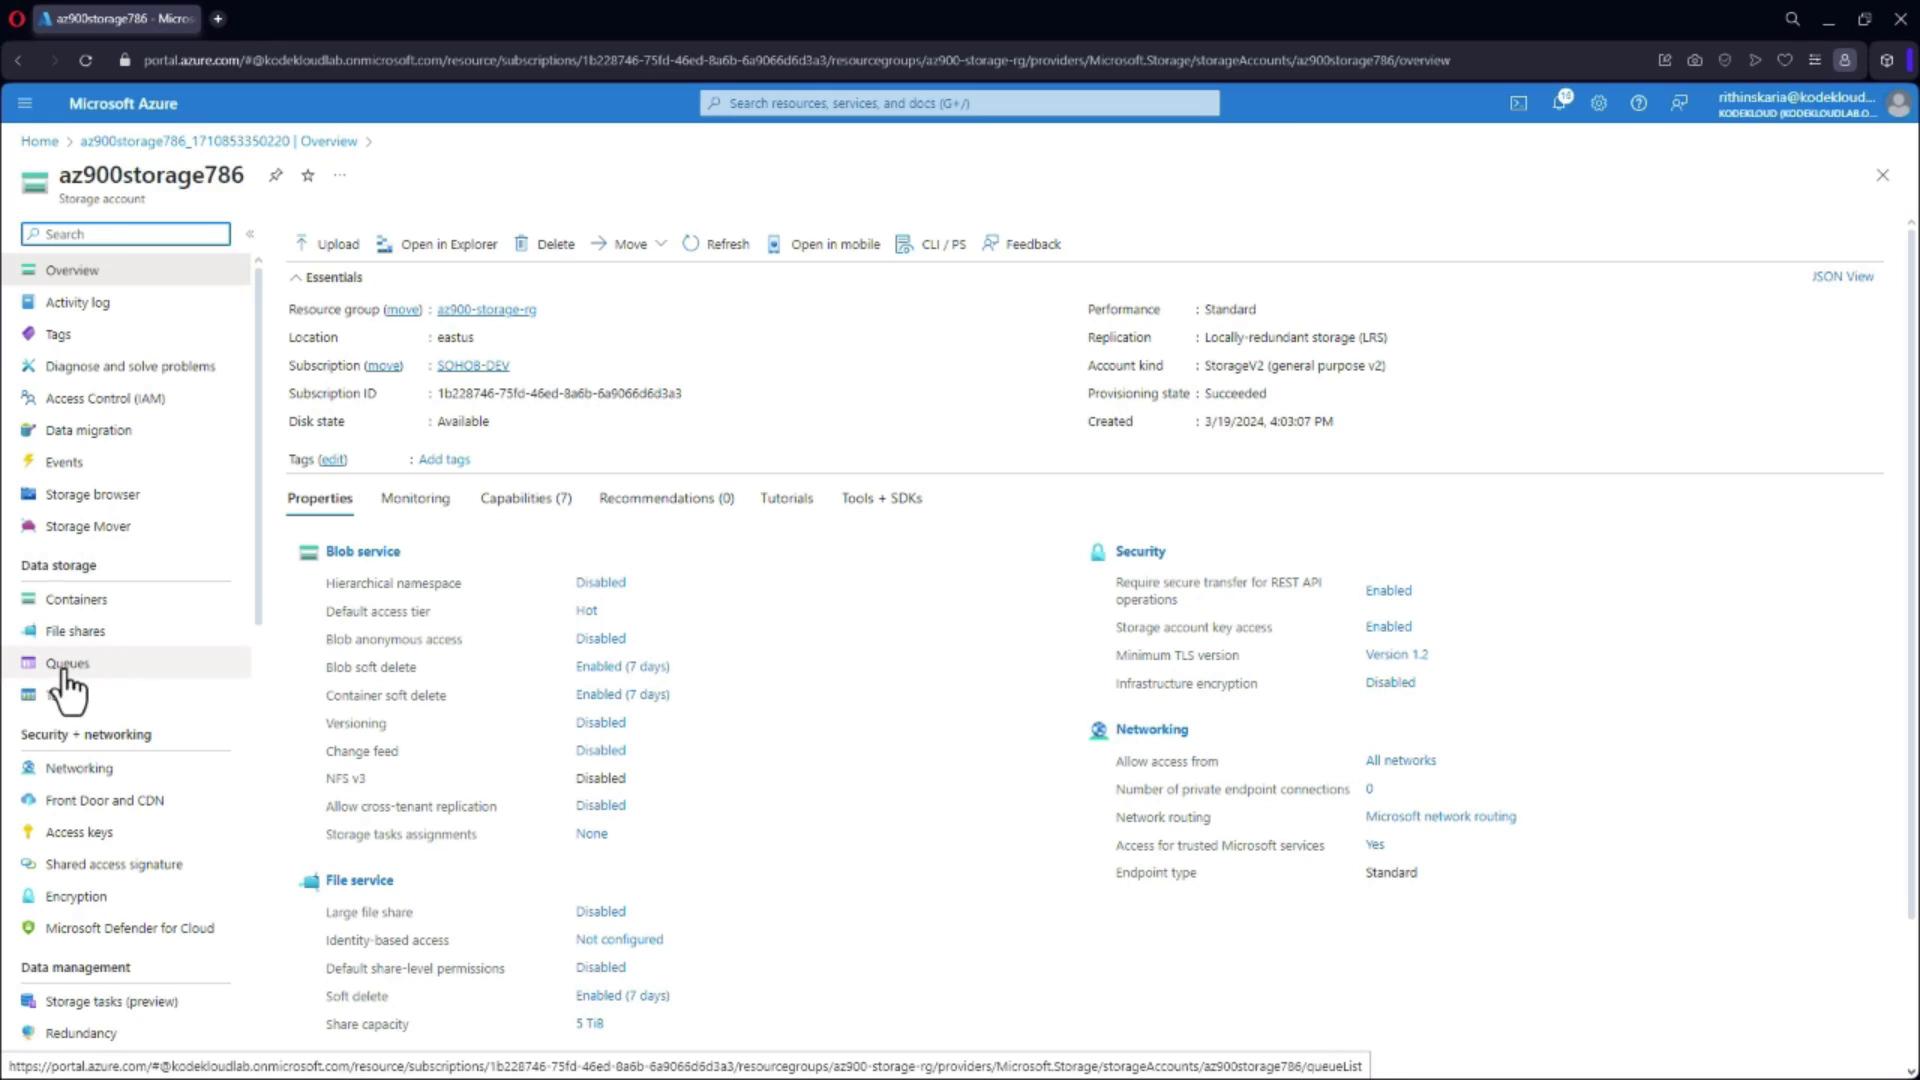
2. Navigating the Deployment
- After deployment is complete, click on “Go to Resource” to view your new storage account.
- Explore the storage account interface, which includes services such as Blob Storage (containers), File Shares, Queues, and Tables.
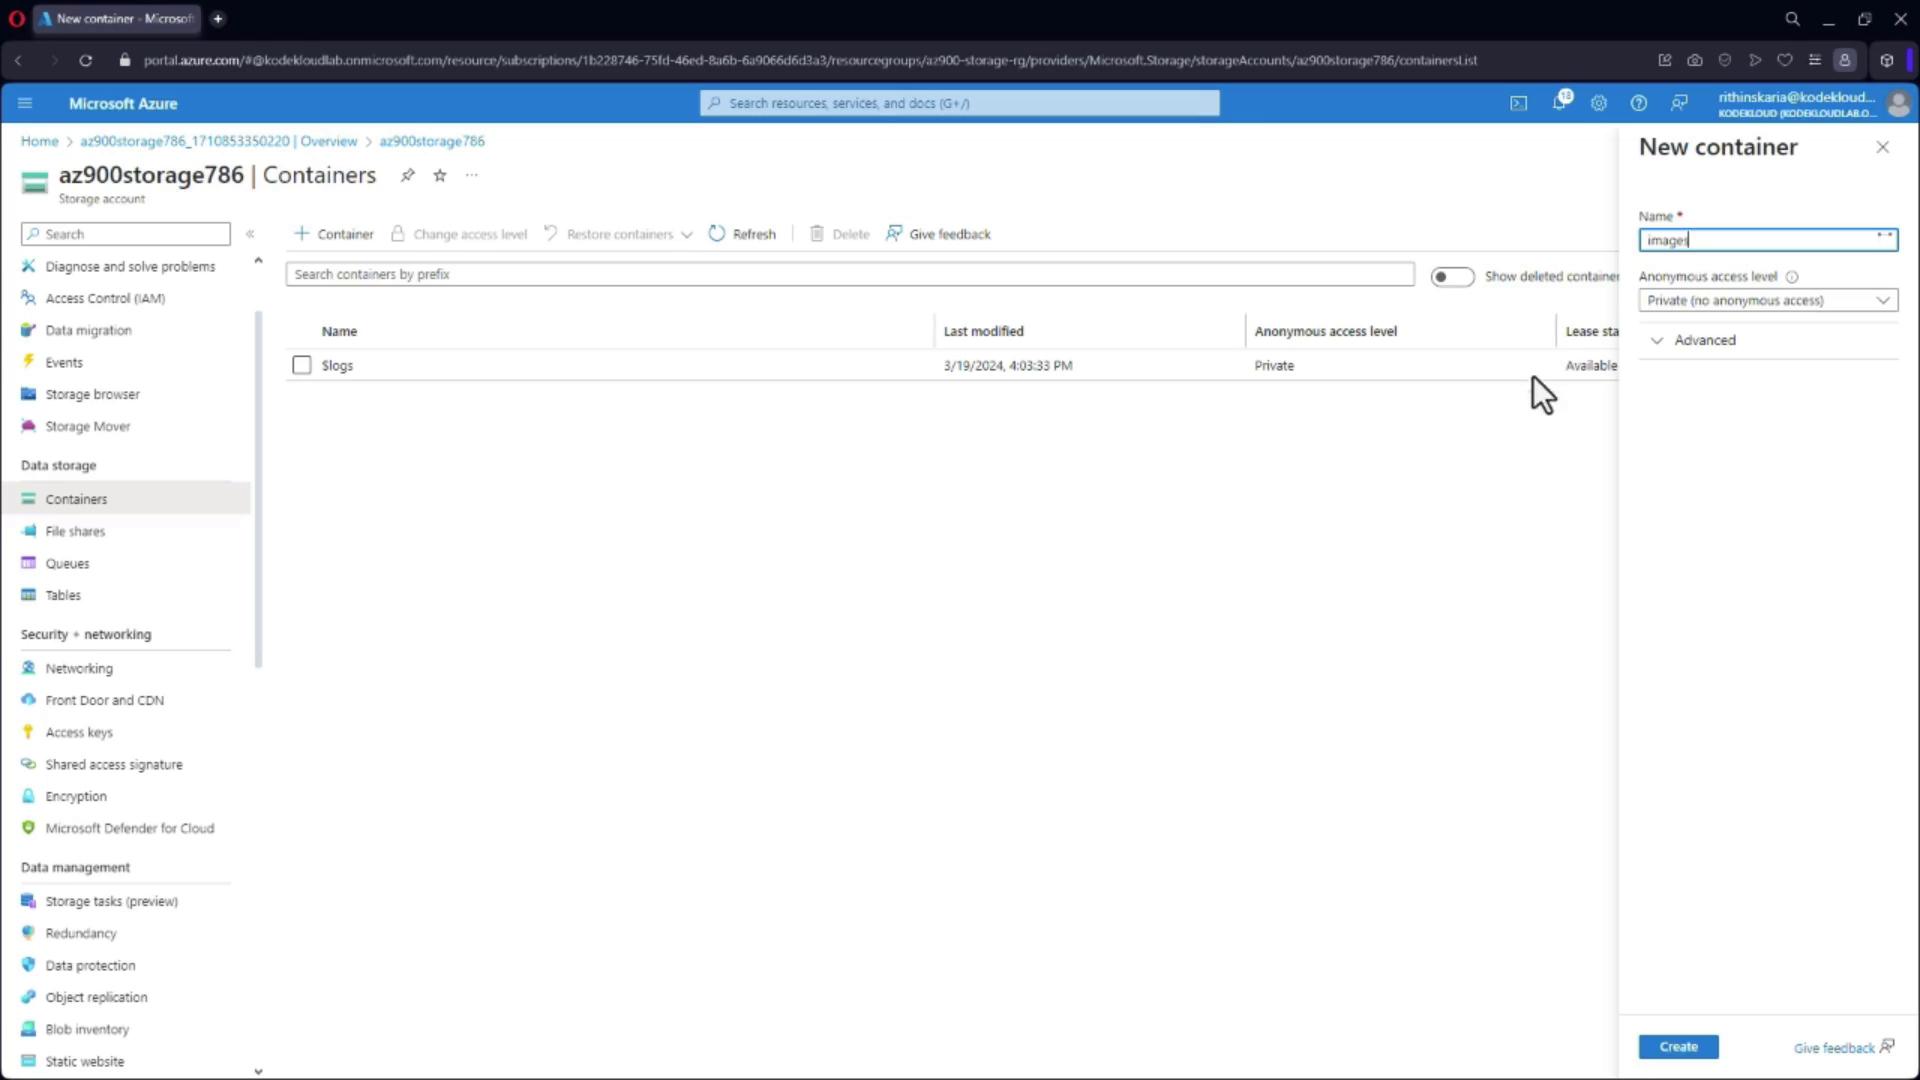
3. Working with Containers
- Within your storage account, navigate to “Containers.”
- Create a new container (for example, named “images”) and configure it to allow anonymous access for public viewing.
- Use the “Upload” button to add files into your container. You can select multiple files for bulk uploading.
- Click on an image file after uploading to view its URL. This URL contains details like the storage account name, Blob service URL, container name, and file name, making it easy to embed images directly in your websites.
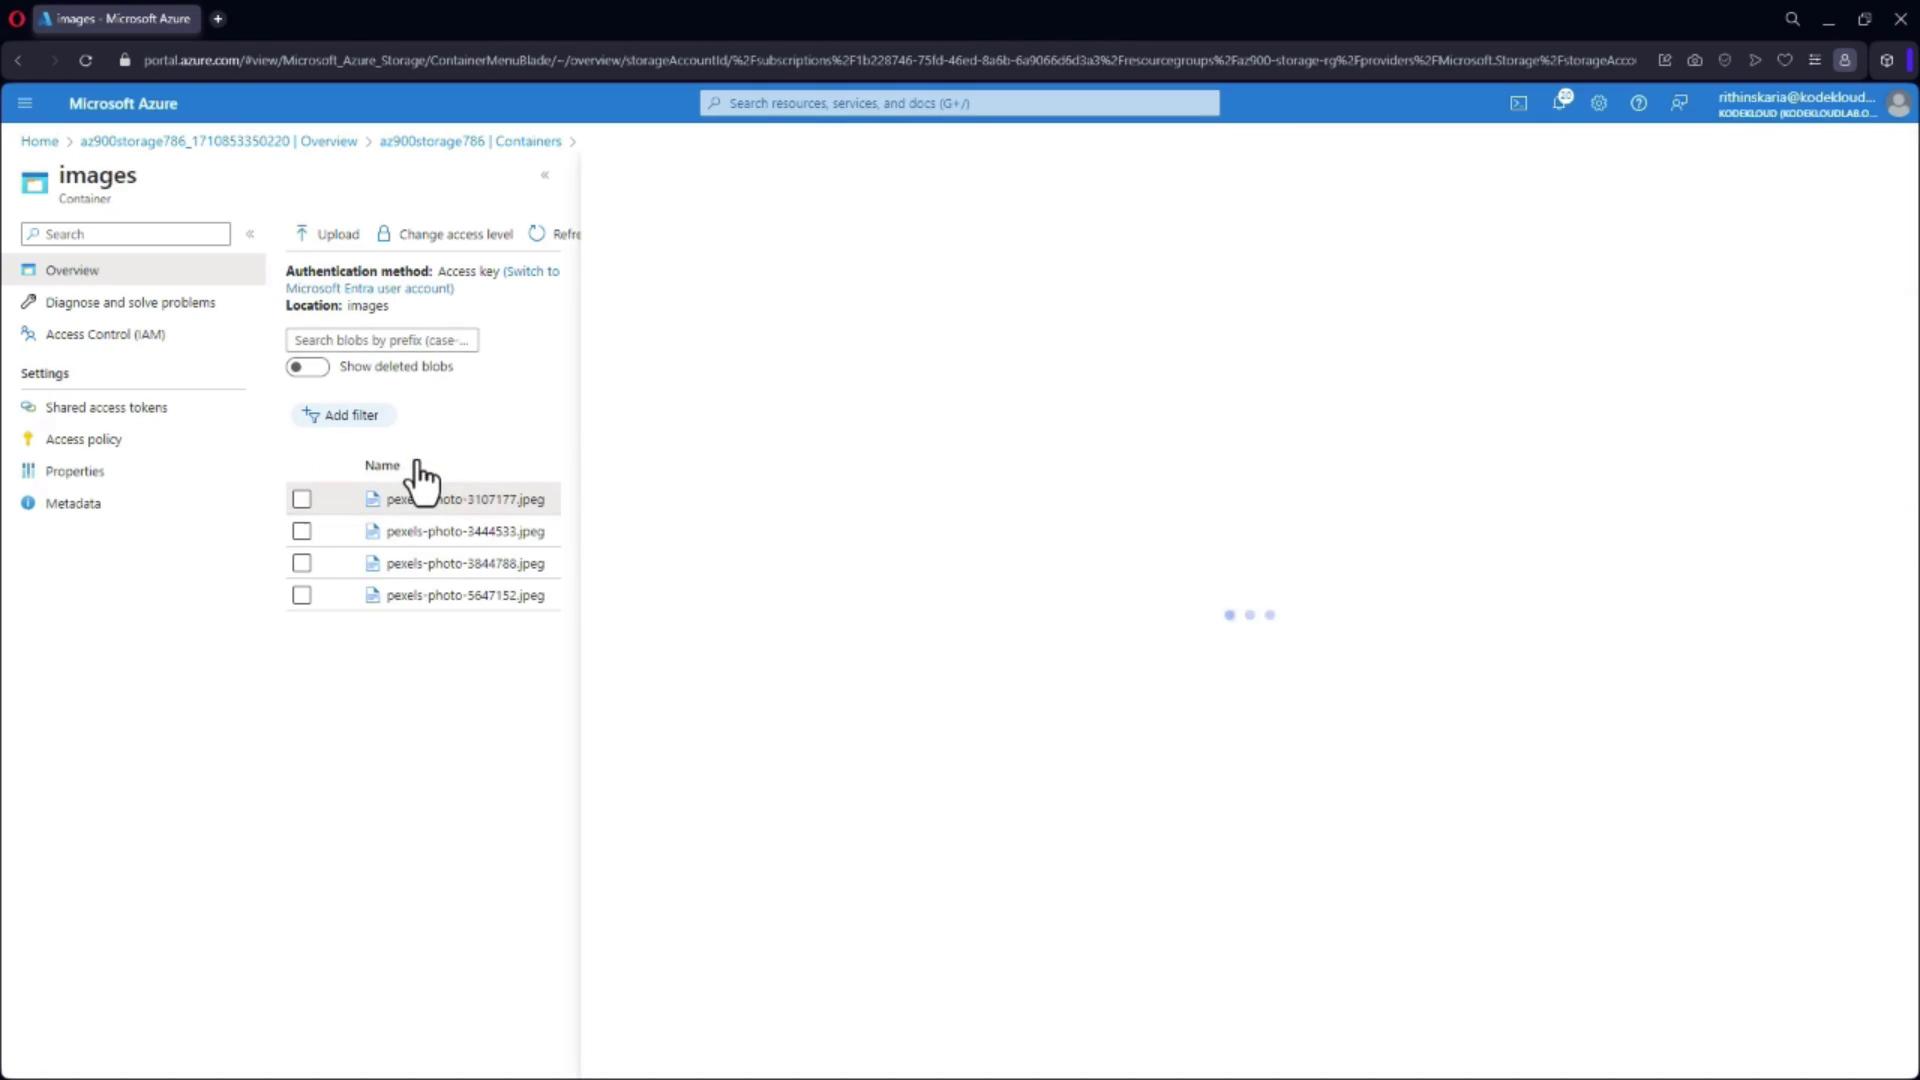
- This straightforward method is particularly useful for hosting and managing web assets.
- Finally, a summary screen confirms the successful creation of your storage account.