Advanced Jenkins

Agents and Nodes in Jenkins

Types of Agents

Jenkins agents (also known as build nodes) provide executors that run your CI/CD workloads. Configured through a Jenkinsfile, each agent specifies how a worker node connects to the controller—using SSH, JNLP, or other protocols—and includes required build tools (e.g., JDK, Node.js).

The image illustrates the Jenkins architecture, showing the relationship between the Jenkins Controller Node and Jenkins Worker Nodes, which include Linux and Windows nodes connected via SSH and JNLP.

When using Docker, you containerize all dependencies into an image and spin up an isolated agent for each job. This ensures consistency across builds, simplifies version management, and avoids “works on my machine” problems.

The image describes aspects of Jenkins architecture, highlighting the use of Docker containers as build agents, ideal for specific software builds, and ensuring isolated environments. It includes a Docker logo and three key points.

Jenkins supports a variety of agent types to fit different CI/CD requirements. Below is a quick overview:

Agent TypeDescriptionUse Case
Permanent AgentsStatically configured nodes always online, with pre-installed tools and fixed resources.Stable builds with consistent toolchains
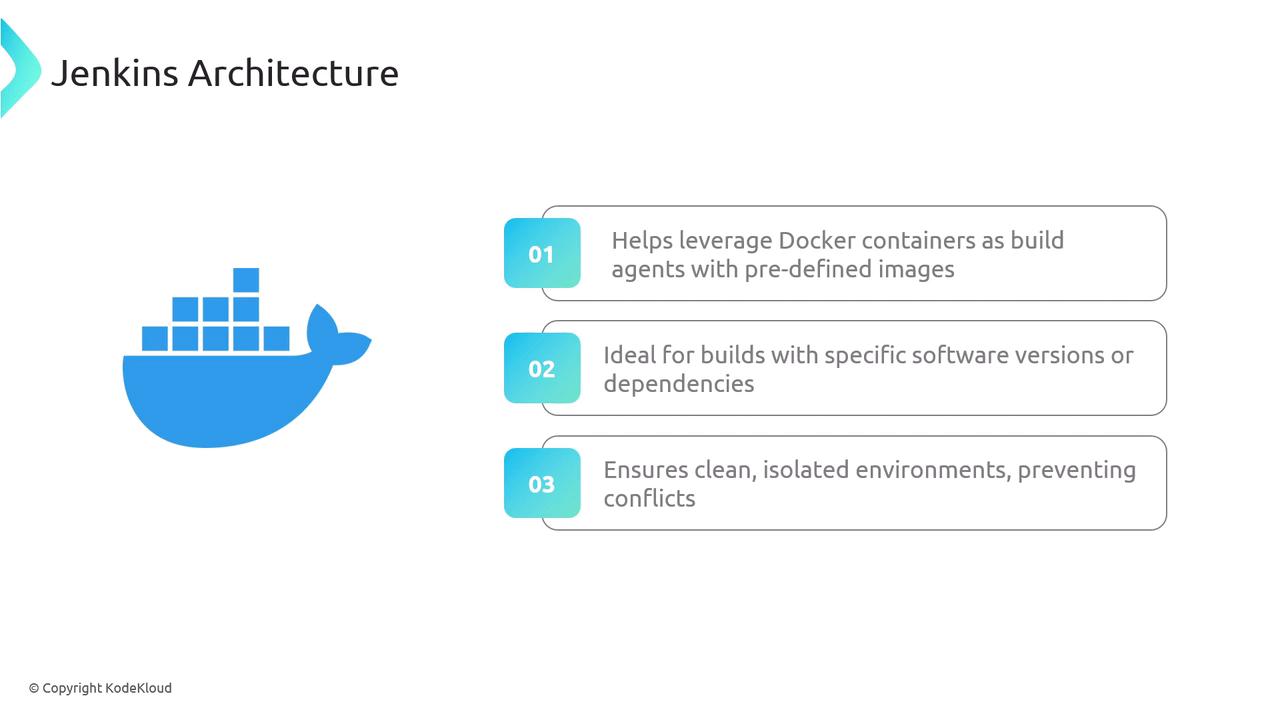
Docker AgentsEphemeral containers created from custom images, destroyed after each build.Isolation, reproducibility, version control
Cloud-Based AgentsOn-demand VMs or Kubernetes Pods via cloud plugins (AWS, Azure, GCP). Auto-scaled per workload.Elastic scaling and cost optimization
Label-Based AgentsNodes tagged with labels (e.g., java, windows). Pipelines request labels instead of nodes.Flexible matching based on node capabilities

The image lists four types of agents: Permanent Agents, Docker Agents, Cloud-Based Agents, and Label-Based Agents, each with a corresponding icon.

Declarative Pipeline Examples

Below are common Declarative Pipeline patterns for specifying agents in a Jenkinsfile.

1. Any Available Agent

Use agent any to let Jenkins route the job to the next free executor:

pipeline {
  agent any
  stages {
    stage('Build') {
      steps {
        sh 'echo Running on ${NODE_NAME}'
      }
    }
  }
}

2. Label-Based Agent

Specify agent { label 'my-agent' } to target nodes matching a label:

pipeline {
  agent { label 'my-agent' }
  stages {
    stage('Build') {
      steps {
        sh 'echo Executing on ${NODE_NAME} (label: my-agent)'
      }
    }
  }
}

Note

Ensure that your Jenkins controller has at least one node configured with the my-agent label. Otherwise, builds will remain queued.

3. Docker Agent

Spin up a Docker container as your build environment. Here we mount the NPM cache for faster installs:

pipeline {
  agent {
    docker {
      image 'node:latest'
      args  '-v $HOME/.npm:/root/.npm'
    }
  }
  stages {
    stage('Build') {
      steps {
        sh 'node --version && npm --version'
      }
    }
  }
}

Warning

Mounting host directories into containers can expose sensitive data. Validate args parameters before use.

4. Default and Stage-Specific Agents

Define a default agent at pipeline level and override it per stage:

pipeline {
  agent { label 'my-agent' } // Default for all stages
  stages {
    stage('Build') {
      agent {
        docker { image 'node:14-alpine' }
      }
      steps {
        sh 'echo Building in Docker: ${NODE_NAME}'
      }
    }
    stage('Test') {
      steps {
        sh 'echo Testing on default agent: ${NODE_NAME}'
      }
    }
  }
}

In this setup, the Build stage runs inside a Node.js Docker container, while Test uses the static my-agent.

Watch Video

Watch video content

Previous
WhatWhyCreate LibraryResource