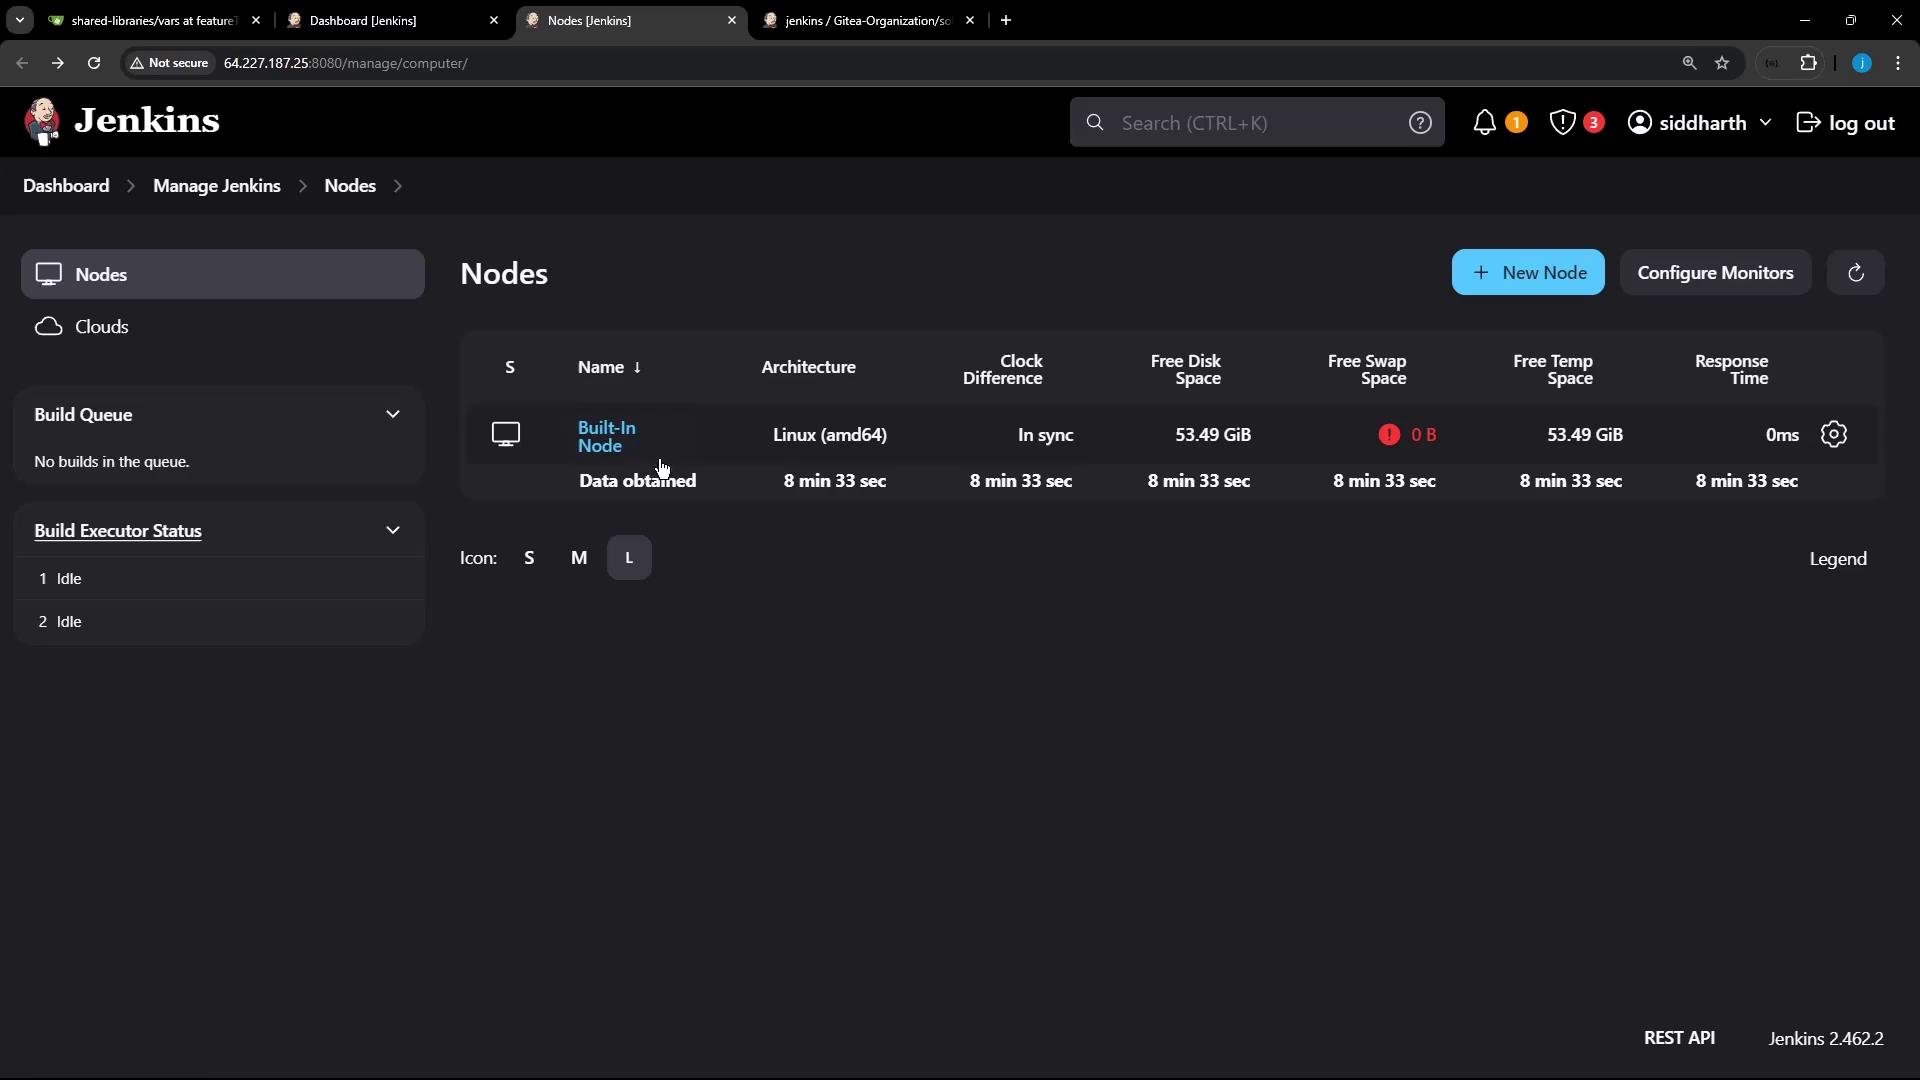
1. Review Existing Nodes
- In Jenkins, go to Manage Jenkins → Nodes.
- By default, you’ll see only the built-in controller node.
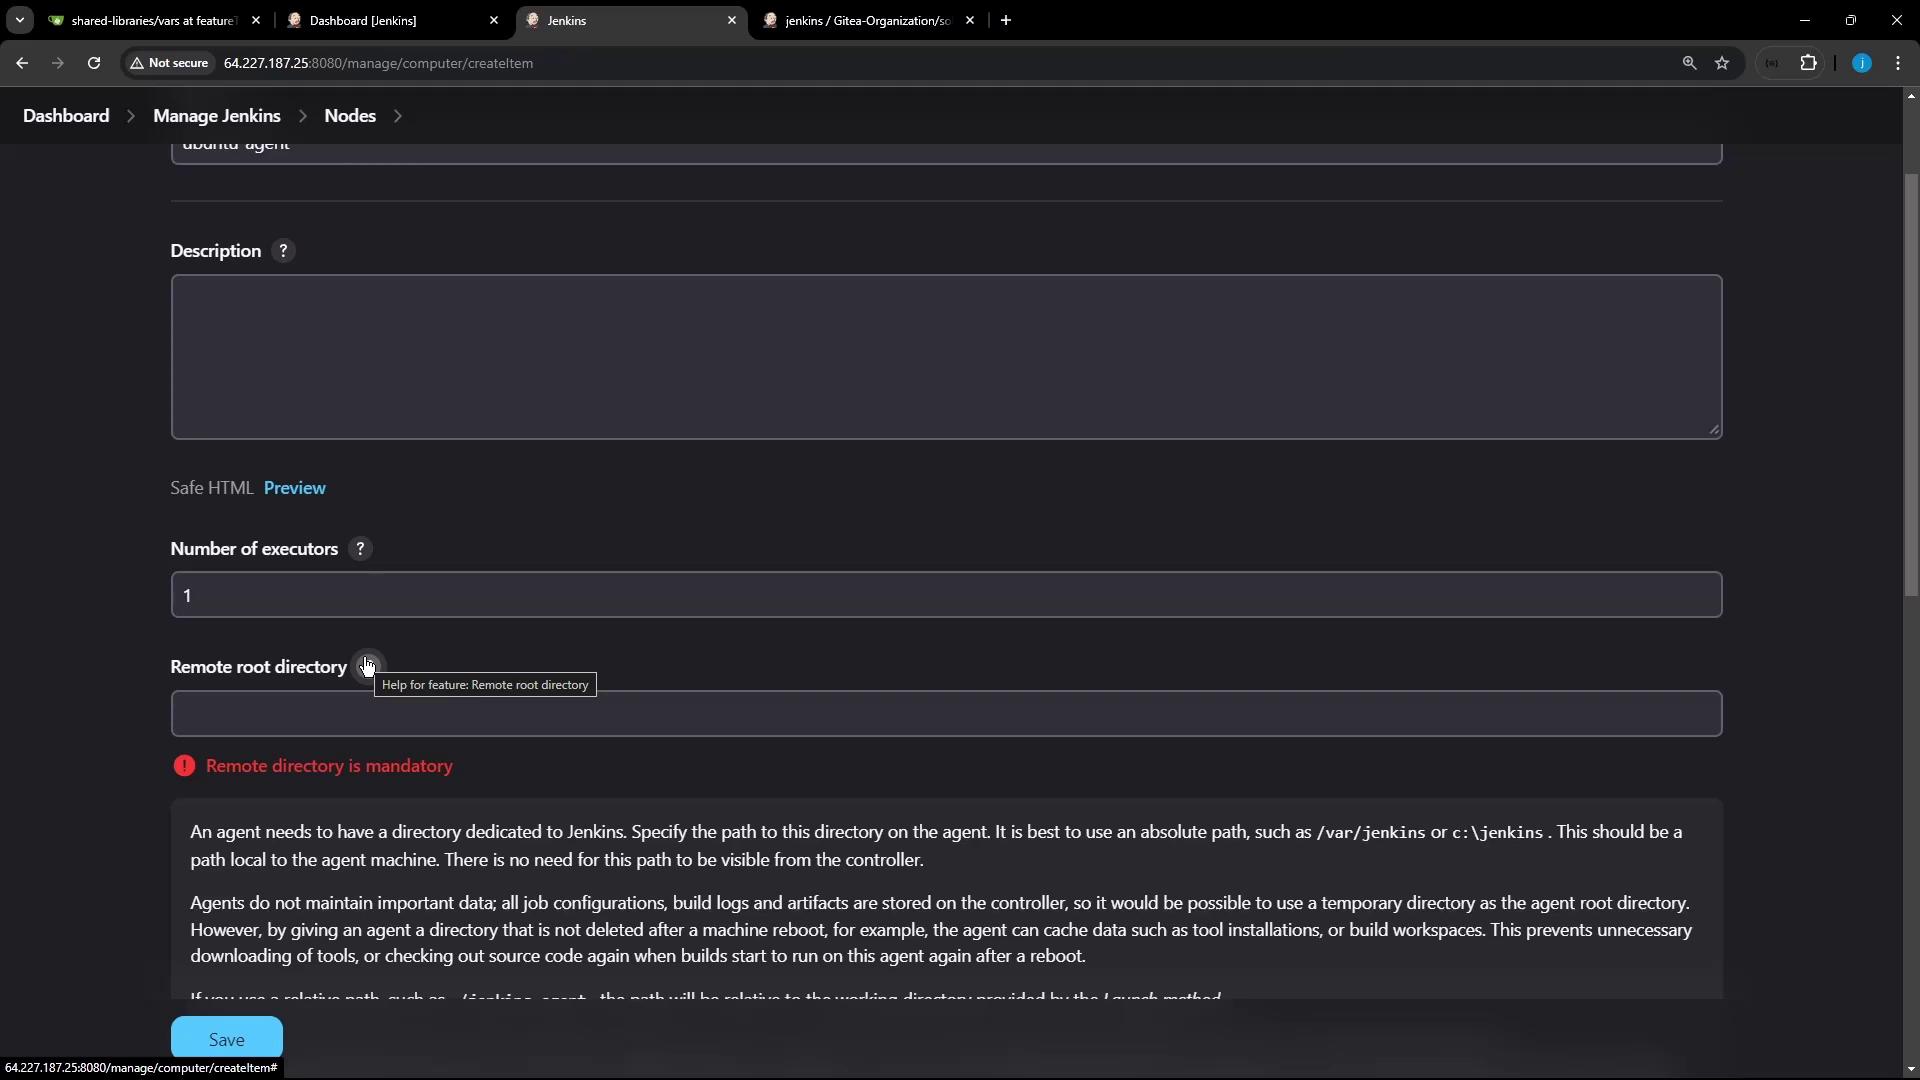
2. Add a New Node
- Click New Node.
- Enter a name (for example,
Ubuntu-Agent) and choose Permanent Agent. - Configure the fields below:
| Field | Description | Example |
|---|---|---|
| Description | Optional notes about this agent. | “Docker + JDK17 on Ubuntu” |
| # of executors | Maximum parallel builds. | 2 |
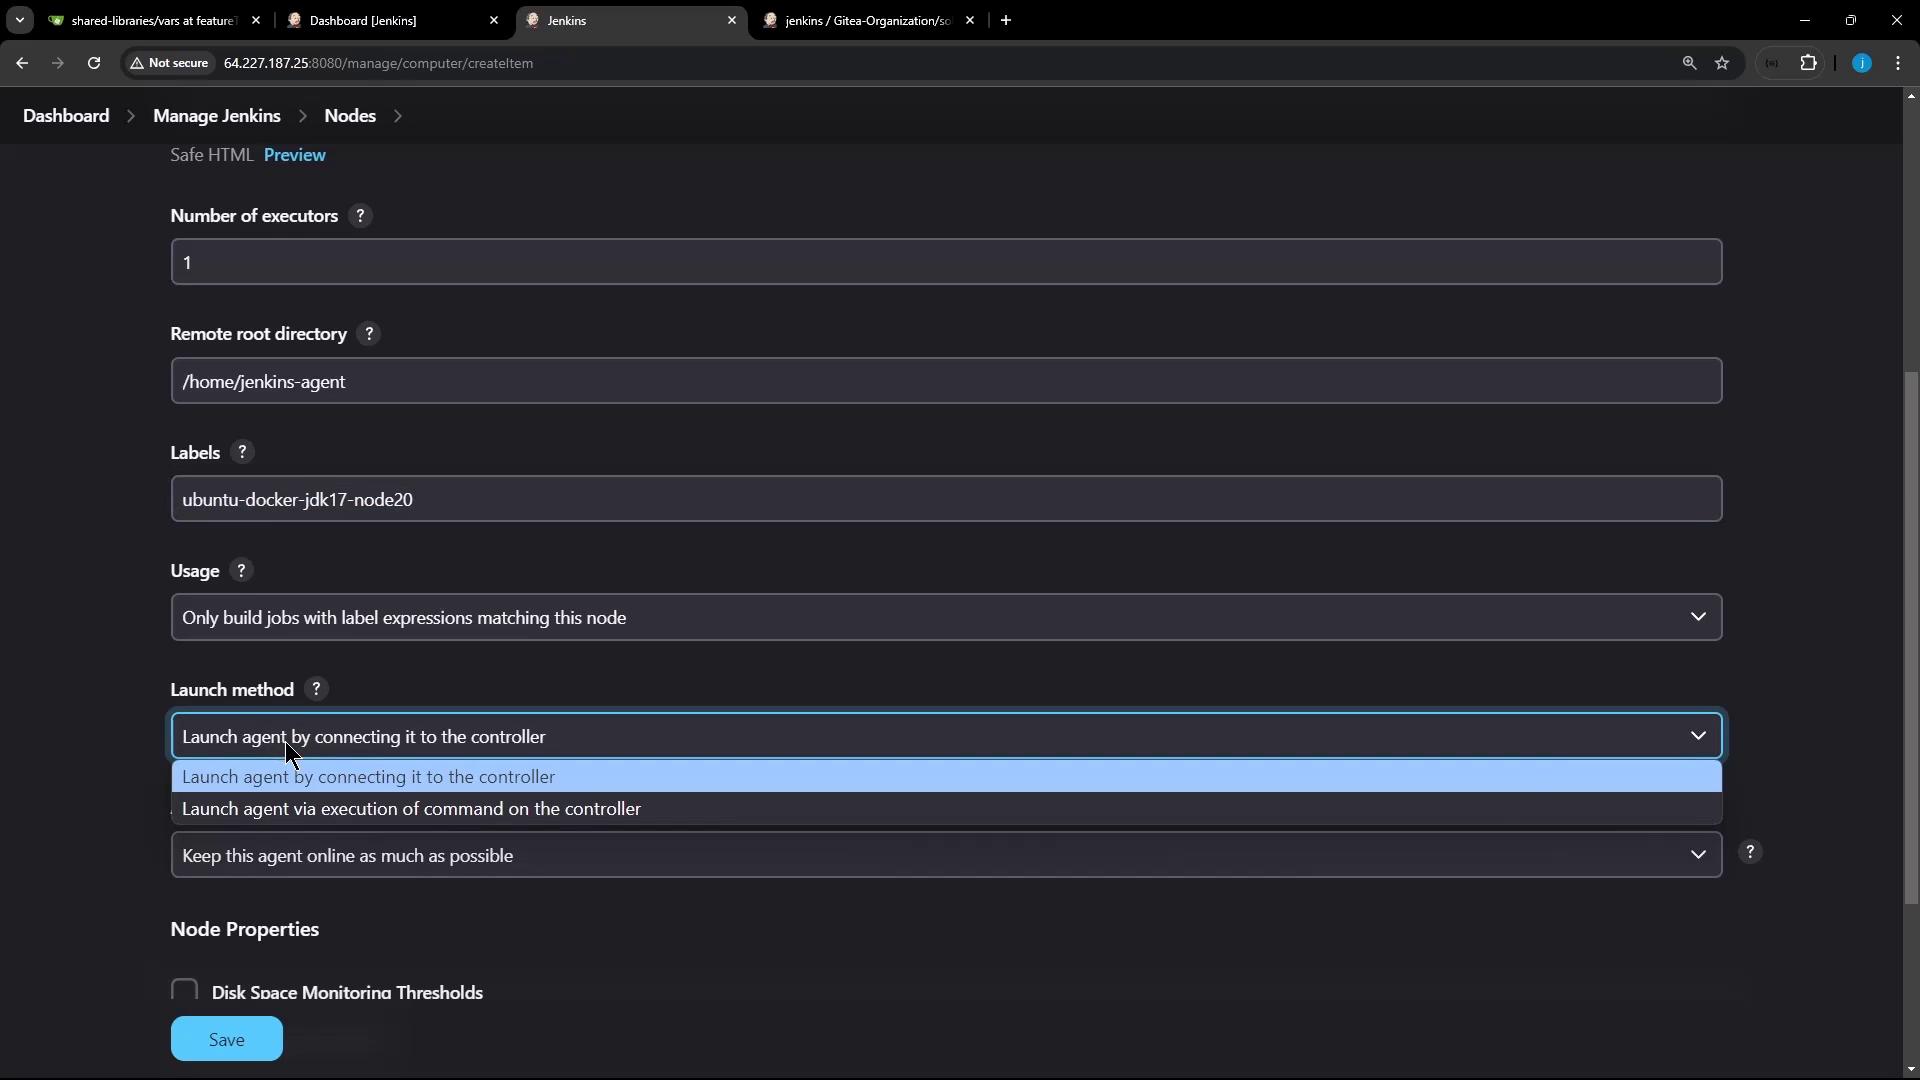
| Remote root directory | Workspace, logs, and temp files on the agent. | /home/jenkins-agent |
| Labels | Tags to match pipeline stages or jobs. | docker, jdk17 |
| Usage | Controls job assignment. | “Only build jobs with label expressions matching this node.” |
- Under Launch method, select Launch agent by connecting it to the controller and set Availability to keep it always online.
- Add any Node Properties you need—disk space monitoring, environment variables, tool locations, etc.
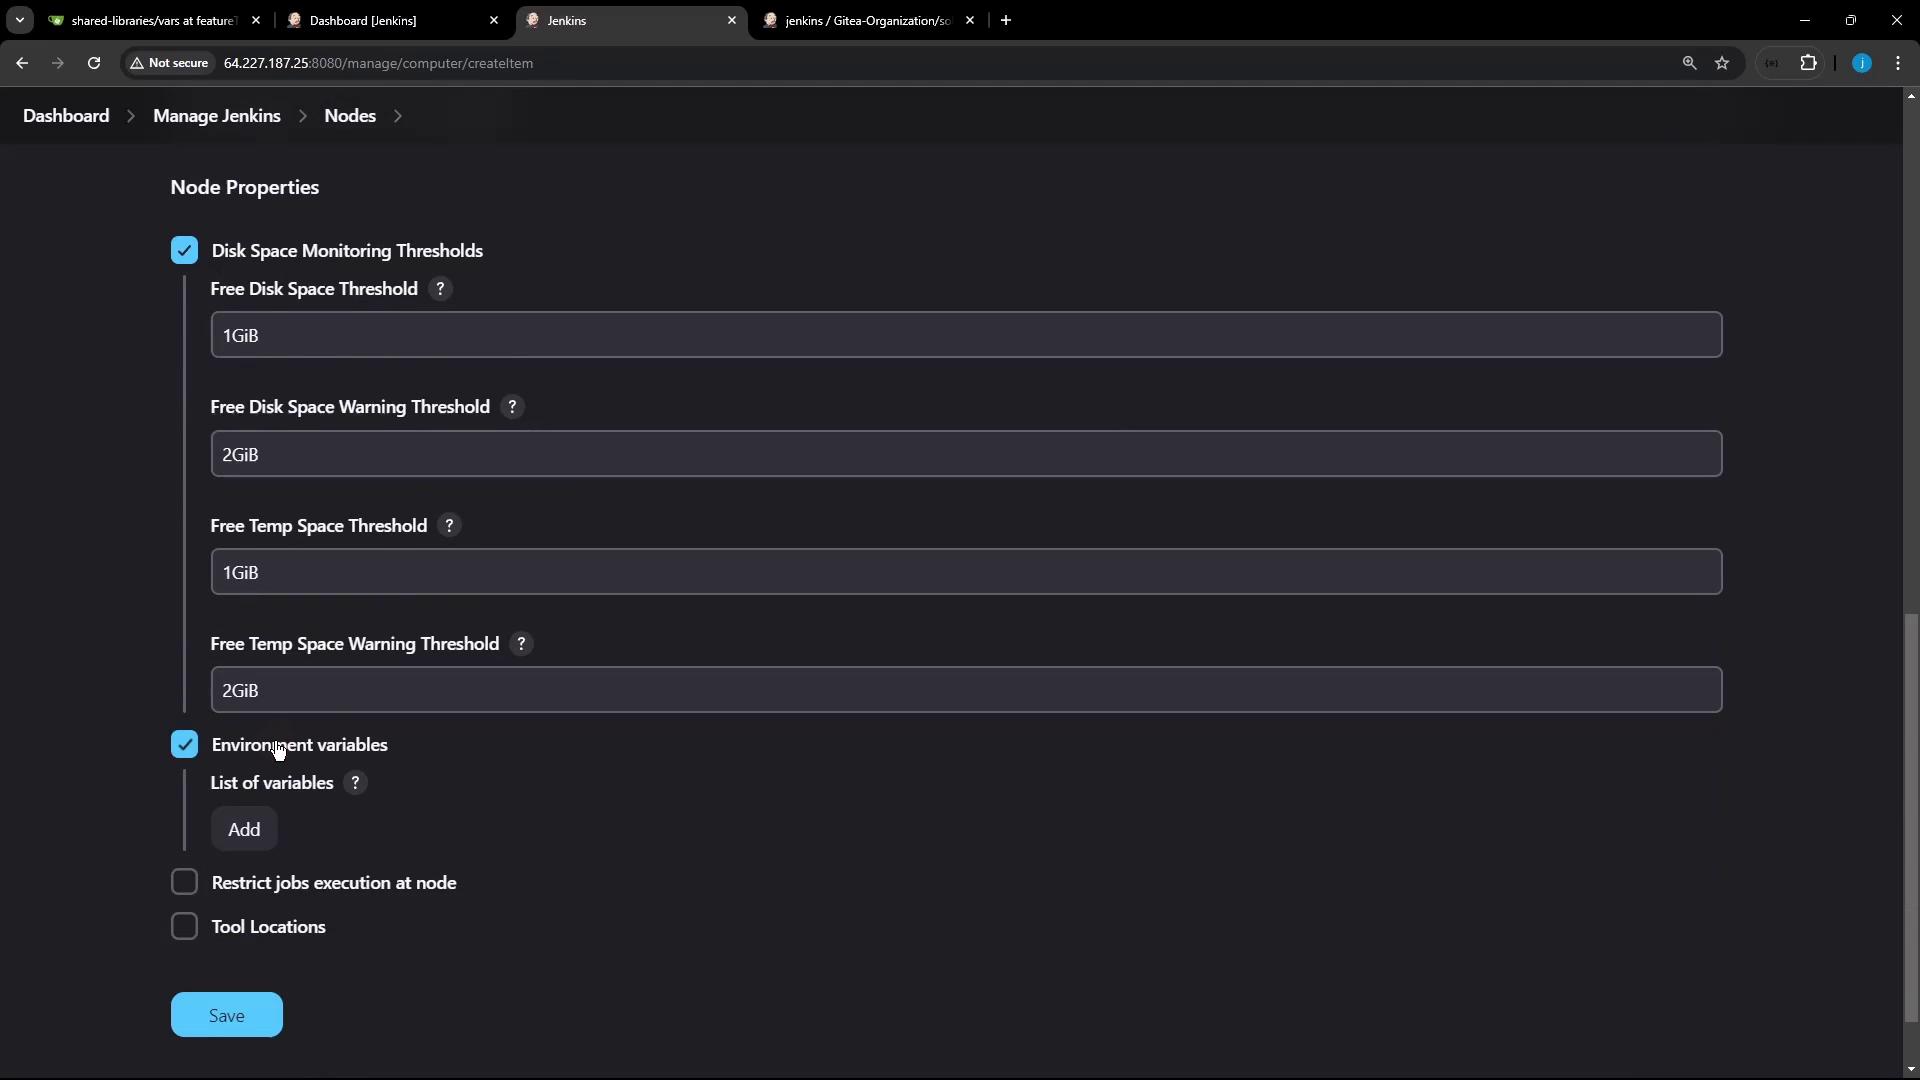
- Click Save. The new node appears offline until you launch its agent process.
3. Launch the Agent via JNLP
Downloadagent.jar and start the agent on your VM. Here’s a quick reference for JNLP options:
| Option | Description |
|---|---|
-url | Jenkins controller URL |
-secret | Agent’s secret for authentication |
-name | Node name as registered in Jenkins |
-workDir | Local workspace on the agent |
Sample Commands
Ensure the agent’s JDK version matches the controller’s JDK to avoid compatibility issues.
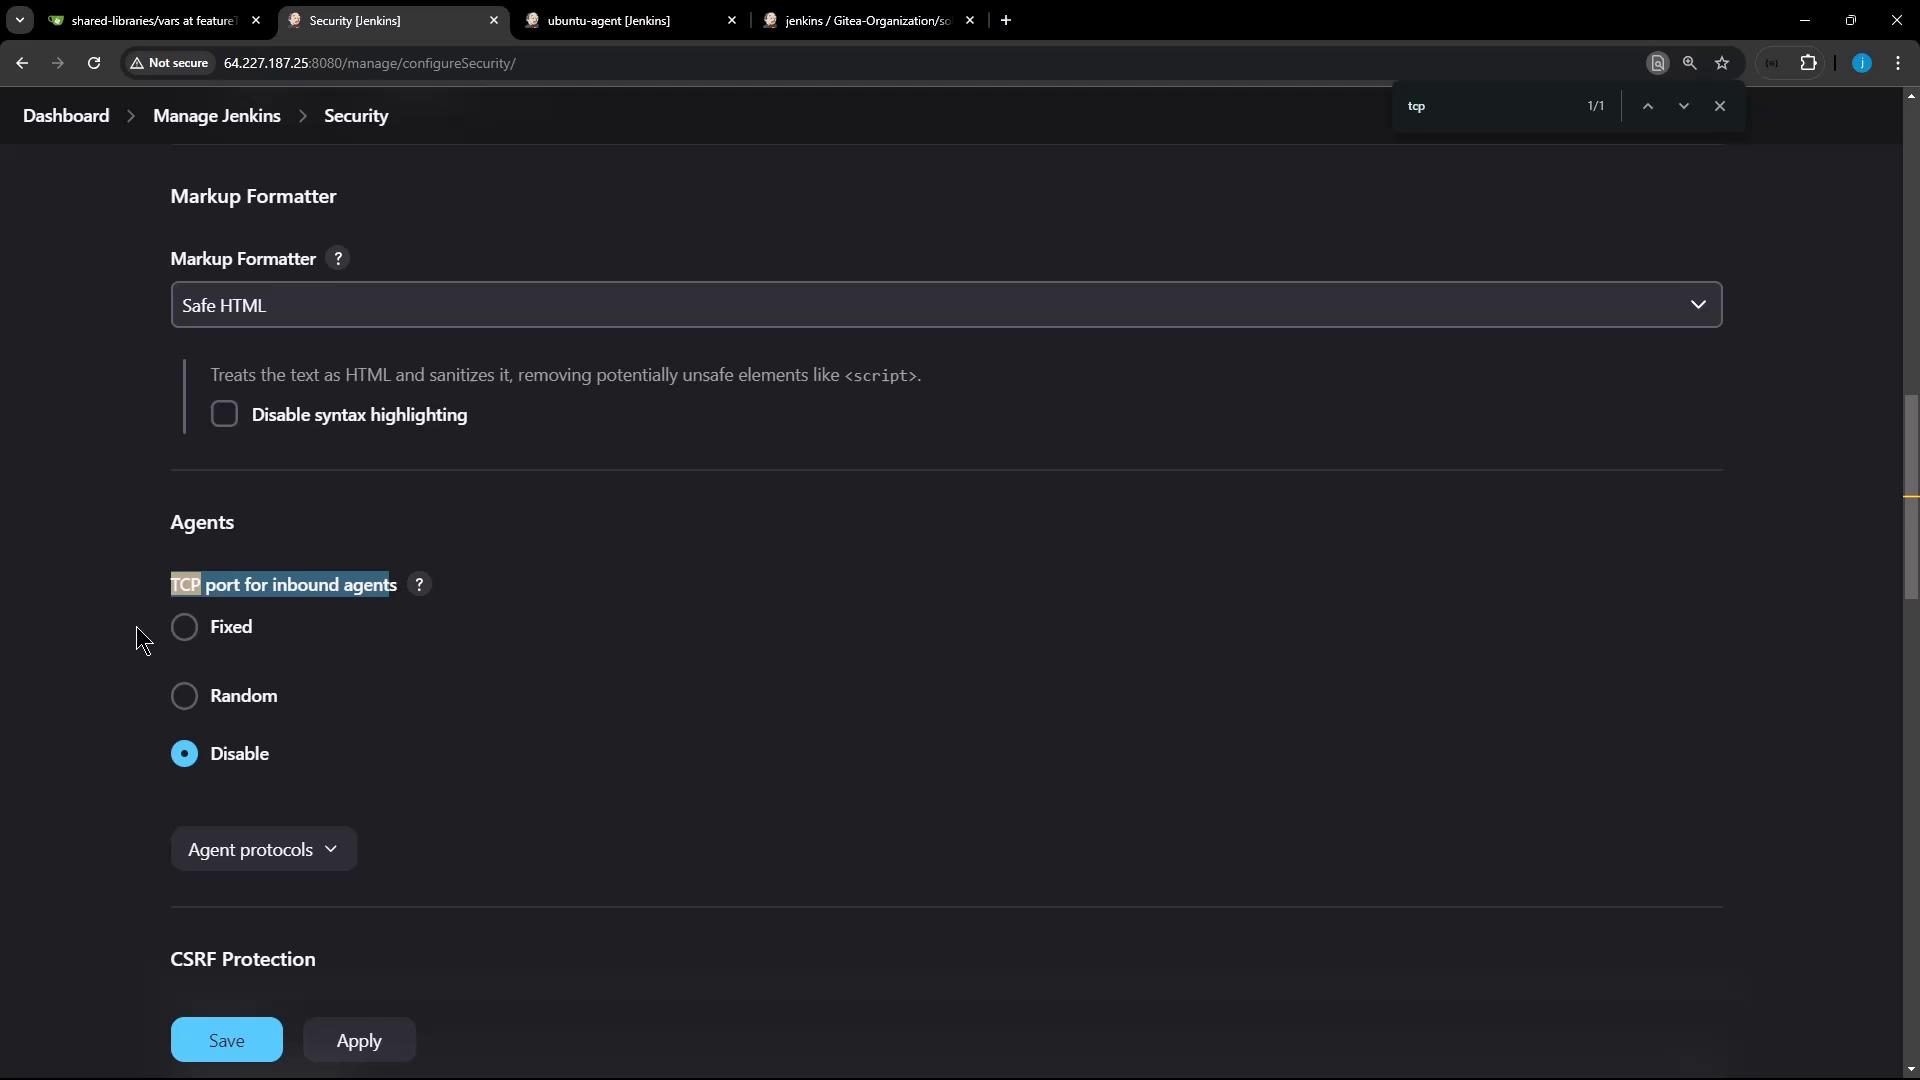
Common Connection Error
If your agent logs show a404 for .../jnlpAgentListener/, it means the inbound agent TCP port is disabled.
Inbound agents require a TCP port.
Go to Manage Jenkins → Configure Global Security and set TCP port for inbound agents to Fixed or Random.
Go to Manage Jenkins → Configure Global Security and set TCP port for inbound agents to Fixed or Random.
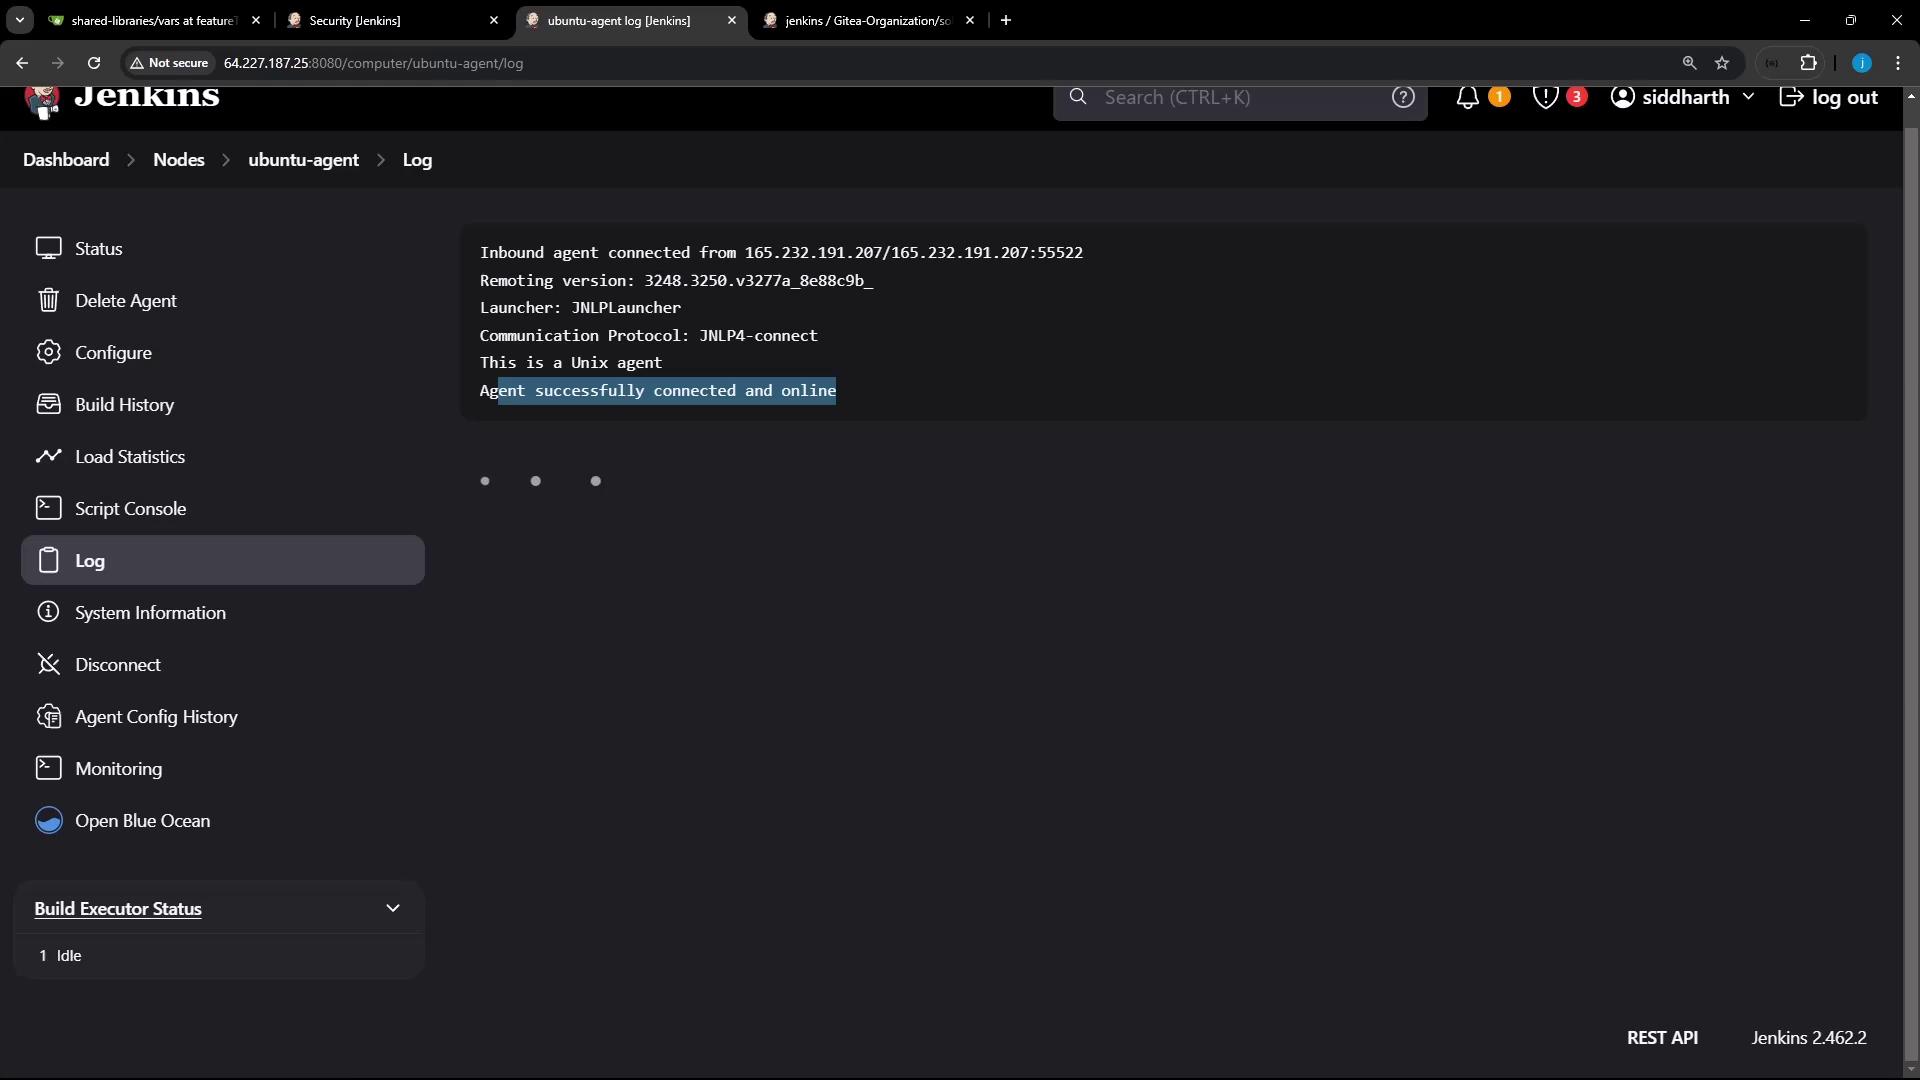
4. Verify the Agent in Jenkins
- Go back to Manage Jenkins → Nodes.
- Confirm that
ubuntu-agentis online and ready.

- System Information (JVM, OS, environment)

- JavaMelody Monitoring (threads, processes, GC stats)
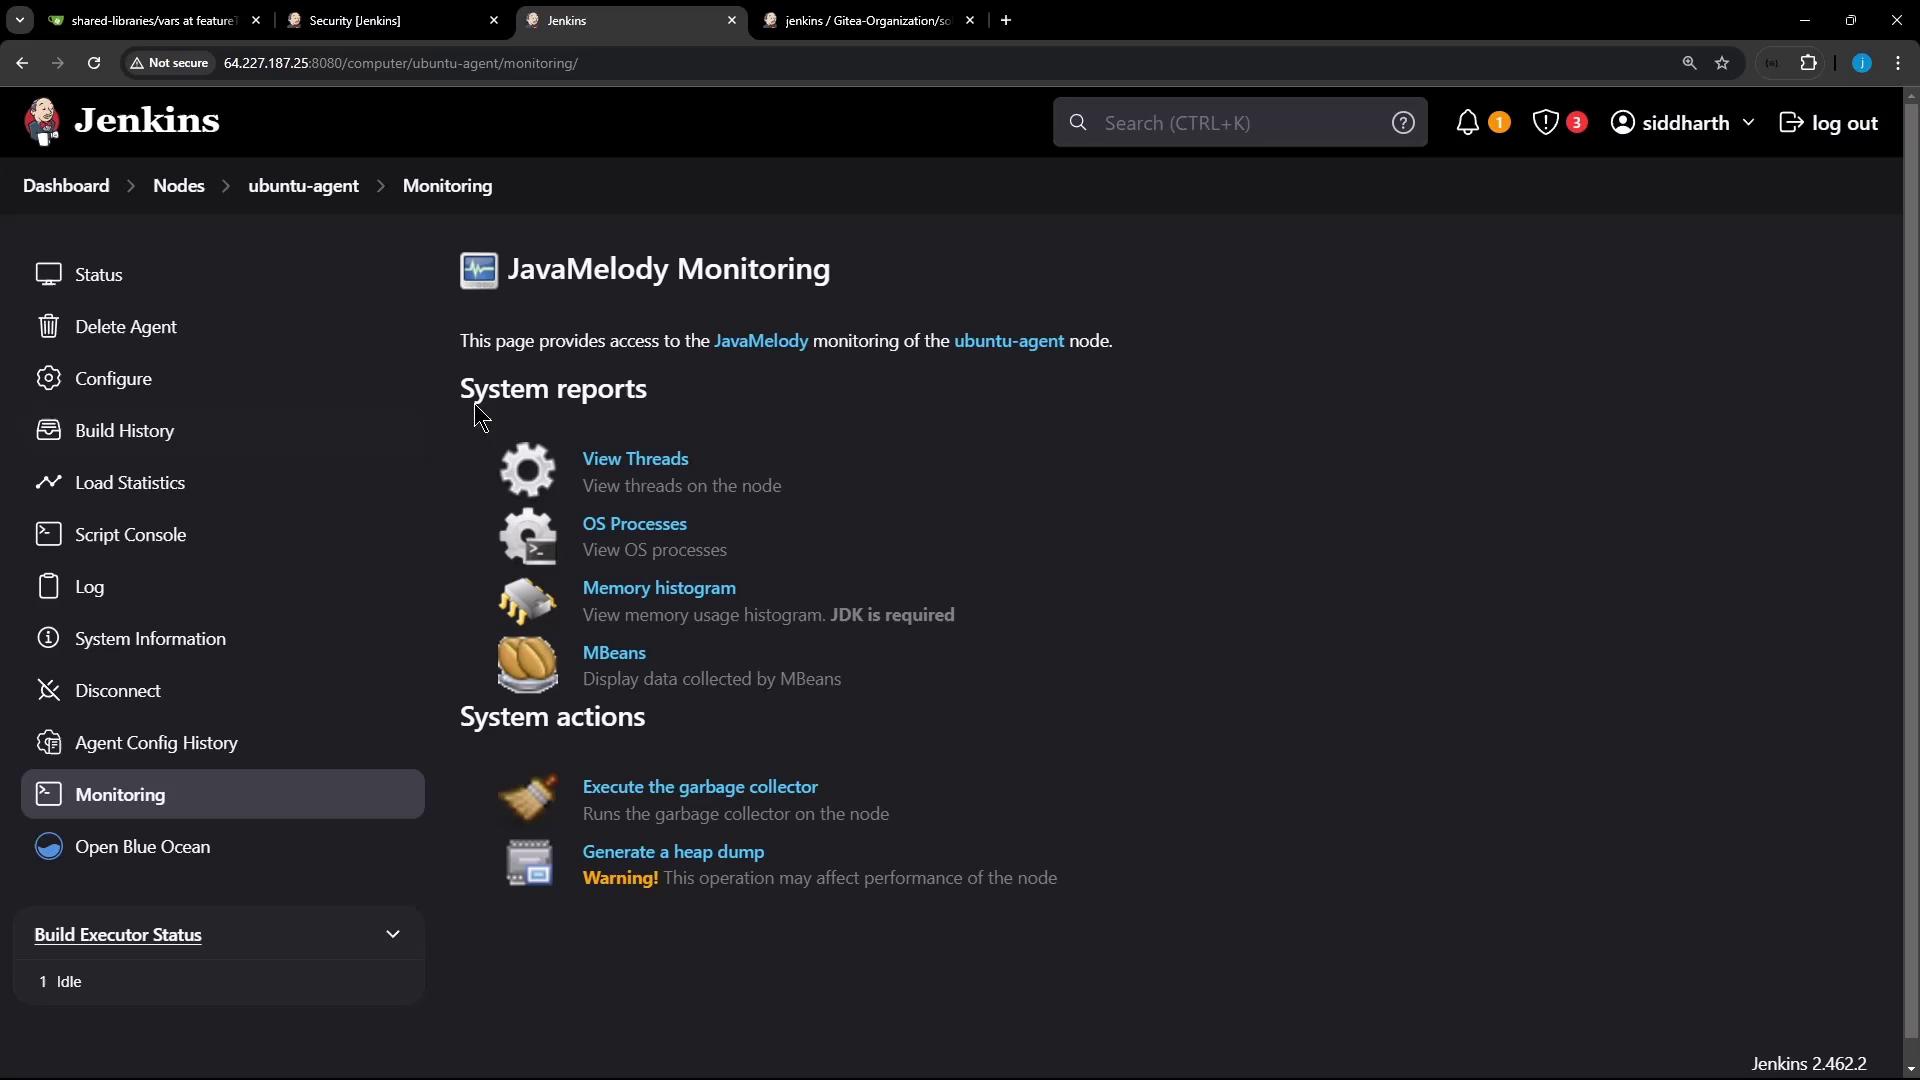
- Agent Log (connection status, version)
5. Inspect the Agent VM
On the agent VM, verify the working directory structure:workspace, logs, and artifacts folders under /home/jenkins-agent.