Advanced Jenkins

Agents and Nodes in Jenkins

Utilize Agents in Jobs

In this guide, you’ll learn how to delegate Jenkins work to external agents. We’ll first configure a Freestyle job to run on an Ubuntu agent, then build a Declarative Pipeline that switches between the controller and the same Ubuntu node.


Using an External Agent in a Freestyle Job

Ensure your external Ubuntu agent is online and labeled correctly before proceeding.

Note

Verify the agent’s status under Manage Jenkins > Manage Nodes and confirm that SSH connectivity and labels are configured.

1. Inspect Available Nodes

Navigate to Manage Jenkins > Manage Nodes to view connected agents:

The image shows a Jenkins dashboard displaying information about nodes, including their architecture, disk space, and response time. There are two nodes listed: "Built-In Node" and "ubuntu-agent," both running on Linux (amd64).

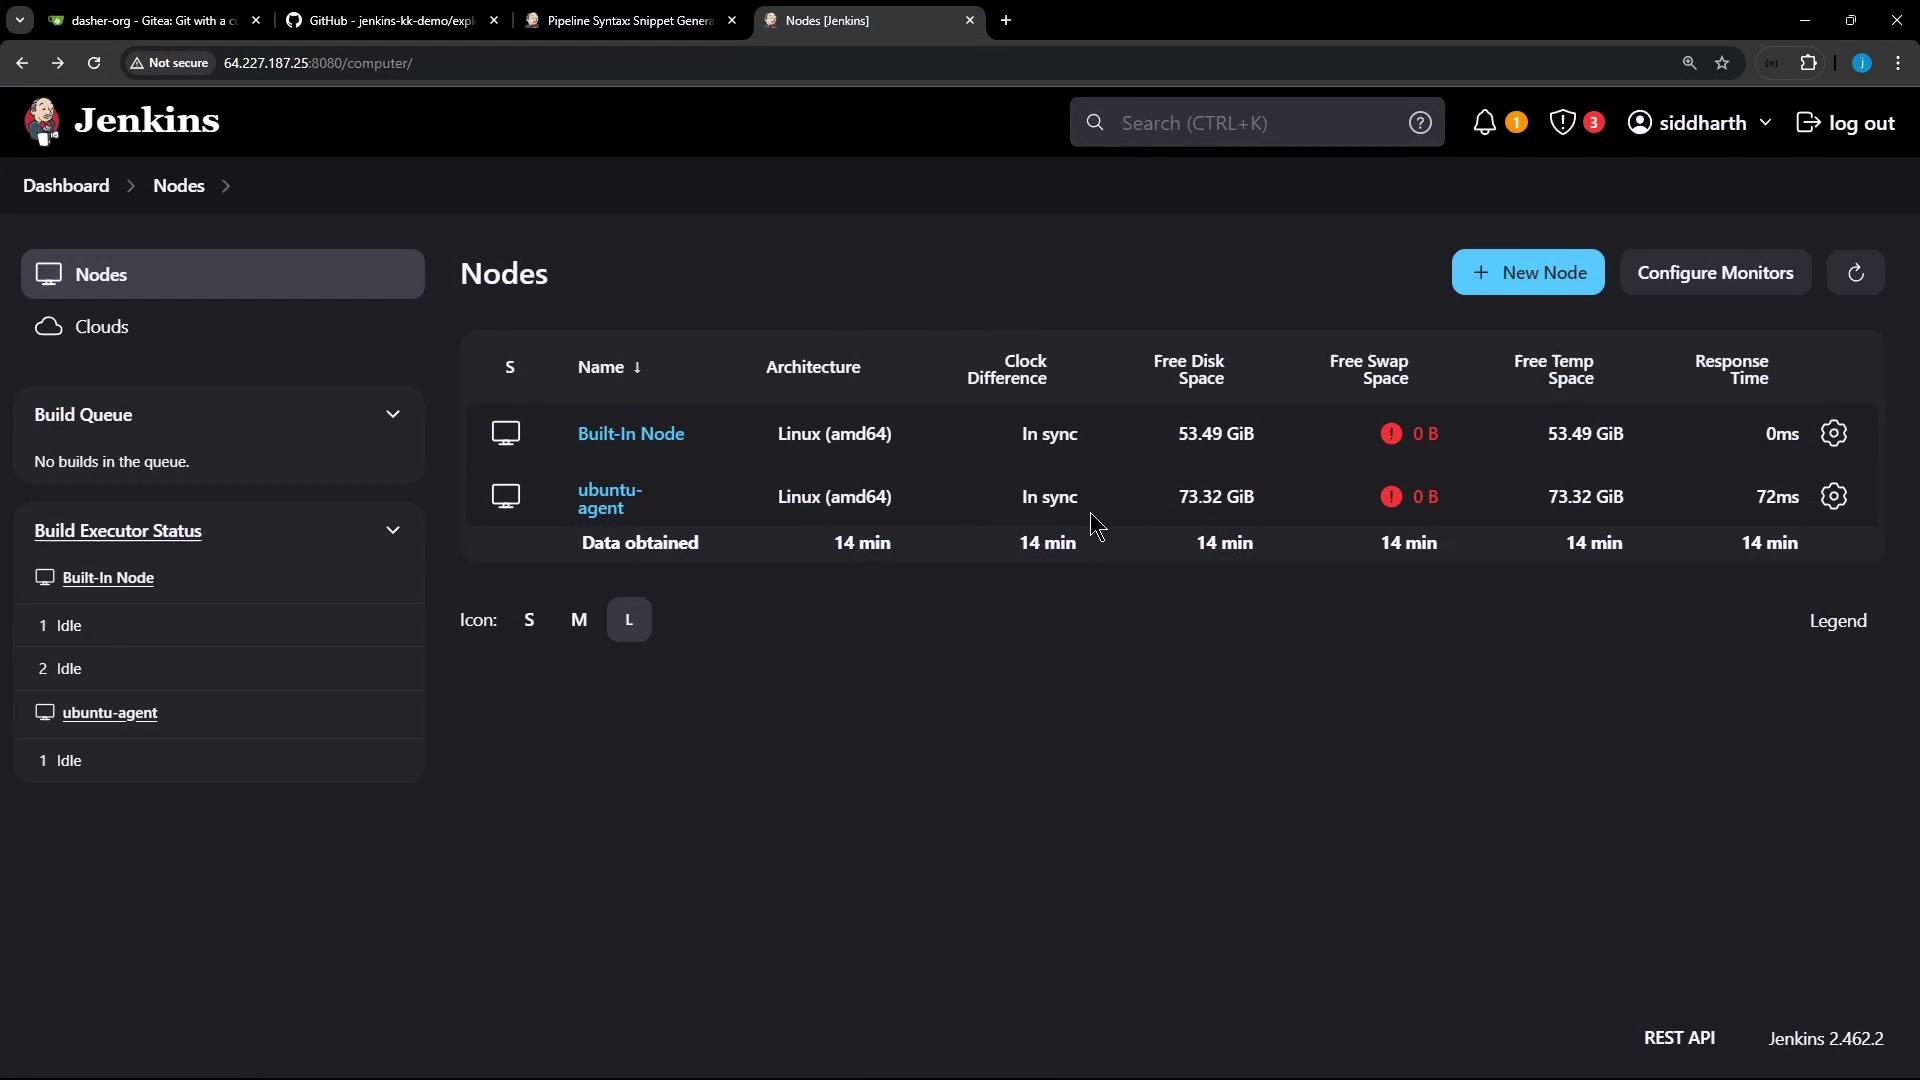
2. Create a New Freestyle Job

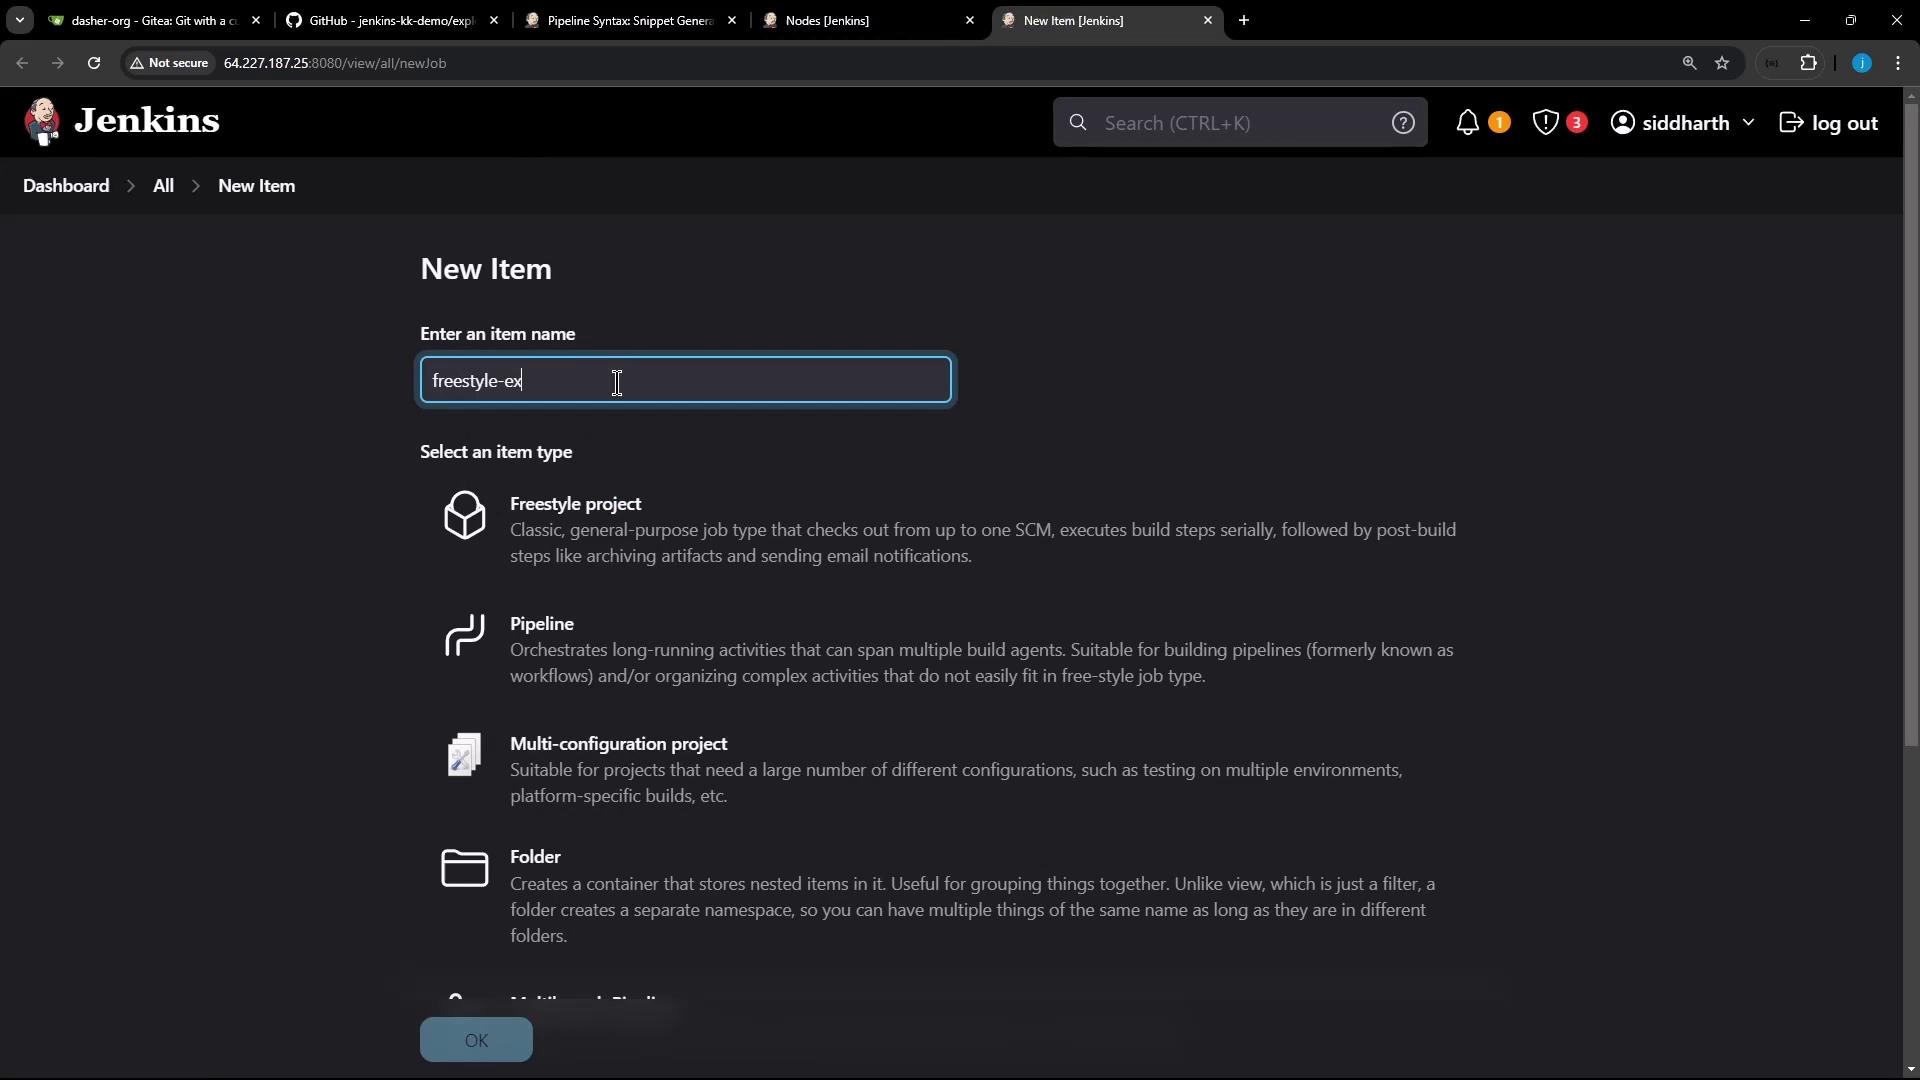
  1. Click New Item, enter freestyle-external-agent, and select Freestyle project:

    The image shows a Jenkins interface where a user is creating a new item, with options to select different project types like Freestyle project, Pipeline, Multi-configuration project, and Folder. The item name being entered is "freestyle-ex".

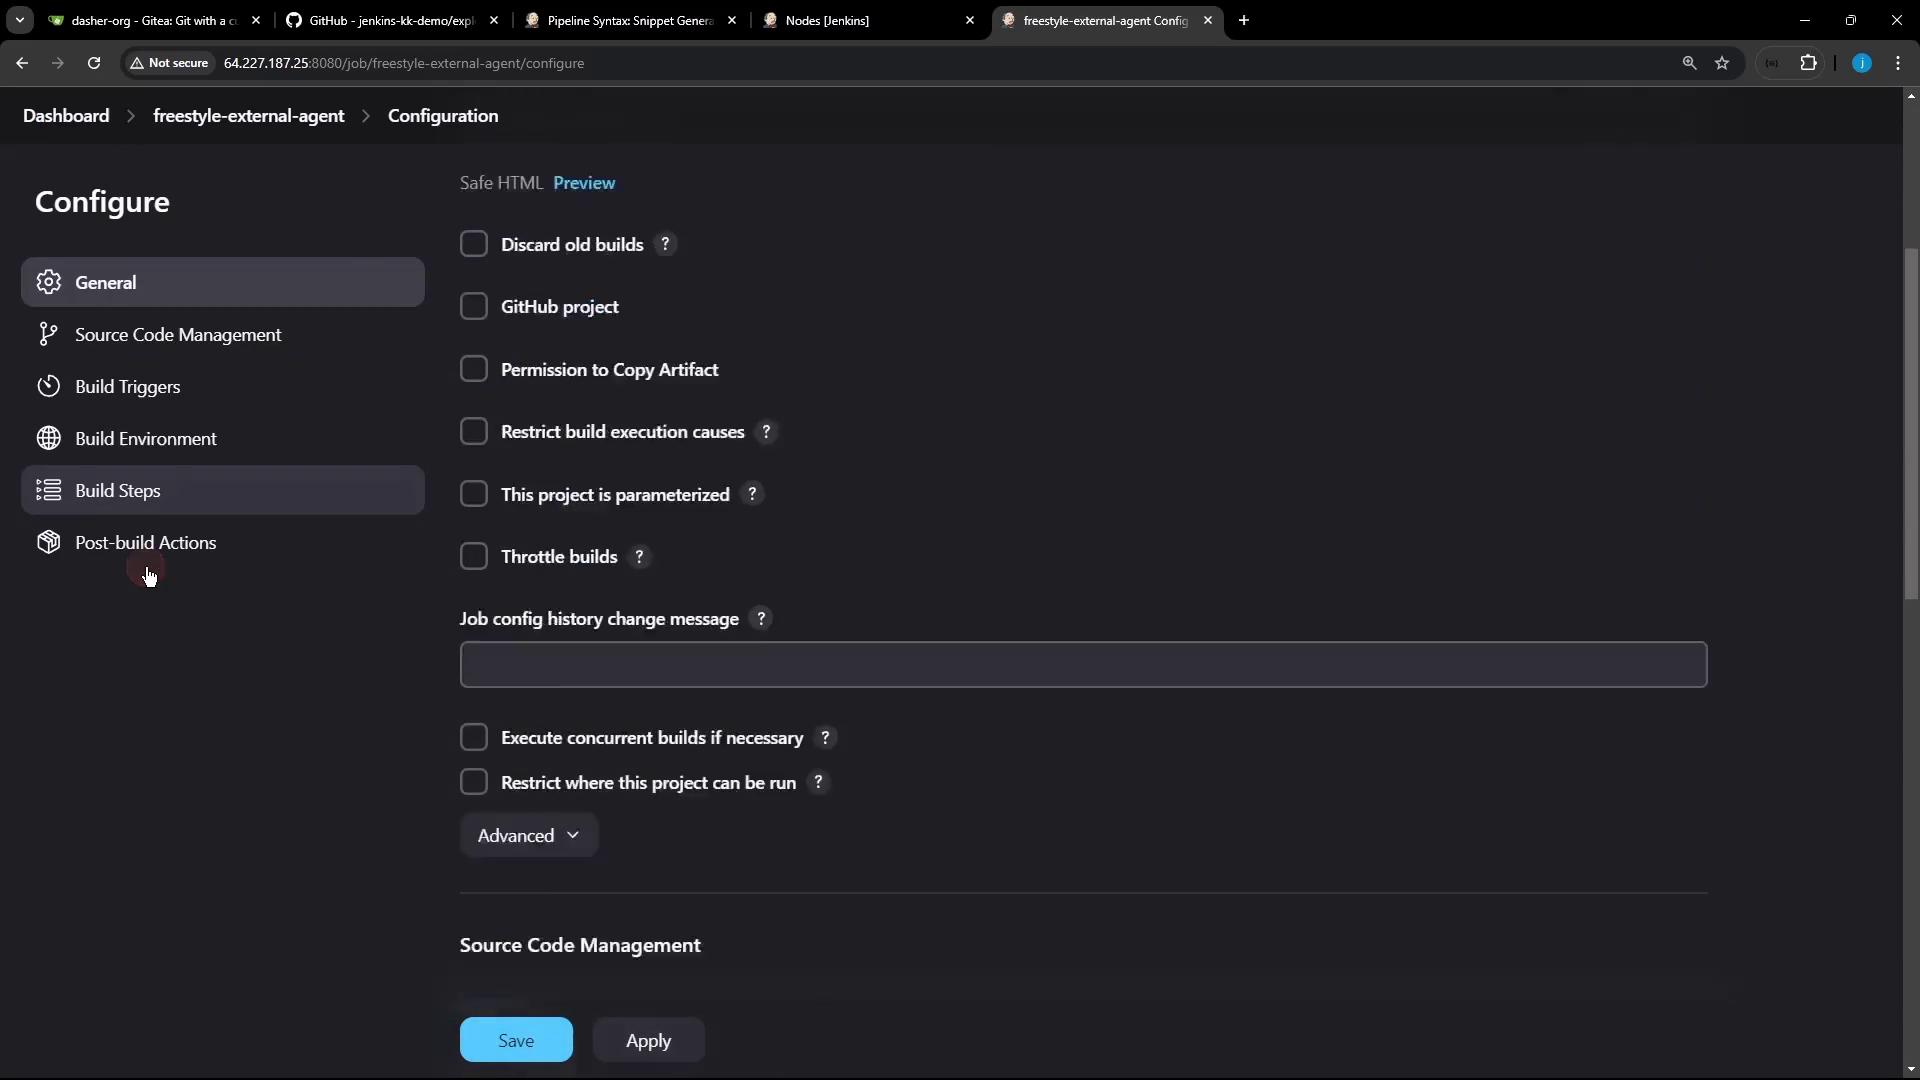
  2. In the job configuration, add a Build StepExecute shell:

    The image shows a configuration screen from a Jenkins interface, displaying various build options and settings like "Discard old builds" and "GitHub project."

    Insert the following commands:

    cat /etc/os-release
    node -v
    npm -v
    

3. Restrict Execution to the Ubuntu Agent

Copy the ubuntu-agent label:

The image shows a Jenkins dashboard for an agent named "ubuntu-agent," displaying its status, labels, and options for configuration and monitoring. A context menu is open on a label link, offering options like opening the link in a new tab or window.

Under General, check Restrict where this project can be run and paste the label:

The image shows a configuration screen for a Jenkins job, with various options like "GitHub project," "Permission to Copy Artifact," and "Restrict where this project can be run" with a label expression set.

Warning

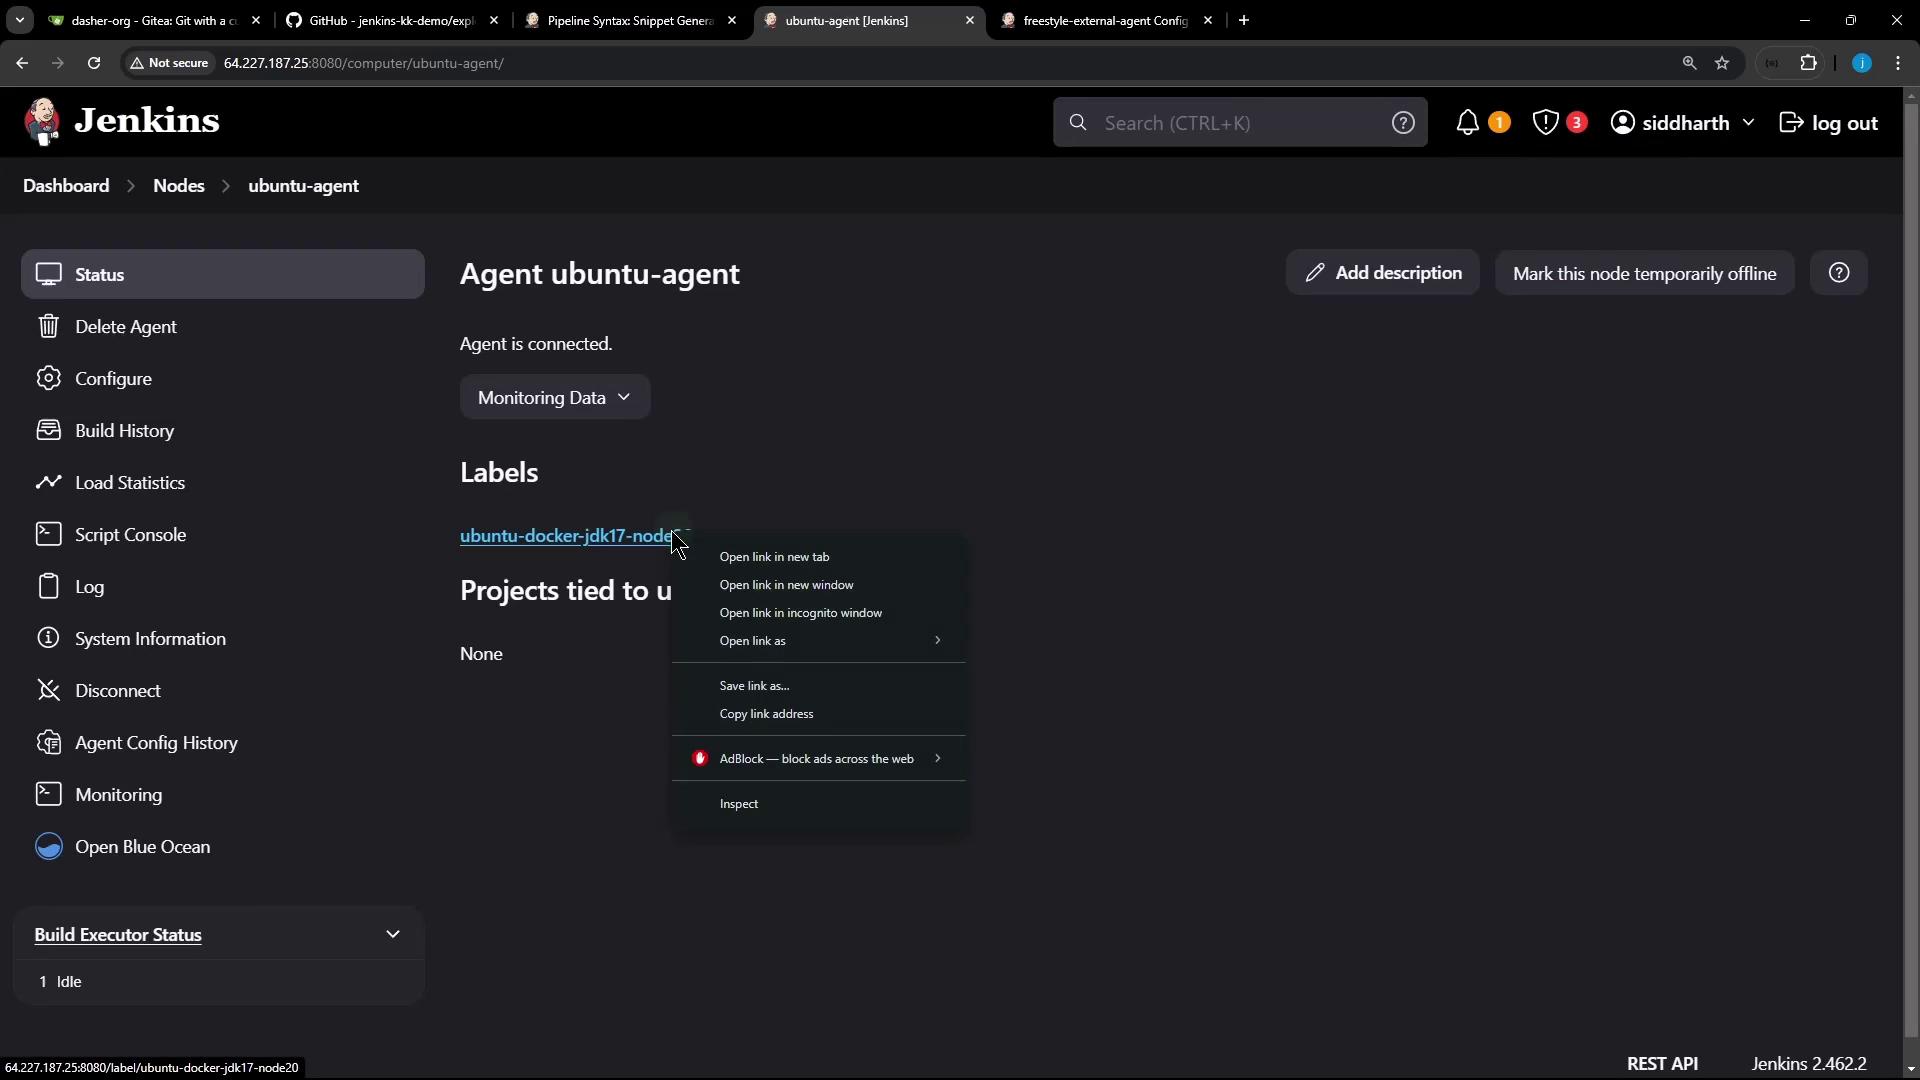
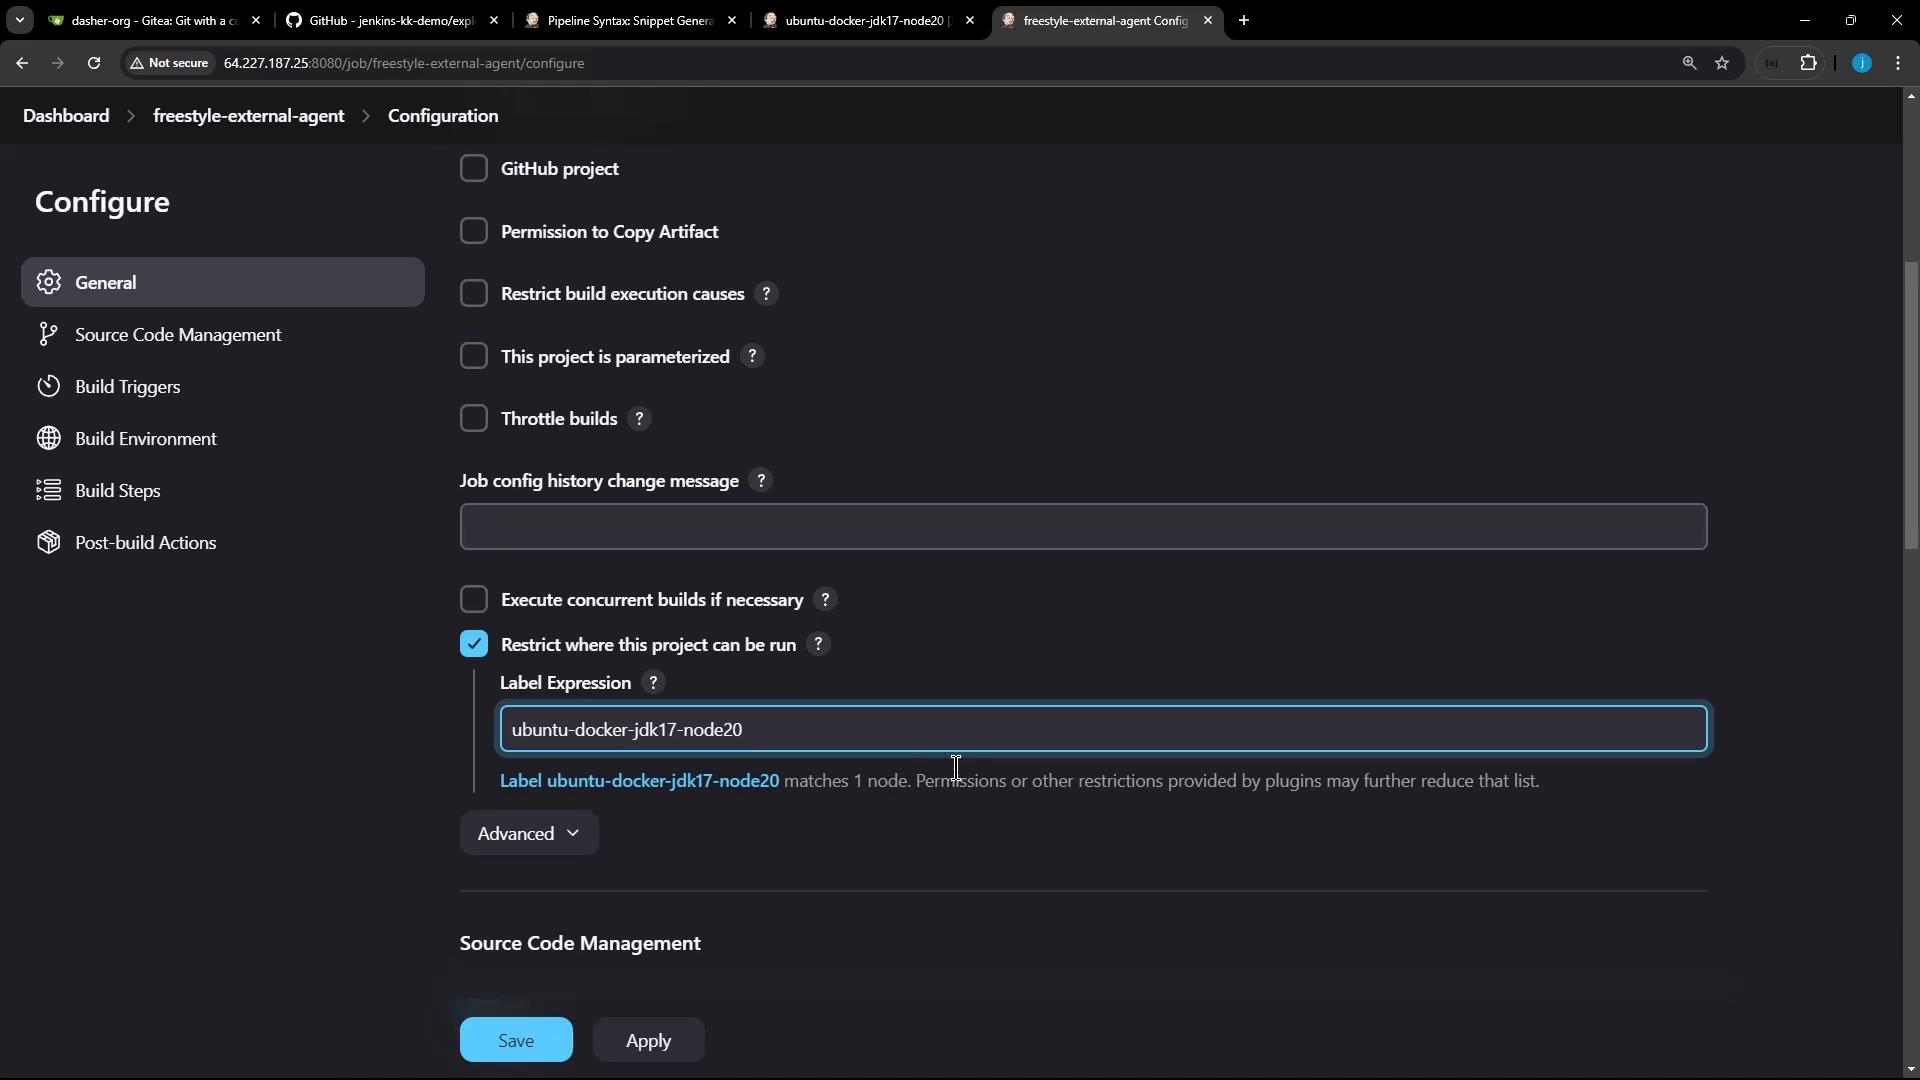
Label expressions are case-sensitive. A mismatch will cause the job to remain in the queue.

4. Save and Build

After saving, trigger a build. The job will run on the external agent:

The image shows a Jenkins dashboard for a node labeled "ubuntu-docker-jdk17-node20," displaying project details for "freestyle-external-agent" with no recorded successes or failures. The interface includes options like "Overview," "Configure," and "Load Statistics."

The image shows a Jenkins dashboard for a project named "freestyle-external-agent," displaying build status and history with options for configuration and navigation.

Console Output

Started by user siddharth
Running as SYSTEM
Building remotely on ubuntu-agent (ubuntu-docker-jdk17-node20) in workspace /home/jenkins-agent/workspace/freestyle-external-agent
+ cat /etc/os-release
PRETTY_NAME="Ubuntu 24.04 LTS"
...
+ node -v
v22.11.0
+ npm -v
10.9.0
Finished: SUCCESS

Using an External Agent in a Pipeline Job

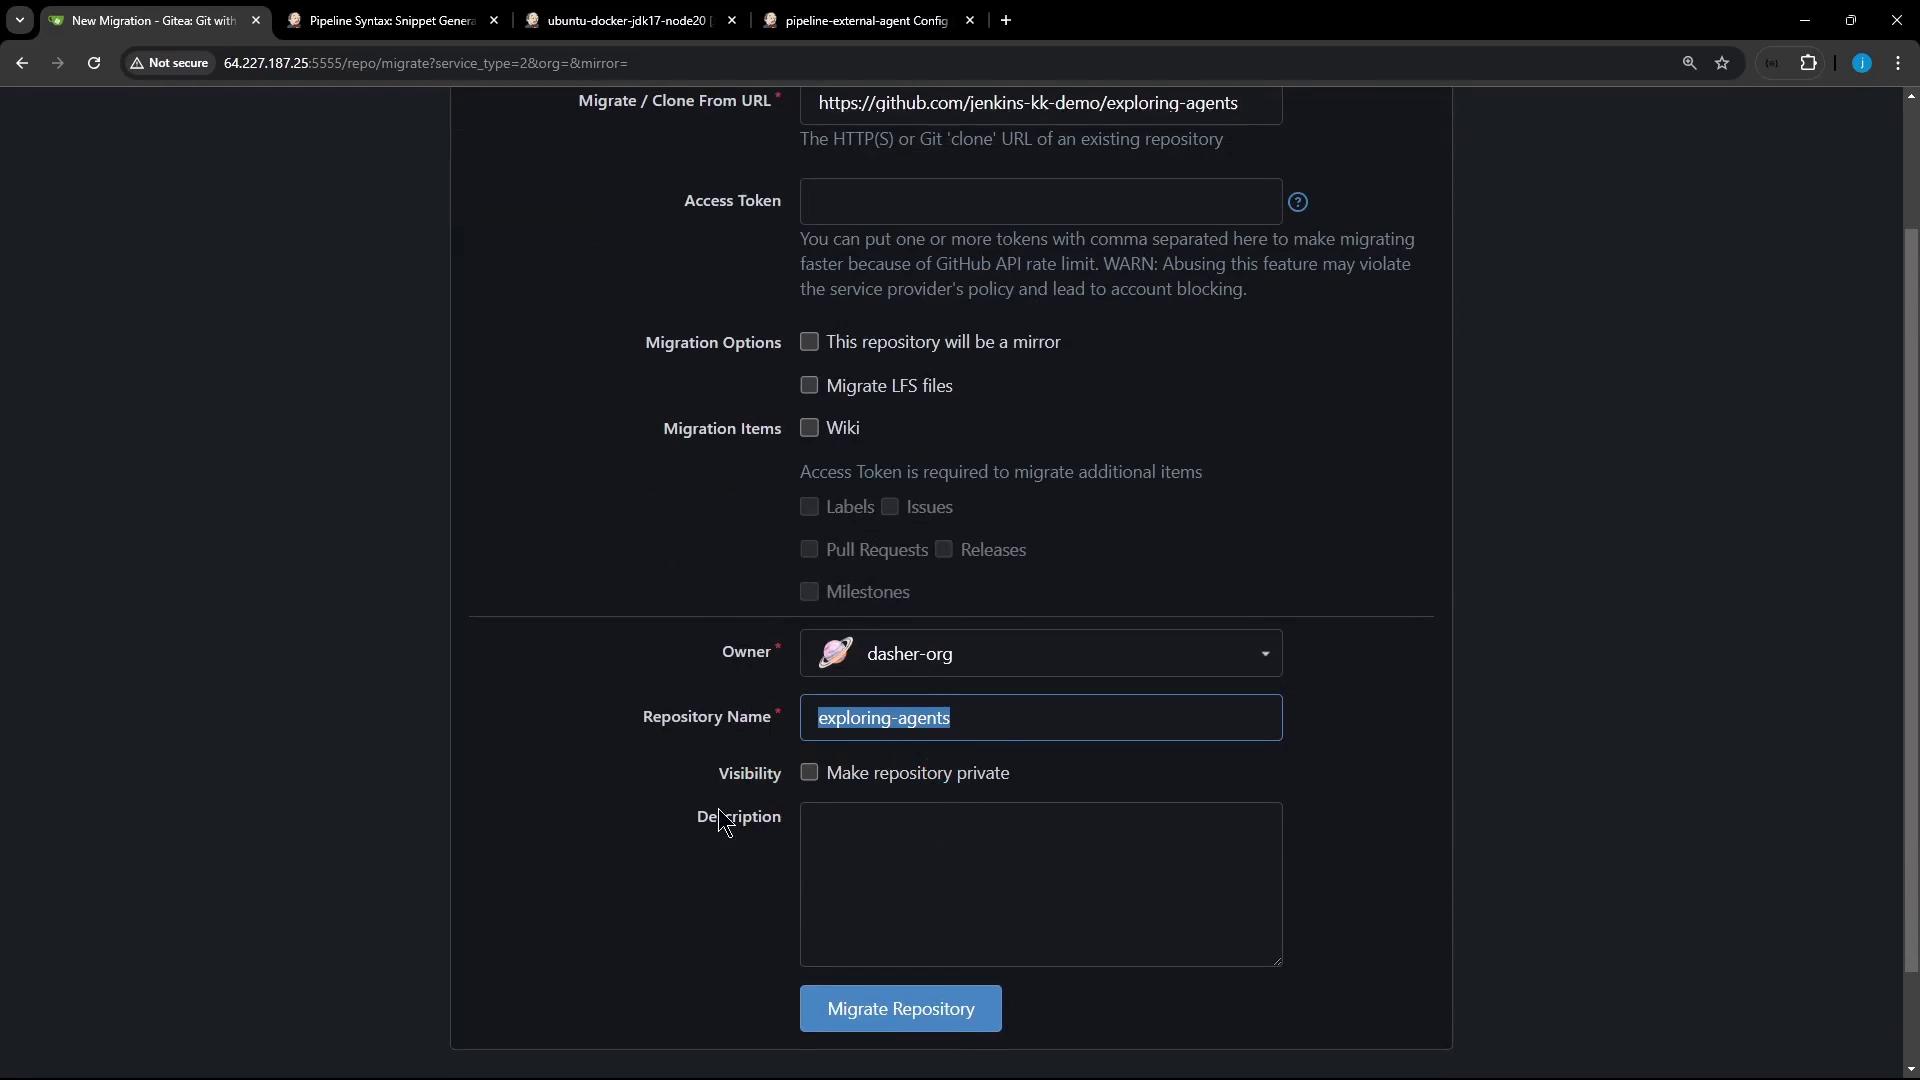
Next, we’ll build a Declarative Pipeline using both the Jenkins controller and the Ubuntu agent.

1. Clone or Migrate Your Repository

Point Jenkins to your Git repo containing Jenkinsfile:

The image shows a web interface for migrating or cloning a repository from a URL, with options to set access tokens, migration items, and repository details. The interface includes fields for the repository URL, owner, and name, along with checkboxes for additional migration options.

2. Add a Declarative Jenkinsfile

Place this in your repository root:

pipeline {
    agent any

    stages {
        stage('S1 – Any Agent') {
            steps {
                sh 'cat /etc/os-release'
                sh 'node -v'
                sh 'npm -v'
            }
        }
        stage('S2 – Ubuntu Agent') {
            agent { label 'ubuntu-docker-jdk17-node20' }
            steps {
                sh 'cat /etc/os-release'
                sh 'node -v'
                sh 'npm -v'
            }
        }
    }
}

3. Configure and Run the Pipeline

  1. In Jenkins, create a Pipeline job and point it to the main branch of your repo.
  2. Save and click Build Now.

Console Output Highlights

[Pipeline] Start of Pipeline
[Pipeline] node
Running on Jenkins in /var/lib/jenkins/workspace/pipeline-external-agent
[Pipeline] stage (S1 – Any Agent)
+ cat /etc/os-release
PRETTY_NAME="Ubuntu 24.04 LTS"
+ node -v
v20.16.0
+ npm -v
10.8.1
[Pipeline] stage (S2 – Ubuntu Agent)
Building on ubuntu-docker-jdk17-node20
+ cat /etc/os-release
PRETTY_NAME="Ubuntu 24.04 LTS"
+ node -v
v22.11.0
+ npm -v
10.9.0
[Pipeline] End of Pipeline
Finished: SUCCESS

Verifying Agent Workspaces

SSH into your Ubuntu agent and list workspace directories:

ssh jenkins@ubuntu-agent
cd /home/jenkins-agent/workspace
ls
# Should list:
# freestyle-external-agent
# pipeline-external-agent

Job and Agent Summary

Job TypeAgent LabelKey Commands
Freestyle-External-Agentubuntu-docker-jdk17-node20cat /etc/os-release, node -v, npm -v
Pipeline Stage “S1”any (controller)cat /etc/os-release, node -v, npm -v
Pipeline Stage “S2”ubuntu-docker-jdk17-node20cat /etc/os-release, node -v, npm -v

Watch Video

Watch video content

Previous
Create and Configure Node