Advanced Jenkins
Agents and Nodes in Jenkins
Utilize Dockerfile Agent
Overview
Leveraging a Dockerfile agent in Jenkins lets you build a custom Docker image with all the CLI tools your pipeline requires. This approach ensures:
- Consistent environments across builds
- Isolation for each job
- Flexibility to install any SDKs, CLIs, or dependencies
Prerequisites
| Requirement | Purpose |
|---|---|
| Jenkins 2.10+ | Pipeline support for dockerfile agent |
| Docker Daemon | Must be available on the agent node |
| Git Repository | Contains both Jenkinsfile and Dockerfile.cowsay |
Note
Ensure your Jenkins agent node has Docker installed and that the Jenkins user has permission to run Docker commands.
Step 1: Example with the Standard Node.js Alpine Image
Here’s a simple Jenkinsfile using the official node:18-alpine image:
pipeline {
    agent any
    stages {
        stage('S4 - Standard Node.js Image') {
            agent {
                docker {
                    image 'node:18-alpine'
                    label 'ubuntu-docker-jdk17-node20'
                }
            }
            steps {
                sh 'node -v'
                sh 'npm -v'
                sh 'cowsay -f dragon "Hello from Docker Container"'
            }
        }
    }
}
When executed, the first two commands succeed, but cowsay is missing:
/home/jenkins-agent/.../script.sh: line 1: cowsay: not found
Step 2: Create a Custom Dockerfile
To include cowsay, create Dockerfile.cowsay:
FROM node:18-alpine

RUN apk update && \
    apk add --no-cache git perl && \
    git clone https://github.com/jasonm23/cowsay.git /tmp/cowsay && \
    cd /tmp/cowsay && \
    ./install.sh /usr/local && \
    rm -rf /tmp/cowsay
This Dockerfile:
- Updates the Alpine package index
- Installs Git and Perl
- Clones and installs
cowsay - Cleans up temporary files
Warning
Always remove temporary directories like /tmp/cowsay to keep your image size small.
Step 3: Switch to the dockerfile Agent
Update your Jenkinsfile to build the custom image on the fly:
pipeline {
agent any
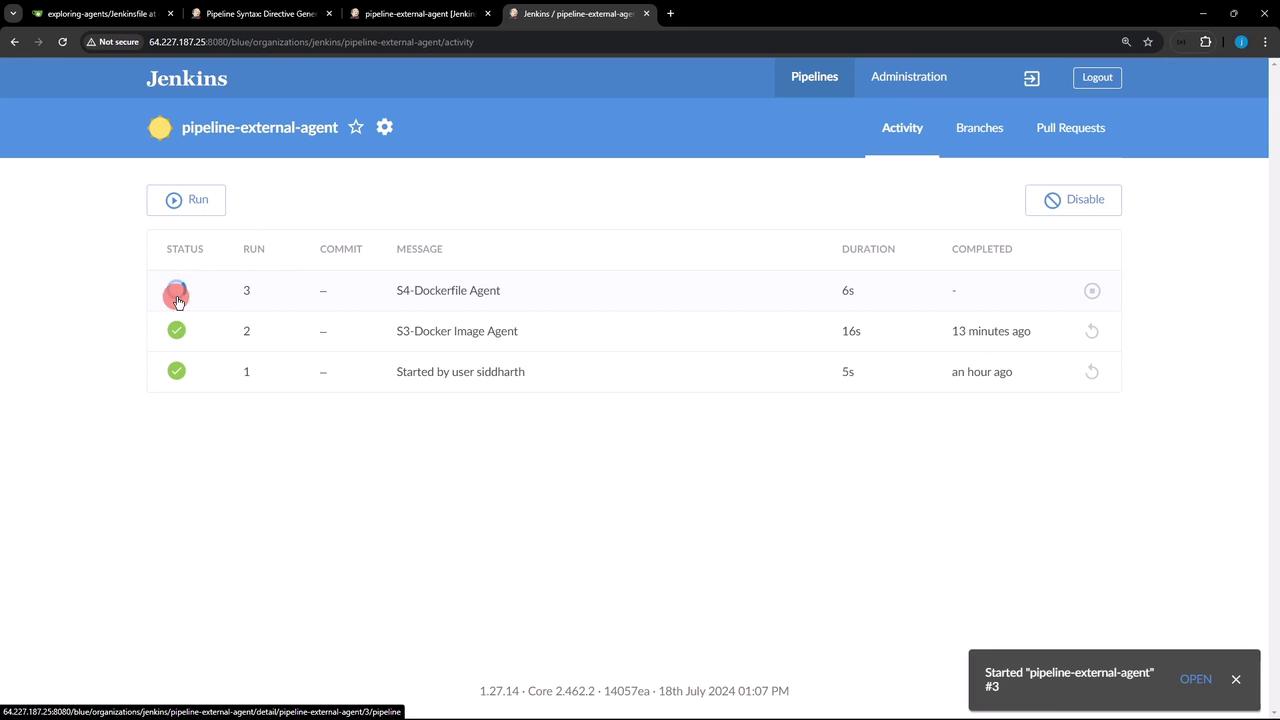
stages {
stage('S4 - Dockerfile Agent') {
agent {
dockerfile {
filename 'Dockerfile.cowsay'
label 'ubuntu-docker-jdk17-node20'
}
}
steps {
sh 'node -v'
sh 'npm -v'
sh 'cowsay -f dragon "This is running on Docker Container"'
}
}
}
}
Behind the scenes, Jenkins will:
- Read
Dockerfile.cowsayfrom the workspace - Run:
docker build -t <generated-image-id> -f "Dockerfile.cowsay" . - Launch a container from the new image and execute your steps
Step 4: Confirm Successful Build
In the Jenkins console you’ll see:
docker build -t 0f559f3f6a2c220b616594d407b50bd36d837f4 -f "Dockerfile.cowsay" .
docker inspect -f '{{.Id}}' 0f559f3f6a2c220b616594d407b50bd36d837f4
v18.20.4
10.7.0
This is running on Docker Container
All commands now succeed, including cowsay.
Links and References
Watch Video
Watch video content