Table of Contents
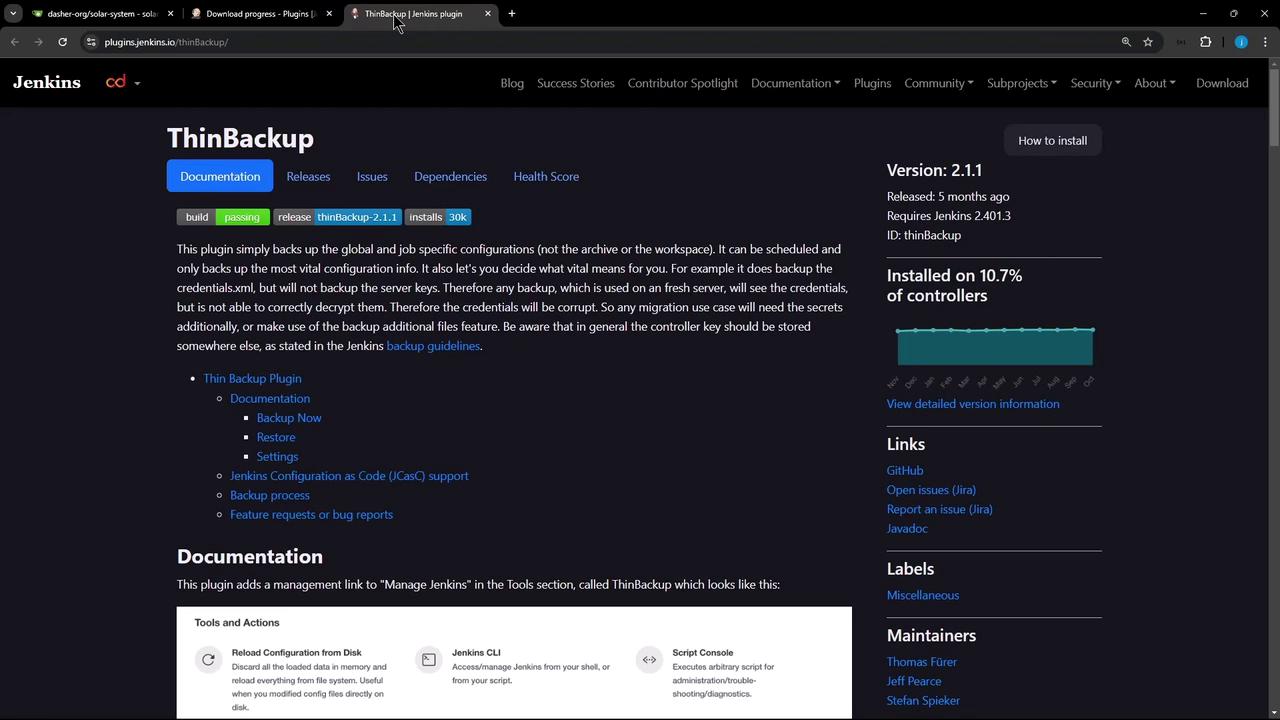
1. Install and Configure Thin Backup
- Navigate to Manage Jenkins > Manage Plugins, switch to the Available tab, and install Thin Backup.
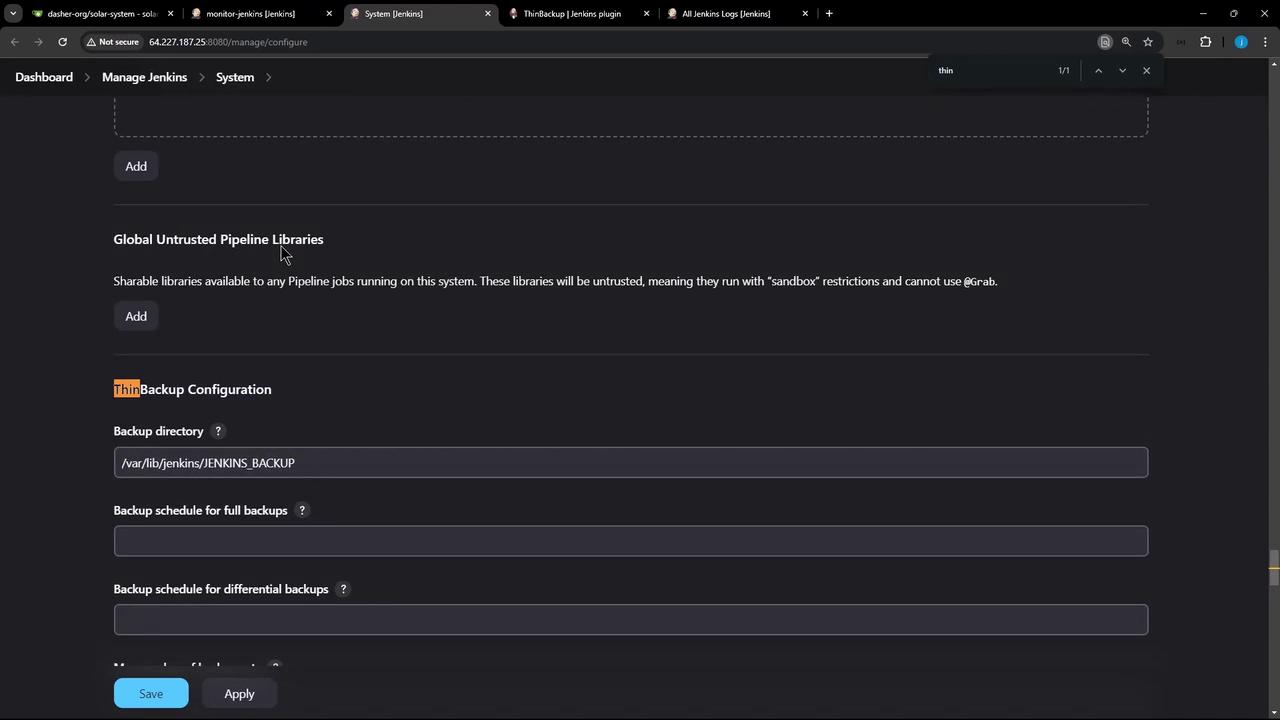
- Once installed, go to Manage Jenkins > Configure System and scroll to the ThinBackup section.
Configure Backup Settings
| Setting | Description |
|---|---|
| Backup Directory | /var/lib/jenkins/JENKINS_BACKUP (created automatically if missing) |
| Schedule | Cron expressions for periodic backups |
| Differential Backup | Enable to back up only changed data |
| Max Backup Sets | Retain the latest N backups |
| Exclude Patterns | Regex for files/folders to skip |
| Archive as ZIP | Compress backup folders |
| Include Build Archives | Optionally include full build artifacts |
The
Backup Directory path must be writable by the Jenkins user. Ensure adequate disk space before scheduling large backups.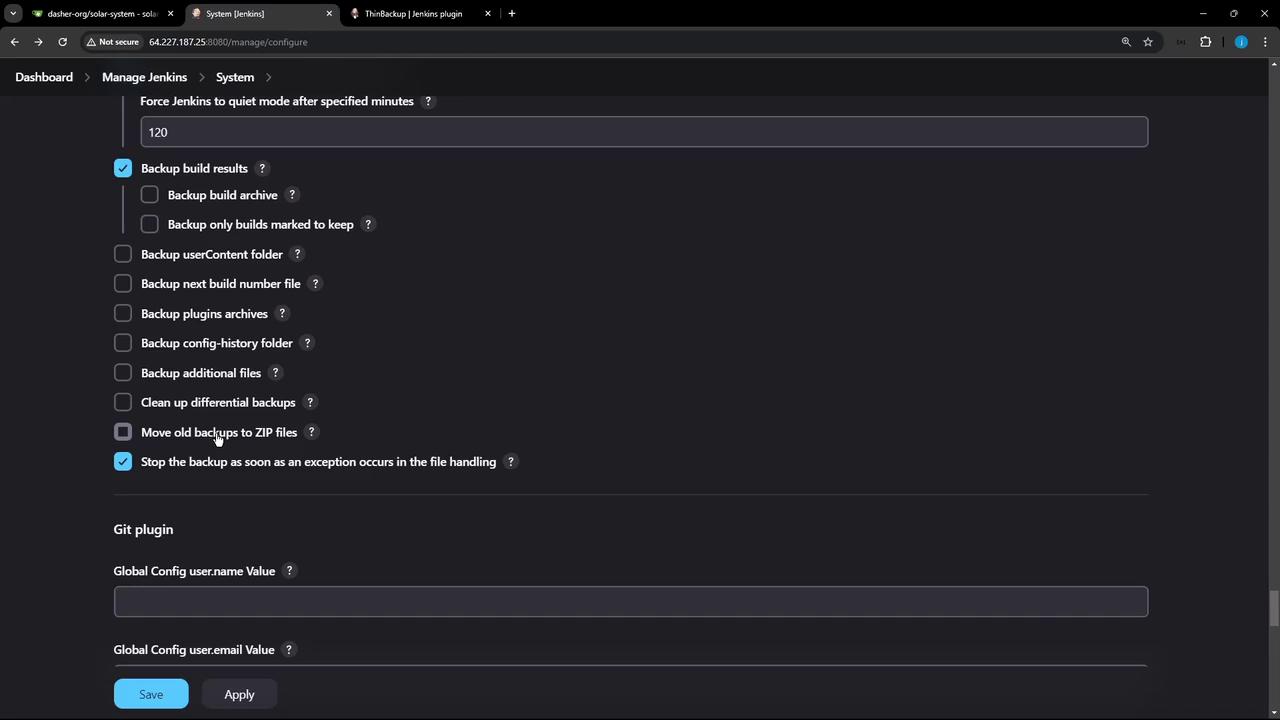
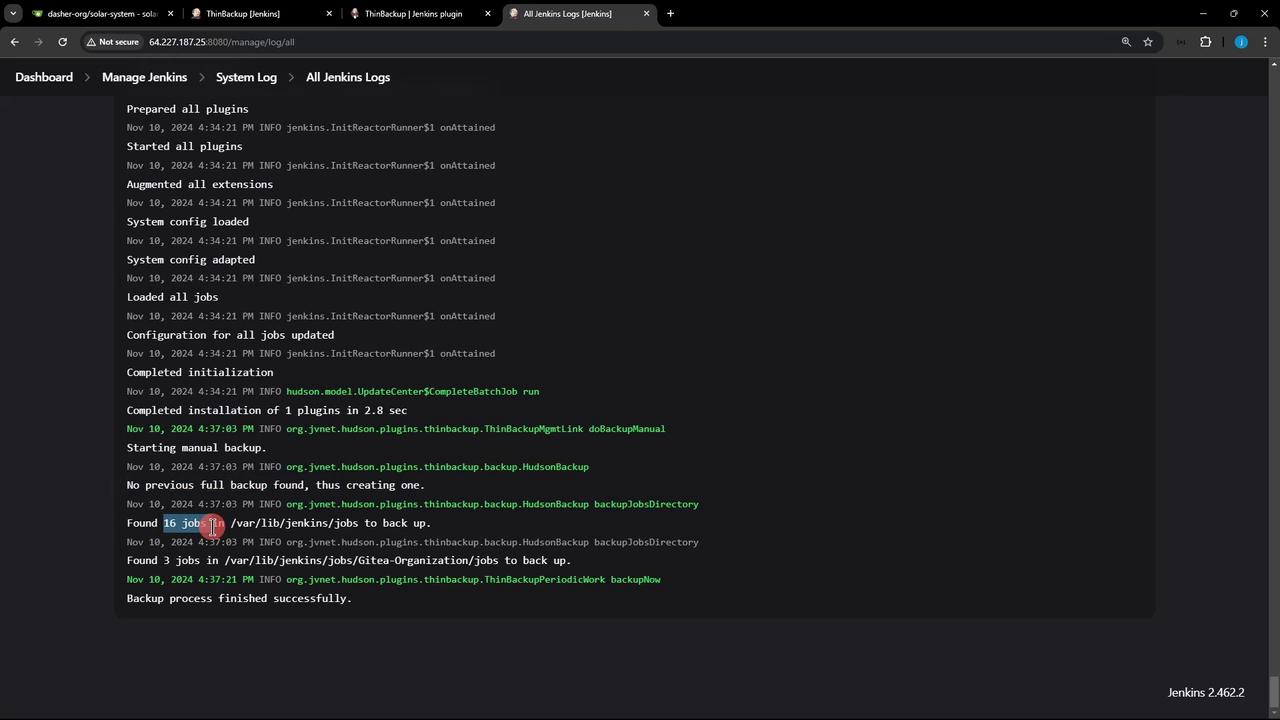
2. Perform a Manual Backup
- Go to Manage Jenkins > ThinBackup.
- Click Backup Now.
3. Restore from Backup
- Delete a test job (e.g., Monitor Jenkins) to simulate data loss.
- In Manage Jenkins > ThinBackup, click Restore.
- Select the desired backup set (e.g.,
FULL-2024-11-10_16-37) and confirm Restore. - Restart Jenkins to apply restored configurations.
Restoring a backup overwrites your current Jenkins configuration. Always confirm you’re using the correct backup set.
4. Exclude Build Results
If you only need job configurations (not build artifacts), disable Include build results in the Thin Backup settings. This reduces backup size and speeds up the process.