Advanced Jenkins

Pipeline Enhancement and Caching

Sequential Stages

In this guide, you’ll learn how to structure sequential stages within a Jenkins pipeline to break down complex branches into clear, ordered steps. By nesting stages, you gain better visibility into each part of your build process without wading through long console logs.

Note

Sequential (nested) stages are supported in Declarative Pipelines. They require Jenkins 2.138.3 or later and the Pipeline: Stage Step plugin.


1. Original Pipeline Snippet

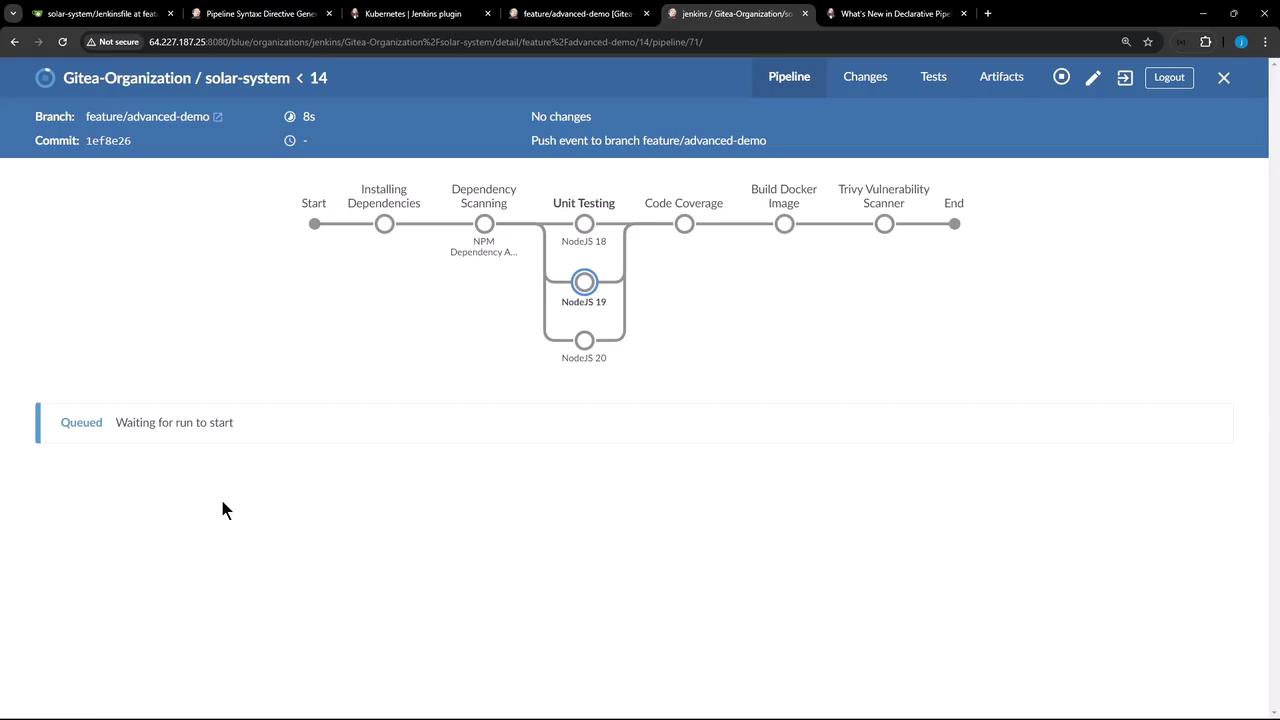
Here’s a simple pipeline that runs everything in one NodeJS 20 stage. It retries on failure but doesn’t distinguish between installing dependencies and running tests:

stage('NodeJS 20') {
    agent {
        docker {
            image 'node:20-alpine'
        }
    }
    options { retry(2) }
    steps {
        sh 'node -v'
        sh 'npm test'
    }
}

stage('Code Coverage') {
    // ...
}

While functional, this single stage limits your insight into which specific task fails.


2. Defining Sequential (Nested) Stages
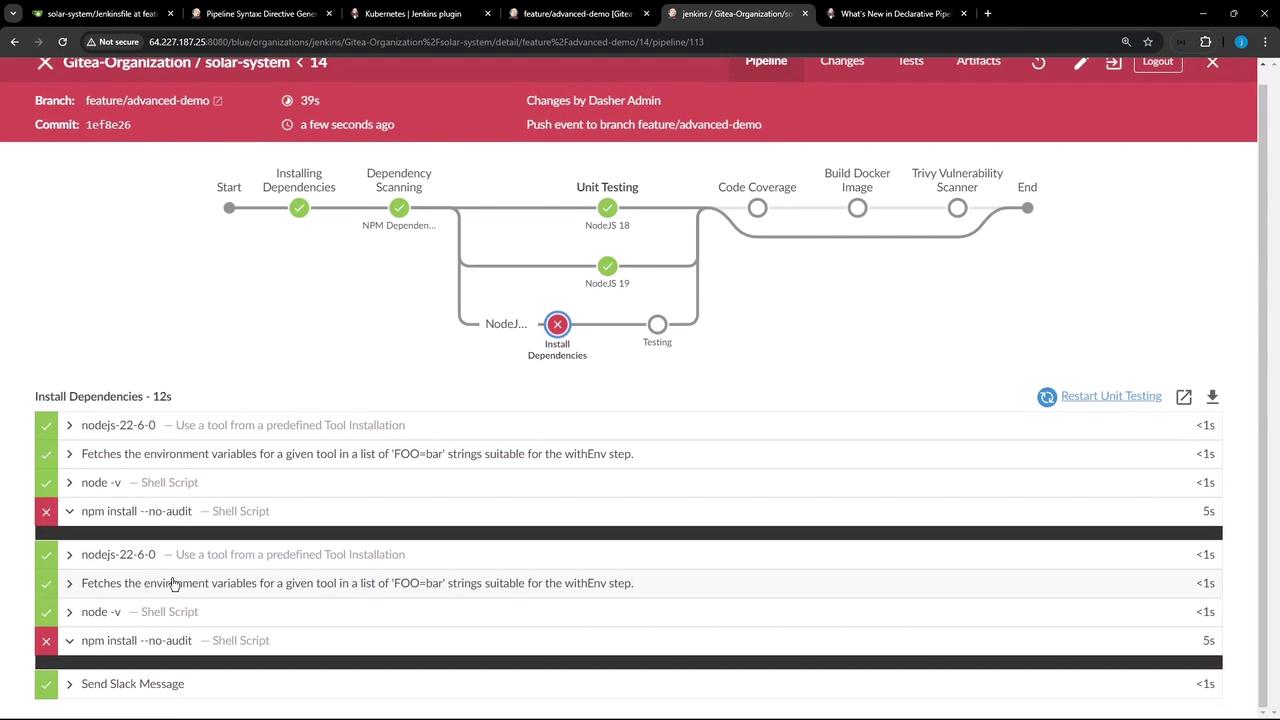
To break down the work, nest a stages block inside your NodeJS 20 stage, creating two ordered steps: Install Dependencies and Testing.

stage('NodeJS 20') {
    agent {
        docker {
            image 'node:20-alpine'
        }
    }
    stages {
        stage('Install Dependencies') {
            options { retry(2) }
            steps {
                sh 'node -v'
                sh 'npm install --no-audit'
            }
        }
        stage('Testing') {
            options { retry(2) }
            steps {
                sh 'node -v'
                sh 'npm test'
            }
        }
    }
}

stage('Code Coverage') {
    // ...
}

Commit and push these changes to your repository. In the Jenkins UI, you’ll now see a nested structure under NodeJS 20, clearly separating each step:

The image shows a Jenkins pipeline interface for a project named "solar-system" with stages like installing dependencies, unit testing, and code coverage. It indicates the pipeline is queued and waiting to start.


3. What Happens on Failure

If Install Dependencies fails, Jenkins will:

  1. Highlight the failure in the UI.
  2. Skip the downstream Testing stage.
  3. Surface the error in your console logs.

The image shows a Jenkins pipeline interface with a visual representation of a build process, highlighting stages like installing dependencies, unit testing, and a failed step in the "Install Dependencies" stage.

Typical error output might look like this:

npm install --no-audit
npm error code EACCES
npm error syscall mkdir
npm error path /npm
npm error errno -13
npm error Your cache folder contains root-owned files...
npm ERR! code ELIFECYCLE
npm ERR! errno 243

Warning

This failure is due to Node.js cache permissions, not Jenkins. You can fix it by changing the --cache directory (npm install --cache /tmp/) or adjusting folder ownership (chown -R jenkins:jenkins /npm).


4. Benefits of Sequential Stages

BenefitDescription
Granular VisibilitySee each step (install, test, package) as its own stage in the UI.
Fail-Fast BehaviorA failure in one nested stage blocks subsequent stages automatically.
Retry Control per StepApply options { retry(n) } individually to each nested stage for finer-grained retries.

5. Summary & Next Steps

  • Sequential stages let you organize tasks in a strict order within each branch.
  • Failures halt all downstream nested stages, making it clear which step broke.
  • Visibility and retry control improve your build diagnostics.

Next, we’ll explore how to share artifacts across these nested stages using the Jenkins workspace archive and copy mechanisms.


Watch Video

Watch video content

Previous
Refactoring Unit Test Stage