stash and unstash directives to preserve files between stages in the same pipeline run. By default, stashed files are discarded at the end of the run. However, with the Declarative Pipeline preserveStashes option or the Pipeline: Durable Task plugin, you can retain them across a restart. Once stashed, files can be unstashed by name in any other stage—even on a different node.

Use unique stash names to avoid collisions when multiple modules or artifacts are stashed in the same build.
When to Use Stash-and-Unstash
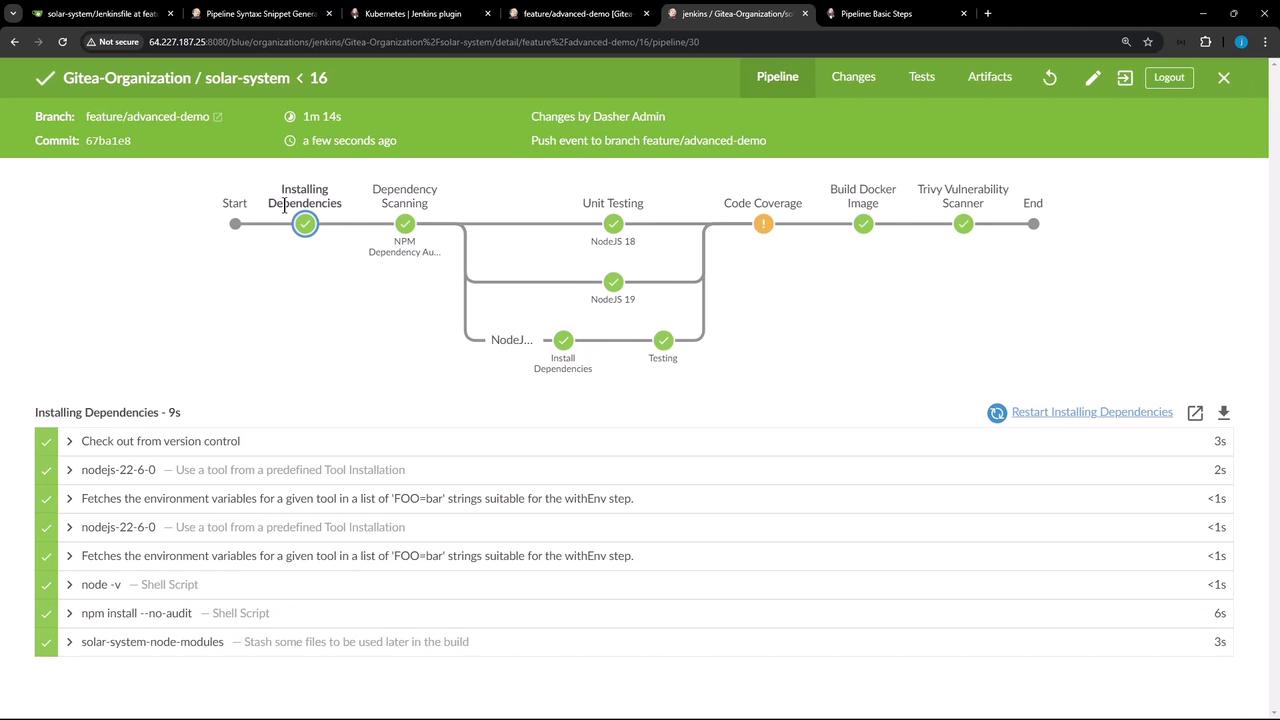
Consider a pipeline where your first stage installs Node.js dependencies, but a later stage runs on a different agent or container that can’t simply re-runnpm install due to caching permissions or filesystem errors:
node_modules folder after installation, then unstash it in any downstream stage.
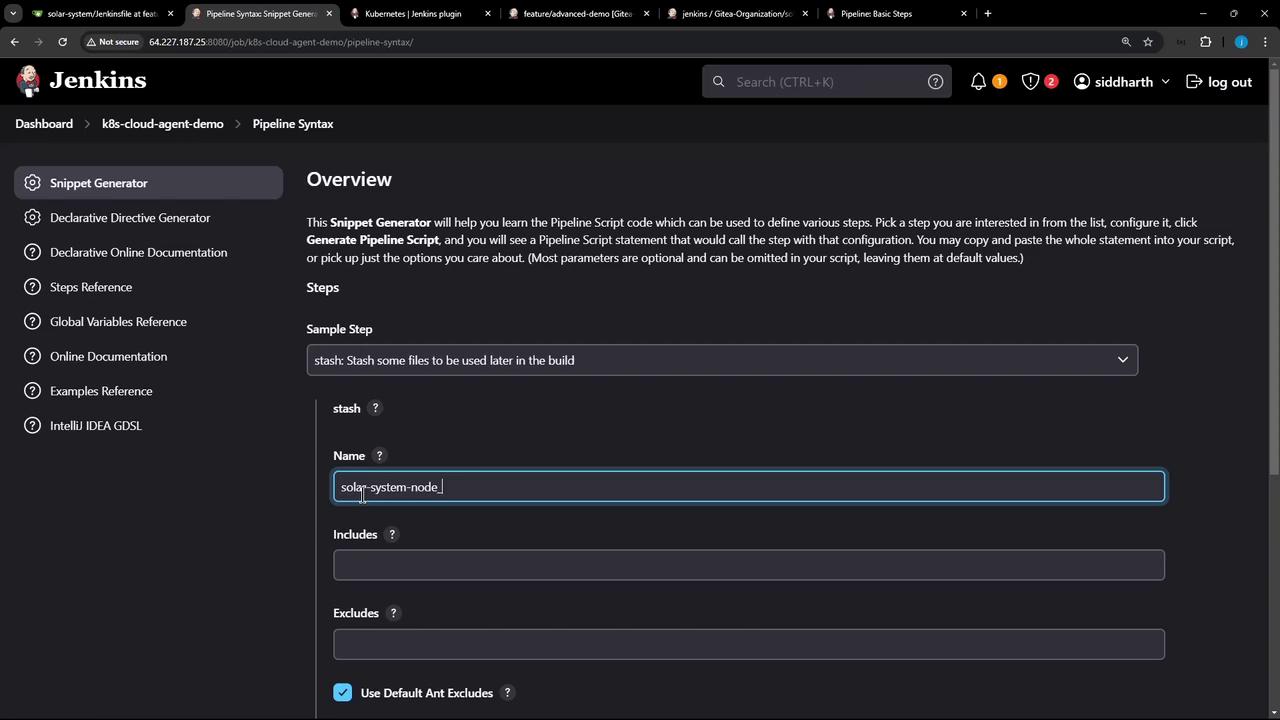
Generating the stash Snippet
- Go to Pipeline Syntax in your Jenkins instance.
- Select stash from the “Steps” dropdown.
- Fill in a unique Name (e.g.
solar-system-node-modules) and an Includes pattern (node_modules/). - Click Generate Pipeline Script.
Adding stash to Your Jenkinsfile
Here’s a simple Declarative Pipeline before and after integrating the stash step:
Before
After
Comparing stash and unstash
| Directive | Purpose | Example |
|---|---|---|
| stash | Saves files/folders for later stages | stash includes: 'node_modules/', name: 'modules' |
| unstash | Restores previously stashed content | unstash 'modules' |
Using unstash in a Downstream Stage
In any later stage—regardless of agent or node—you can restore the stashed files instead of reinstalling:
node_modules directory was preserved via stash.
Stashes are scoped to a single pipeline run. Without
preserveStashes, all stashes are discarded when the pipeline finishes. Ensure you enable the appropriate option if you need stash data after a pipeline restart.Using
stash and unstash in Jenkins pipelines lets you save and reuse any files or folders across stages and agents—ideal for large dependency trees, build artifacts, or generated assets.