Advanced Jenkins

Pipeline Structure and Scripted vs Declarative

Scripted Pipeline Static Agent

In this guide, we’ll extend an existing Jenkins Scripted Pipeline so that all stages run on a dedicated static agent instead of the controller. You’ll also learn how to inject MongoDB credentials for a Unit Testing stage.

1. Assigning a Static Agent

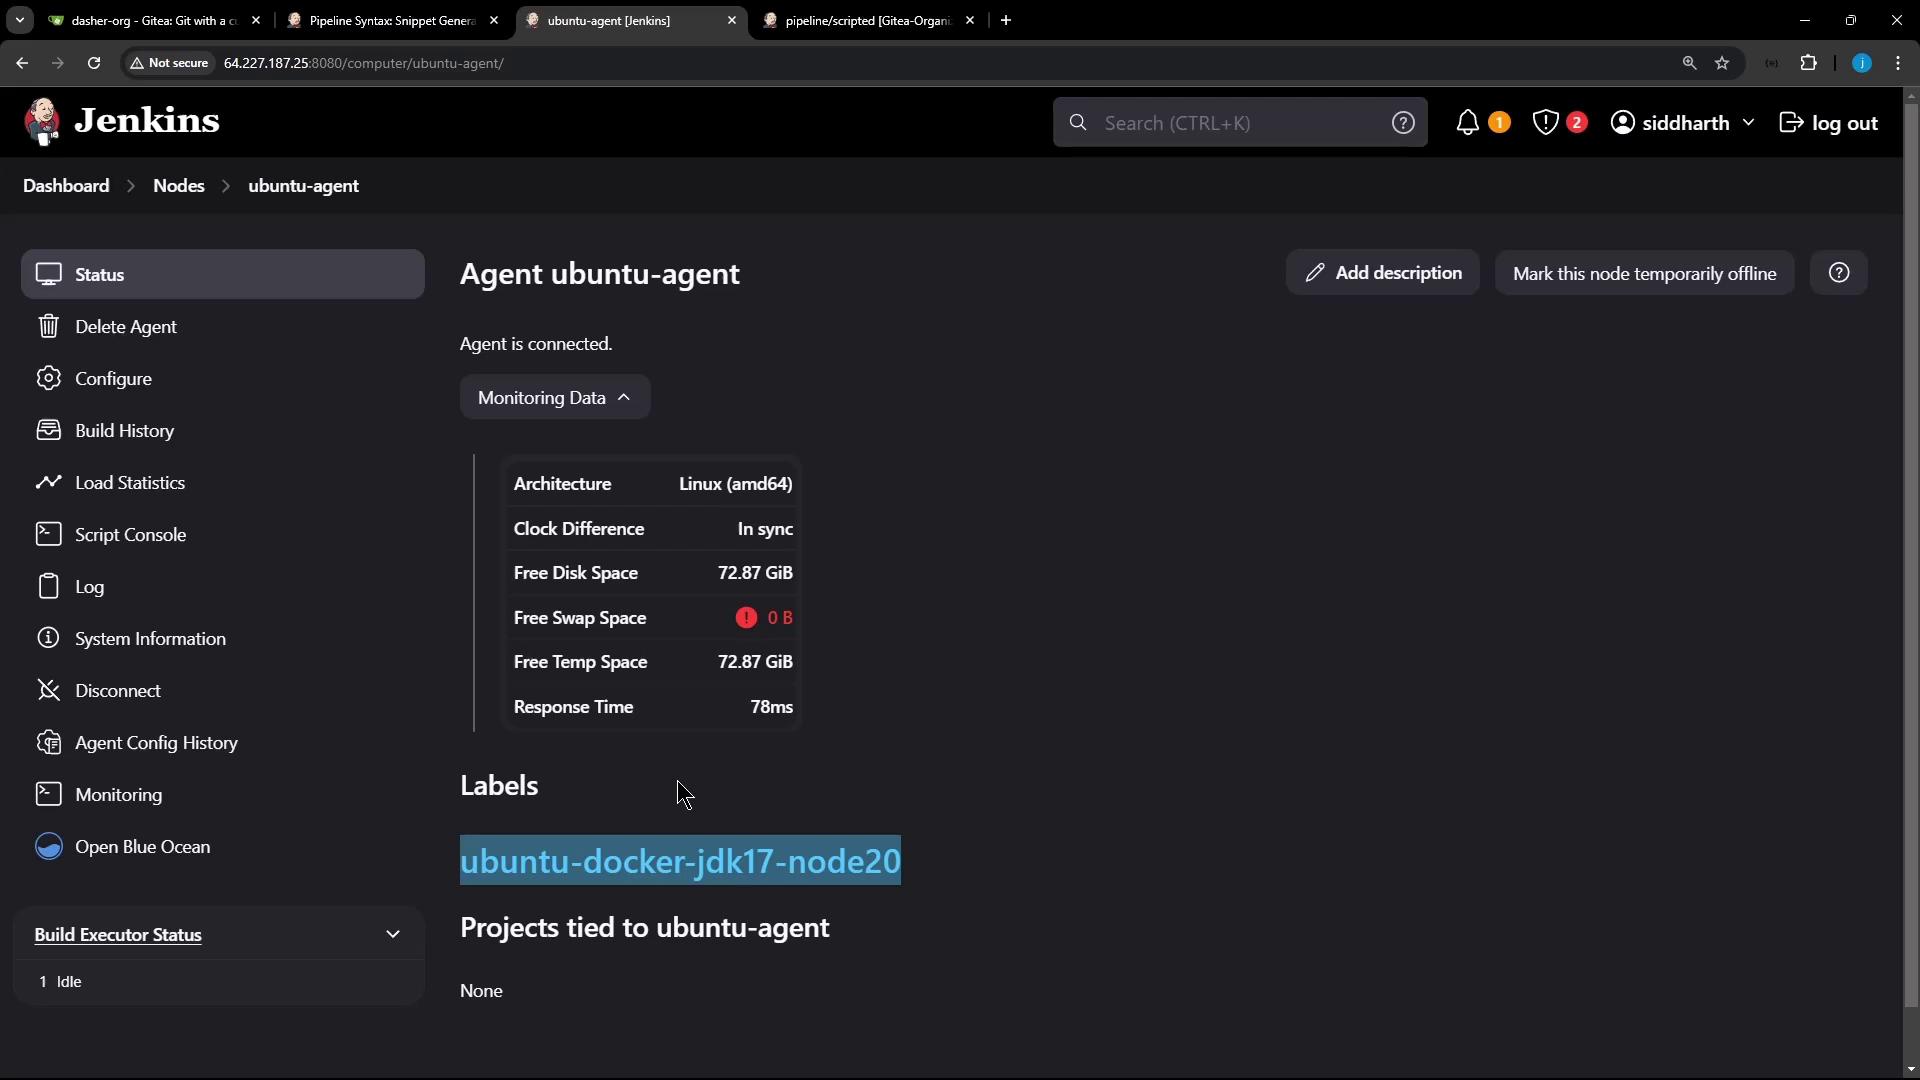
By default, a Scripted Pipeline executes on the Jenkins controller when no agent label is specified. To delegate it to a static node:

  1. Open your Jenkins dashboard and locate the agent you want to use.
  2. Copy its label—in this example, Ubuntu-Docker-JDK-17-node20.

The image shows a Jenkins dashboard for an agent named "ubuntu-agent," displaying its status, monitoring data, and available disk space. The agent is connected, with labels and no projects tied to it.

Wrap all pipeline stages in a node block with that label:

node('Ubuntu-Docker-JDK-17-node20') {
  // Your pipeline stages go here
}

Note

Ensure your static agent has Docker, JDK, and any required tools installed before running the pipeline.

2. Adding a Unit Test Stage with MongoDB Credentials

We’ll introduce a Unit Testing stage that runs npm test. Since these tests connect to MongoDB, we inject credentials at runtime using Jenkins’ withCredentials.

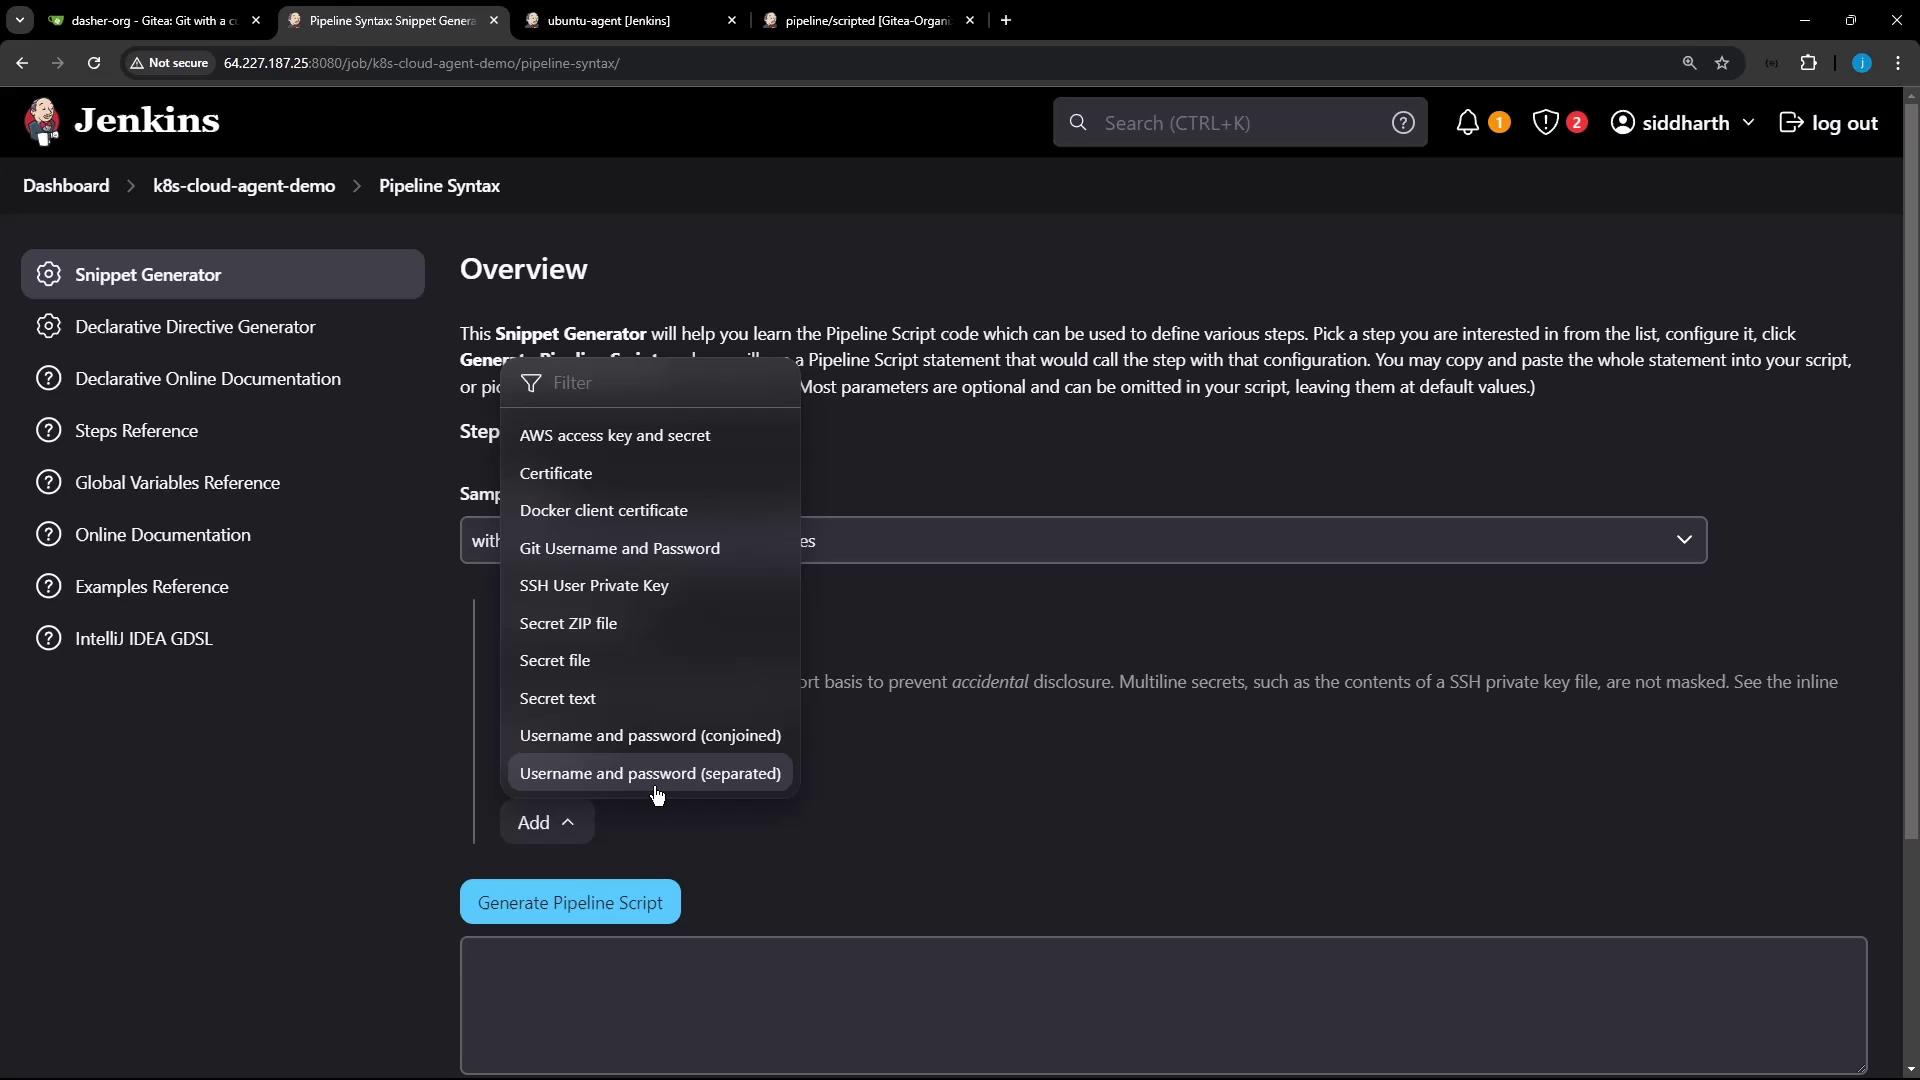
  1. Navigate to Pipeline Syntax in Jenkins.
  2. Open the Snippet Generator.
  3. Select withCredentials: Username and password (separated).
  4. Enter:
    • Credential ID: mongo-db-creds
    • Username Variable: MONGO_USERNAME
    • Password Variable: MONGO_PASSWORD

The image shows a Jenkins interface with a "Snippet Generator" for creating pipeline scripts. A dropdown menu is open, displaying options for selecting credentials like AWS access keys and SSH user private keys.

The generated snippet looks like this:

withCredentials([usernamePassword(
    credentialsId: 'mongo-db-creds',
    usernameVariable: 'MONGO_USERNAME',
    passwordVariable: 'MONGO_PASSWORD'
)]) {
    // your commands
}

3. Complete Jenkinsfile

Below is the full Jenkinsfile that checks out the code, installs dependencies, and runs unit tests with MongoDB credentials:

node('Ubuntu-Docker-JDK-17-node20') {

  stage('Checkout') {
    checkout scm
  }

  stage('Install Dependencies') {
    sh 'npm install'
  }

  stage('Unit Testing') {
    // Define the MongoDB URI
    env.MONGO_URI = 'mongodb+srv://supercluster.d3j...'

    // Inject MongoDB credentials
    withCredentials([usernamePassword(
        credentialsId: 'mongo-db-creds',
        usernameVariable: 'MONGO_USERNAME',
        passwordVariable: 'MONGO_PASSWORD'
    )]) {
      sh 'node -v'
      sh 'npm test'
    }
  }
}

After saving the Jenkinsfile, commit and push it to a new branch:

git checkout -b pipeline/scripted
git add Jenkinsfile
git commit -m "Run scripted pipeline on static agent with MongoDB credentials"
git push origin pipeline/scripted

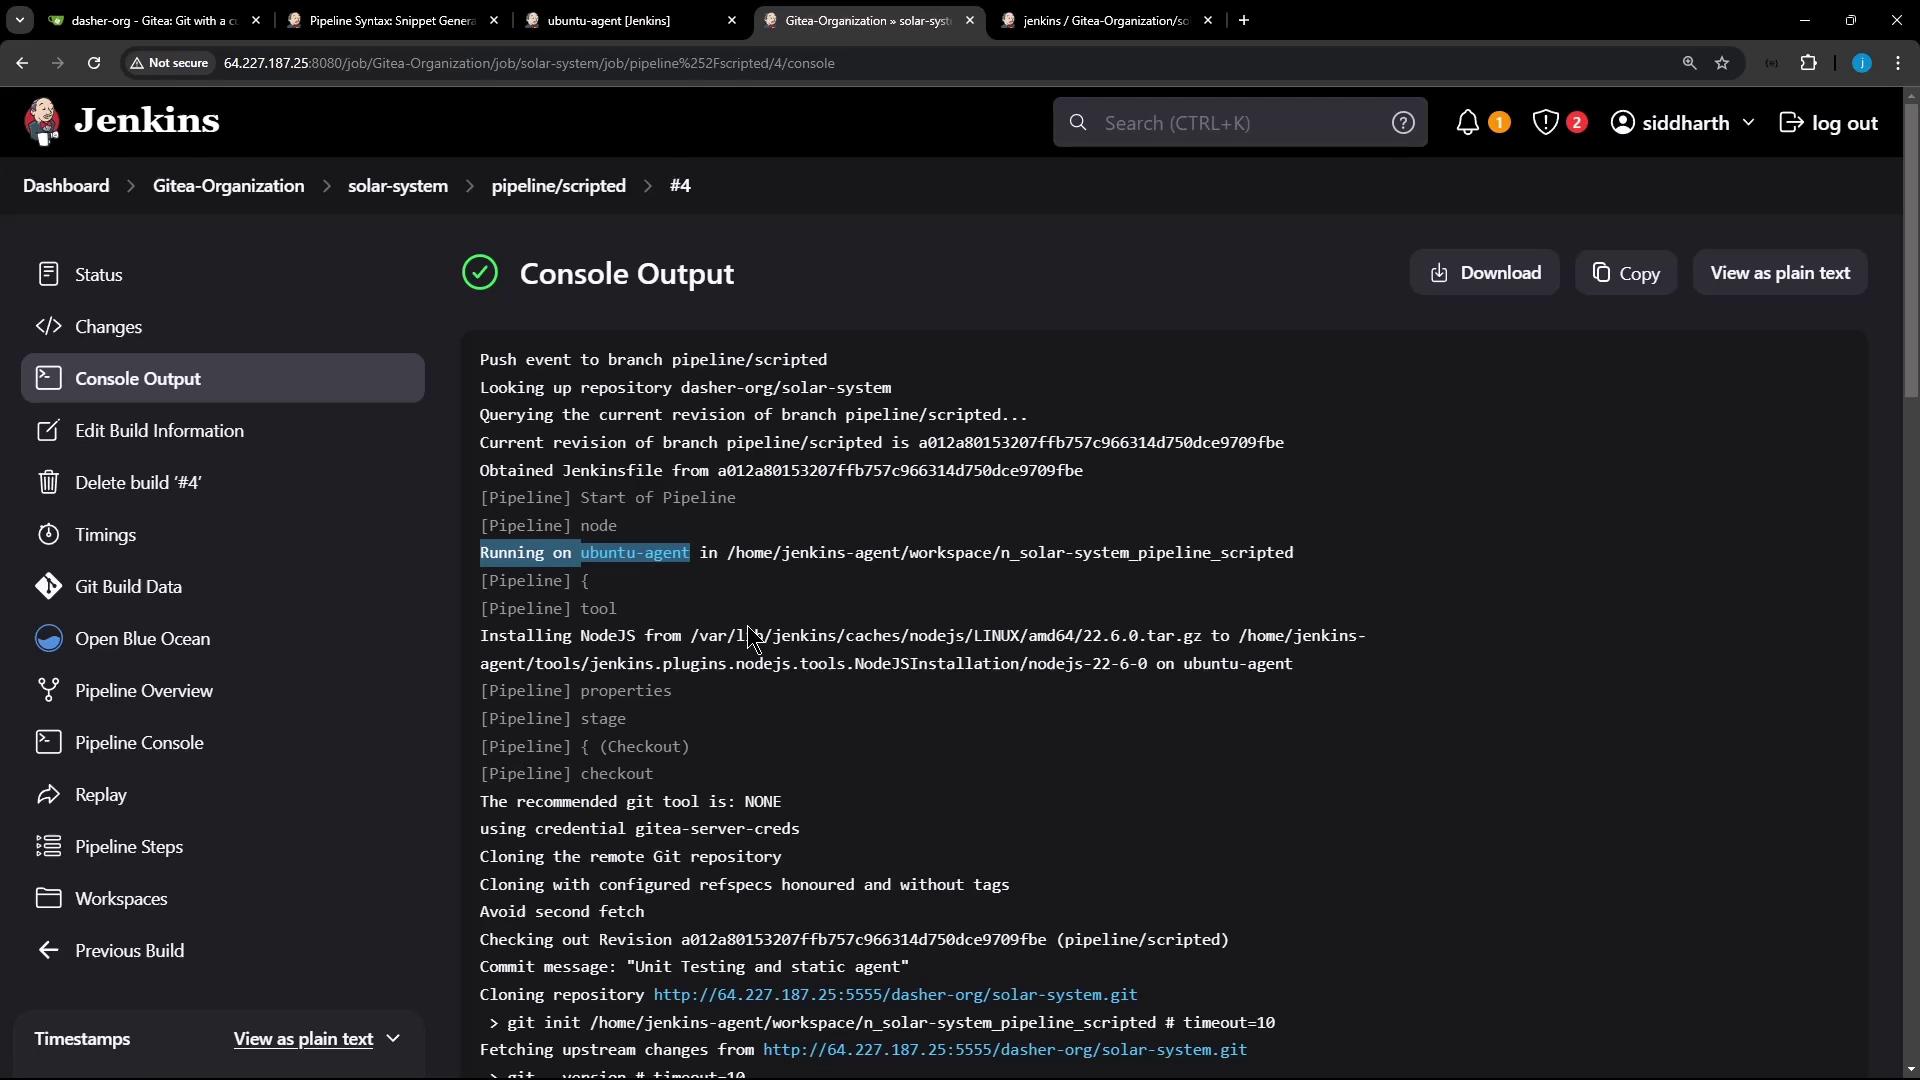
4. Verifying the Build

Once the branch is pushed, Jenkins automatically triggers the pipeline. In Blue Ocean, you’ll see each stage execute on the specified Ubuntu agent:

The image shows a Jenkins pipeline interface with multiple build stages, including "Checkout," "Installing Dependencies," and "Unit Testing," each marked with progress indicators. The sidebar contains options like "Build Now," "View Configuration," and "Pipeline Syntax."

Inspect the console output to ensure credentials were injected and tests ran successfully:

The image shows a Jenkins console output screen displaying the progress of a pipeline job, including details about the execution environment and steps being performed.

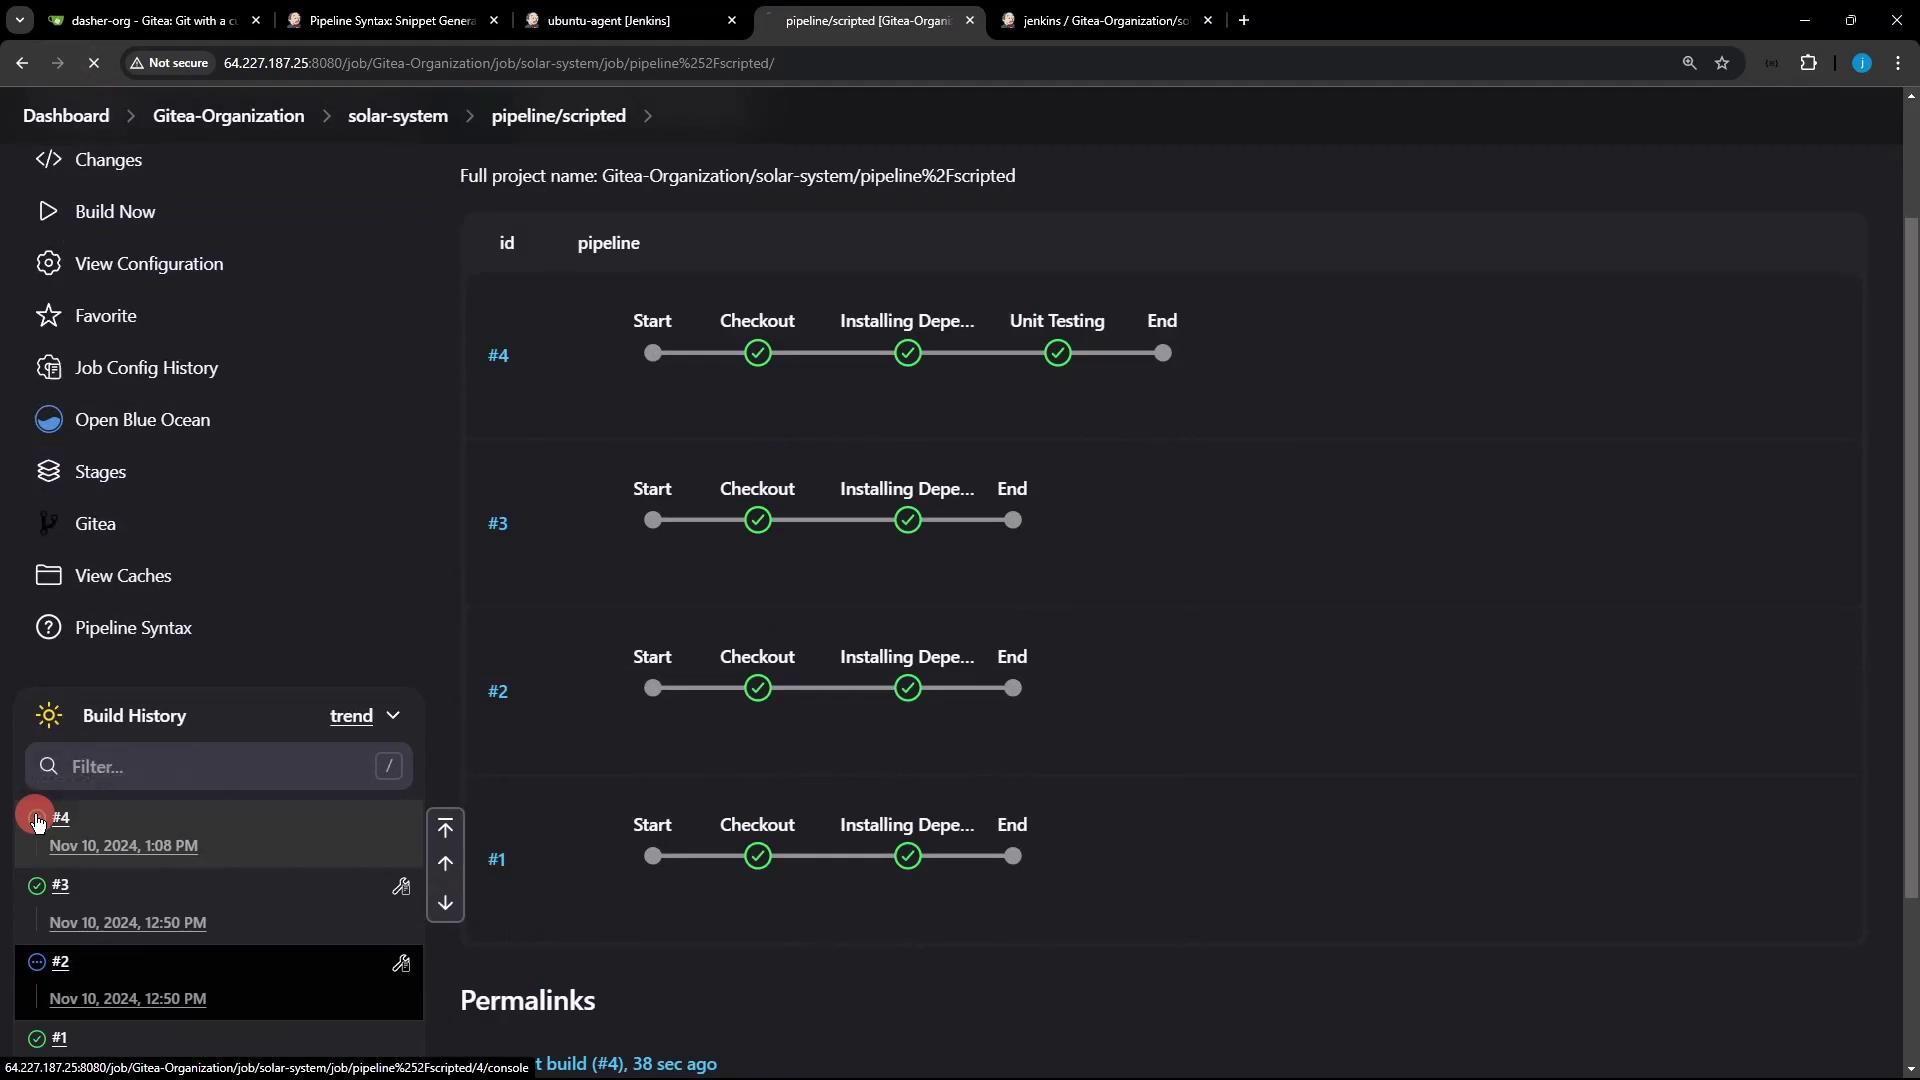
Pipeline Stages Summary

StagePurposeCommand
CheckoutClone source code from SCMcheckout scm
Install DependenciesInstall npm modulessh 'npm install'
Unit TestingRun tests using injected MongoDB credssh 'npm test'

Now all stages run on your static Ubuntu agent, and unit tests connect to MongoDB with the provided credentials.

References

Watch Video

Watch video content

Previous
Scripted Pipeline Initialize