Amazon Simple Storage Service (Amazon S3)

AWS S3 Advanced Features

Demo S3 Encryption

In this guide, we’ll demonstrate how to secure data in Amazon S3 using three server-side encryption methods:

  • SSE-S3 (default S3-managed keys)
  • SSE-KMS (AWS-managed)
  • SSE-KMS (customer-managed)
Encryption MethodDescriptionAccess Control
SSE-S3Server-side encryption with S3-managed keysAny IAM principal with S3 permissions decrypt
SSE-KMS (AWS-managed)SSE using an AWS-managed KMS CMKRequires S3 + KMS usage permissions
SSE-KMS (customer-managed)SSE using a customer-created KMS CMKFine-grained KMS policy separates duties

For more details, see the Amazon S3 Encryption Overview and the AWS KMS Documentation.

1. Default SSE-S3 Encryption

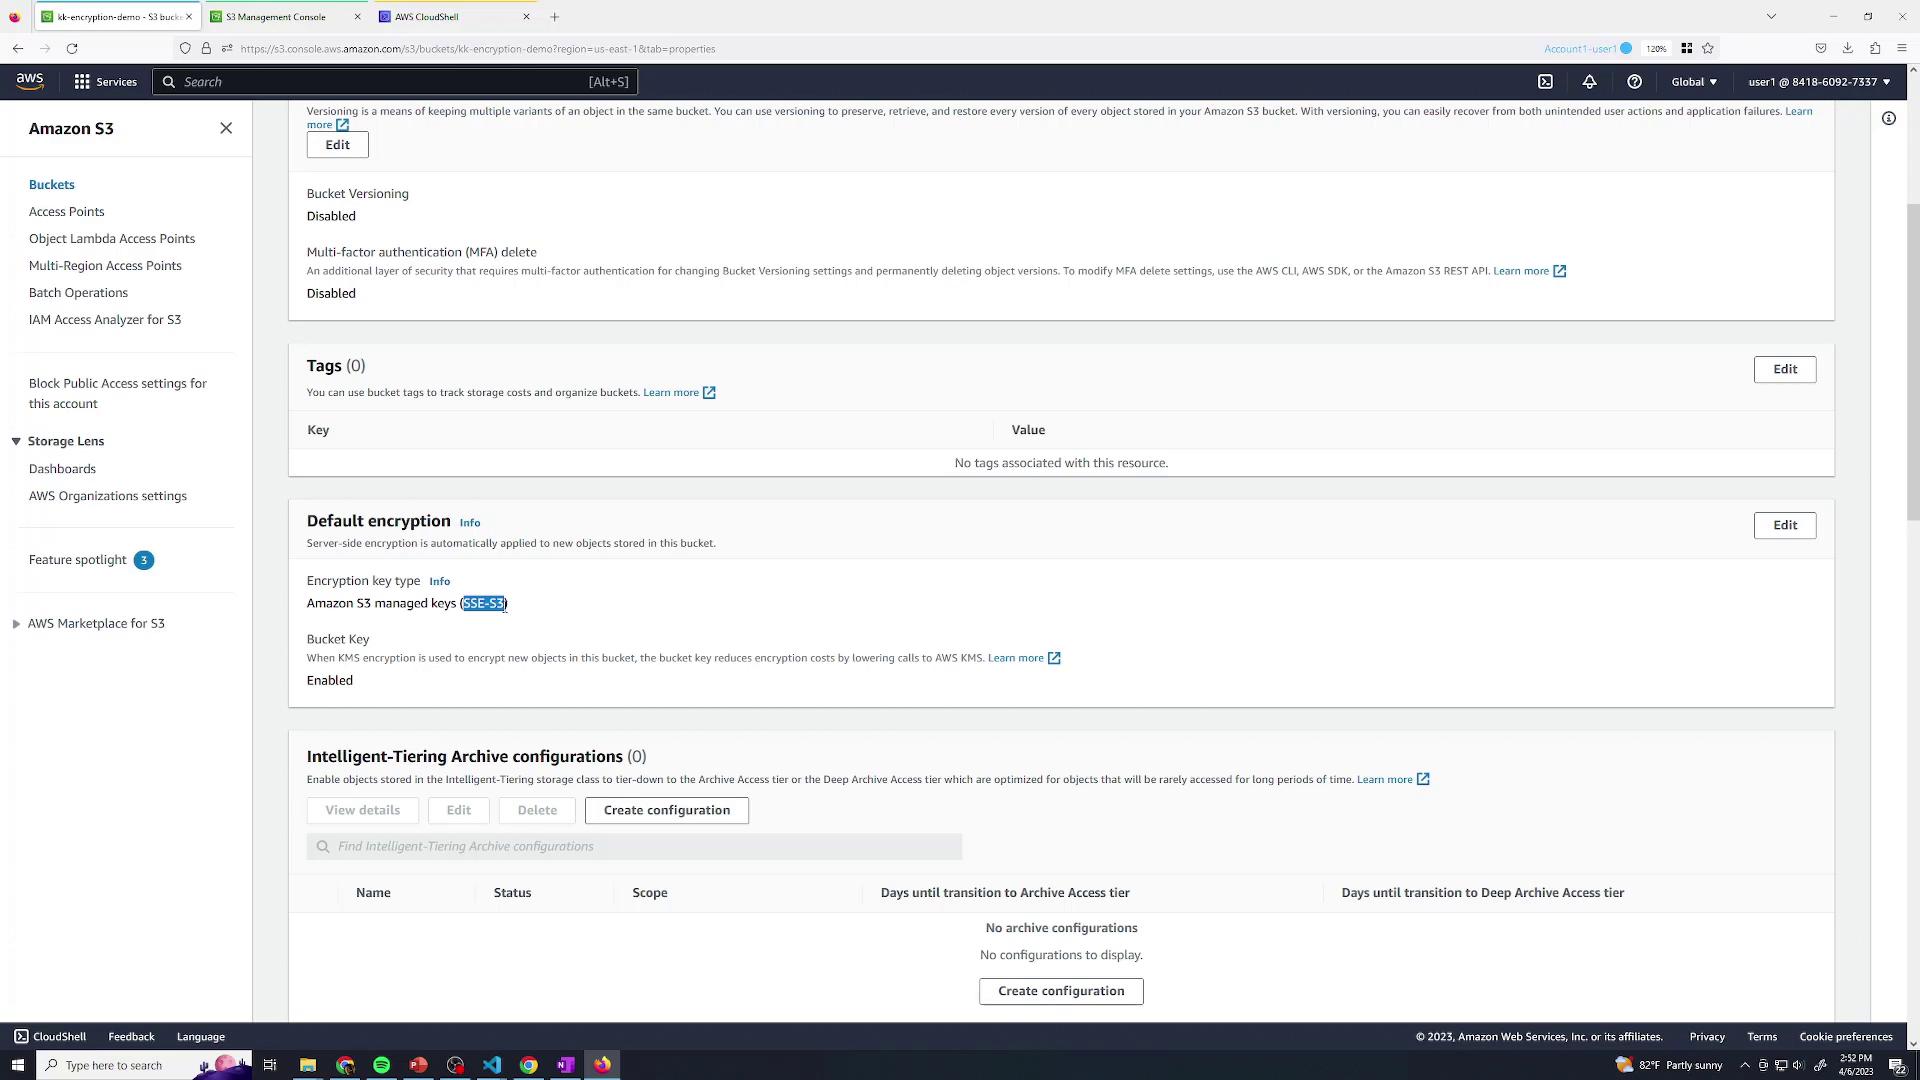
By default, any object uploaded to a new S3 bucket is encrypted at rest with SSE-S3. You don’t need to configure anything extra.

Note

If you haven’t changed bucket defaults, SSE-S3 is automatically applied to all uploads.

The image shows an Amazon S3 management console screen with settings for bucket properties, including versioning, encryption, and intelligent-tiering archive configurations. The default encryption is set to use Amazon S3 managed keys (SSE-S3).

When uploading via the console, you can explicitly choose Server-side encryptionAmazon S3 key (SSE-S3):

The image shows an AWS Management Console screen focused on S3 storage options, specifically server-side encryption settings. It includes options for specifying encryption keys and additional checksum settings.

Upload a test file and verify its Encryption property in the object details. SSE-S3 uses keys fully managed by AWS; any user with S3 permissions can decrypt objects.

2. SSE-KMS with the AWS-Managed Key

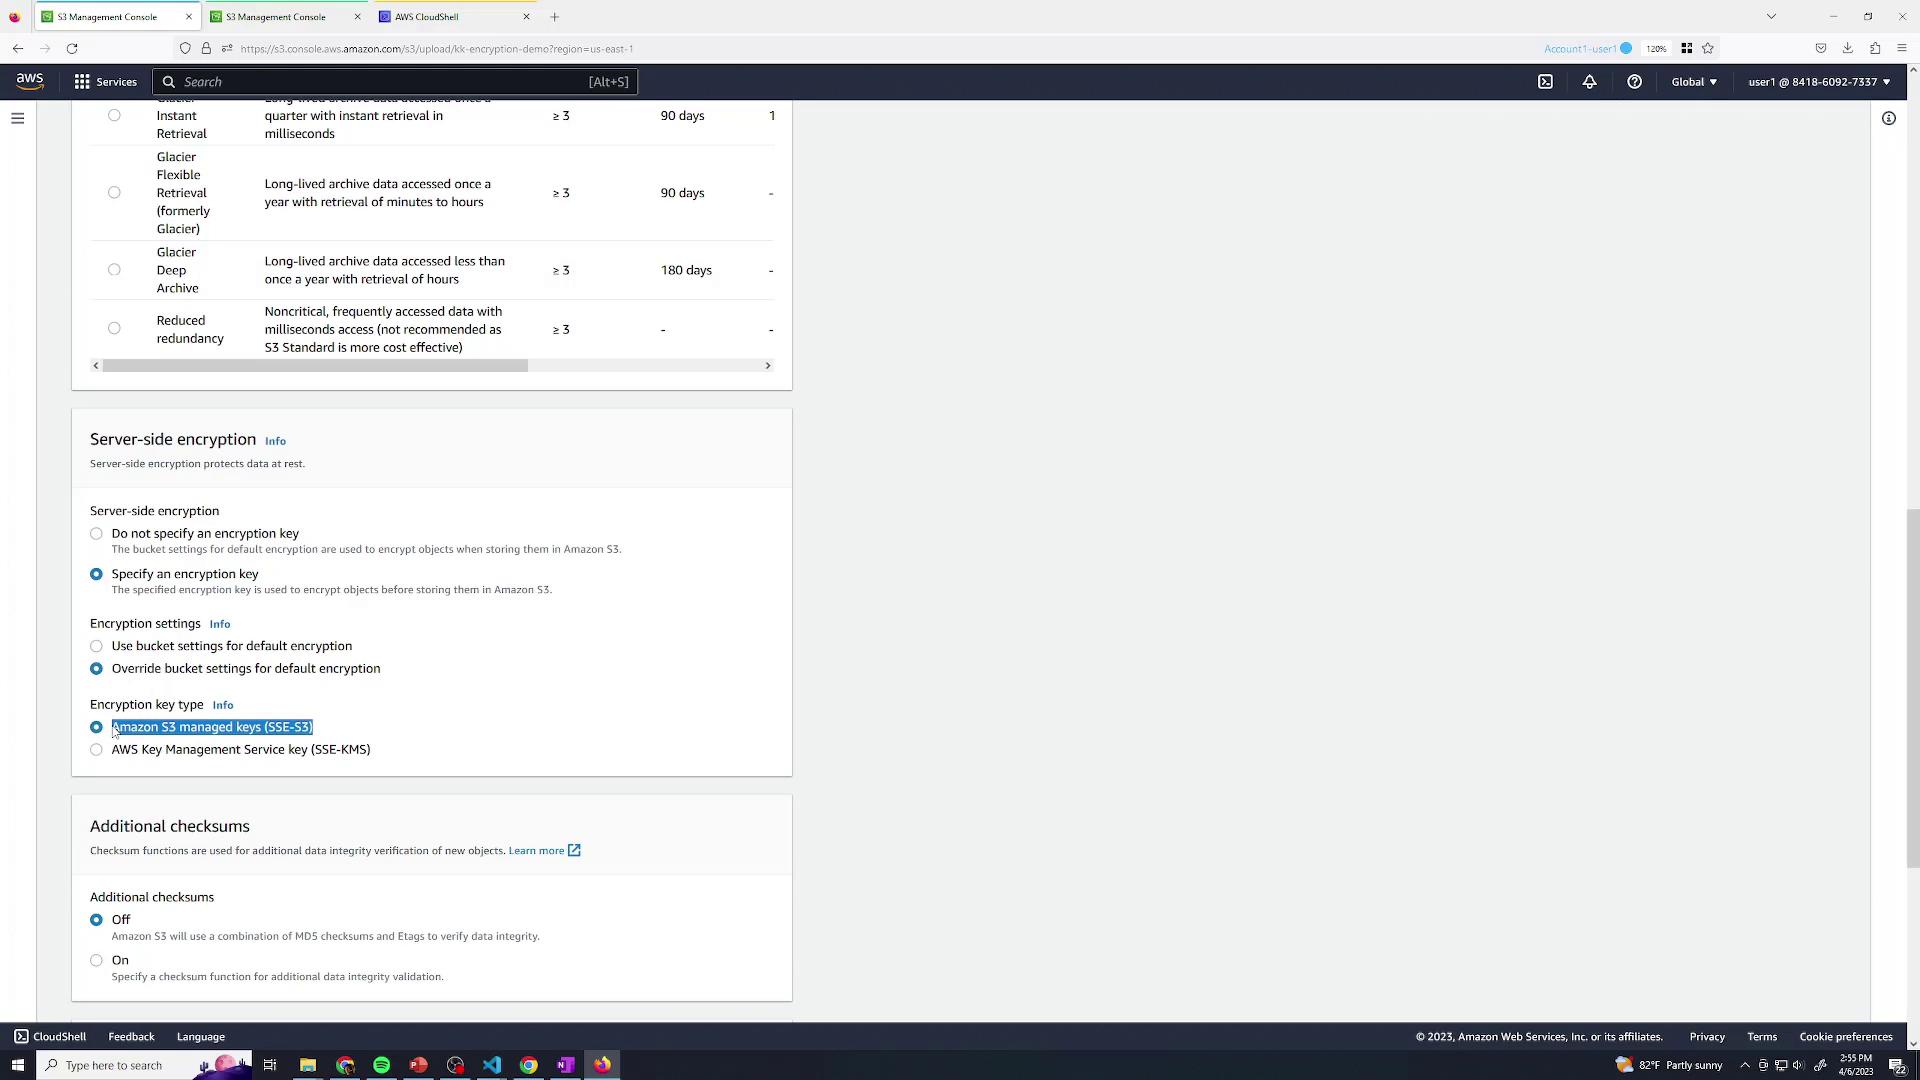
To add KMS to the mix, override the bucket’s default encryption at upload time:

  1. Start a new upload in the S3 console.
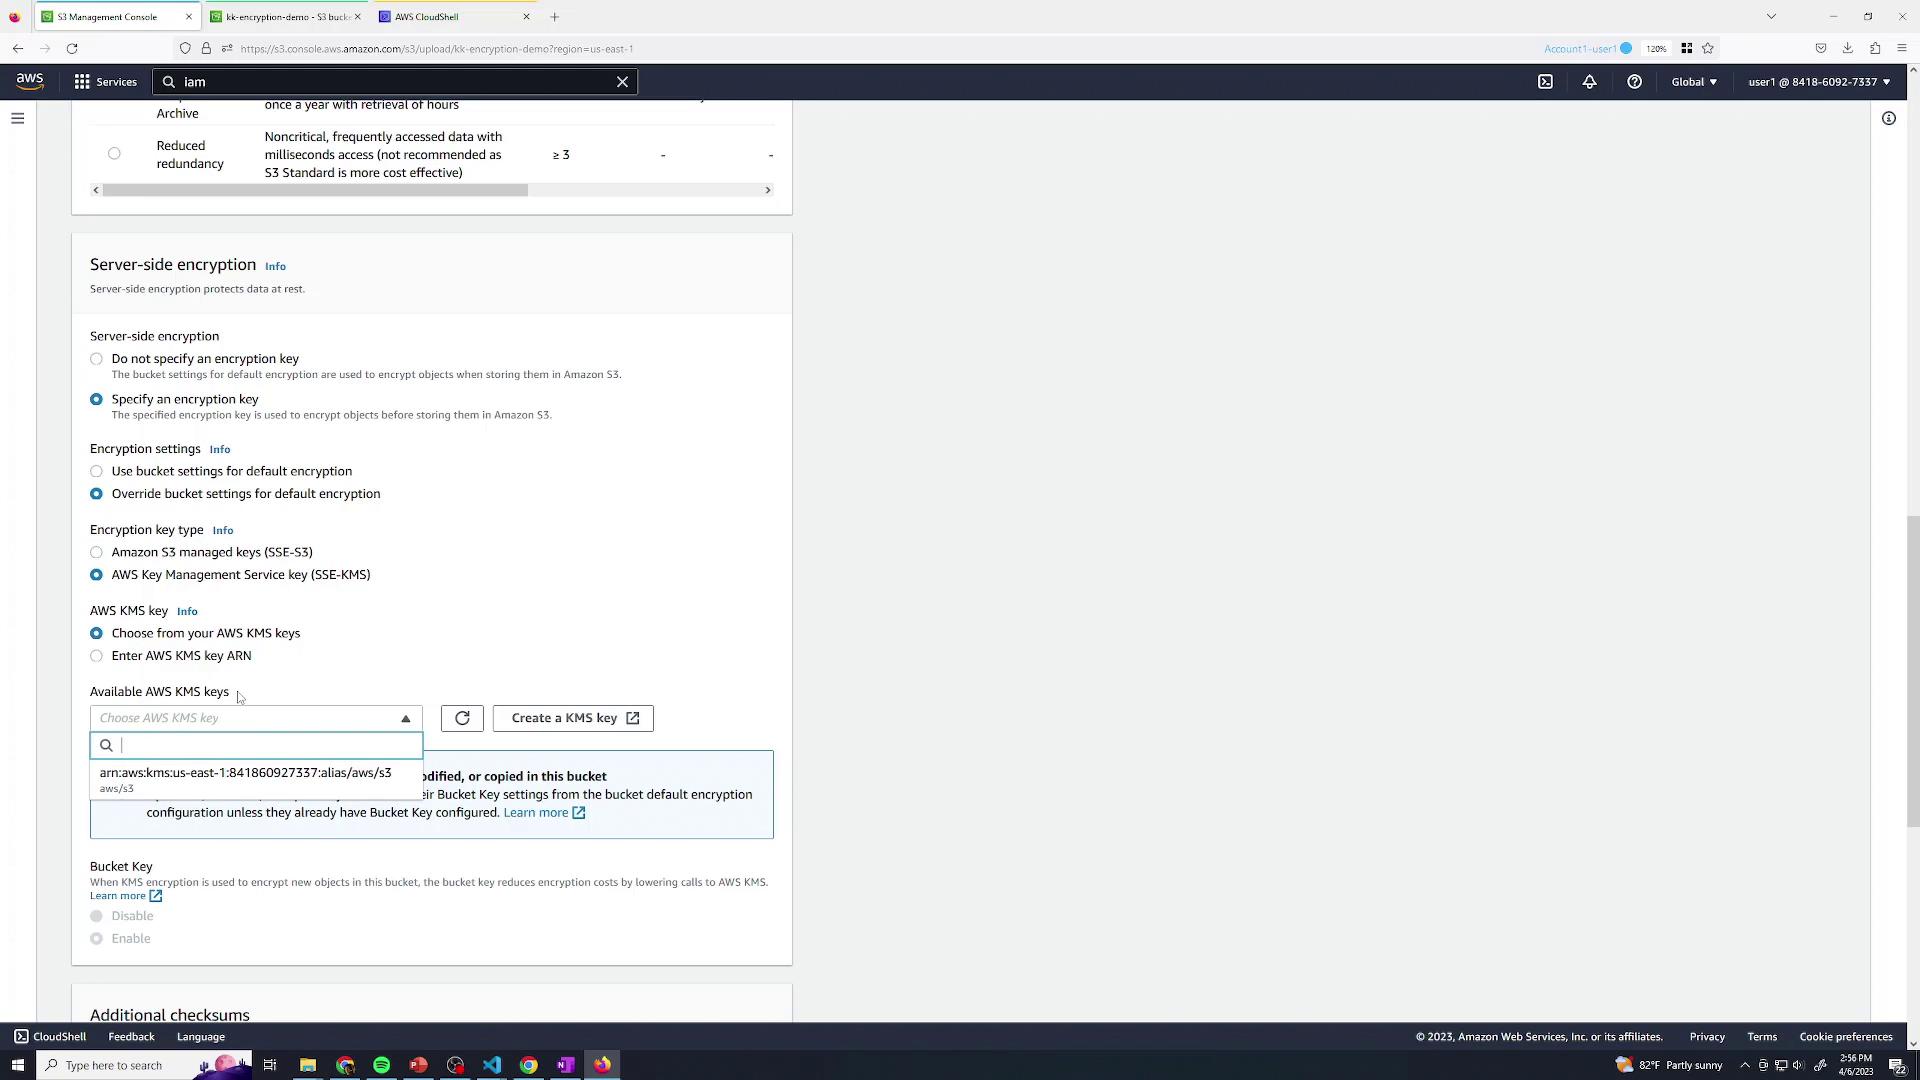
  2. In Properties, set Server-side encryptionAWS KMS key (SSE-KMS).
  3. Select the default AWS-managed CMK for S3.
  4. Complete your upload.

The image shows an AWS Management Console screen focused on server-side encryption settings for an S3 bucket, with options for specifying encryption keys and types.

If the S3-default key doesn’t exist, S3 provisions it automatically. You can browse managed CMKs in the KMS console:

The image shows the AWS Key Management Service (KMS) webpage, detailing features for creating and managing encryption keys across AWS. It includes sections on how it works, pricing, and getting started, with a sidebar for navigation.

After uploading, inspect your object’s metadata:

The image shows an AWS S3 console displaying the properties of an object named "bird-KMS-default-key.jpg" in a bucket. It includes details like size, type, and object URL, with bucket versioning disabled.

And check the AWS-managed CMK list:

The image shows the AWS Key Management Service (KMS) console with a list of AWS managed keys, including aliases for S3 and RDS, both of which are enabled.

The policy for an AWS-managed CMK is fixed and cannot be altered:

{
  "Version": "2012-10-17",
  "Id": "auto-s3-2",
  "Statement": [
    {
      "Sid": "Allow access through S3 for all principals in the account that are authorized to use S3",
      "Effect": "Allow",
      "Principal": {
        "AWS": "*"
      },
      "Action": [
        "kms:Encrypt",
        "kms:Decrypt",
        "kms:ReEncrypt*",
        "kms:GenerateDataKey*"
      ]
    }
  ]
}

The image shows an Amazon S3 console with a bucket named "kk-encryption-demo" containing two JPEG files. The files are listed with details such as name, type, last modified date, size, and storage class.

Warning

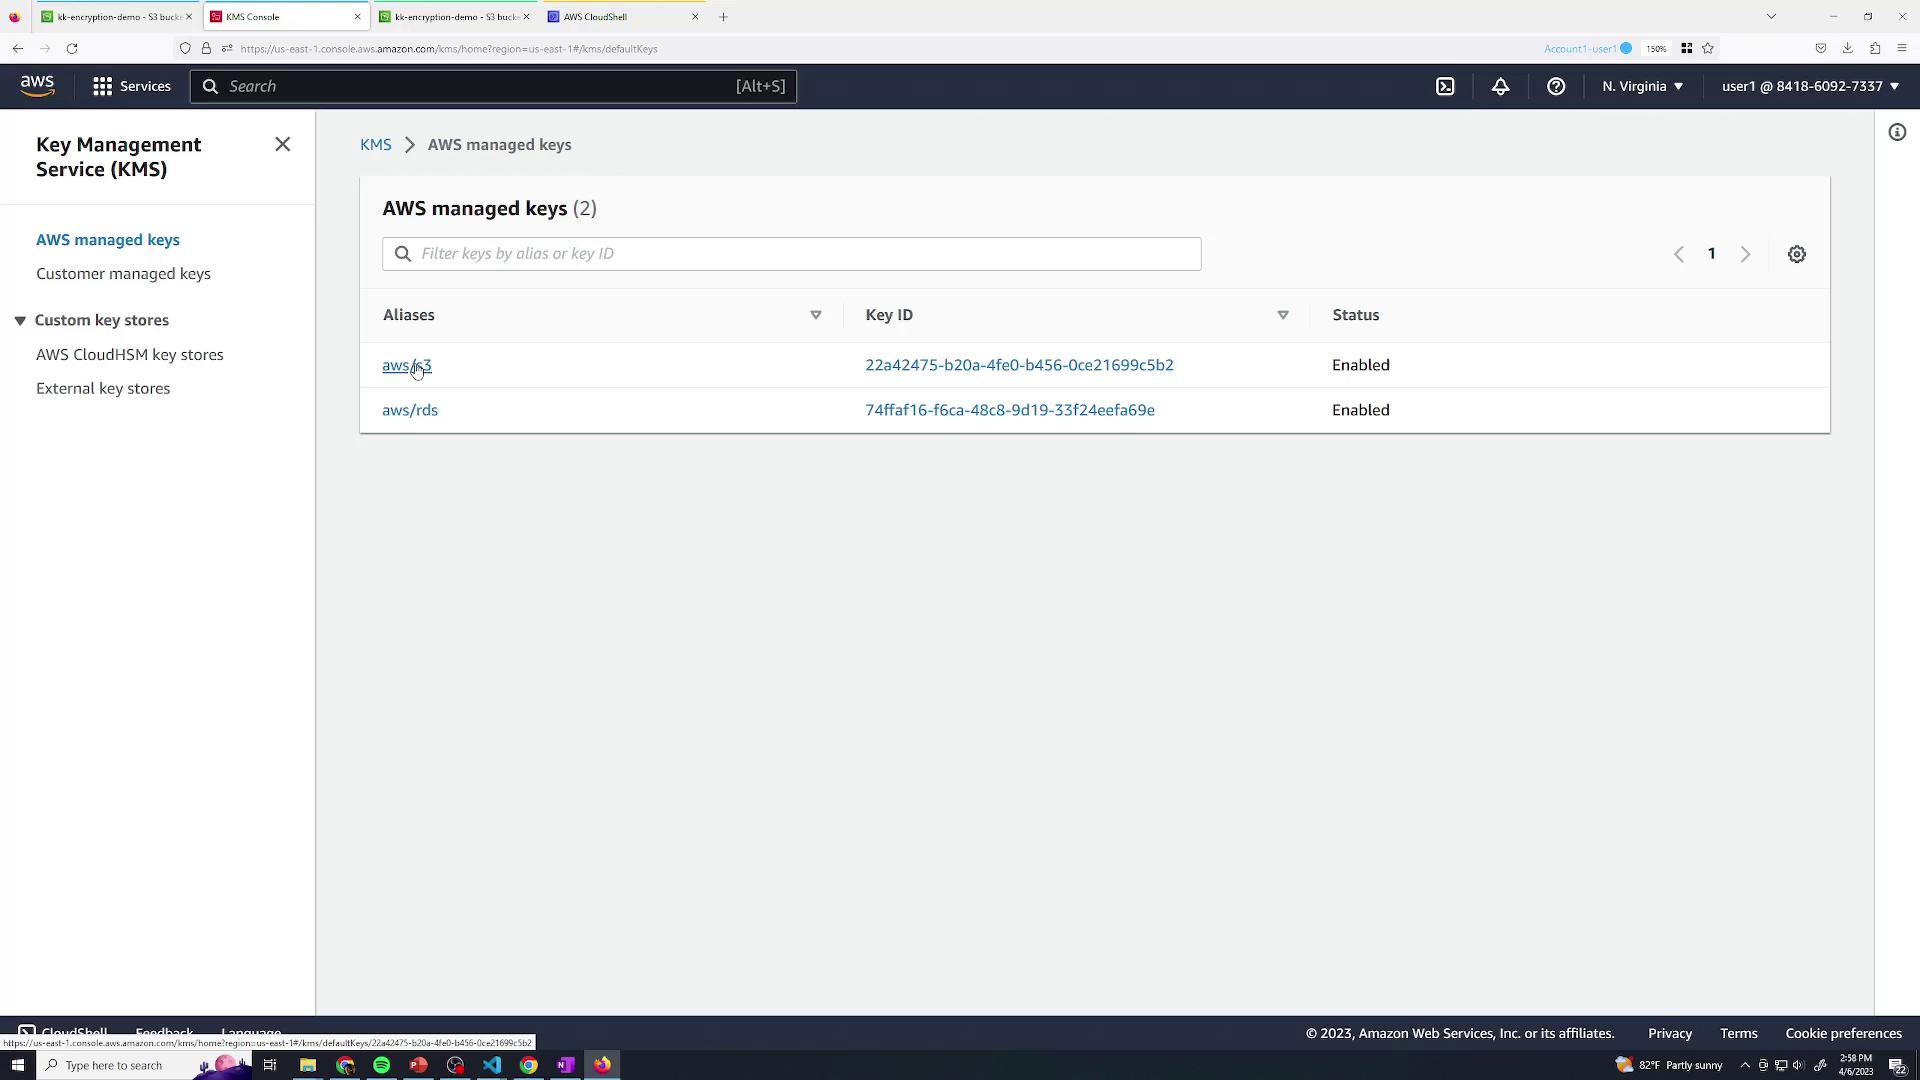
AWS-managed CMKs can’t restrict decryption separate from S3 access. Any user with S3 permissions can decrypt SSE-KMS objects.

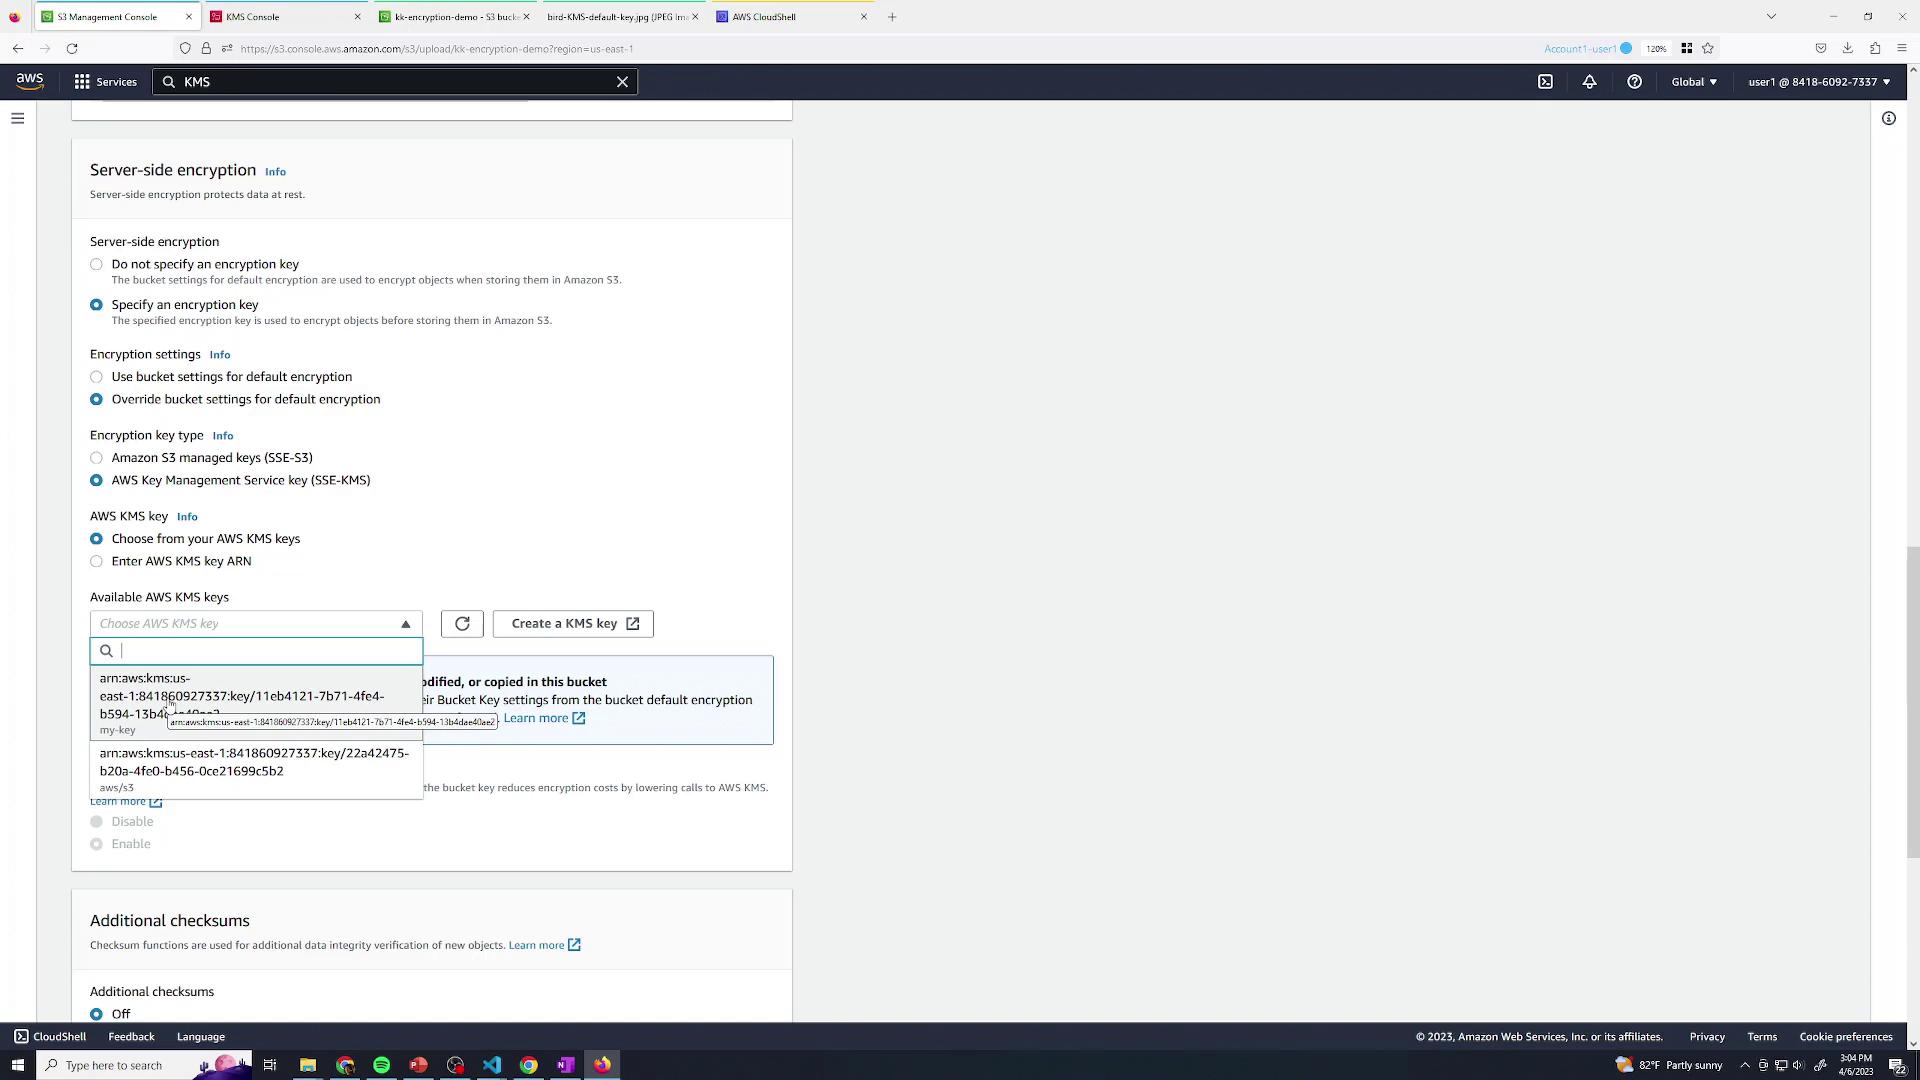
3. Customer-Managed KMS Keys for Granular Control

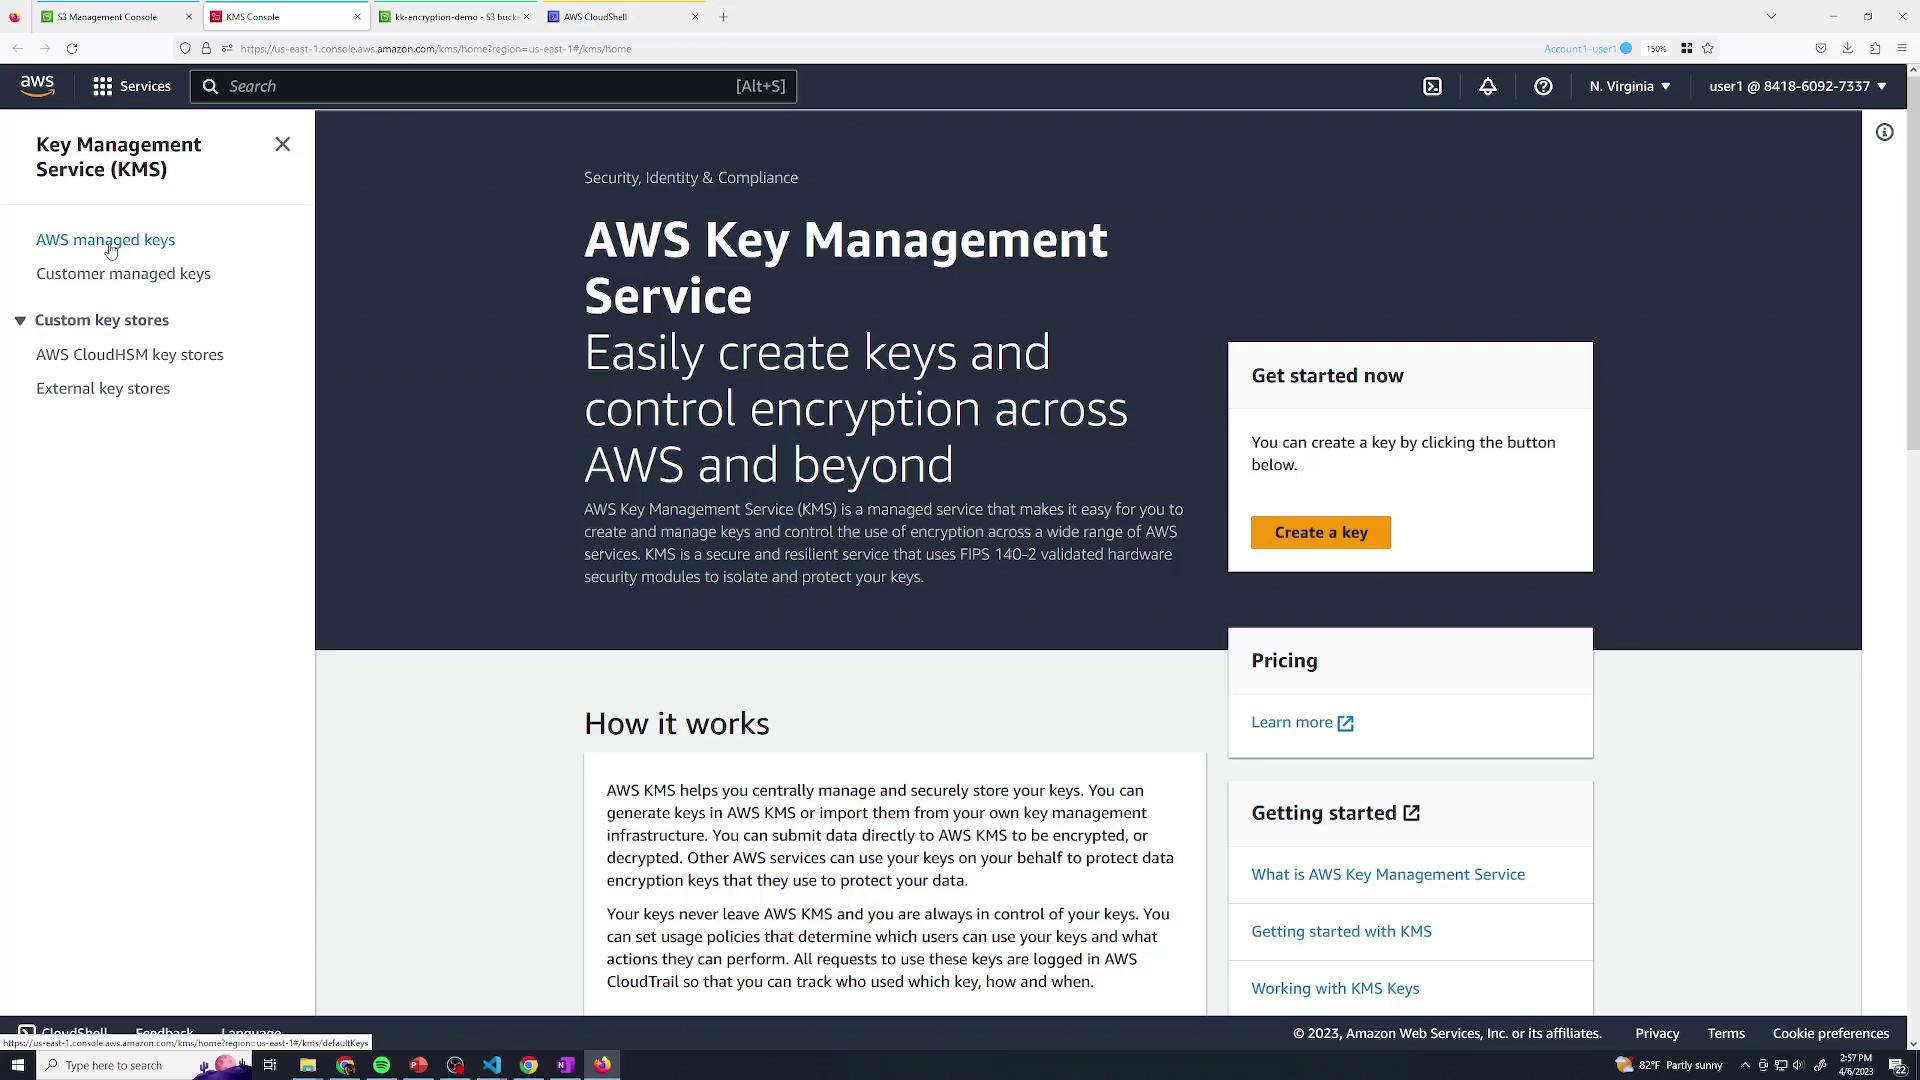
To separate S3 permissions from decryption rights, create and use your own KMS CMK.

3.1 Create a Customer-Managed CMK

  1. In the KMS console, go to Customer managed keysCreate key.
  2. Choose Symmetric and click Next.
  3. Add an alias, e.g., my-key.

The image shows an AWS KMS (Key Management Service) interface where a user is adding labels to a key, including an alias named "my-key." There are optional fields for description and tags.

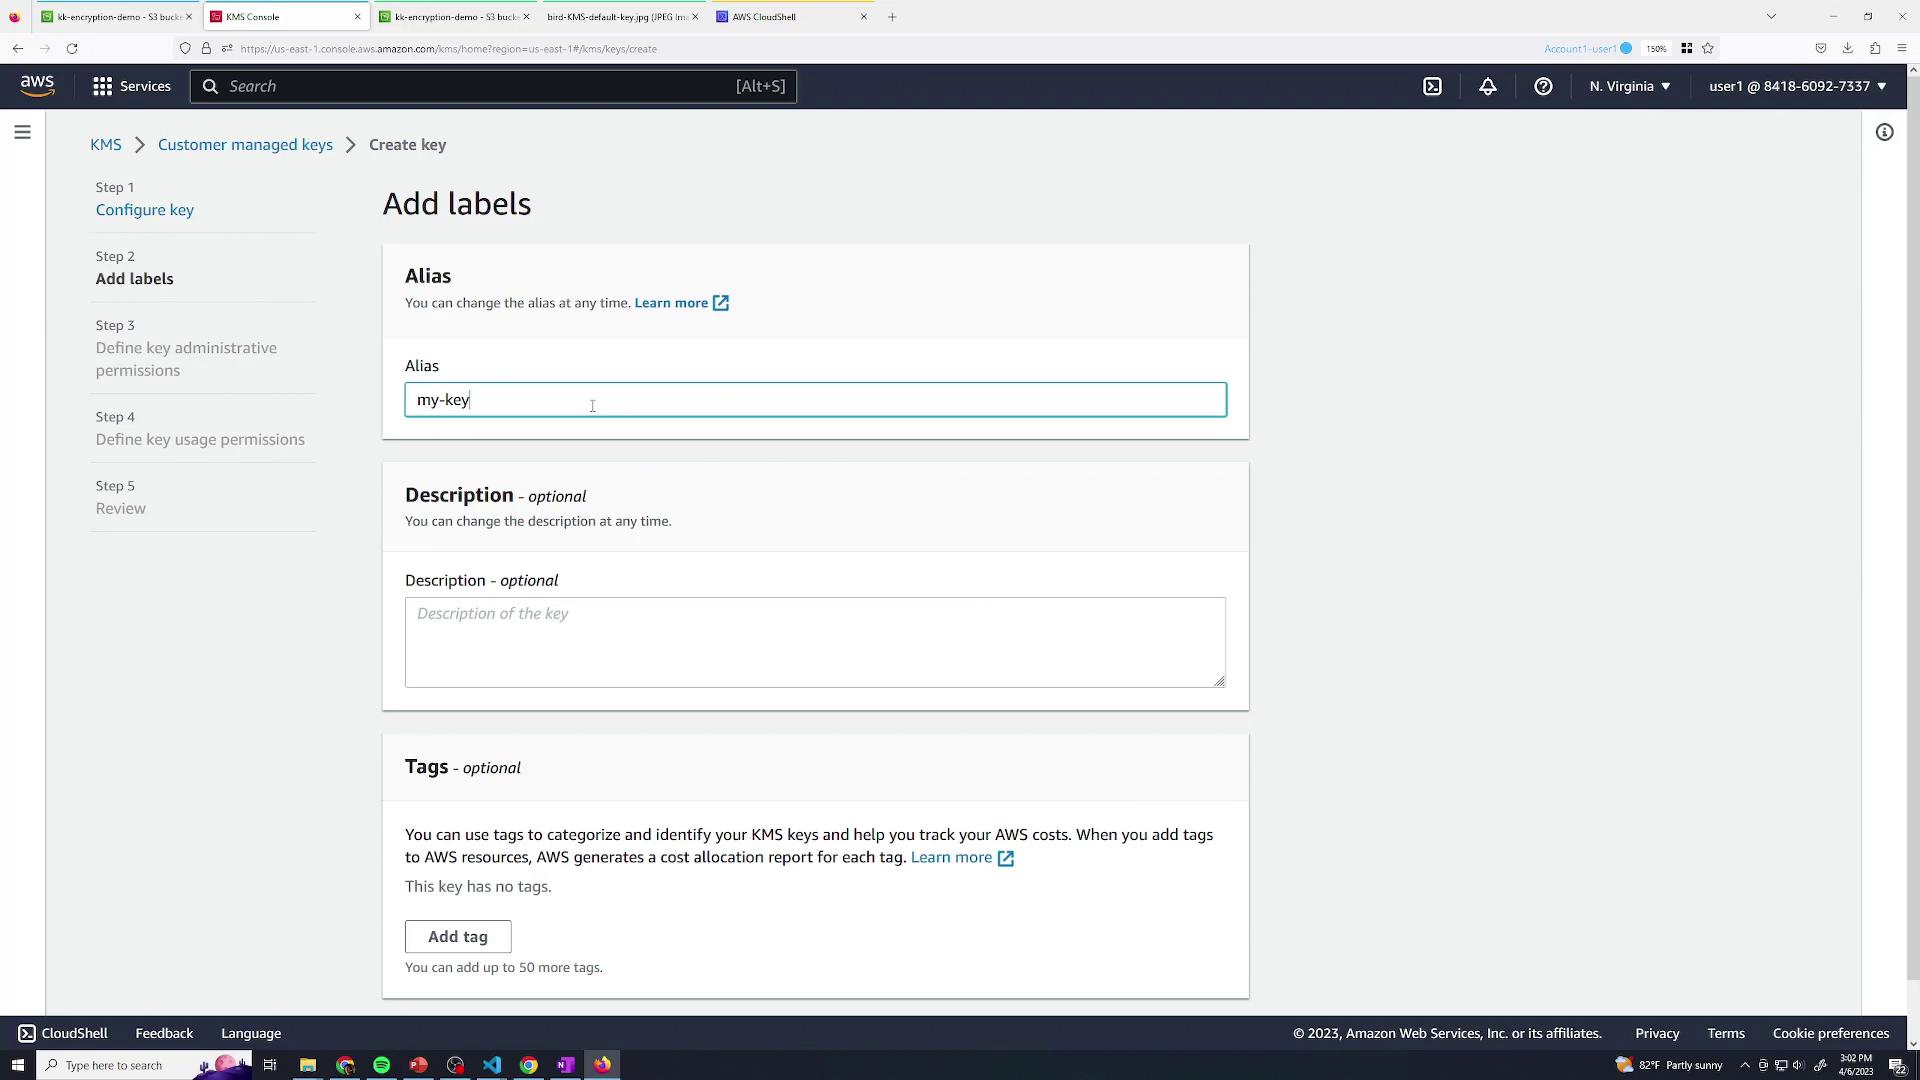
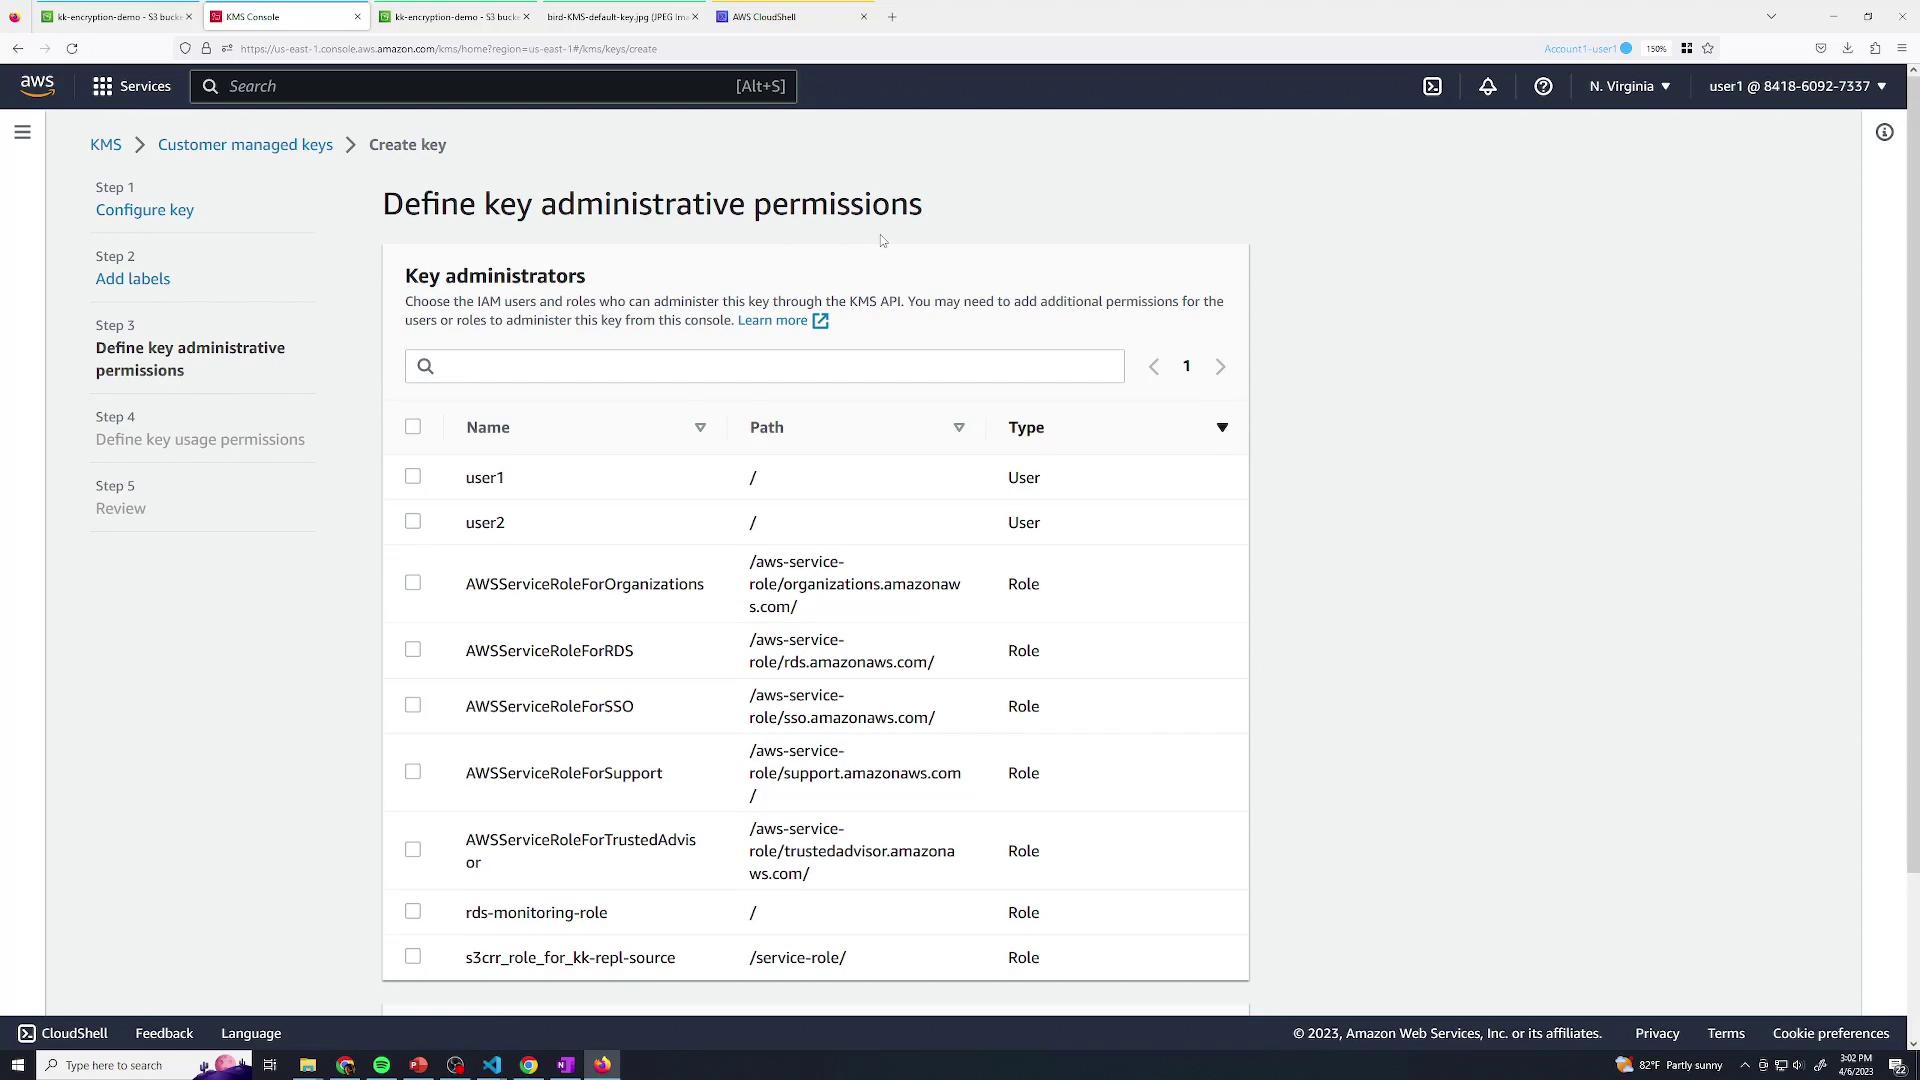
  1. Specify Key administrative permissions (who can manage the CMK).

The image shows an AWS KMS console screen where key administrative permissions are being defined, listing various users and roles.

  1. Define Key usage permissions (who can encrypt/decrypt).
  2. Review and finish. The default key policy looks like:
{
  "Id": "key-consolepolicy-3",
  "Version": "2012-10-17",
  "Statement": [
    {
      "Sid": "Enable IAM User Permissions",
      "Effect": "Allow",
      "Principal": {
        "AWS": "arn:aws:iam::841860297733:root"
      }
    }
  ]
}

3.2 Encrypt an Object with Your CMK

  1. Open your S3 bucket and start a new upload.
  2. Under Override default encryption, choose AWS KMS keymy-key.

The image shows an AWS Management Console screen for configuring server-side encryption settings for an S3 bucket, with options to specify an encryption key and select from available AWS KMS keys.

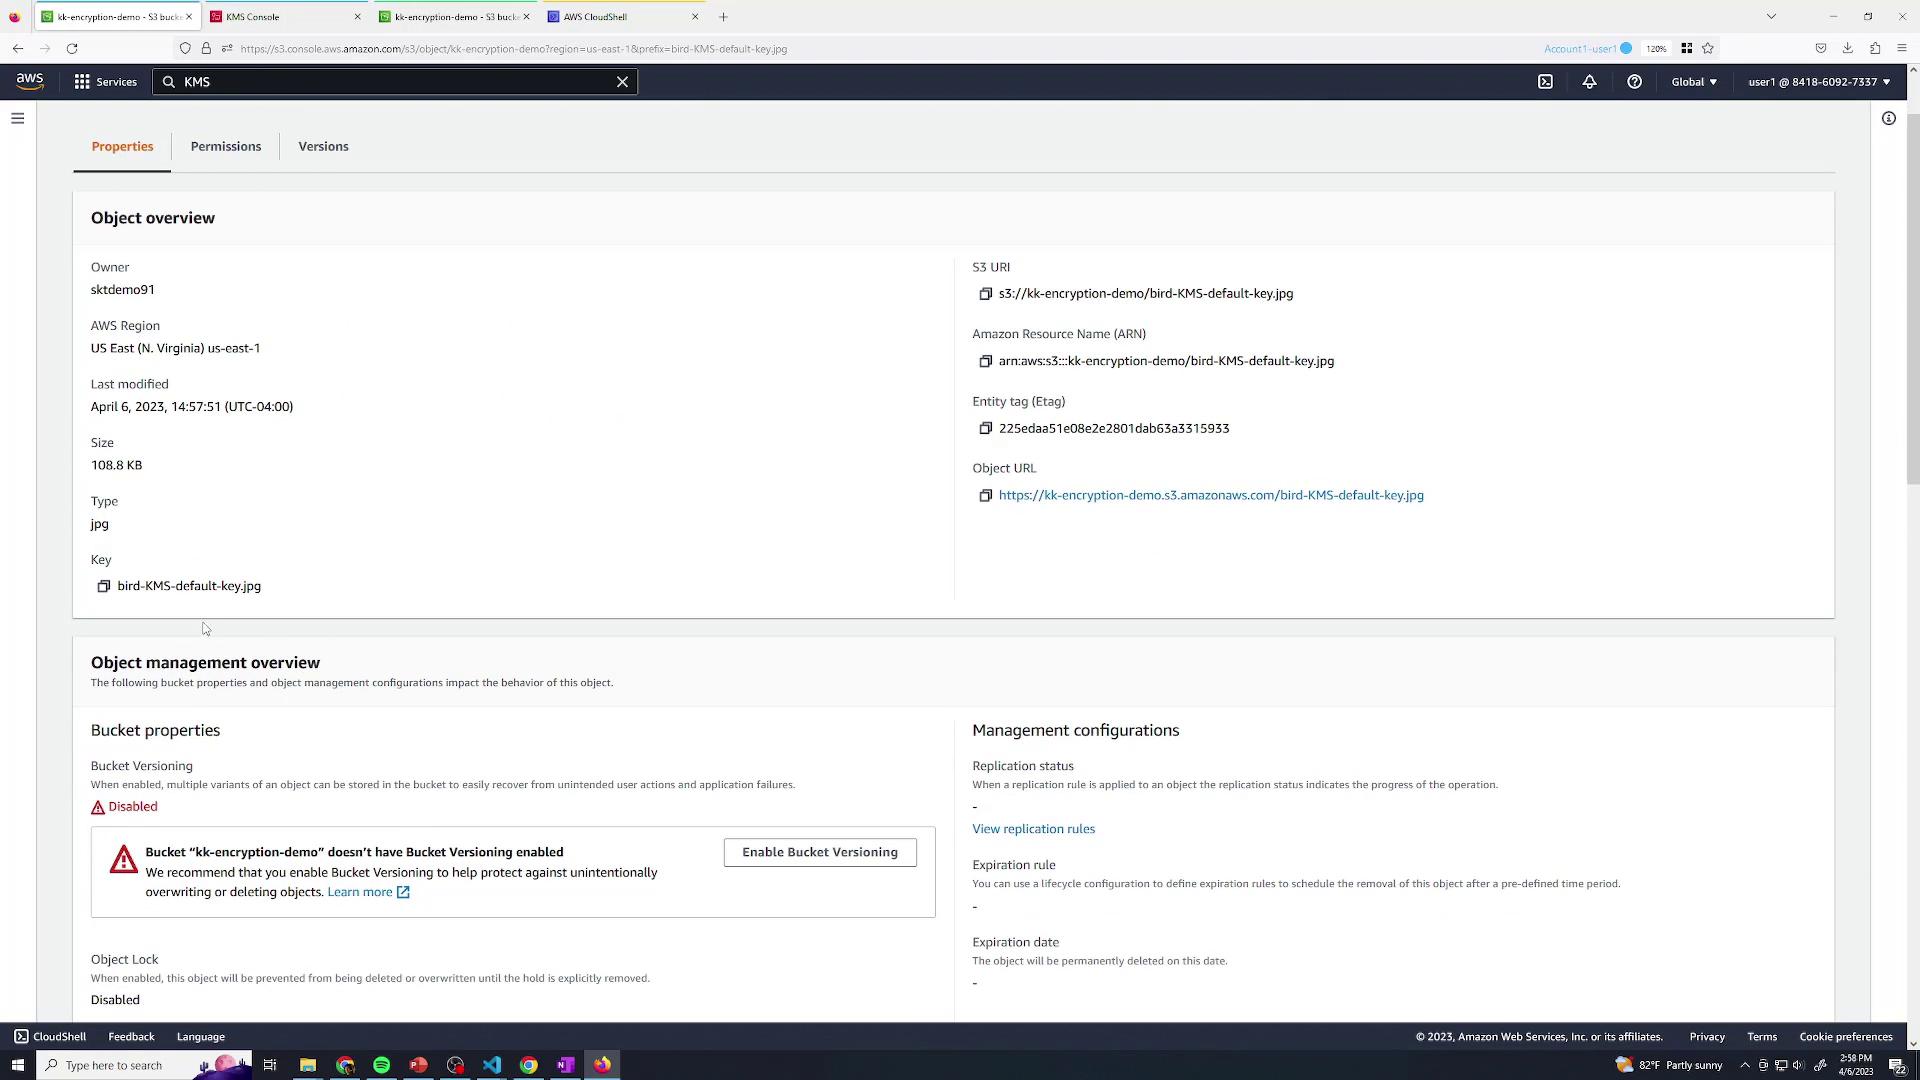
  1. Upload and view the object details:

The image shows an Amazon S3 console interface displaying details of an object named "brid-KMS-Custom-key.jpg," including its properties, S3 URI, and bucket management settings.

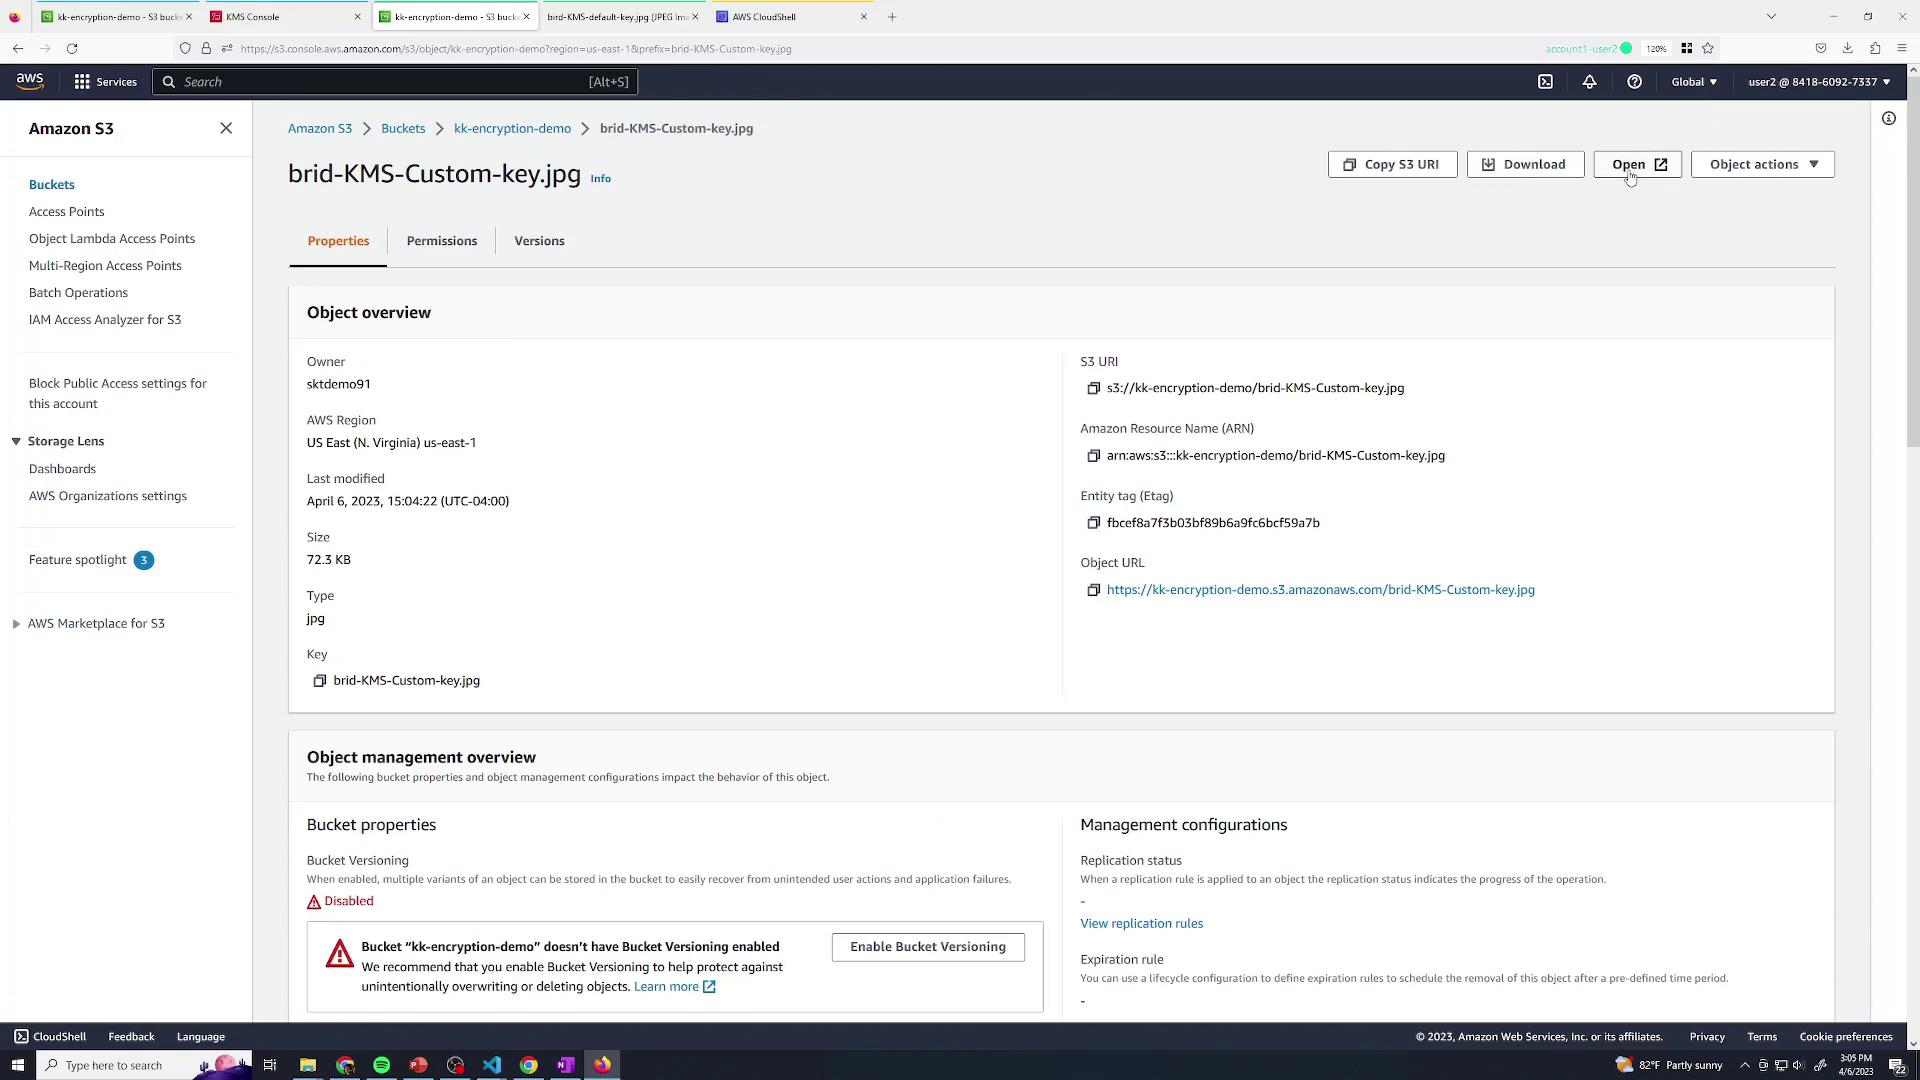
  • Admin (with S3 + KMS rights) can download and decrypt.
  • User2 (S3-only) can list and modify metadata but cannot decrypt:
<Error>
  <Code>AccessDenied</Code>
  <Message>The ciphertext refers to a customer master key that does not exist, does not exist in this region, or you are not allowed to access.</Message>
  <RequestId>45V16V31G01DFAB5</RequestId>
  <HostId>1kv(0M+PFX6f0xACL7kpxnmxFkHerBHM2xYJWFT6uBiBkbPqbV6YBUOzVwViTRkbIDhk=</HostId>
</Error>

Users without KMS Decrypt permission can still delete or rename the object:

The image shows an Amazon S3 console with a bucket named "kk-encryption-demo" containing three JPEG files. The files are listed with details such as name, type, last modified date, size, and storage class.

3.3 Manage Your Customer-Managed CMK

Back in the KMS console, you can edit your CMK policy, enable key rotation, and adjust usage permissions—capabilities not available for AWS-managed CMKs:

The image shows an AWS Key Management Service (KMS) console page displaying details of a customer-managed key, including its alias, ARN, status, and creation date. The "Key policy" section is open, with options to add or remove key administrators.

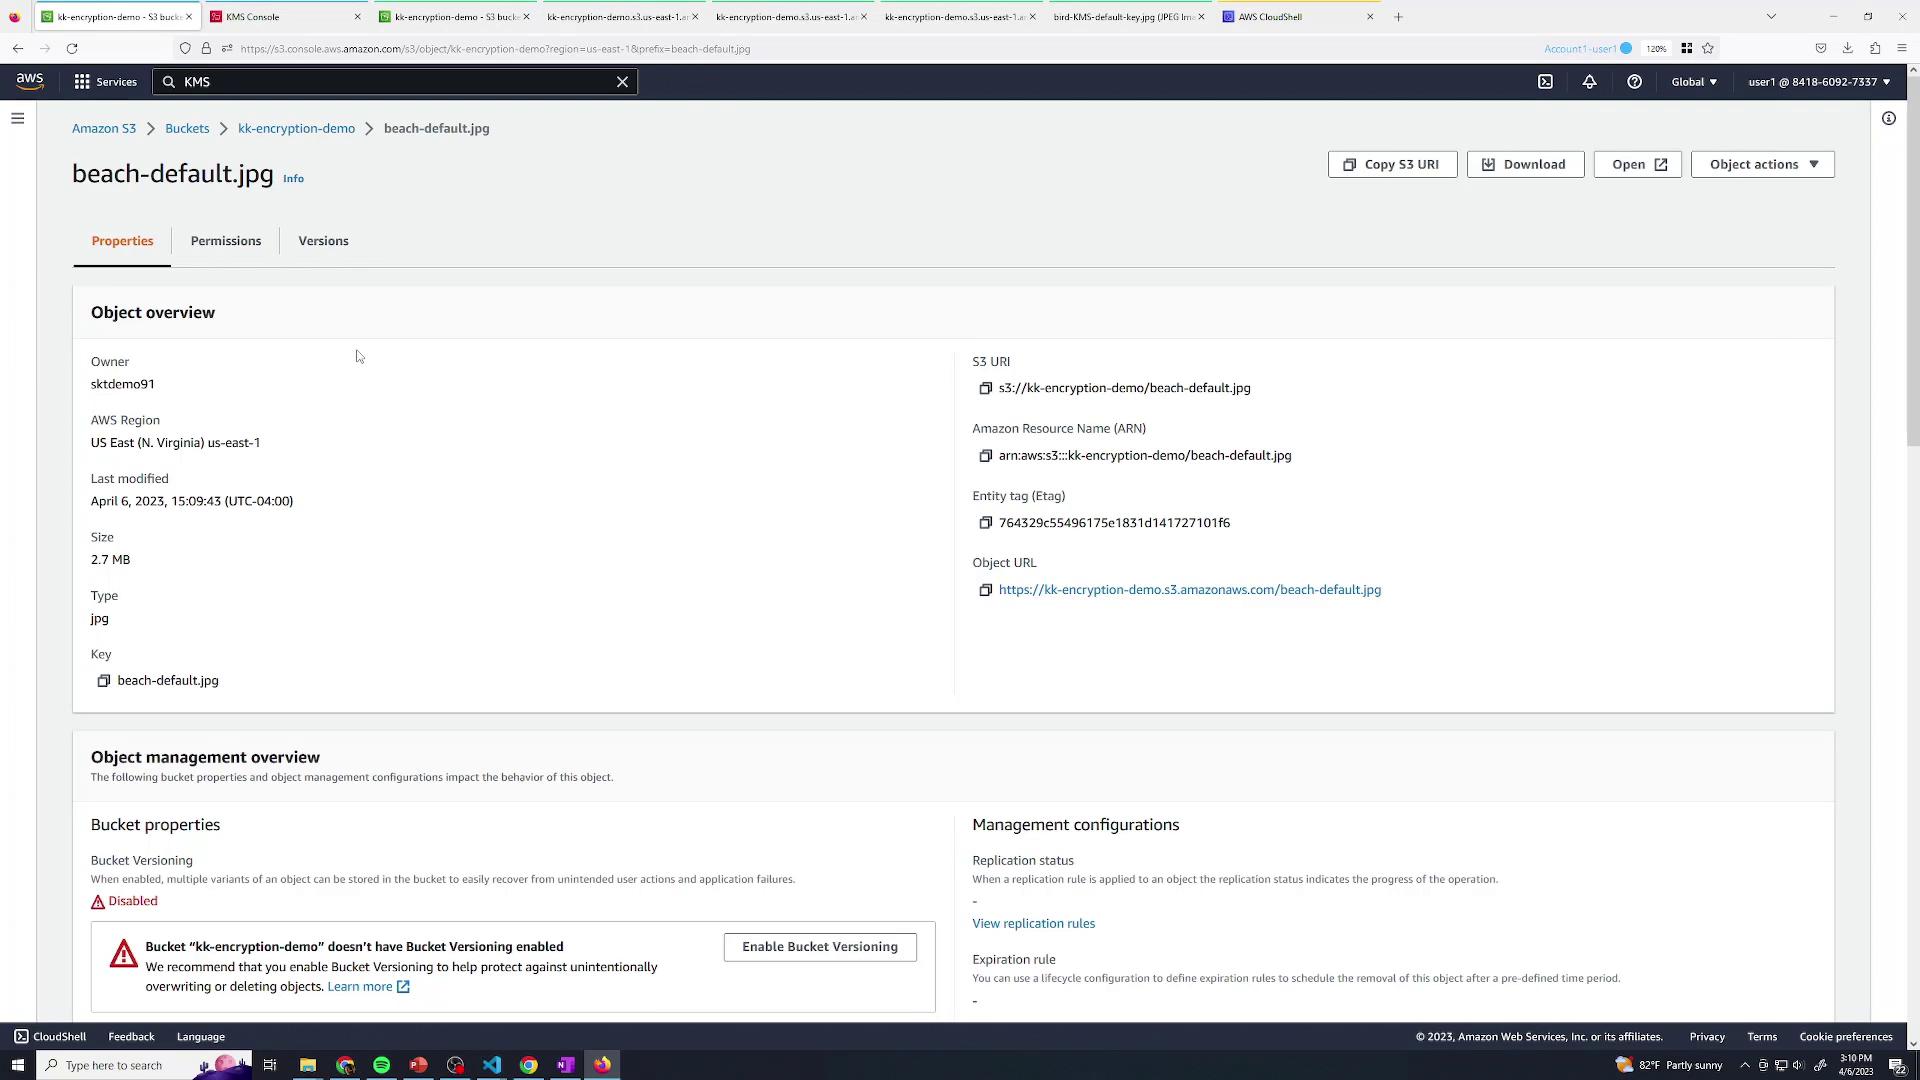
4. Make Your CMK the Bucket Default

To enforce your CMK on all future uploads:

  1. In the S3 console, go to Bucket propertiesDefault encryption.
  2. Select AWS KMS key, choose my-key, and save.

The image shows an AWS S3 console screen displaying bucket properties, including versioning, encryption settings, and intelligent-tiering archive configurations.

  1. Upload a file without specifying encryption; S3 defaults to my-key.
  2. User2 (S3-only) still cannot decrypt:
<Error>
  <Code>AccessDenied</Code>
  <Message>
    The cipherText refers to a customer master key that does not exist, does not exist in this region, or you are not allowed to access.
  </Message>
  <RequestId>37V63DWBW8NS8FMT</RequestId>
  <HostId>
    4THW1yNqrLpqxTPMR3ZMBPTiGfQlf19eYGDKu1g1u3F1qPClUs22s1UxYtDADWCRDB=
  </HostId>
</Error>

The image shows an Amazon S3 console interface displaying details of an object named "beach-default.jpg," including its properties, S3 URI, and object URL.


You’ve now mastered S3 encryption using SSE-S3, AWS-managed CMKs, and customer-managed CMKs for robust, granular access controls.

Watch Video

Watch video content

Practice Lab

Practice lab

Previous
S3 Encryption