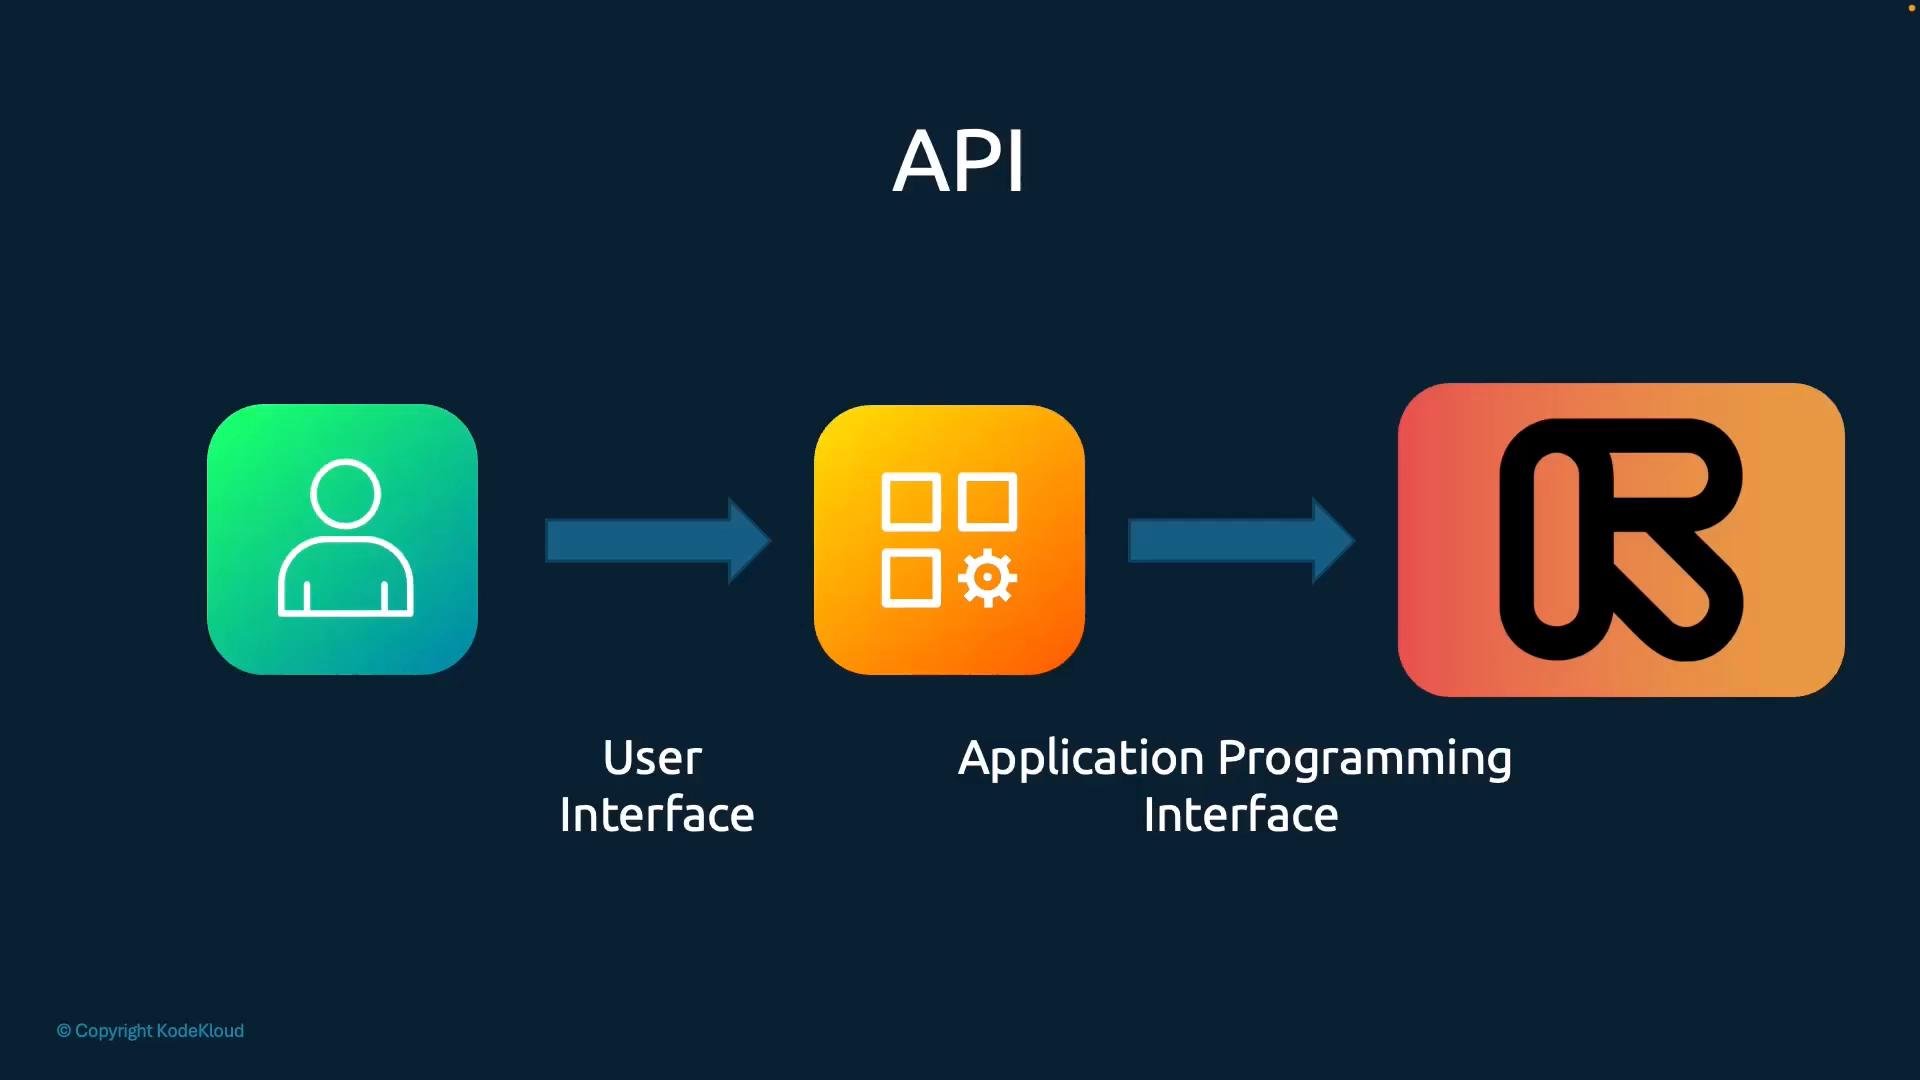
In this lesson you’ll learn what an API (Application Programming Interface) is and how to use the RunwayML API to integrate image generation into your own applications. When you use RunwayML in a browser, you interact with a visual, human‑facing UI — a point‑and‑click web app that returns images based on prompts. That UI is designed for people. If you want to build your own app (web, mobile, or backend) that generates images for users without sending them to RunwayML’s consumer site, your application must talk to RunwayML programmatically. That communication happens via the RunwayML API. Your app provides its own UI to users while calling the RunwayML API under the hood to request and retrieve generated assets.
A simple diagram titled "API" showing three rounded icons connected by arrows: a green user interface icon (person), an orange application programming interface icon (tiles and gear), and a red‑orange service/backend icon with a stylized logo. The arrows indicate flow from the user interface through the API to the backend.
How the API interaction works (conceptually)
  • Your app sends a structured request to an API endpoint (for example, /v1/text_to_image) with prompt text, model options, and any reference images.
  • The API creates an asynchronous task on RunwayML’s backend to run the chosen model.
  • The API immediately returns a task id so your app remains responsive.
  • Your app polls the tasks endpoint until the job completes, then reads the returned output (for example, a generated image URL).
Example conceptual request/response:
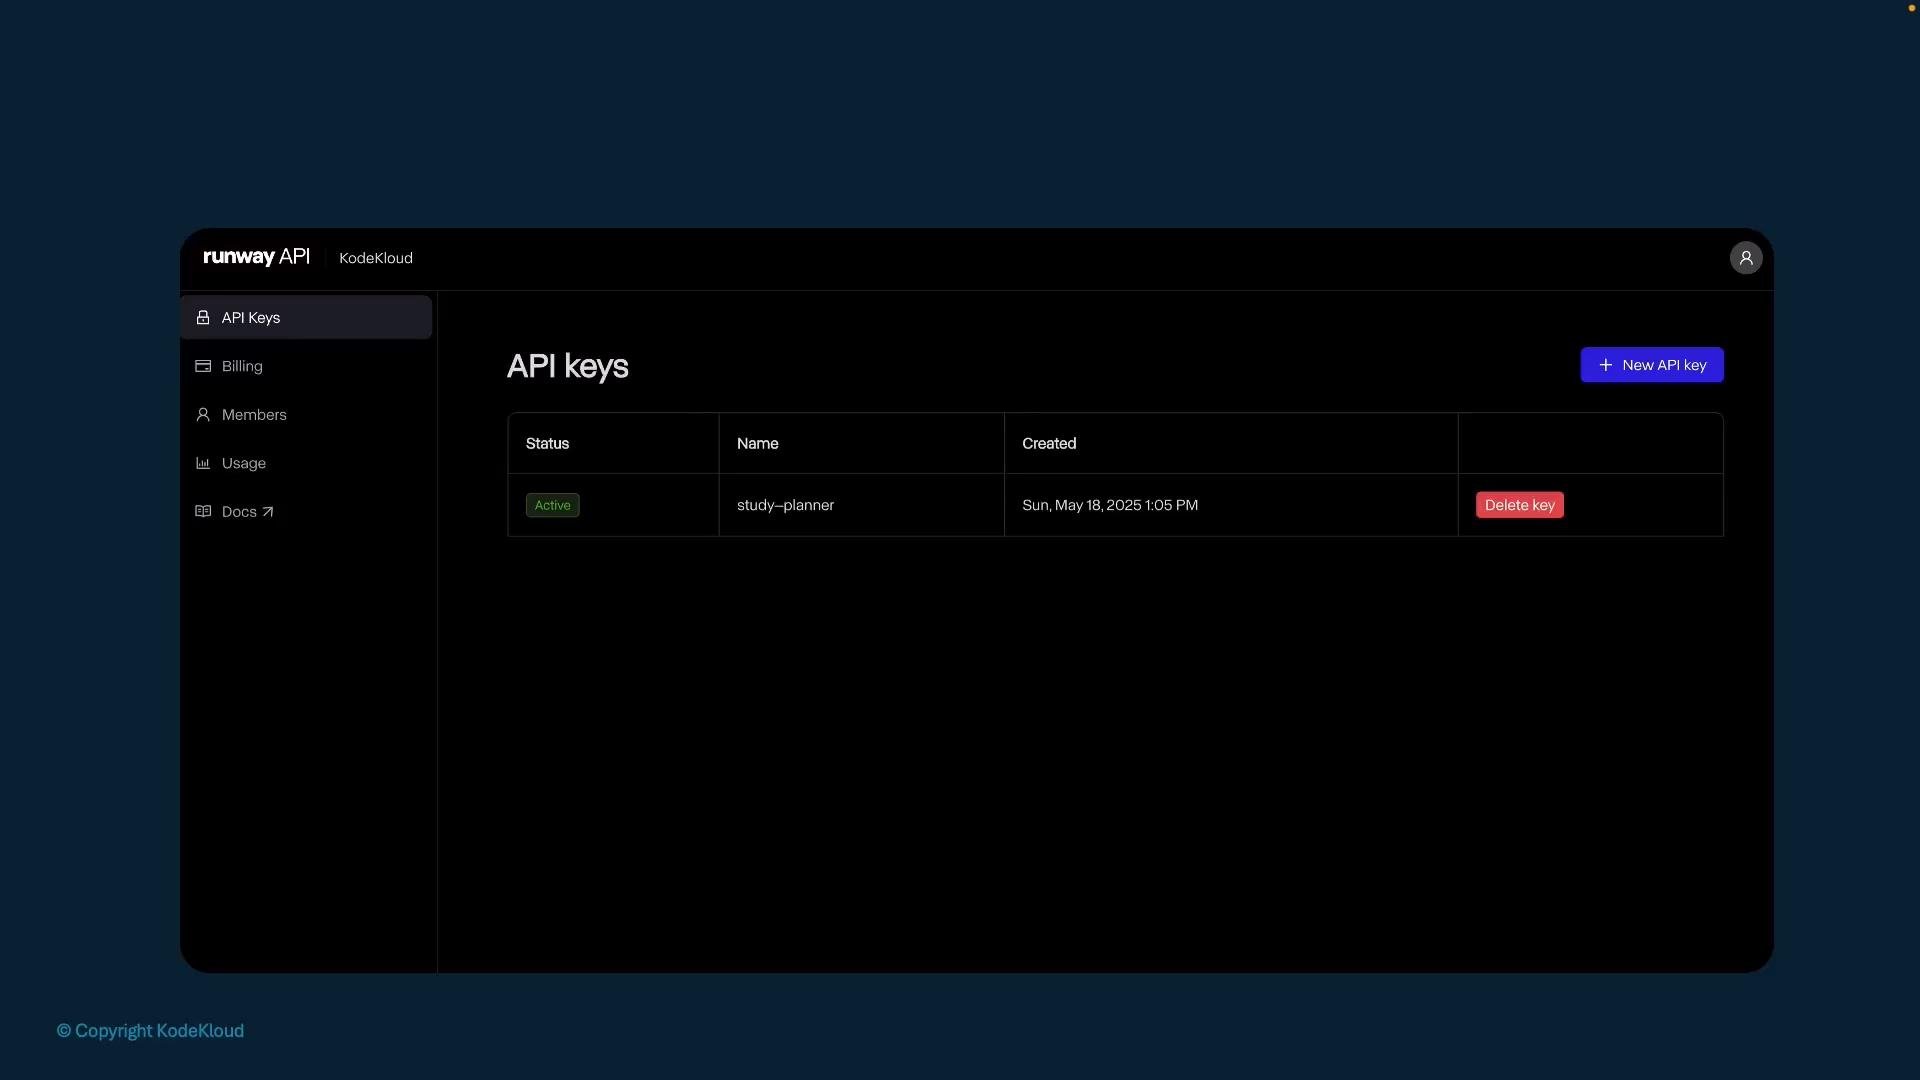
Developer portal: API keys, billing, and usage RunwayML provides a Developer Portal where you manage API keys, billing, members, SDKs, and usage quotas. The Developer Portal has a different, developer‑oriented UI than the consumer site and is the central place to configure access and review limits. When you open the Dev Portal, the “API Keys” section lets you create secret keys for your app to use when authenticating requests.
A dark-themed Runway API dashboard showing the "API keys" page with one active key named "study-planner" (created May 18, 2025) and buttons to create a new key or delete the existing one.
Important: copy the secret string only once when you create it — the portal will show it a single time. Store API keys securely (server environment variables, secret managers) and never embed them in client‑side code.
API keys are secrets. If a key is leaked, requests made with it will be billed to your account. Revoke or rotate keys immediately if you suspect exposure.
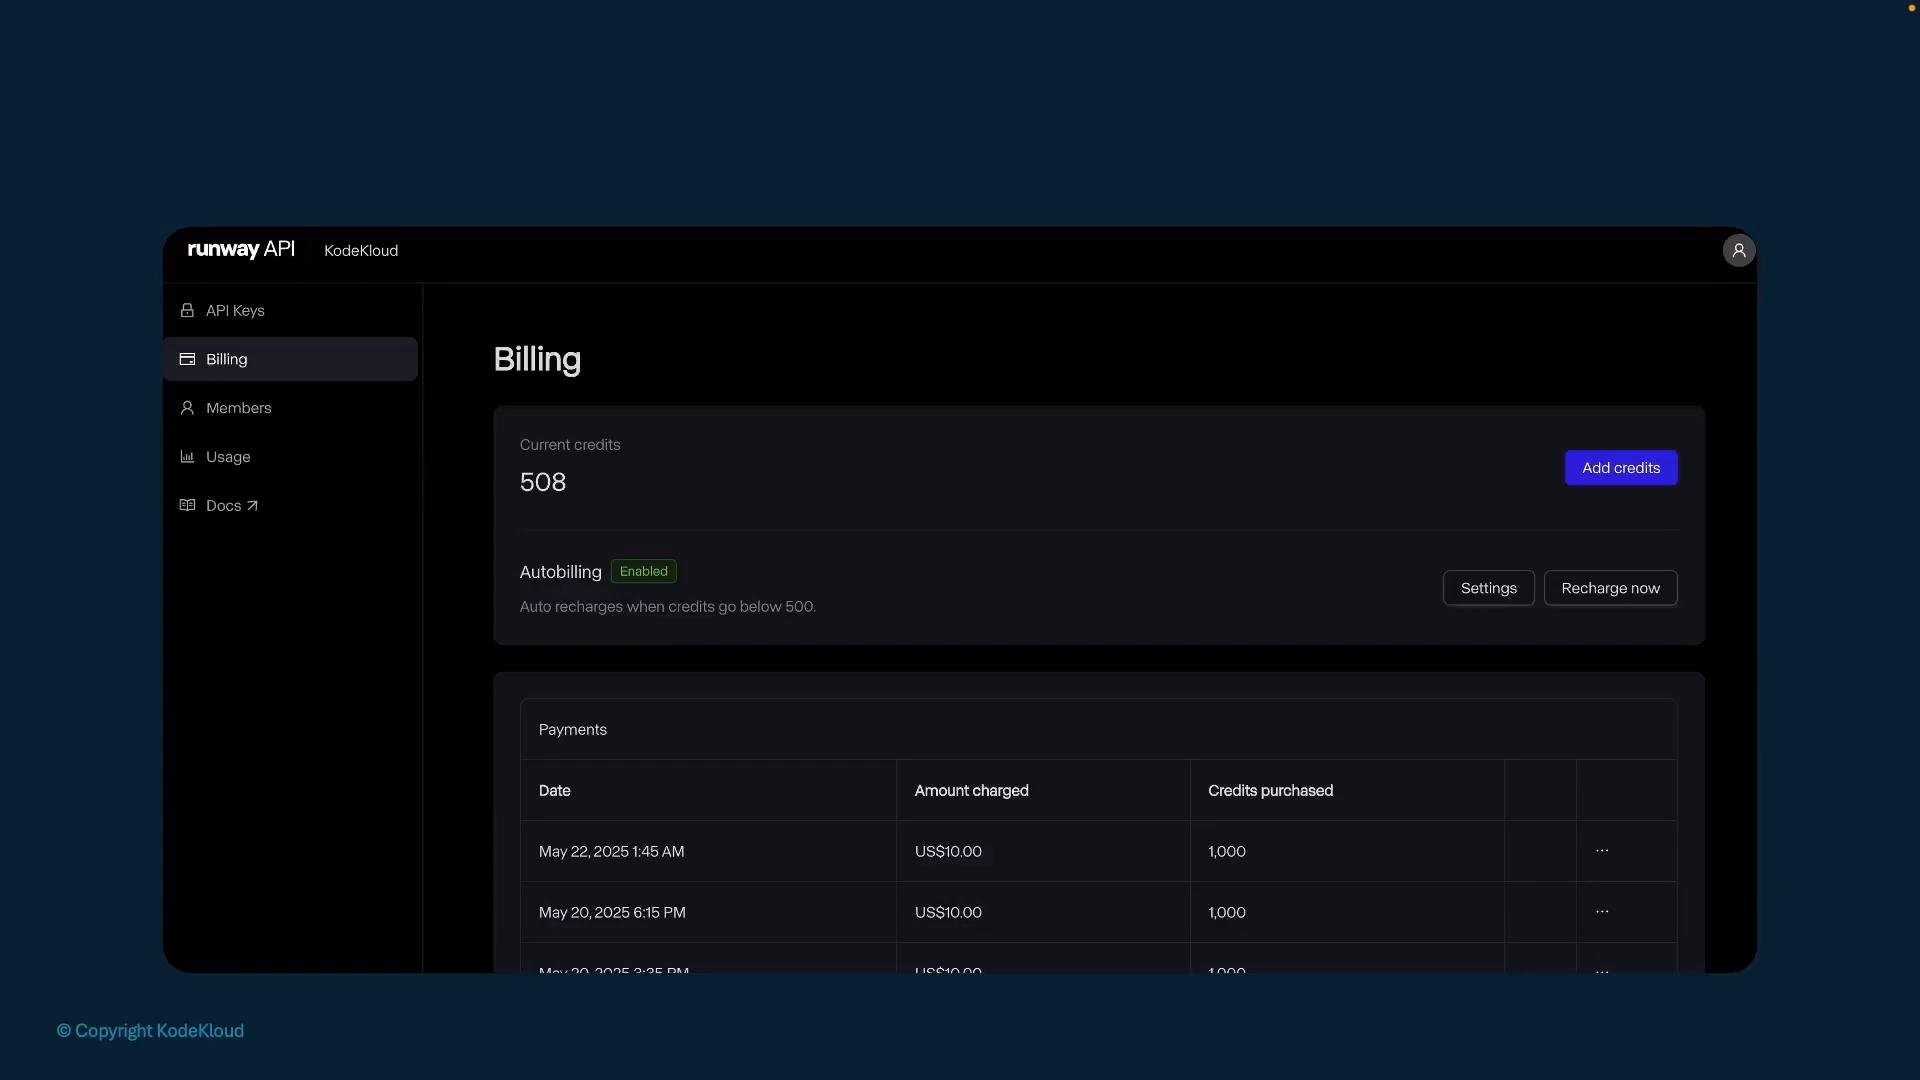
The portal also exposes billing settings and usage details (credits, auto-billing, payment history) so you can monitor cost and account activity before you start testing.
A dark-themed "Billing" dashboard (Runway API / KodeKloud) showing current credits (508), autobilling enabled, and a payments table with recent transactions. The left sidebar displays navigation items like API Keys, Billing, Members, and Usage.
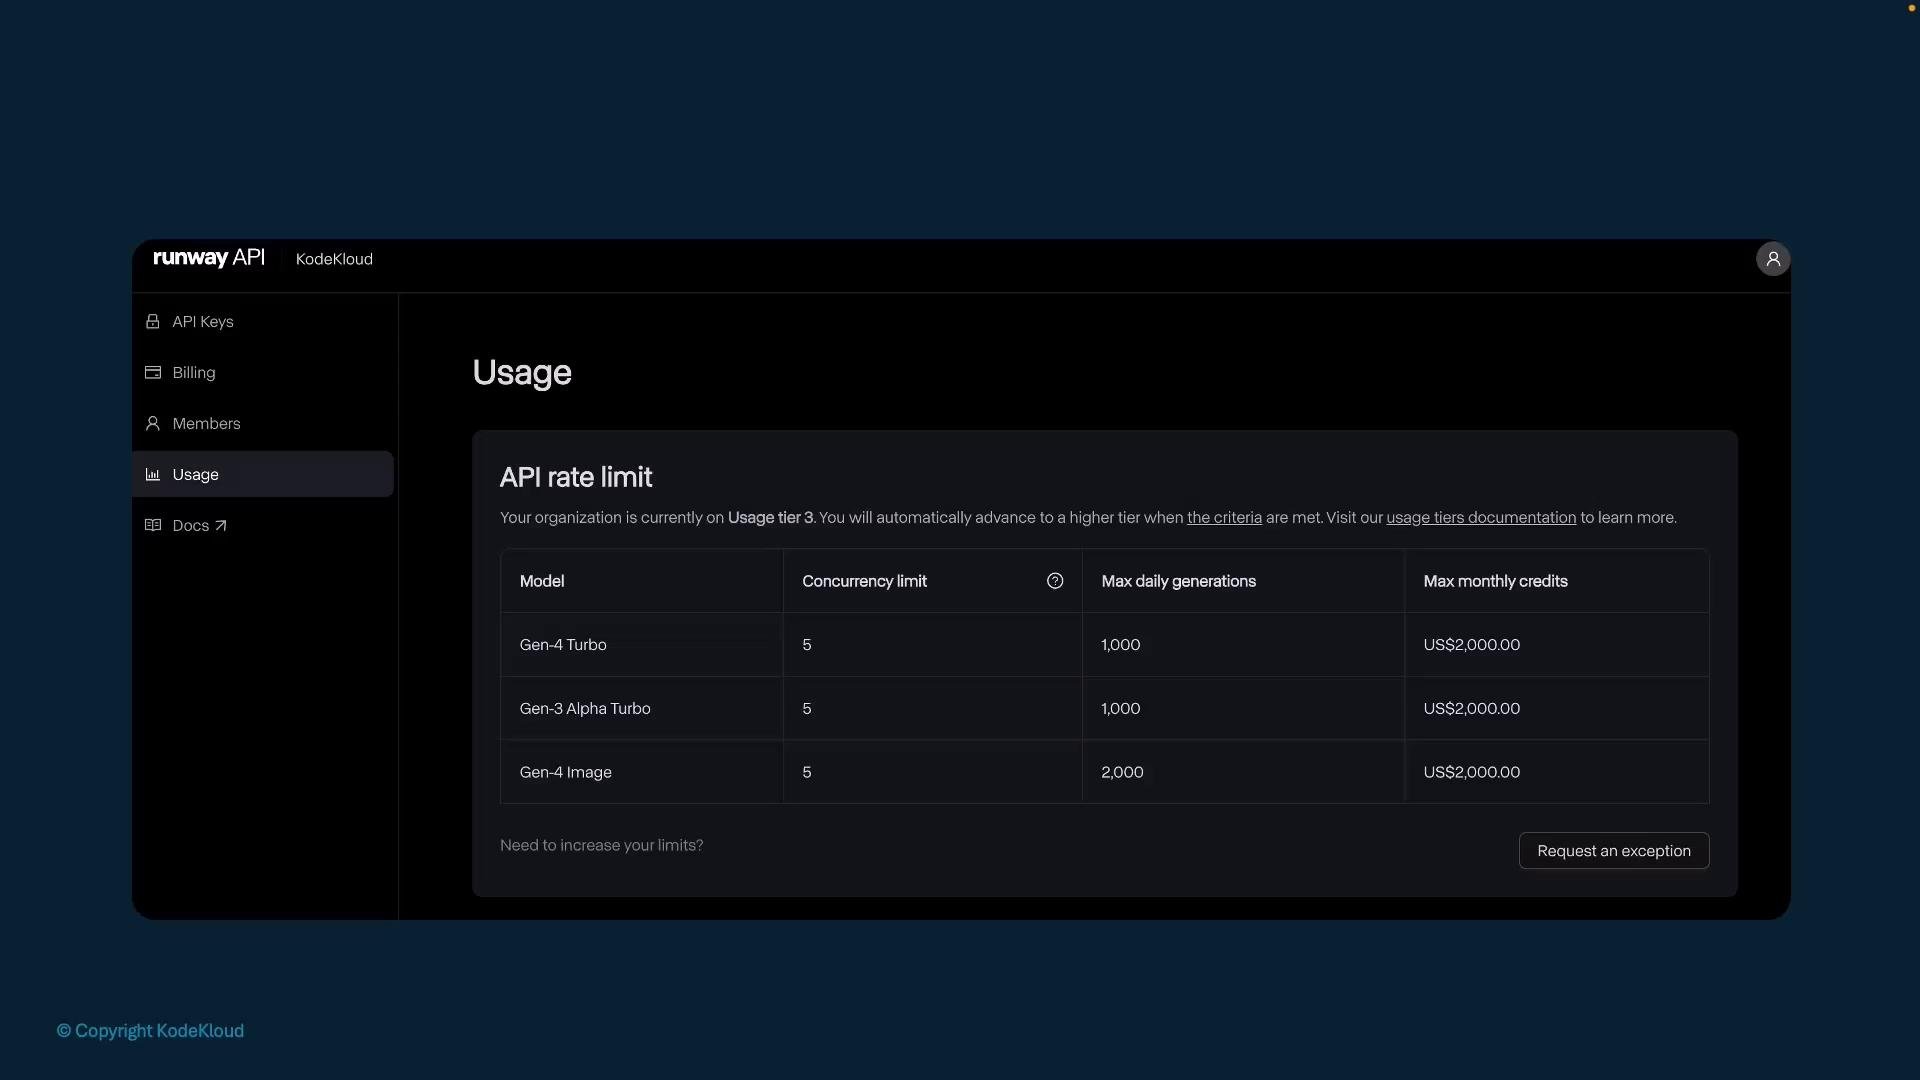
Usage and rate limits The Usage section details API rate limits, concurrency limits, and per‑model restrictions. Different model families (for example, text‑to‑image vs. image‑to‑video) may have distinct limits; check the Dev Portal for the exact quotas applicable to your account.
A dark-themed screenshot of the Runway API dashboard showing the "Usage" page. It displays an "API rate limit" table with model names, concurrency and generation limits and a left-hand navigation menu.
API reference and SDKs
  • Consult the RunwayML API Reference in the Developer Portal for full details on endpoints, headers, and model‑specific parameters.
  • Official SDKs (Node, Python, etc.) may be available to simplify authentication, retries, and polling. You can always call the HTTP endpoints directly (curl, fetch, or any HTTP client) for testing or custom integration.
Example: create a text-to-image task (curl)
  • POST JSON to the text-to-image endpoint.
  • The API responds with a task id.
  • Poll the tasks endpoint for completion and retrieve the generated asset URL.
Create a text-to-image task (curl):
Successful creation returns the task id:
Polling a task status
  • After receiving the task id, call GET /v1/tasks/{id} and include your Authorization header to check progress.
  • Continue polling until the task status becomes succeeded (or failed/cancelled as applicable).
  • When succeeded, the outputs array typically includes the generated asset URI.
Example poll (curl):
Example completed task response:
HTTP methods and common endpoints
  • The path (endpoint) identifies the resource or action.
  • The HTTP method determines the operation: POST to create a task, GET to retrieve status or results, DELETE to remove, PUT/PATCH to update.
Common endpoints (use the Dev Portal API Reference to confirm exact paths and model names): Best-practice workflow (summary)
  1. Create an API key in the Dev Portal and store it securely (server-side secrets).
  2. From your backend, POST to the appropriate endpoint (for example, /v1/text_to_image) with prompt and options.
  3. Receive a task id in the response and persist it if needed.
  4. Poll GET /v1/tasks/{id} until status is succeeded.
  5. Read the output uri and surface the generated image/video in your app.
This asynchronous task pattern keeps your frontend responsive while the backend completes potentially long‑running model jobs. Use available SDKs to simplify authentication, retries, exponential backoff, and polling logic in your chosen language.
Tip: Keep long-running polling on the server or use webhooks (if available) to avoid exposing API keys or creating heavy client polling. Implement retries and backoff to handle transient API errors.
Links and references
  • RunwayML: https://runwayml.com
  • Check the RunwayML Developer Portal for API Reference, keys, billing, and usage quotas.
  • For HTTP testing: curl, Postman, or your preferred HTTP client.
Authors and license
  • This content explains the RunwayML API workflow: authentication, posting tasks, polling for results, and handling rate limits. Use the Dev Portal API Reference and SDKs for up‑to‑date endpoint names, headers, and model parameters.

Watch Video