CKA Certification Course - Certified Kubernetes Administrator
Other Topics
Advanced Kubectl Commands
Hello, and welcome to this lesson on using JSONPath with kubectl in Kubernetes. My name is Mumshad Mannambeth. In this session, we will explain why JSONPath is an essential tool for managing large Kubernetes outputs and demonstrate how to use it effectively with kubectl. We'll cover viewing JSON output, constructing JSONPath queries, using loops, custom column formatting, and sorting functions. Towards the end, you'll find practice tests that will help reinforce your learning.
To kick off, consider some of these basic commands:
kubectl get nodes -o custom-columns=NODE:.metadata.name,.CPU:.status.capacity.cpu
kubectl get nodes --sort-by=.metadata.name
kubectl get nodes --sort-by=.status.capacity.cpu
Before diving deeper, it's important to understand how JSONPath queries work. If you're new to JSONPath, consider exploring free online tutorials and practice tests to build a strong foundation.
Tip
Experiment with JSONPath on a Kubernetes dataset to understand its structure before applying more complex queries with kubectl.
Why Use JSONPath?
In production environments with hundreds of nodes and thousands of objects—such as deployments, pods, ReplicaSets, services, and secrets—the standard kubectl output might not provide the precise data you need. While kubectl gives a quick summary, JSONPath queries let you filter and format large datasets with precision. This functionality enables you to generate customized reports tailored to your needs.
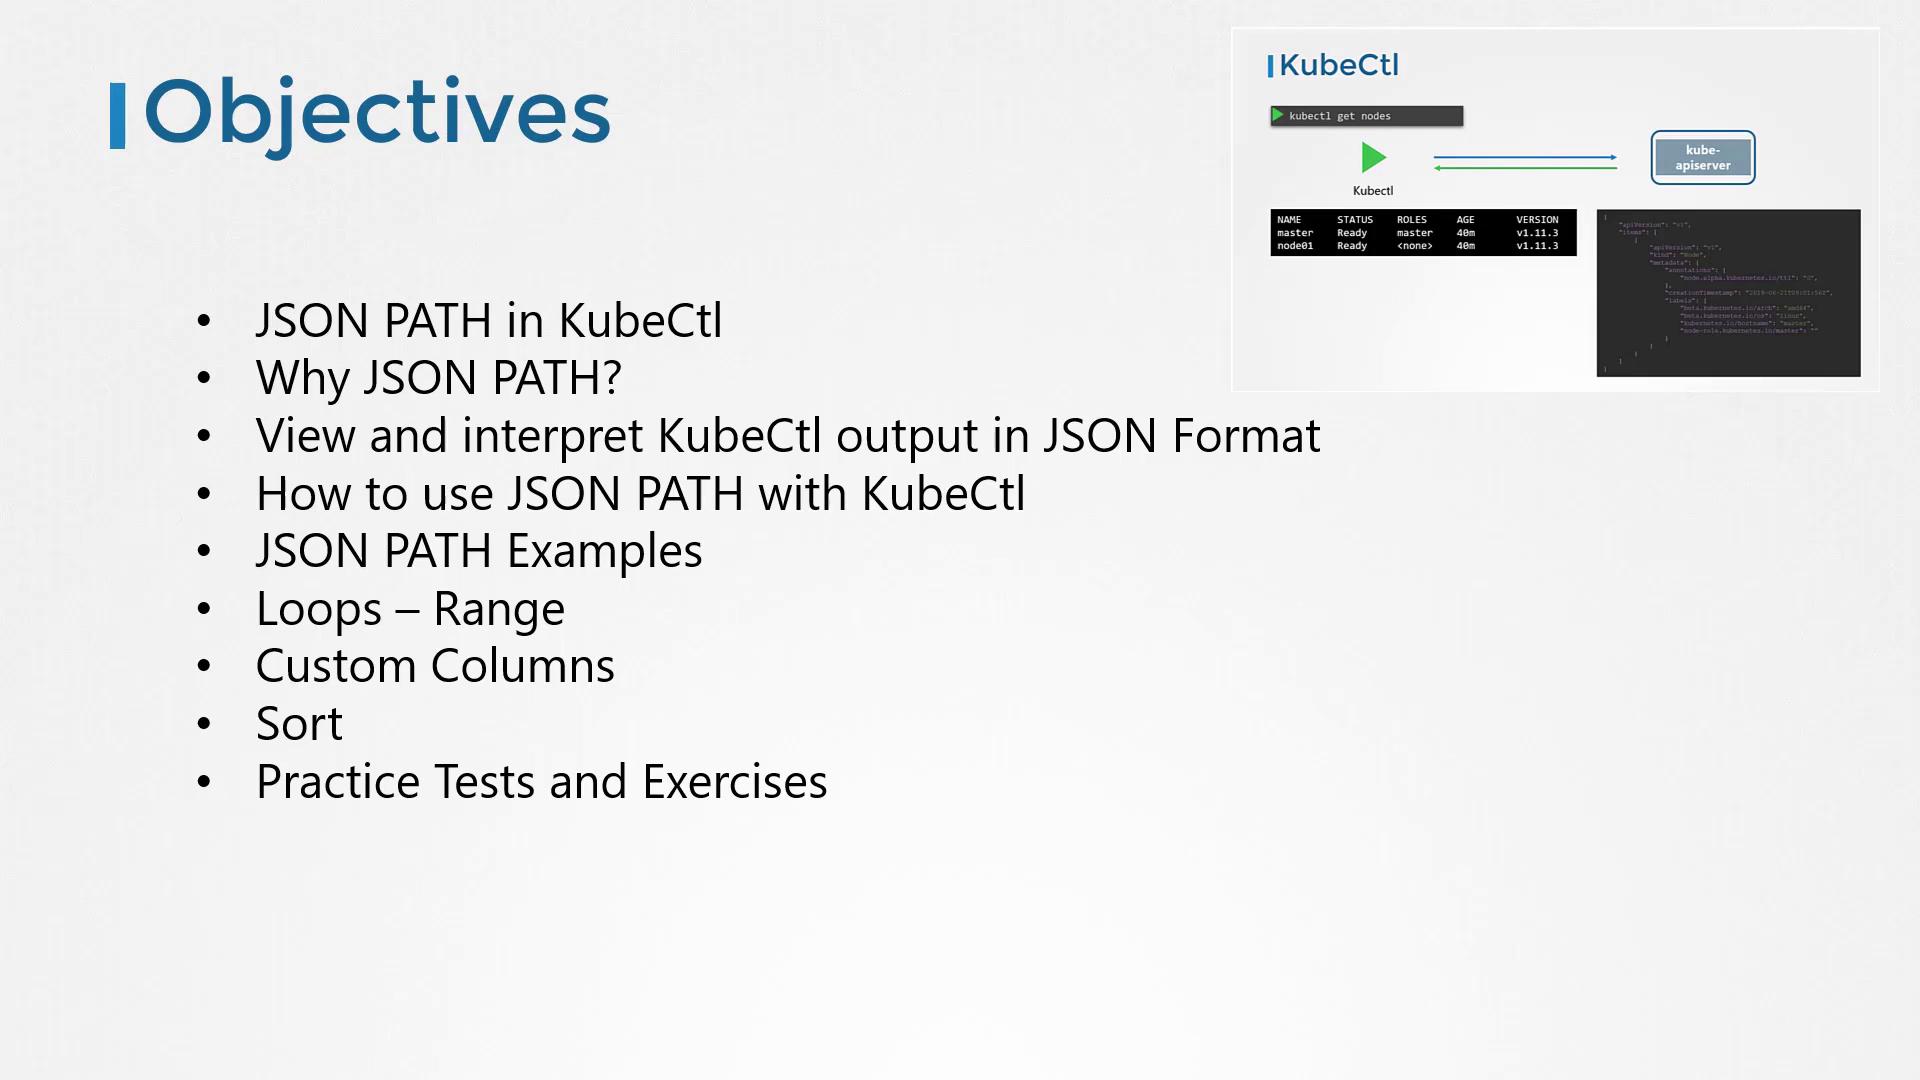
How Kubectl Works
Kubectl is the command-line interface for Kubernetes that communicates with the API server. Every command retrieves data in JSON format and converts it into a human-readable format. For example, the basic command to list nodes is:
kubectl get nodes
The typical output looks like this:
NAME      STATUS   ROLES    AGE   VERSION
master    Ready    master   40m   v1.11.3
node01    Ready    <none>   40m   v1.11.3
Behind the scenes, the JSON output might resemble:
{
  "apiVersion": "v1",
  "items": [
    {
      "apiVersion": "v1",
      "kind": "Node",
      "metadata": {
        "annotations": {
          "node.alpha.kubernetes.io/ttl": "0"
        },
        "creationTimestamp": "2019-06-21T09:01:56Z",
        "labels": {
          "beta.kubernetes.io/arch": "amd64",
          "beta.kubernetes.io/os": "linux",
          "kubernetes.io/hostname": "master",
          "node-role.kubernetes.io/master": ""
        }
      }
    }
  ]
}
Kubectl trims excessive details to keep the output clear. For a more detailed view, use the -o wide option:
kubectl get nodes -o wide
This might return:
NAME     STATUS    ROLES    AGE   VERSION    INTERNAL-IP     EXTERNAL-IP   OS-IMAGE             KERNEL-VERSION
master   Ready     master   7m    v1.11.3    172.17.0.44     <none>        Ubuntu 16.04.2 LTS   4.15.0-24-generic
node01   Ready     <none>   6m    v1.11.3    172.17.0.63     <none>        Ubuntu 16.04.2 LTS   4.15.0-24-generic
If you need the full details—like resource capacity, taints, conditions, hardware architecture, etc.—use kubectl describe or query the JSON directly.
Building a JSONPath Query
Imagine needing a report that displays specific fields, such as node names and CPU counts. No default command provides this directly—that’s where JSONPath shines. Follow these steps to build a JSONPath query with kubectl:
Retrieve Raw Data
Start by retrieving the node details:kubectl get nodesView Full JSON Output
Add the-o jsonoption to see the complete data:kubectl get nodes -o json kubectl get pods -o jsonFor instance, a sample JSON output for pods might look like:
{
  "apiVersion": "v1",
  "kind": "List",
  "items": [
    {
      "apiVersion": "v1",
      "kind": "Pod",
      "metadata": {
        "name": "nginx-5557945897-gznjp"
      },
      "spec": {
        "containers": [
          {
            "image": "nginx:alpine",
            "name": "nginx"
          }
        ],
        "nodeName": "node01"
      }
    }
  ]
}
Analyze the JSON Structure
For example, to extract the image from the first container in the first pod, the JSONPath query is:- Query:
.items[0].spec.containers[0].image
- Query:
Query with Kubectl
Embed your query in single quotes and curly braces:kubectl get pods -o=jsonpath='{.items[0].spec.containers[0].image}'
JSONPath Hint
If you're new to JSONPath, try using online evaluators like jsonpath.com to experiment with and refine your queries.
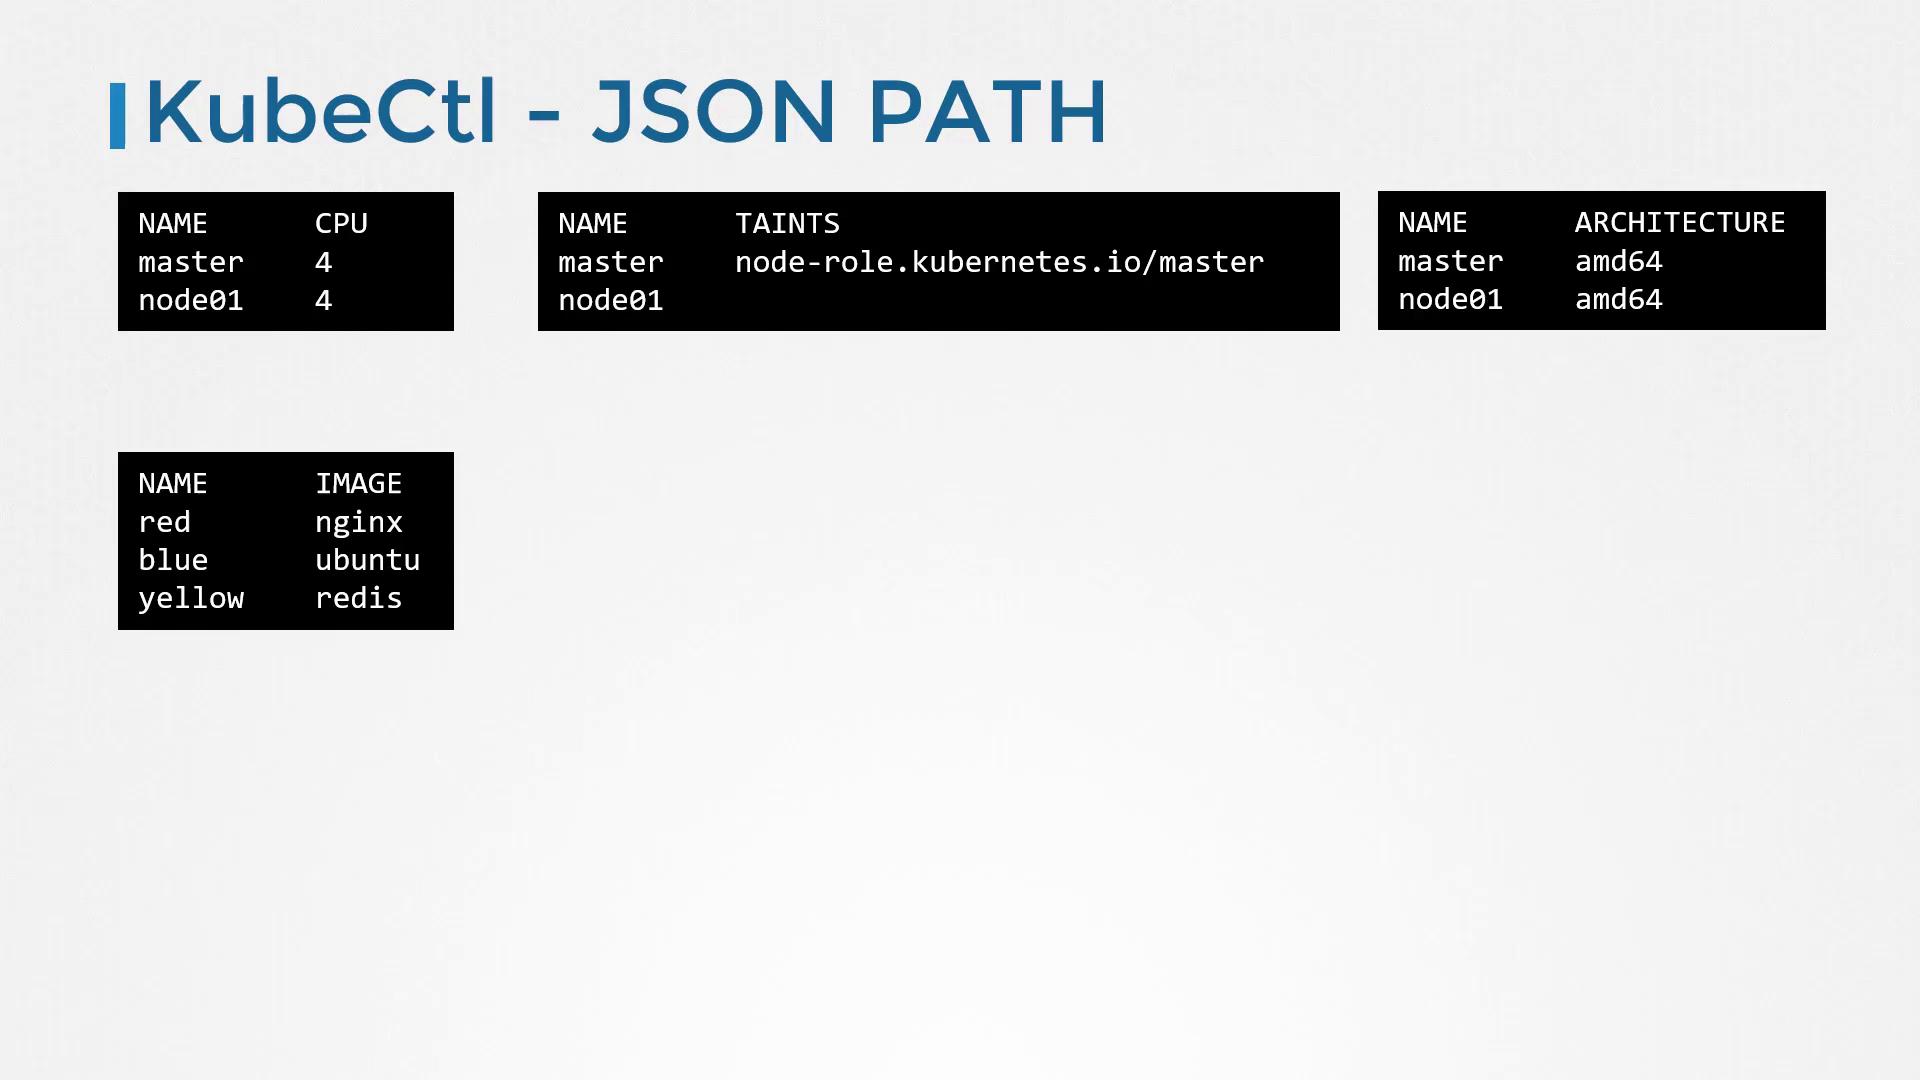
Using JSONPath, you can extract various fields. For example:
{.items[*].metadata.name}returns all node names.{.items[*].status.nodeInfo.architecture}provides hardware architectures.{.items[*].status.capacity.cpu}shows CPU counts per node.
Example command:
kubectl get nodes -o=jsonpath='{.items[*].metadata.name}'
Output:
master node01
Similarly:
kubectl get nodes -o=jsonpath='{.items[*].status.nodeInfo.architecture}'
Output:
amd64 amd64
And:
kubectl get nodes -o=jsonpath='{.items[*].status.capacity.cpu}'
Output:
4 4
You can even combine queries. For instance, to display node names on one line and their CPU counts on the next:
kubectl get nodes -o=jsonpath='{.items[*].metadata.name}{"\n"}{.items[*].status.capacity.cpu}'
This produces:
master node01
4 4
Advanced Formatting with Loops and Custom Columns
For a neatly formatted table, you can leverage JSONPath loops. Using the range keyword functions as an iterator over each node. For every node, you can print its name, followed by a tab (\t), its CPU count, and a newline (\n):
kubectl get nodes -o=jsonpath='{range .items[*]}{.metadata.name}{"\t"}{.status.capacity.cpu}{"\n"}{end}'
Alternatively, the built-in custom columns functionality provides a simpler option. For example:
kubectl get nodes -o=custom-columns=NODE:.metadata.name,CPU:.status.capacity.cpu
Note that with custom columns, you don’t need to include the .items in your JSONPath query because kubectl automatically iterates through the list.
If you need to sort the output, use the --sort-by option. For example:
kubectl get nodes --sort-by=.metadata.name
kubectl get nodes --sort-by=.status.capacity.cpu
Final Thoughts
Mastering JSONPath queries with kubectl empowers you to extract and present detailed information from your Kubernetes environment accurately and efficiently. With practice, you'll create powerful commands that display data in exactly the format you need.
Below is a summary of key commands demonstrated in this lesson:
| Command | Description | Example |
|---|---|---|
| Custom Columns | Display specific columns | kubectl get nodes -o=custom-columns=NODE:.metadata.name,CPU:.status.capacity.cpu |
| Sorting by Name | Sort nodes alphabetically | kubectl get nodes --sort-by=.metadata.name |
| Sorting by CPU | Sort nodes by CPU capacity | kubectl get nodes --sort-by=.status.capacity.cpu |
Now, explore the practice tests and exercises to further solidify your understanding of these advanced kubectl commands. Happy learning!
Watch Video
Watch video content
Practice Lab
Practice lab