Containerizing Backstage backend with Docker for easy deployment and scaling across various platforms.
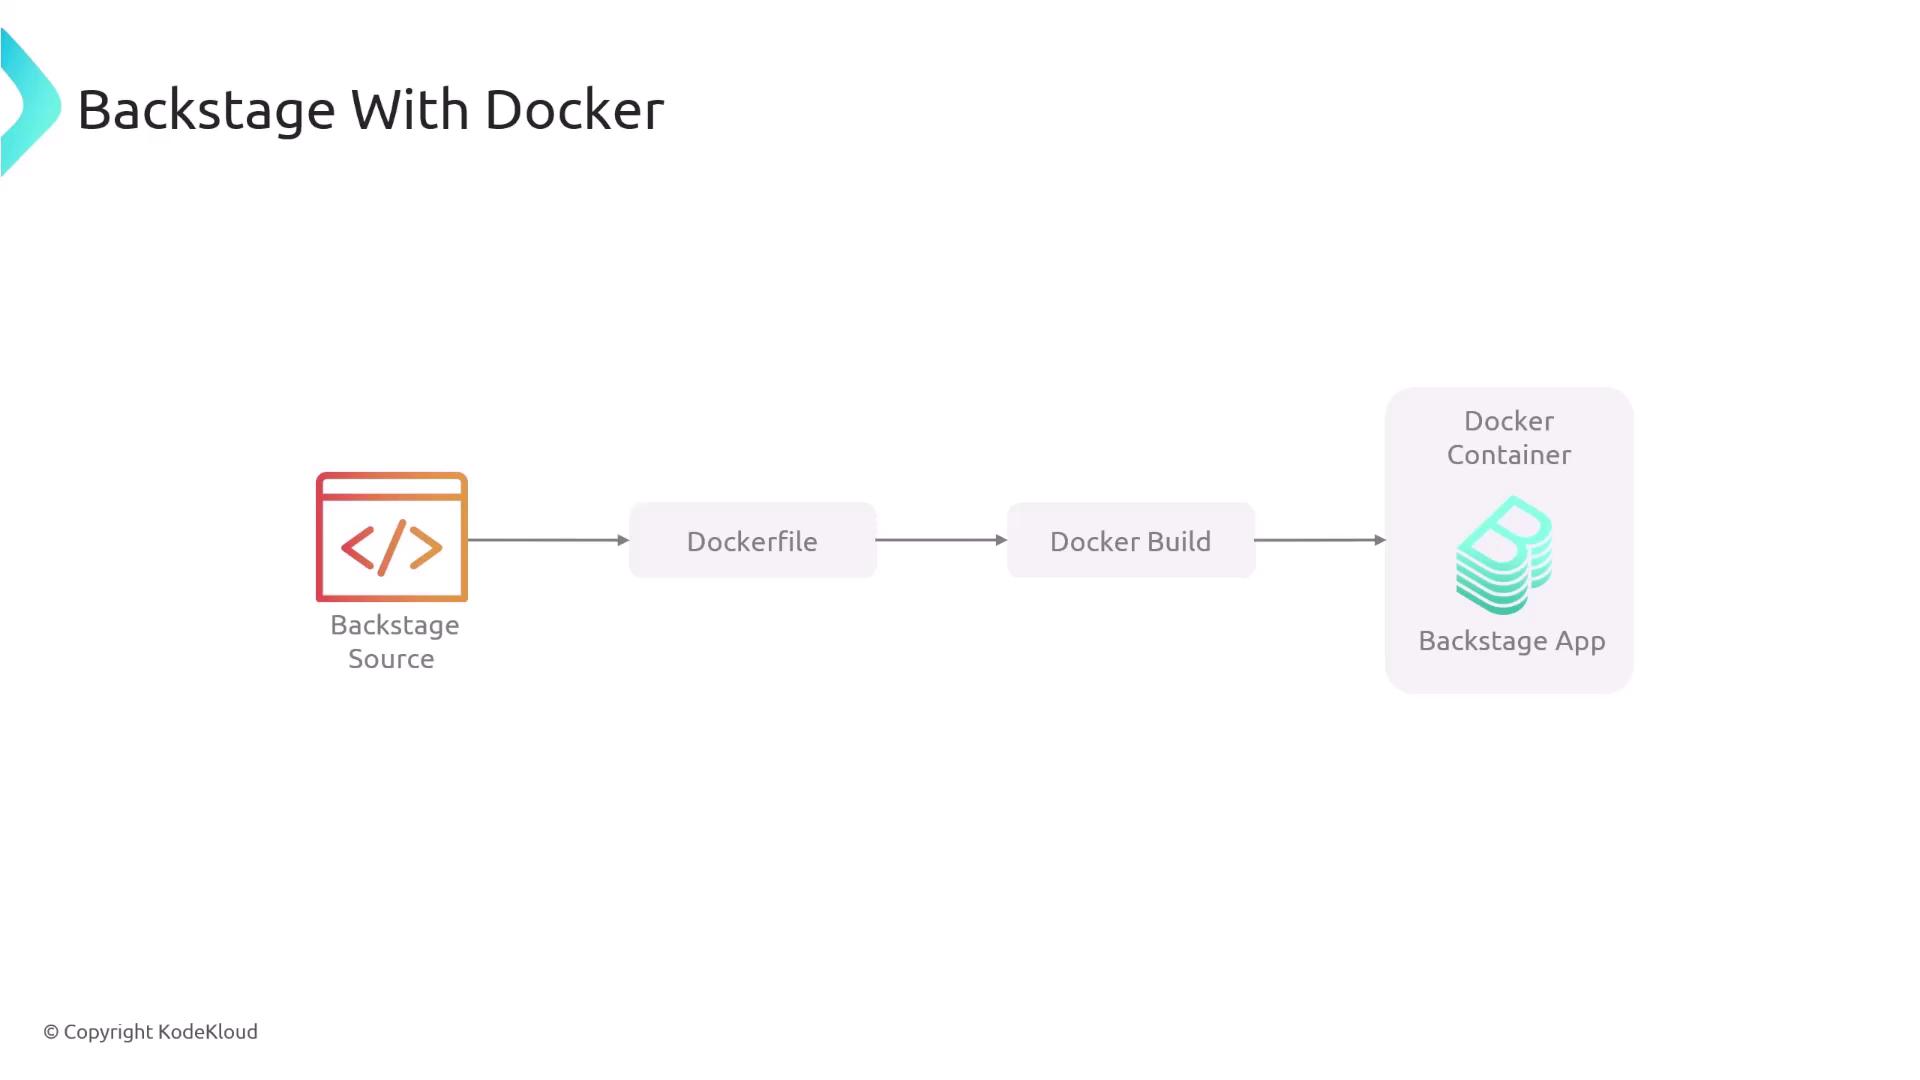
Containerizing your Backstage backend with Docker makes it easy to run and scale across any container orchestration platform—whether it’s Kubernetes, Amazon ECS, or your own on-premise solution. When you scaffold a new Backstage app using create-app, a production-ready Dockerfile is generated automatically under packages/backend/Dockerfile. You can build on this file to package your Backstage instance without starting from scratch.
# Use Node 20 on Debian BookwormFROM node:20-bookworm-slim# Ensure node-gyp can find Python3ENV PYTHON=/usr/bin/python3# Install build dependencies for @backstage/plugin-scaffold-backendRUN --mount=type=cache,target=/var/cache/apt,sharing=locked \ apt-get update && \ apt-get install -y --no-install-recommends python3 g++ build-essential && \ rm -rf /var/lib/apt/lists/*# Install sqlite3 dependencies (optional)RUN --mount=type=cache,target=/var/cache/apt,sharing=locked \ apt-get update && \ apt-get install -y --no-install-recommends libsqlite3-dev && \ rm -rf /var/lib/apt/lists/*# Switch to non-root 'node' userUSER nodeWORKDIR /app# Copy Yarn artifacts and Backstage configCOPY --chown=node:node .yarn ./.yarnCOPY --chown=node:node yarnrc.yml backstage.json ./ENV NODE_ENV=productionENV NODE_OPTIONS="--no-node-snapshot"# Extract skeleton for faster installsCOPY --chown=node:node yarn.lock package.json packages/backend/dist/skeleton.tar.gz ./RUN tar xzf skeleton.tar.gz && rm skeleton.tar.gz# Install production dependencies onlyRUN --mount=type=cache,target=/home/node/.cache/yarn,sharing=locked,uid=1000,gid=1000 \ yarn workspaces focus --all --production && \ yarn cache clean# Copy and unpack the compiled backend bundle and its configCOPY --chown=node:node packages/backend/dist/bundle.tar.gz ./COPY --chown=node:node packages/backend/dist/app-config.yaml ./app-config.yamlRUN tar xzf bundle.tar.gz && rm bundle.tar.gz# Start the backend serviceCMD ["node", "packages/backend", "--config", "app-config.yaml", "--config", "app-config.production.yaml"]
Be sure to enable Docker BuildKit in your environment to leverage layer caching with the --mount=type=cache syntax.
On Docker Desktop you can toggle this under Settings › Docker Engine.