This lesson explores Docker storage drivers, file systems, and management of local filesystem data for images, containers, and volumes.
Welcome to this lesson on advanced Docker concepts. In this guide, we will explore Docker storage drivers, file systems, and how Docker manages local filesystem data for images, containers, and volumes.
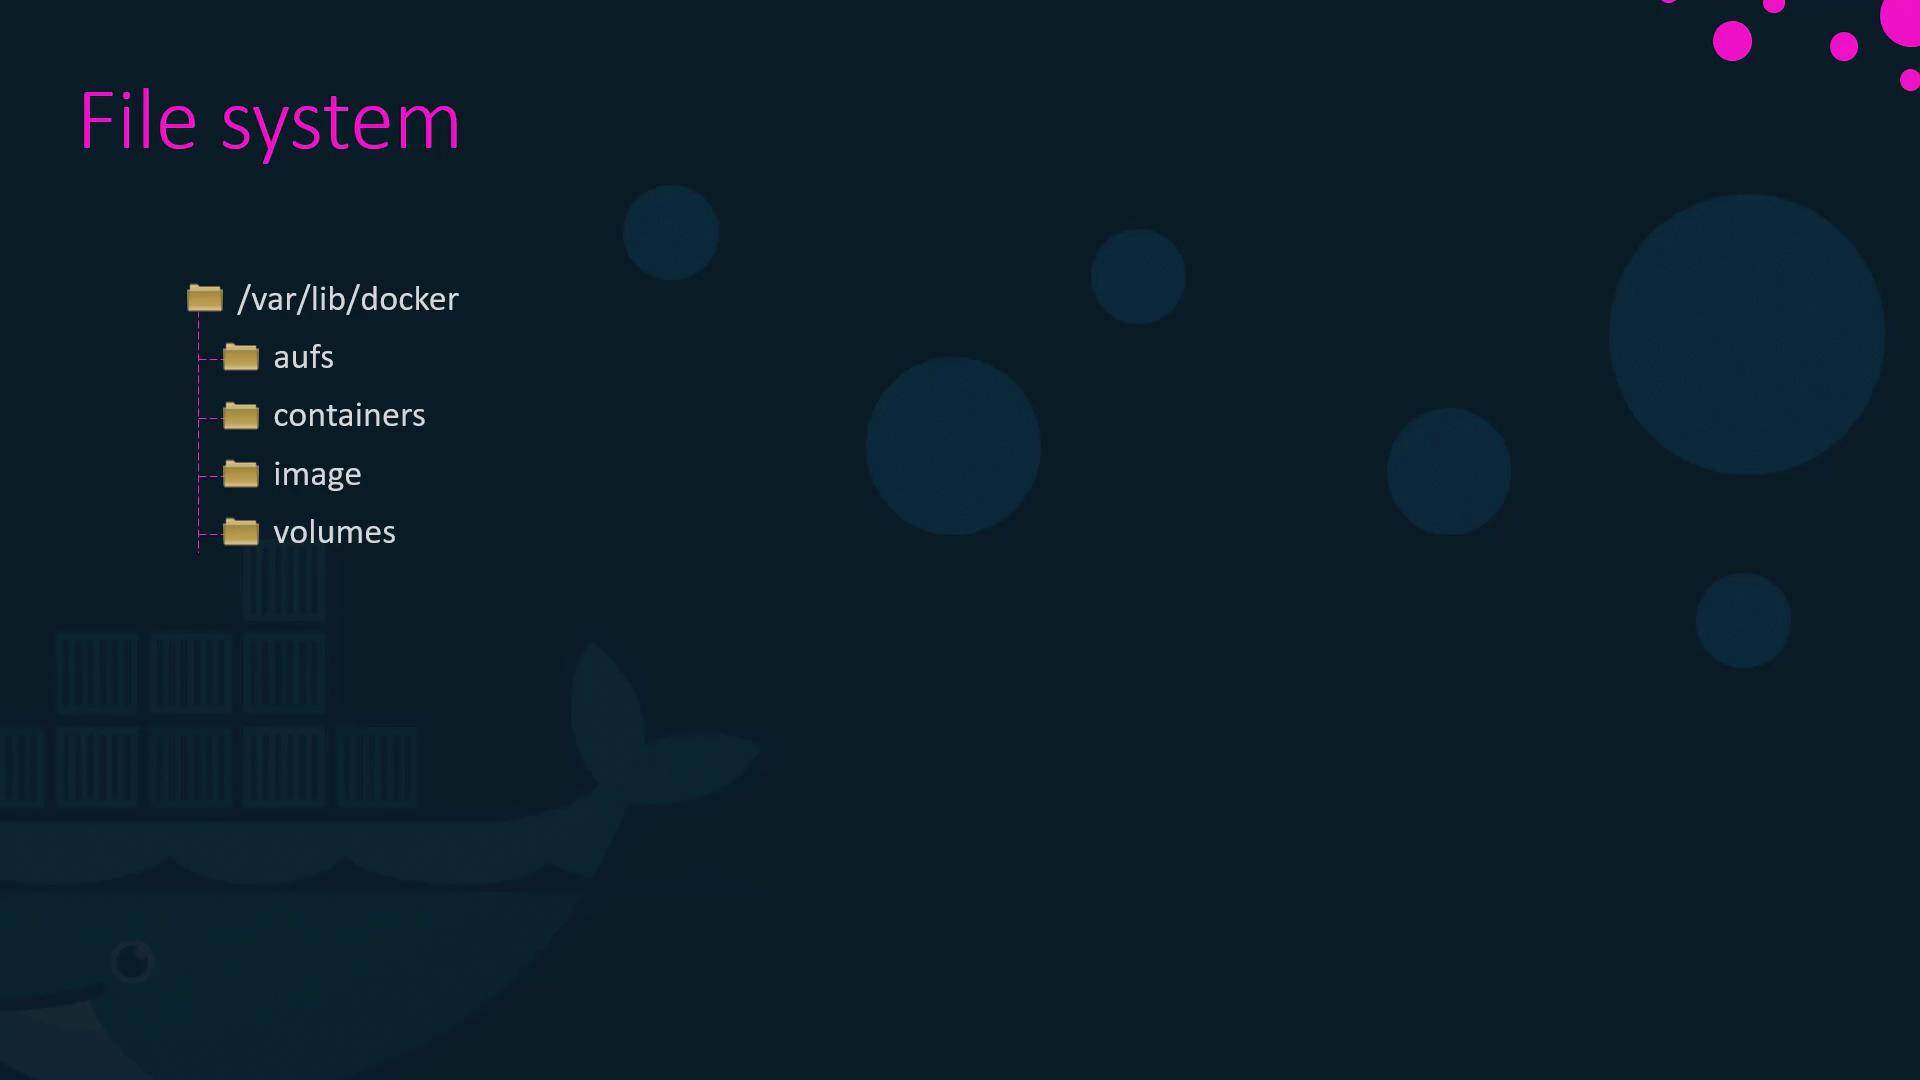
When Docker is installed, it organizes data within the /var/lib/docker directory. This folder contains several subdirectories such as aufs, containers, images, and volumes. Each subdirectory serves a specific role in Docker’s architecture:
containers: Stores all files related to running containers.
images: Contains stored images.
volumes: Holds data for persistent storage created by containers.
Docker images use a layered architecture where each instruction in a Dockerfile creates a new layer capturing only the changes from the previous one. Consider the following example Dockerfile:
Copy
FROM UbuntuRUN apt-get update && apt-get -y install pythonRUN pip install flask flask-mysqlCOPY . /opt/source-codeENTRYPOINT FLASK_APP=/opt/source-code/app.py flask run
You can build this image with the following command:
Copy
docker build -t mmumshad/my-custom-app .
In this example:
The base layer is the Ubuntu operating system.
Subsequent layers add APT packages, Python packages, application source code, and finally, the entry point configuration.
Each layer only stores the differences from its predecessor. For example, although the base Ubuntu image might be around 120 MB and the APT updates add an additional 300 MB, the remaining layers are much smaller. This strategy optimizes build times and minimizes disk space usage.
If subsequent applications share many common layers, Docker will reuse the unchanged layers from its cache, significantly speeding up builds.
Consider a second application similar to the first, with the same base image and dependencies but a different source file and entry point:
Copy
FROM UbuntuRUN apt-get update && apt-get -y install pythonRUN pip install flask flask-mysqlCOPY app2.py /opt/source-codeENTRYPOINT FLASK_APP=/opt/source-code/app2.py flask run
Build this image using:
Copy
docker build -t mmumshad/my-custom-app-2 .
Because the first three layers are identical across both applications, Docker reuses the cached layers and only builds the new layers corresponding to the changes.
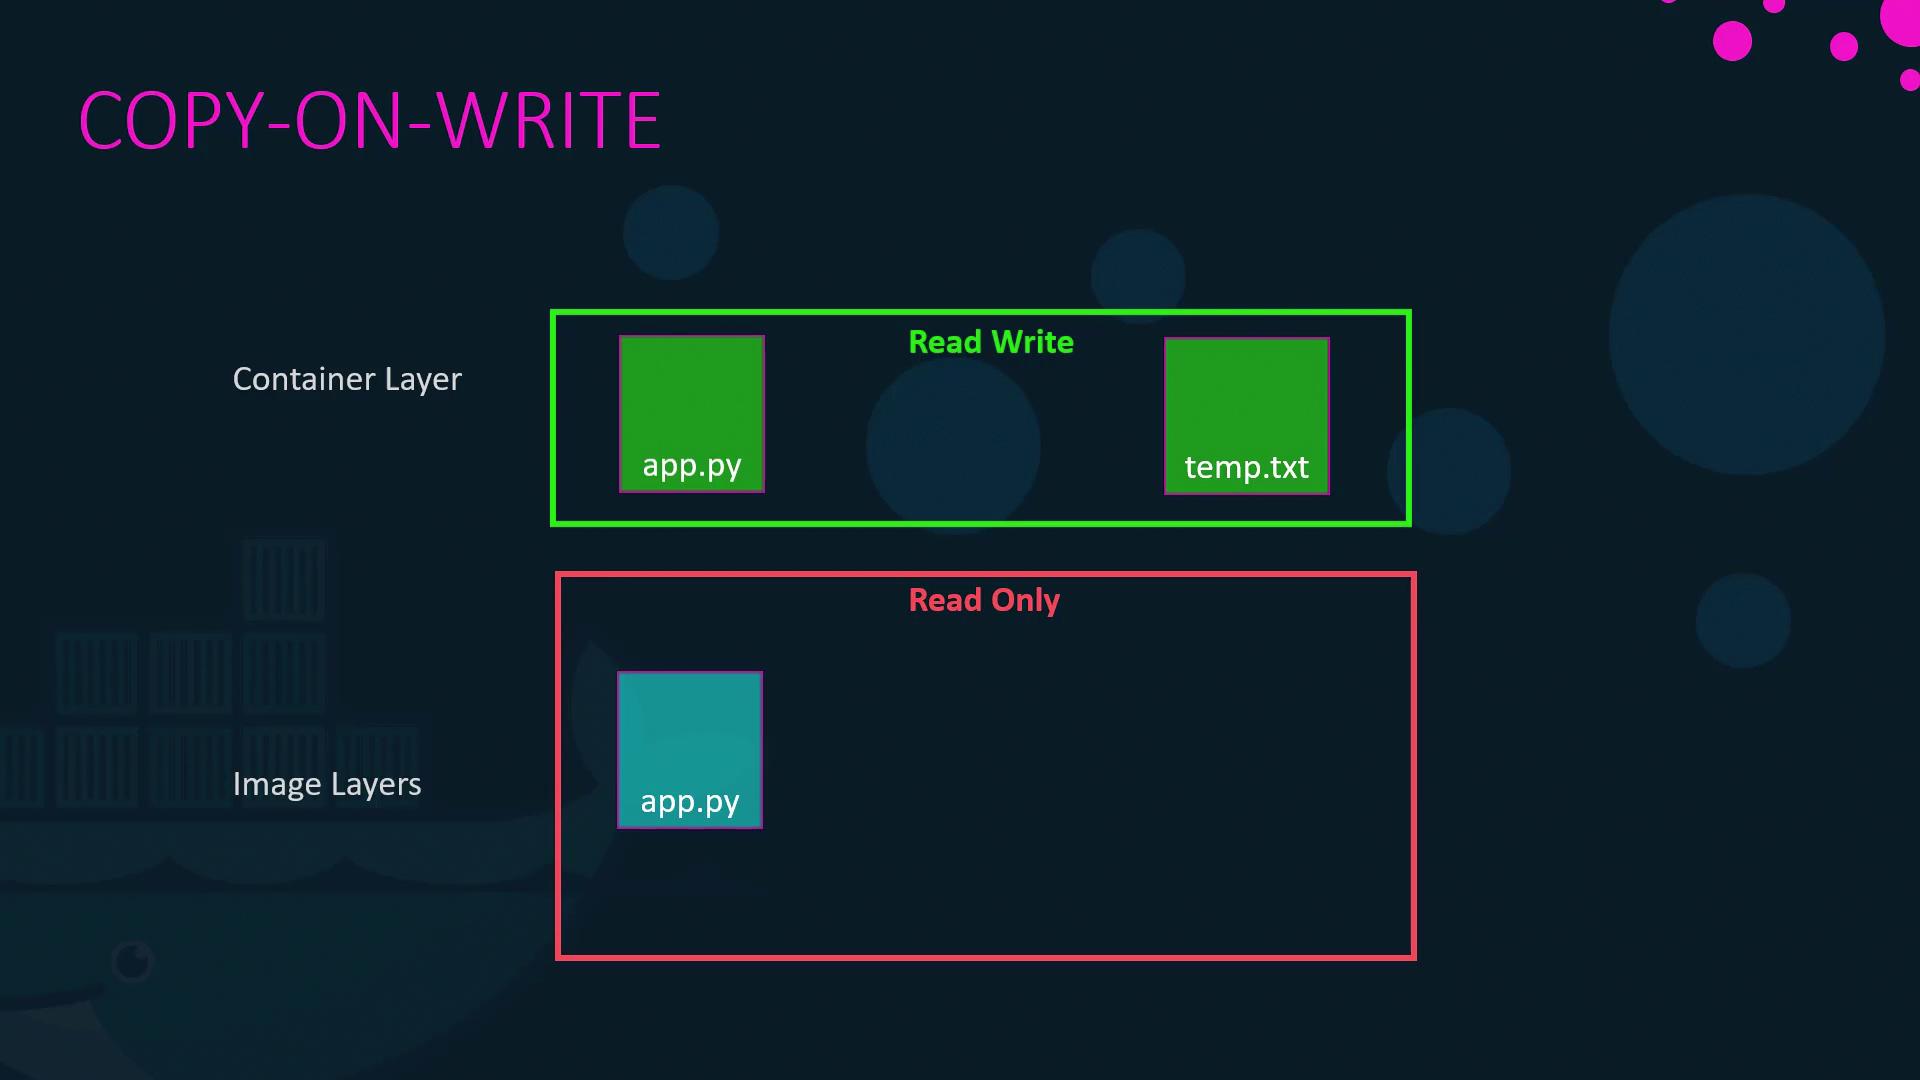
A Docker image consists of several read-only layers:
Base Layer: The Ubuntu operating system.
Packages Layer: APT packages installed on top of Ubuntu.
Dependencies Layer: Python packages such as Flask.
Source Code Layer: Your application code included in the image.
Entry Point Layer: The layer that sets the container’s entry point.
When building the image:
Copy
docker build -t mmumshad/my-custom-app Dockerfile
the resulting layers remain read-only. Running a container from this image creates a new writable layer on top, which stores changes such as logs, temporary files, or modifications made during runtime. This mechanism is known as copy-on-write. Even if you modify a read-only file from the image, Docker creates a separate copy in the writable layer before applying the changes.
Copy
docker run mmumshad/my-custom-app
Remember, when you remove a container, its writable layer and any associated changes will be lost. The original image remains unchanged unless it is rebuilt.
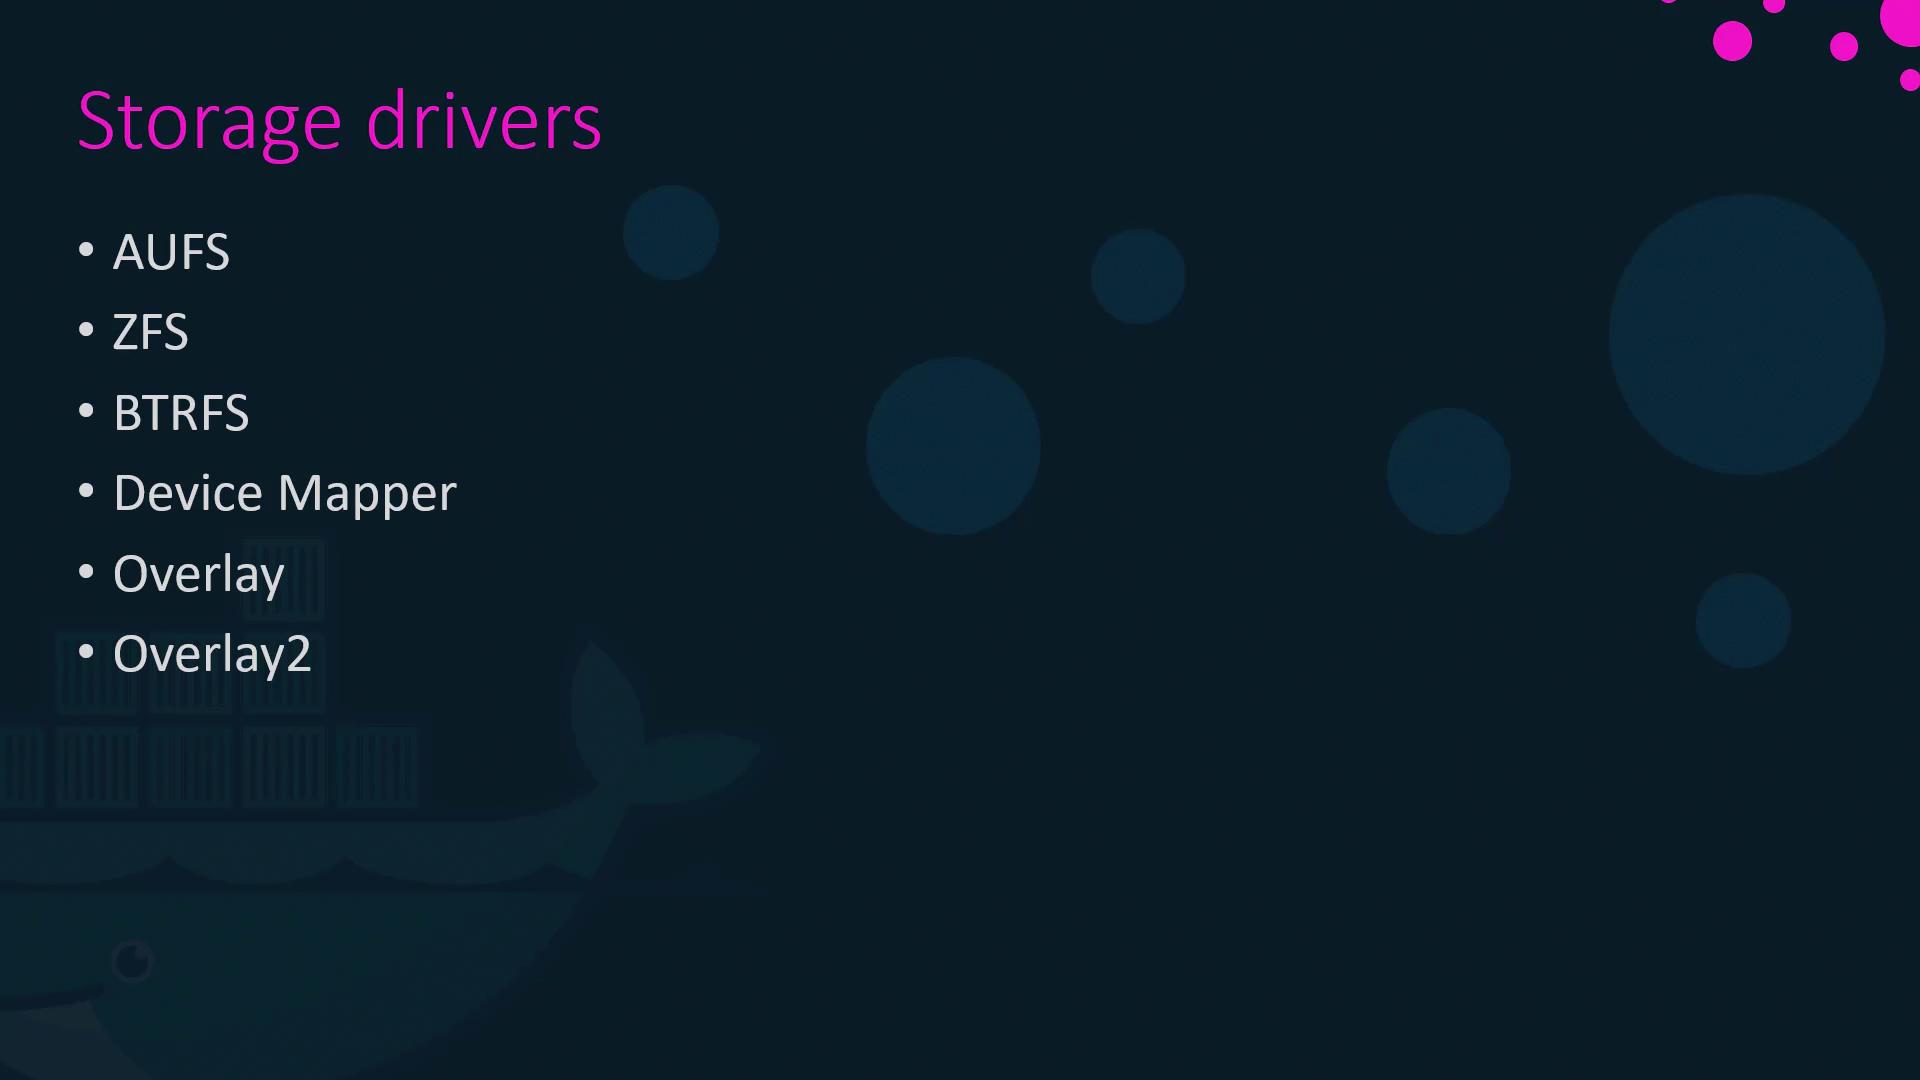
Docker uses storage drivers to manage layered filesystems, the creation of writable layers, and copy-on-write operations. Common storage drivers include:
AUFS
ZFS
BTRFS
Device Mapper
Overlay
Overlay2
The default storage driver varies by operating system: for example, Ubuntu typically uses AUFS, whereas Fedora or CentOS may use Device Mapper if AUFS is unavailable. Each driver offers unique performance and stability characteristics, so choose one based on your application’s requirements.
For more detailed information on these storage drivers, please refer to the documentation provided in the relevant links.
This lesson on Docker’s storage architecture covered the fundamentals of how Docker organizes data on the host, utilizes a layered image architecture, and manages persistent data with volumes and bind mounts. Understanding these concepts is crucial for optimizing Docker builds, ensuring efficient disk usage, and managing data persistence.Thank you for reading, and we look forward to sharing more advanced Docker topics in our next lesson.