Certified Kubernetes Security Specialist (CKS)

Cluster Setup and Hardening

TLS Basics

Welcome to this comprehensive lesson on SSL/TLS certificates. In this session, you'll learn the fundamentals of TLS certificates, their critical role in securing web communications over HTTPS, and how to properly configure them. We will also explore how key pairs secure SSH access to servers.

When users connect to a web server, TLS certificates encrypt communication and verify the server’s identity. Without secure connectivity, sensitive data—such as online banking credentials—could be transmitted in plaintext, making it vulnerable to interception and misuse. Encryption transforms readable data (plaintext) into ciphertext, ensuring that intercepted data remains unreadable if decryption keys are protected.

Data encryption typically involves keys, sets of random characters that facilitate the transformation of plaintext into ciphertext. In symmetric encryption, the same key is used for both encryption and decryption. This method risks key interception if the key travels over the same network channel.

To mitigate this risk, asymmetric encryption is employed. This method uses a key pair: a private key kept secret and a public key that anyone can use to encrypt data. Data encrypted with the public key can only be decrypted using the private key, ensuring secure communication even if the public key is known.

The image illustrates asymmetric encryption, showing a private key and a public key with corresponding icons.

Key Concept

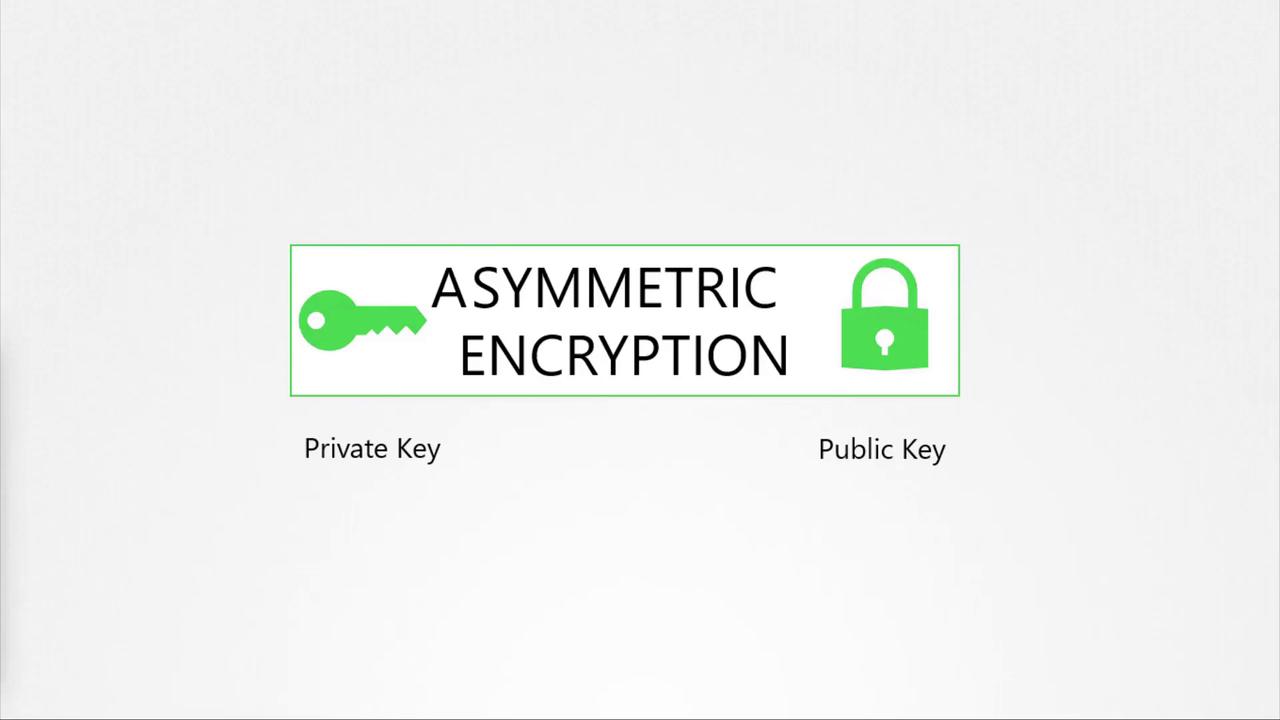
Asymmetric encryption uses a public/private key pair. The private key remains confidential, while the public key is distributed openly for encrypting data.

Securing SSH with Key Pairs

Securing SSH access to servers is a common use case for key pairs. Instead of traditional passwords—which are prone to compromise—you generate a pair of keys. The public key is placed on the server, while the private key remains with you, ensuring that only you can access the server.

To generate SSH keys, run the following command:

ssh-keygen

This creates two files:

  • id_rsa: the private key
  • id_rsa.pub: the public key

To secure your server, add the contents of your public key file to the ~/.ssh/authorized_keys file on the server:

# Display authorized keys on the server
cat ~/.ssh/authorized_keys

Then, access the server using your private key with:

ssh -i id_rsa user1@server1

A successful login message confirms that your secure SSH access is established. If you need to secure multiple servers, simply copy your public key to each server. Likewise, other users can generate their own key pairs and have their public keys added to the appropriate authorized_keys files.

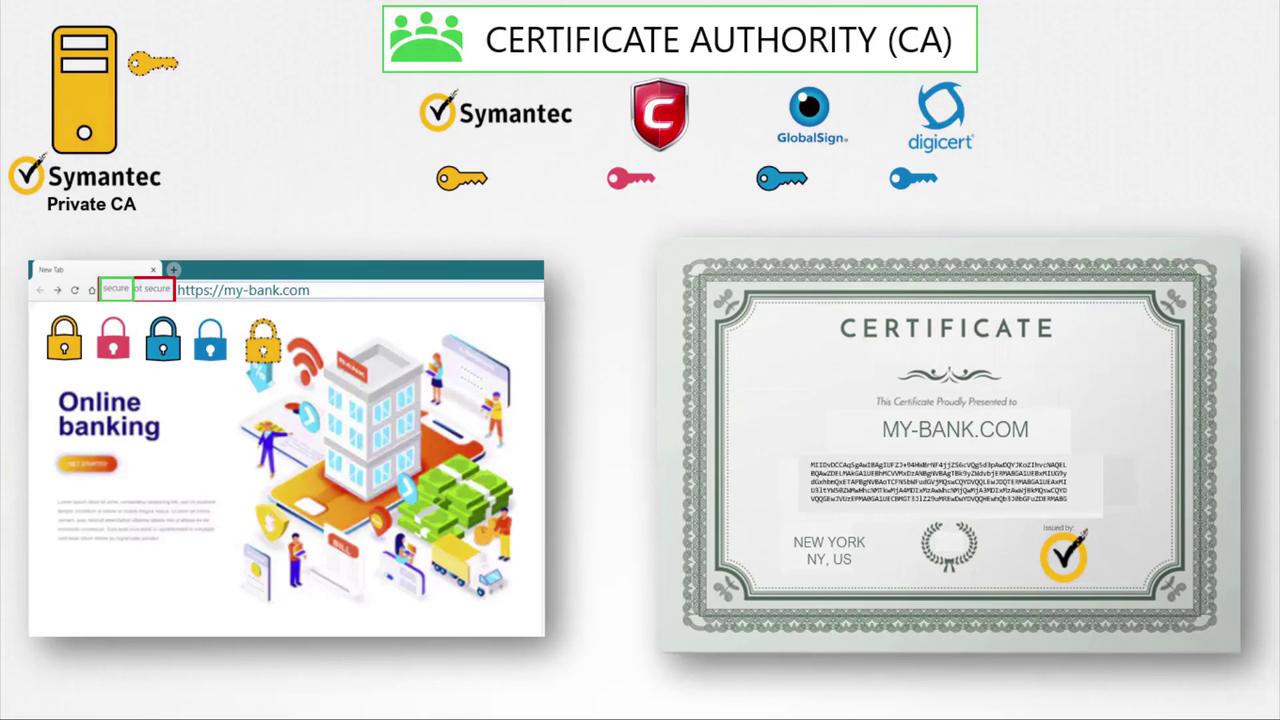
Securing Web Servers with TLS

Using only symmetric encryption for a web server poses a risk because the encryption key must be transmitted over the network. Asymmetric encryption resolves this by securely transmitting a symmetric key between the client and server.

For HTTPS, when a user visits a website, the server sends its public key within an SSL/TLS certificate. Even if an attacker intercepts the public key, they cannot decrypt the symmetric key because only the server holds the corresponding private key.

Use OpenSSL to generate a pair of RSA keys for your web server:

openssl genrsa -out my-bank.key 1024
openssl rsa -in my-bank.key -pubout > mybank.pem

When a user connects:

  1. The server sends its public key embedded in a certificate.
  2. The browser encrypts a newly generated symmetric key with this public key.
  3. The server uses its private key to decrypt the symmetric key.
  4. Future communication is secured using the symmetric key.

This mechanism ensures that even if the symmetric key and the public key are intercepted, only the server (with its private key) can decrypt the key and maintain secure communications.

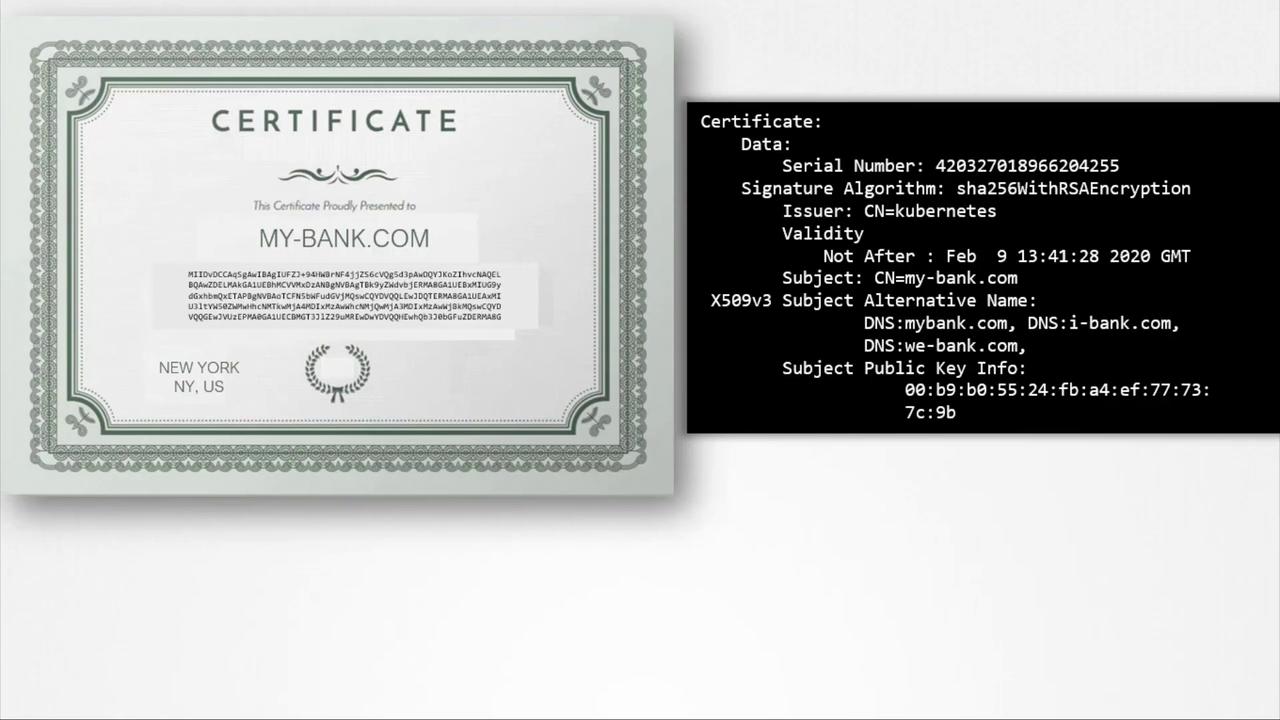
The Role of Digital Certificates

Digital certificates serve as more than just containers for public keys. They provide essential details including:

  • Certificate owner's identity (subject)
  • Issuer’s identity
  • Validity dates
  • Subject Alternative Names (SANs) for multiple domain support

For example, a certificate may contain details such as:

Certificate:
    Data:
        Serial Number: 420327018966204255
        Signature Algorithm: sha256WithRSAEncryption
        Issuer: CN=kubernetes
        Validity
            Not After : Feb  9 13:41:28 2020 GMT
        Subject: CN=my-bank.com
        X509v3 Subject Alternative Name:
            DNS:mybank.com, DNS:i-bank.com,
            DNS:we-bank.com,
        Subject Public Key Info:
            00:b9:b0:55:24:fb:a4:ef:77:73:7c:9b

The image shows a digital certificate for "my-bank.com" with details like serial number, signature algorithm, issuer, validity, and subject alternative names.

If the domain name on the certificate doesn’t match the URL or if the certificate is self-signed by an unknown entity, browsers will display a warning.

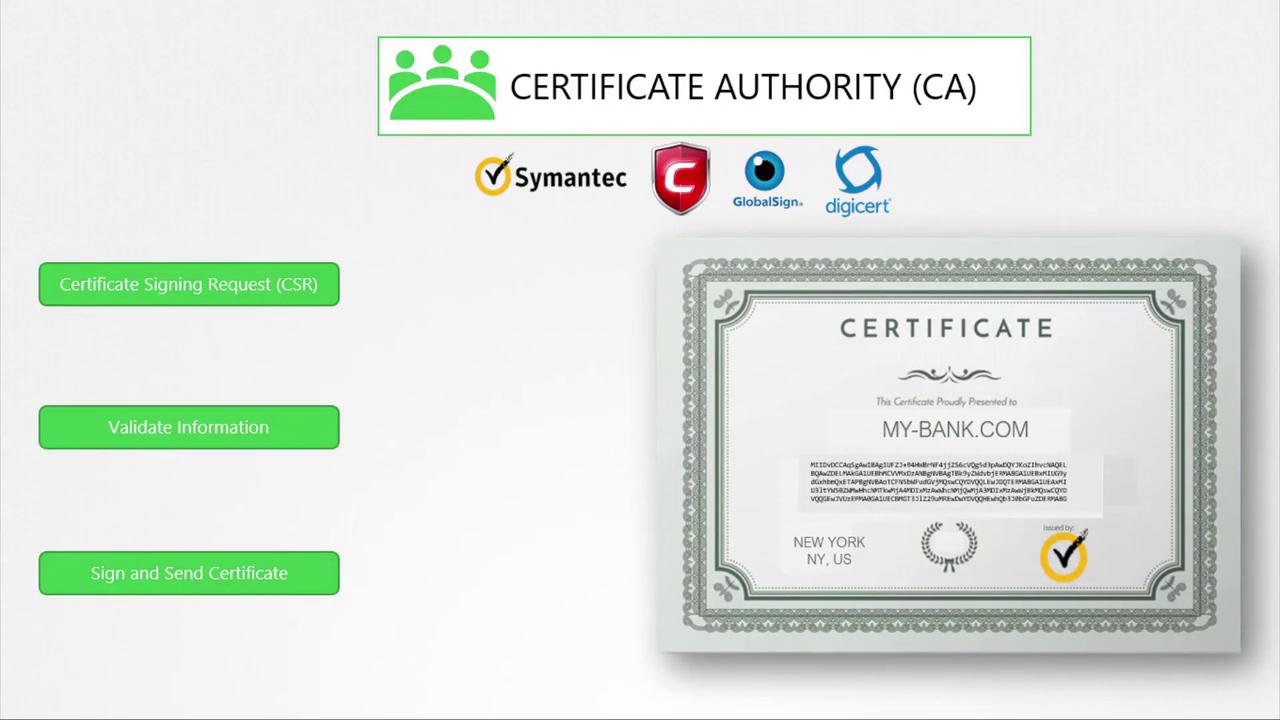
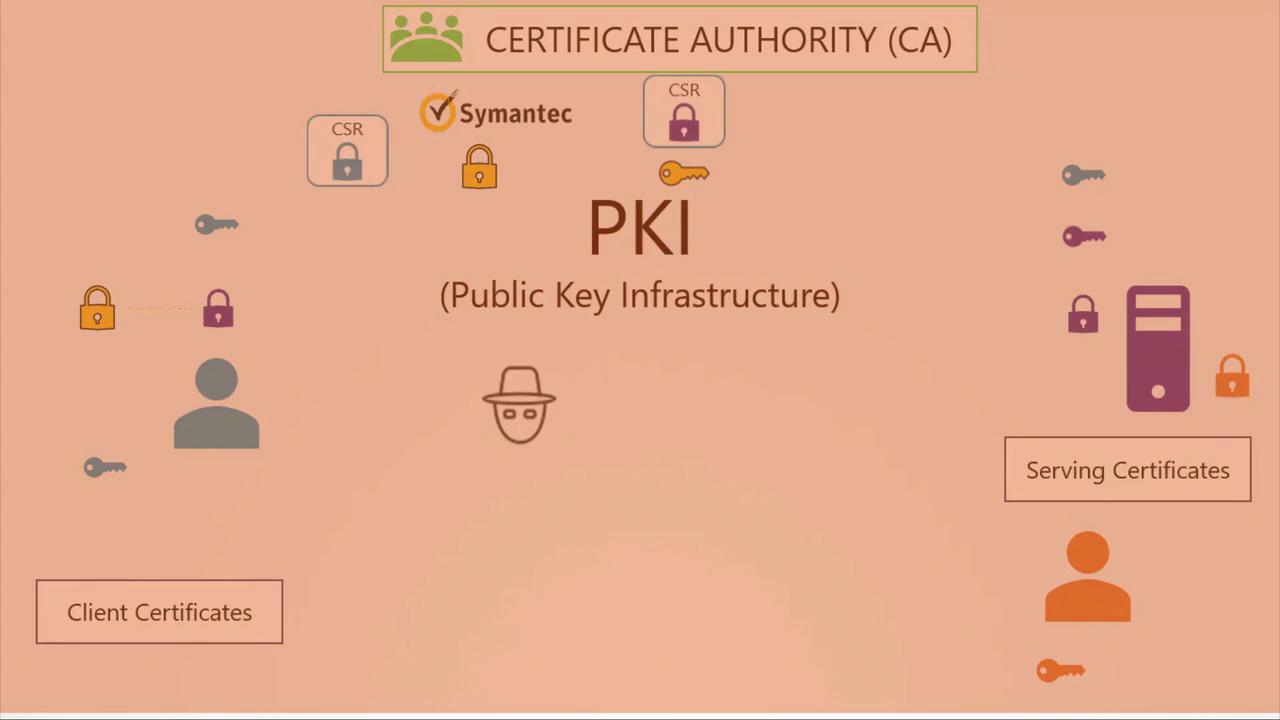
Certifying Trust with Certificate Authorities

While anyone can create a certificate (including fraudulent ones), trusted Certificate Authorities (CAs) such as Symantec, DigiCert, Komodo, or GlobalSign play a vital role in establishing trust. The process is as follows:

  1. Generate a Certificate Signing Request (CSR) using your private key and domain name:

    openssl req -new -key my-bank.key -out my-bank.csr -subj "/C=US/ST=CA/O=MyOrg, Inc./CN=my-bank.com"
    
  2. Submit the CSR to a CA.

  3. The CA verifies your information and, once validated, signs your certificate.

  4. The signed certificate is returned and installed on your server, ensuring that browsers trust your website.

The image illustrates a Certificate Authority (CA) process, featuring logos of Symantec, GlobalSign, and DigiCert, with steps for certificate signing, validation, and issuance to "MY-BANK.COM".

Browsers inherently trust certificates from recognized CAs because they come preloaded with the public keys of these authorities. This allows browsers to verify that a certificate is legitimate.

While public CAs secure external websites like e-commerce platforms, private CAs can also be used to secure internal applications, such as corporate intranets and payroll systems.

The image illustrates the concept of Certificate Authorities (CAs) with logos, a secure online banking webpage, and a digital certificate for "MY-BANK.COM."

Recap of TLS Communication

Below is an overview of the TLS communication process:

StepProcess Description
1. Key Pair GenerationAn administrator generates a key pair for SSH and the web server generates a key pair for HTTPS.
2. CSR CreationThe web server creates a Certificate Signing Request (CSR) and submits it to a CA.
3. Certificate SigningThe CA signs the certificate with its private key and returns the signed certificate to the server.
4. Certificate DistributionWhen users visit the website, the server sends its signed certificate containing its public key.
5. Certificate ValidationThe browser validates the certificate using the CA’s public key.
6. Symmetric Key ExchangeThe browser generates a symmetric key, encrypts it with the server’s public key, and sends it to the server.
7. Secure CommunicationThe server decrypts the symmetric key with its private key, and all subsequent communication is secured.

In some advanced scenarios, the server may require a client certificate for mutual authentication, though this is less common for general web access.

This complete framework, which includes CAs, key pairs, digital certificates, and database practices for key management, is known as Public Key Infrastructure (PKI).

The image illustrates Public Key Infrastructure (PKI) with elements like Certificate Authority, client and server certificates, keys, and locks, highlighting security processes.

A Note on Key and Certificate Naming Conventions

Certificates that include a public key typically use the extensions .crt or .pem (for example, server.crt, server.pem, client.crt, or client.pem). Private keys are usually indicated by the extension .key or may include the word “key” in the filename (e.g., server.key or server-key.pem). Adhering to these naming conventions helps distinguish between public certificates and private keys.
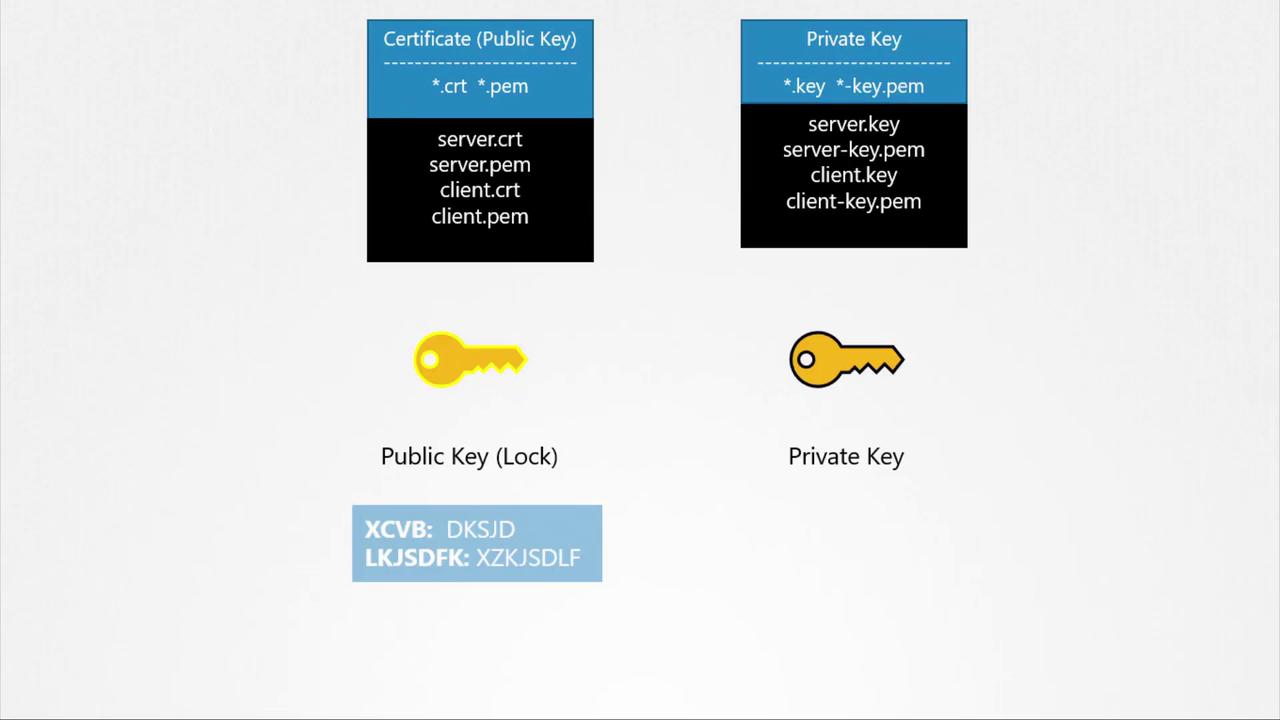
The image illustrates the difference between public and private keys, showing file extensions and representations for each type.

Summary

In this lesson, we've covered how SSL/TLS certificates secure web and SSH communications, the process of certificate generation and signing, and the importance of Certificate Authorities. By understanding these concepts, you can ensure your applications and services maintain robust security.

That concludes our lesson on TLS certificates. We hope this content has provided you with a clearer understanding of how SSL/TLS certificates function to secure communications and verify identities in both SSH and HTTPS scenarios. For more information on related topics, consider visiting the Kubernetes Documentation or the Docker Hub.

See you in the next lesson!

Watch Video

Watch video content

Previous
TLS Introduction