This article explains how to secure Kubernetes container deployments using AppArmor profiles to enforce security policies at the kernel level.
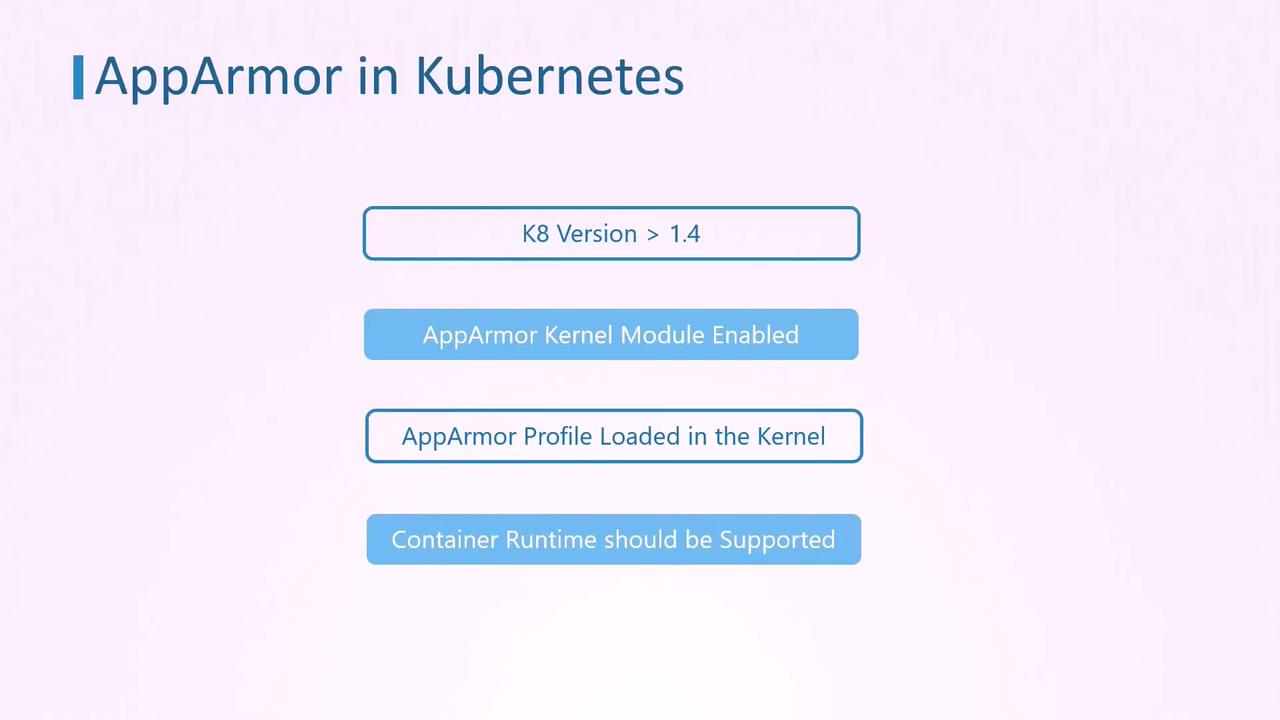
In this lesson, we explain how to secure your container deployments in Kubernetes using AppArmor profiles. AppArmor enforces security policies at the kernel level by limiting file system writes and other potentially risky operations within containers.AppArmor support was introduced in Kubernetes v1.4 and, although it remained in beta until version 1.20, it has proven to be an effective tool for hardening container security. To enable AppArmor on Kubernetes pods, ensure that each node in your cluster meets the following requirements:– The AppArmor kernel module must be enabled.
– The desired AppArmor profile must be loaded on each node.
– The container runtime (e.g., Docker, CRI-O, Containerd) must support AppArmor.
Before proceeding, verify that all nodes have the AppArmor kernel module enabled and the required profile loaded.
Below is an example where an Ubuntu container is configured as a Sleeper pod. The container prints a message and sleeps for one hour. Because the container’s command does not require file system write access, the pod is secured with an AppArmor profile that denies write operations.
Before deploying your pod, ensure the AppArmor profile is loaded on all nodes. Run the following command on each worker node:
Copy
aa-statusapparmor module is loaded.13 profiles are loaded.13 profiles are in enforce mode. apparmor-deny-write /sbin/dhclient /usr/bin/man /usr/lib/NetworkManager/mn-dhcp-client.action /usr/lib/NetworkManager/mn-dhcp-helper ... /usr/sbin/tcpdump docker-default man_filter man_groff0 profiles are in complain mode.11 processes have profiles defined.11 processes are in enforce mode. /sbin/dhclient (621) docker-default (3970) docker-default (4025) docker-default (9853) docker-default (9964)0 processes are in complain mode.2 processes are unconfined but have a profile defined.
Previously, when AppArmor was in beta, it was necessary to annotate the pod’s metadata to specify the AppArmor profile. The annotation used was container.apparmor.security.beta.kubernetes.io with the container name as the key and a value formatted as localhost/<profile-name>.Legacy configuration example:
Starting from newer Kubernetes versions, you can specify an AppArmor profile using the securityContext within the pod specification. The updated configuration is shown below:
If the file creation attempt fails as shown above, it confirms that the AppArmor profile is enforcing the security restrictions correctly.
This concludes the lesson on using AppArmor profiles in Kubernetes. For further practice and deeper understanding, explore additional hands-on labs and documentation on Kubernetes security.For more information, refer to: