Certified Kubernetes Security Specialist (CKS)
System Hardening
Limit Node Access
This article explores strategies to secure Kubernetes nodes by limiting direct host access, thereby minimizing the potential attack surface. While techniques like ABAC and RBAC help manage user permissions in Kubernetes, our focus here is exclusively on hardening the nodes.
For optimal security, both the control plane and the nodes should remain shielded from direct internet exposure. In many managed Kubernetes solutions, control plane nodes are inherently inaccessible, while the nodes themselves may be provisioned within a private network in self-hosted or other managed environments.
Accessing Private Clusters
After disabling public access, you can securely connect to your private cluster using a VPN. If implementing a VPN is impractical, consider configuring authorized networks in your infrastructure firewall. For instance, you can allow access only from a specific IP range (e.g., permitting 44.44.44.0/24 while blocking 33.33.33.0/24).
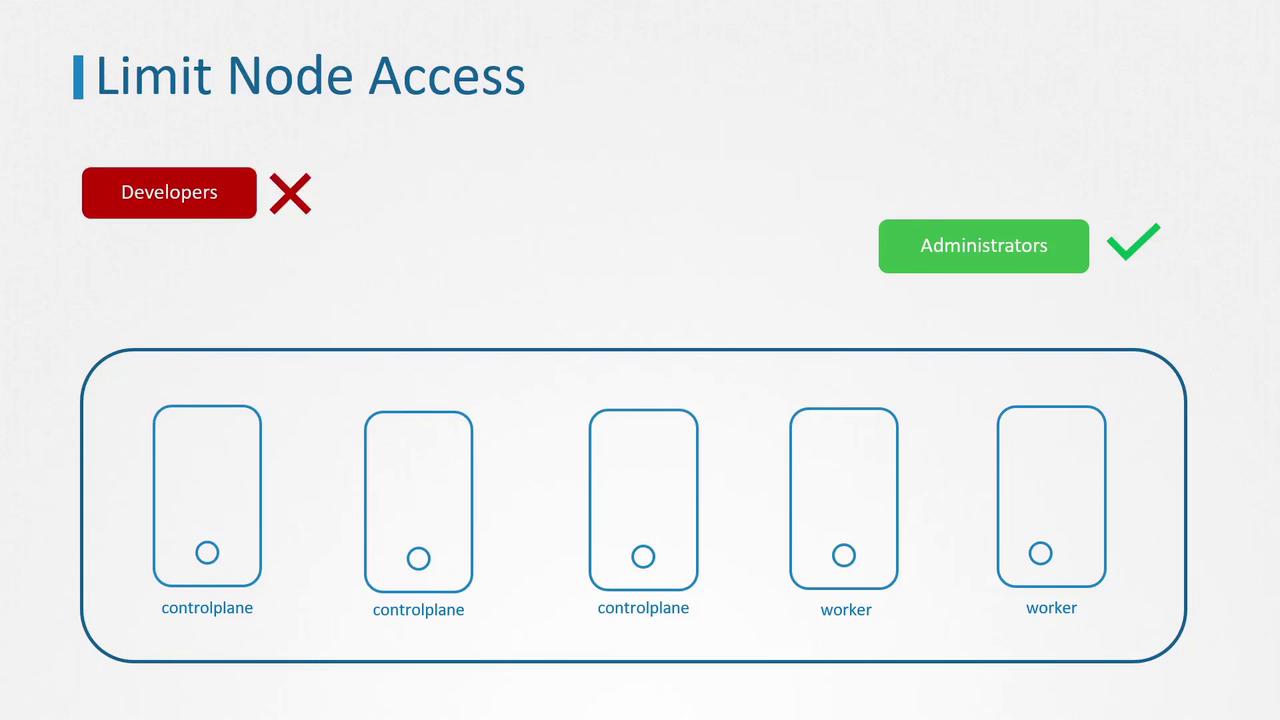
Connectivity restrictions can also be implemented directly on each host. The subsequent sections will detail these configurations. It is equally important to account for internal security risks: while system administrators need SSH access for maintenance tasks, developers generally do not require direct node access—except in development environments. Additionally, external users should never have unmediated access to the nodes.
Managing User Accounts in Linux
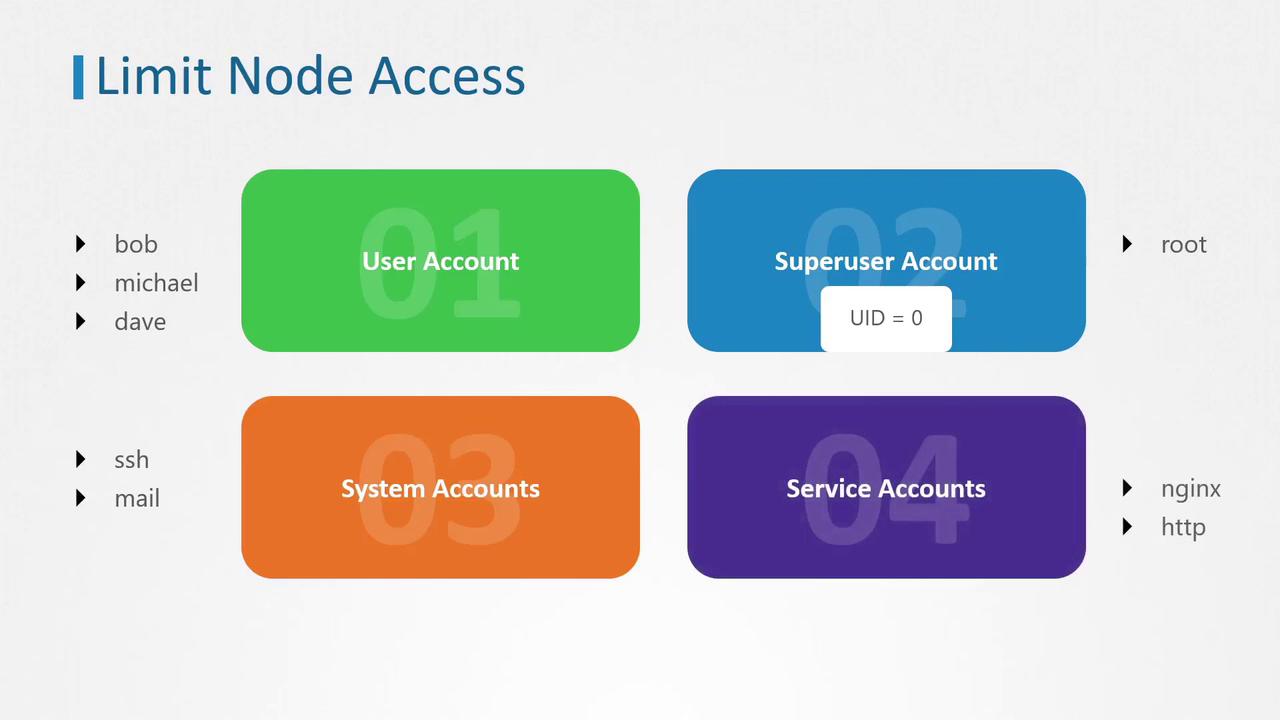
Linux systems classify user accounts into several types, each with distinct roles:
- User Accounts: For individuals like system administrators and developers.
- Superuser Account: The root account (UID 0) with complete system access.
- System Accounts: Created during OS installation for running system services, typically not operating with superuser privileges.
- Service Accounts: Similar to system accounts but dedicated to running specific services (for example, the "nginx" service account for an Nginx server).
Inspecting User Information
Linux provides several commands to inspect user details:
- The
idcommand displays critical user information such as UID, GID, and group membership. - The
whocommand lists the users currently logged into the system. - The
lastcommand presents a login history for users.
id
# Output:
who
# Output:
last
# Output:
# michael   :1    :1           Tue May 12 20:00 still logged in
# sarah     :1    :1           Tue May 12 12:00 still running
# reboot    system boot 5.3.0-758-gen  Mon May 11 13:00 - 19:00 (06:00)
Understanding Access Control Files
Most access control files can be found in the /etc directory. Key files include:
- /etc/passwd: Contains basic user information such as username, UID, GID, home directory, and default shell (note: passwords are not stored here).
- /etc/shadow: Stores hashed user passwords.
- /etc/group: Lists groups, including group names, GIDs, and member associations.
To view user details, you can use the following commands:
grep -i ^michael /etc/passwd
# Output:
grep -i ^michael /etc/shadow
# Output:
grep -i ^bob /etc/group
# Output:
# developer:x:1001:bob,michael
These files, in combination with commands like id, who, and last, enable you to audit which accounts have access to your system. Following the principle of least privilege, it is best practice to remove or disable any unnecessary account.
Disabling Unnecessary User Accounts
One effective method to restrict unauthorized access is to change a user's shell to a no-login shell. This prevents the user from logging in, thereby limiting potential security risks.
usermod -s /bin/nologin michael
Verify the change:
grep -i michael /etc/passwd
# Output:
# michael:x:1001:1001::/home/michael:/bin/nologin
Alternatively, if a user account is no longer required, you can remove it entirely with the userdel command.
To remove a user from a specific group—such as removing Michael from the admin group—follow these steps on an Ubuntu system:
Check the current group membership:
id michael
# Output:
# uid=1001(michael) gid=1001(michael) groups=1001(michael),1000(admin)
Remove Michael from the admin group:
deluser michael admin
# Output:
# Removing user `michael` from group `admin` ...
# Done.
Verify that Michael has been removed:
id michael
# Output:
# uid=1001(michael) gid=1001(michael) groups=1001(michael)
Note
These commands apply to local user accounts. For accounts managed via directory services such as Active Directory or LDAP, refer to your service documentation.
That concludes our discussion on securing node access in Kubernetes clusters. You are now ready to practice these steps through available lab exercises and further enhance your cluster security posture.
For additional Kubernetes security guidance, check out the following resources:
Watch Video
Watch video content
Practice Lab
Practice lab