Cloud Native Buildpacks
Creating Buildpacks
Demo Application Overview
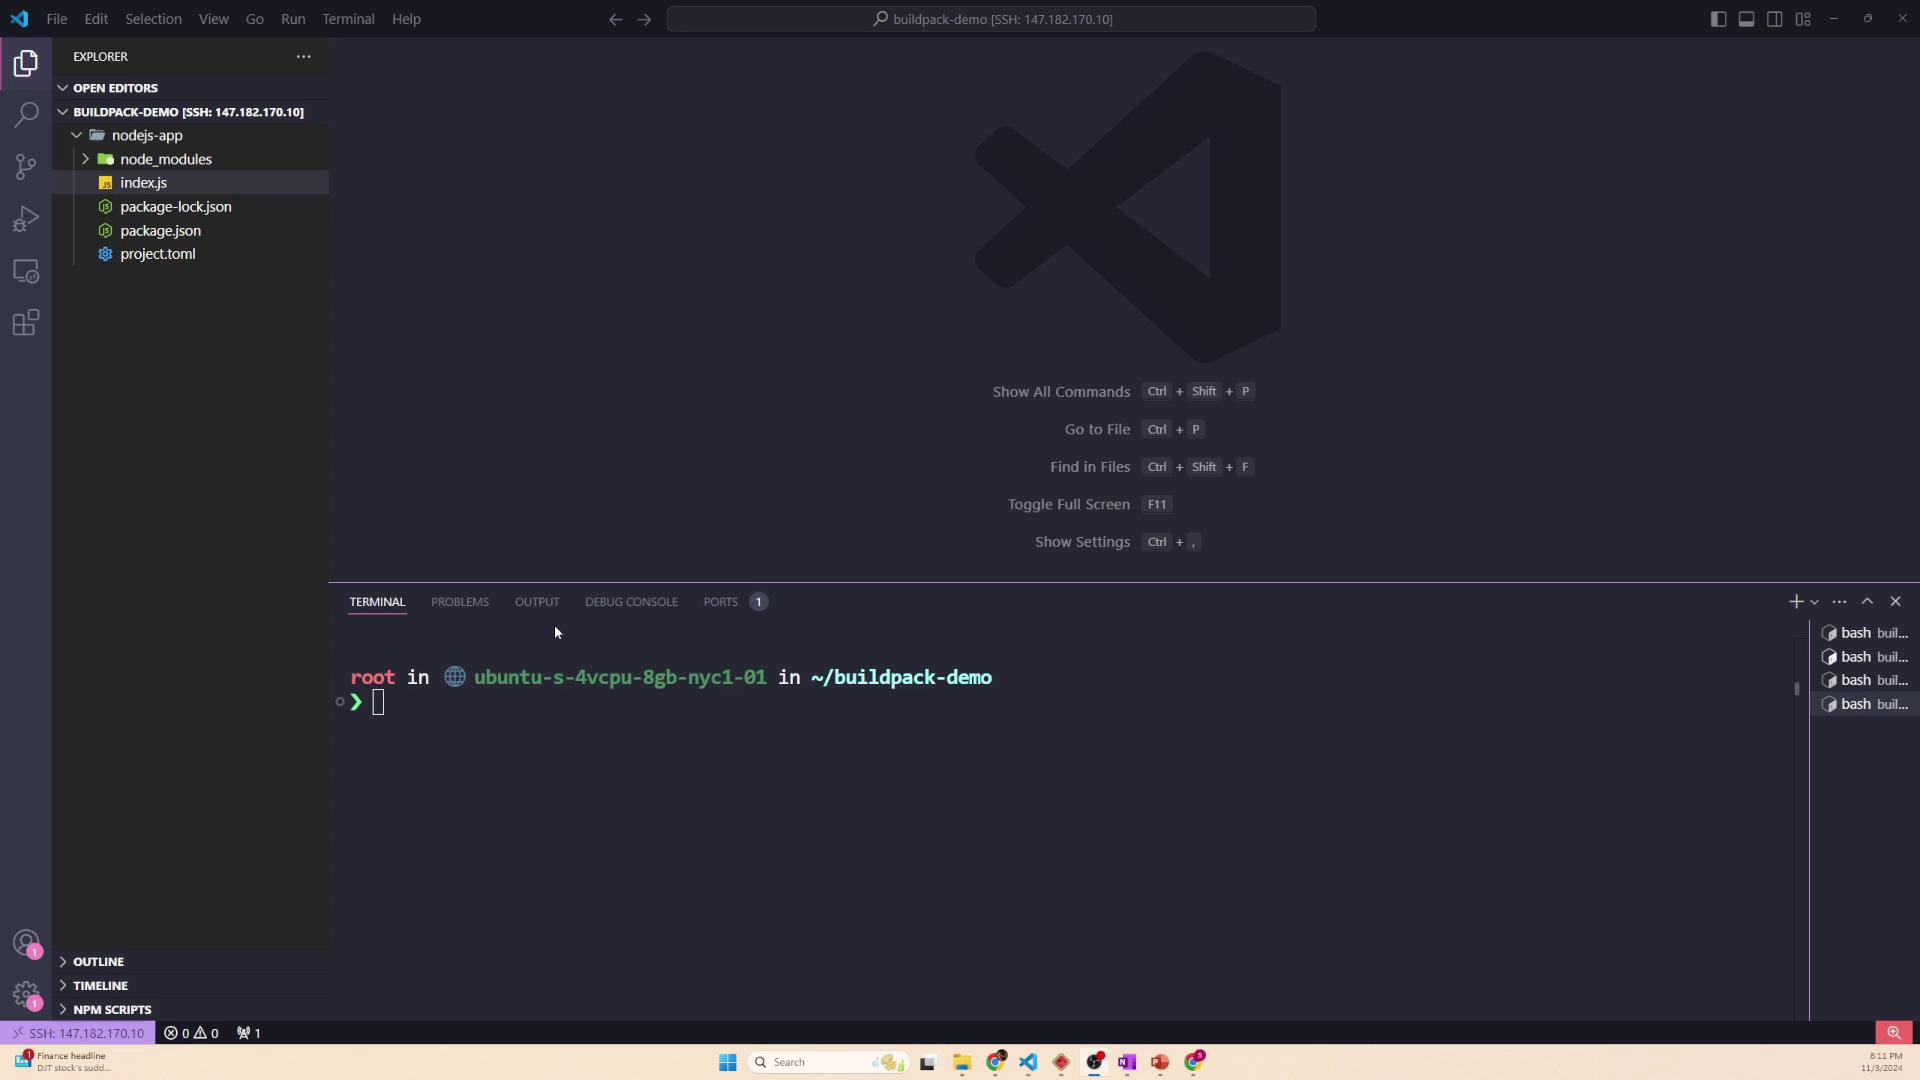
In this article, we examine how a Node.js application operates by taking a closer look at the various files that comprise the application. Even if you work with a different language or runtime, understanding these files is crucial when creating a build script since you need to know what each file does, the dependencies required, and how the application is started.

Below is a detailed breakdown of the application's structure.
The Application Entry Point (index.js)
The index.js file is the heart of the application and acts as its entry point. It contains all the necessary code to start a simple web server, which listens on port 8080 by default (or on a port specified in the environment). To run the application, simply execute:
node index.js
If the required dependencies are missing, you might encounter an error similar to the one below:
Warning
Attempting to start the application without installing all the necessary packages will result in errors, such as the missing express module.
Below is the sample code from index.js:
console.log(process.env.NODE_PATH);
const express = require('express');
const app = express();
const PORT = process.env.PORT || 8080;

// Define a route for the root URL
app.get('/', (req, res) => {
  res.send('Hello, World!');
});

// Start the server
app.listen(PORT, () => {
  console.log(`Server is running on http://localhost:${PORT}`);
});
If you try to launch the application in the absence of its required dependencies, you might see an error like:
node:internal/modules/cjs/loader:1252
  throw err;
  ^

Error: Cannot find module 'express'
Require stack:
- /root/buildpack-demo/nodejs-app/index.js
    at Function._resolveFilename (node:internal/modules/cjs/loader:1249:15)
    at Function._load (node:internal/modules/cjs/loader:1075:27)
Project Dependencies (package.json)
The package.json file holds vital metadata about the project, including a list of dependencies required by the application. In this example, our Node.js app depends on the Express framework for building web applications and UUID for generating unique identifiers. This file is analogous to Python’s requirements.txt and is essential for managing third-party libraries.
Below is a typical package.json file:
{
  "name": "example-application",
  "version": "1.0.0",
  "main": "index.js",
  "scripts": {
    "test": "echo \"Error: no test specified\" && exit 1"
  },
  "author": "",
  "license": "ISC",
  "description": "",
  "engines": {
    "node": "18.18.0"
  },
  "dependencies": {
    "express": "^4.21.1",
    "uuid": "^11.0.2"
  }
}
Every time you install a new dependency using a command like npm install <package-name>, it is automatically added to the "dependencies" list. The actual package files are then stored within the node_modules folder.
Locking Dependency Versions (package-lock.json)
In addition to package.json, the package-lock.json file is created to record the exact versions of every installed dependency, including nested dependencies. This file ensures consistent installation across different environments (development, production, CI/CD pipelines) and avoids version discrepancies.
Here’s an excerpt from a package-lock.json file that demonstrates its structure:
{
  "packages": {
    "": {
      "engines": {
        "node": "23.1.0"
      }
    },
    "node_modules/accepts": {
      "version": "1.3.8",
      "resolved": "https://registry.npmjs.org/accepts/-/accepts-1.3.8.tgz",
      "integrity": "sha512-PYAthTa2m2VKxuvSD3DPC/GyU+sO1LAuT8mkmRuvw+NACsaeXEQ+NHcVF7ONl6qaxV3Ueumawk+7+SJlw==",
      "license": "MIT",
      "dependencies": {
        "mime-types": "~2.1.34",
        "negotiator": "0.6.3"
      },
      "engines": {
        "node": ">= 0.6"
      }
    }
  }
}
This file is updated automatically when dependencies are installed or updated. It should be checked into source control to guarantee reproducible builds.
Installing Dependencies
Before running the application, you need to install all the necessary dependencies listed in the package.json file. If you skip this step, Node.js will not be able to locate modules such as Express.
To install all dependencies, navigate to your project directory and run:
npm install
After running this command, a node_modules folder is created that contains Express, UUID, and all other required modules.
Alternative Installation Command
In certain environments, you might want to perform a clean installation based on the exact versions recorded in package-lock.json. In that case, use the npm ci command.
A typical console output after installing dependencies might look like:
npm warn EBADENGINE current: { node: 'v22.11.0', npm: '10.9.0' }
npm warn EBADENGINE

added 66 packages, and audited 67 packages in 2s

14 packages are looking for funding
  run `npm fund` for details

found 0 vulnerabilities
When managing your code with a Git repository or creating a container image, the node_modules folder is often excluded (typically via a .gitignore file) because the dependencies can be installed on demand.
Buildpack Configuration
When creating a container image for this Node.js application using a buildpack, you generally copy over the source code and dependency descriptions, but exclude the node_modules folder. Below is an example project.toml file that specifies which files and directories should be excluded:
version = "1.0.0"

[io.buildpacks]
builder = "gcr.io/buildpacks/builder:google-22"
exclude = [
  "node_modules",
  ".env",
  "tests/**",
  "dummfile.txt"
]
After running dependency installation commands like npm ci, the console output might appear as follows:
npm warn EBADENGINE current: { node: 'v22.11.0', npm: '10.9.0' }
npm warn EBADENGINE

added 66 packages, and audited 67 packages in 2s
14 packages are looking for funding
  run `npm fund` for details

found 0 vulnerabilities

root in ubuntu-s-4vcpu-8gb-nyc1-01 in ~/buildpack-demo/nodejs-app is v1.0.0 via v22.11.0
> npm ci
Summary
This article provided an overview of the basic structure of a Node.js application:
- The
index.jsfile acts as the entry point that launches the web server. - The
package.jsonfile contains project metadata and dependency details (similar to Python’srequirements.txt). - The
package-lock.jsonfile ensures consistent dependency installations by locking down exact package versions. - Dependencies are installed locally in the
node_modulesfolder using commands such asnpm installornpm ci.
Understanding these components is essential when working with buildpacks and deploying Node.js applications. In the next lesson, we will start building our first buildpack.
Watch Video
Watch video content