1. Create an Azure Cosmos DB Account
- In the Azure portal, type Cosmos DB in the search bar and select Azure Cosmos DB.
- Click Create Azure Cosmos DB account.
- Under API, choose Azure Cosmos DB for NoSQL:

- Click Create and fill out the Basics tab:
- Subscription: Select your Azure subscription
- Resource group: Pick an existing group or create a new one, e.g., MyResourceGroup
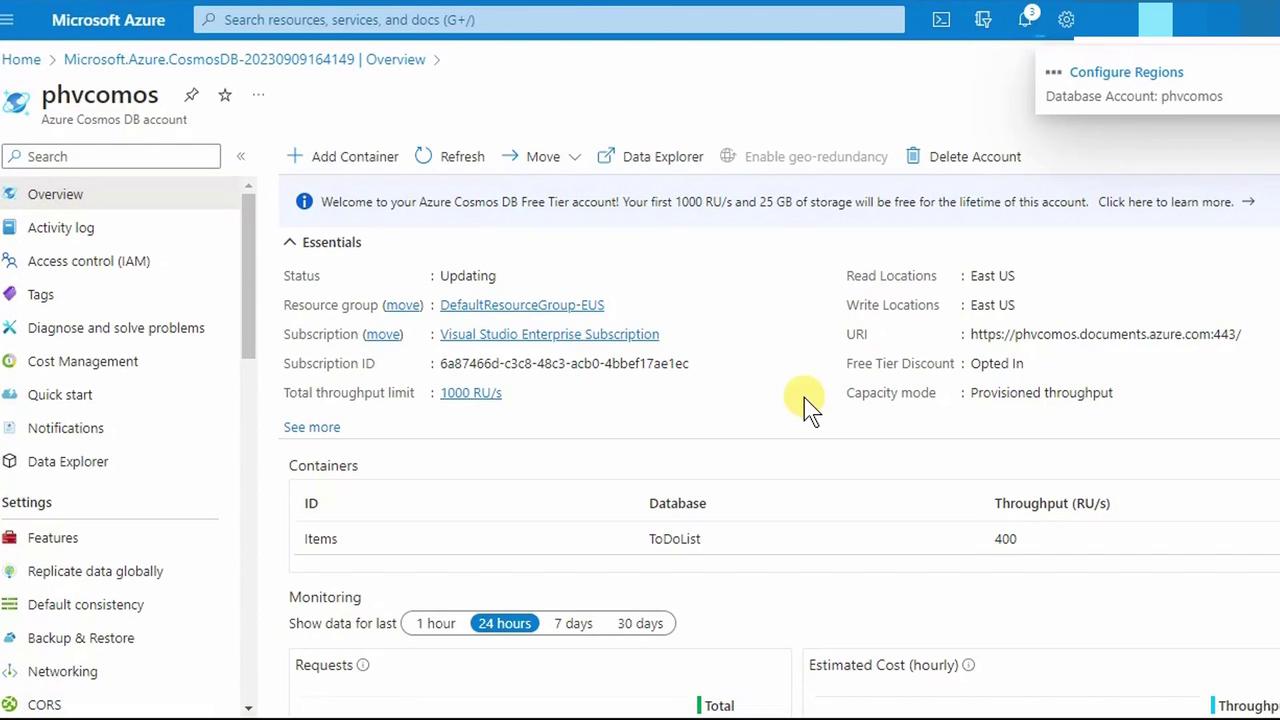
- Account Name: Enter a unique name (e.g.,
phvcosmos) - Region: Choose the nearest region (e.g., East US)
2. Choose Capacity Mode
Cosmos DB offers two billing models. Select the mode that best fits your workload:| Capacity Mode | Billing Model | Ideal For |
|---|---|---|
| Provisioned throughput | Request Units (RUs/sec) | Predictable performance workloads |
| Serverless | Pay per request | Infrequent or bursty traffic |
- Under Capacity mode, pick Provisioned throughput.
- Enable the free tier discount (if eligible).
- Optionally Limit total throughput to prevent unexpected RU charges.
Limiting throughput helps you stay within budget by capping the maximum RUs your account can consume.
3. Configure Global Distribution
- Switch to the Global distribution tab.
- Toggle Multi-region writes (allows writes in all regions).
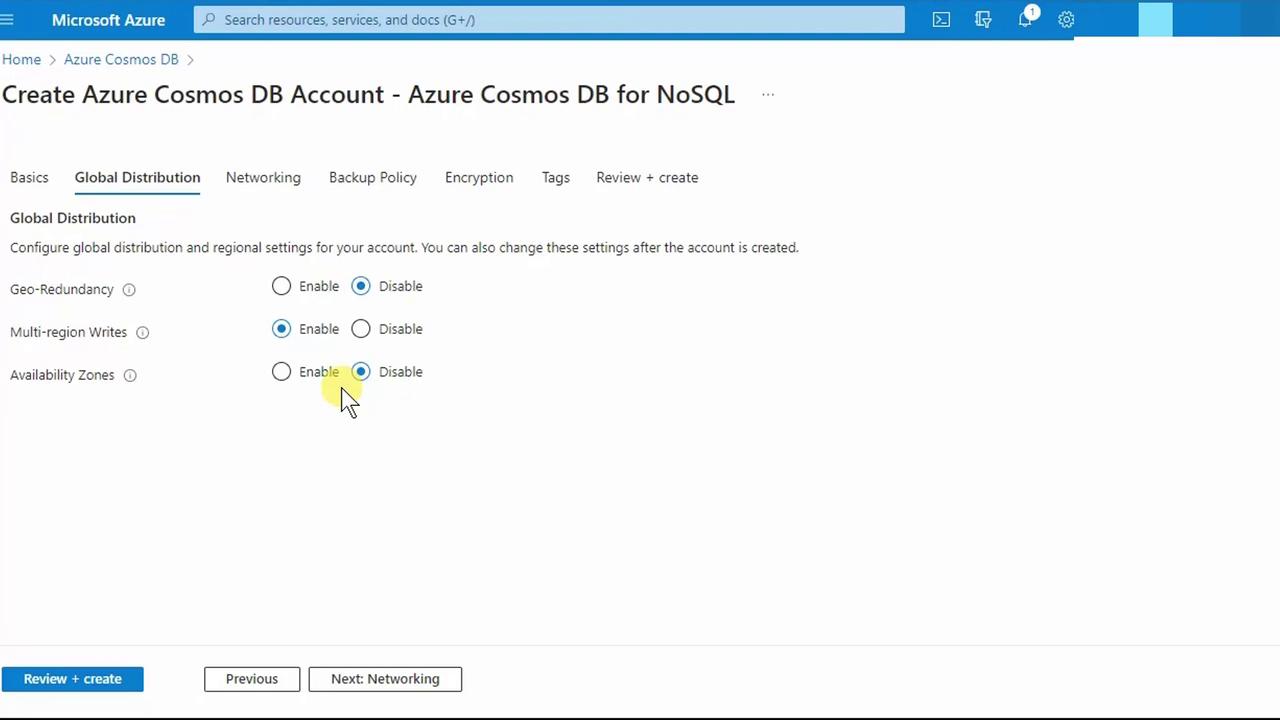
- Click Review + create.
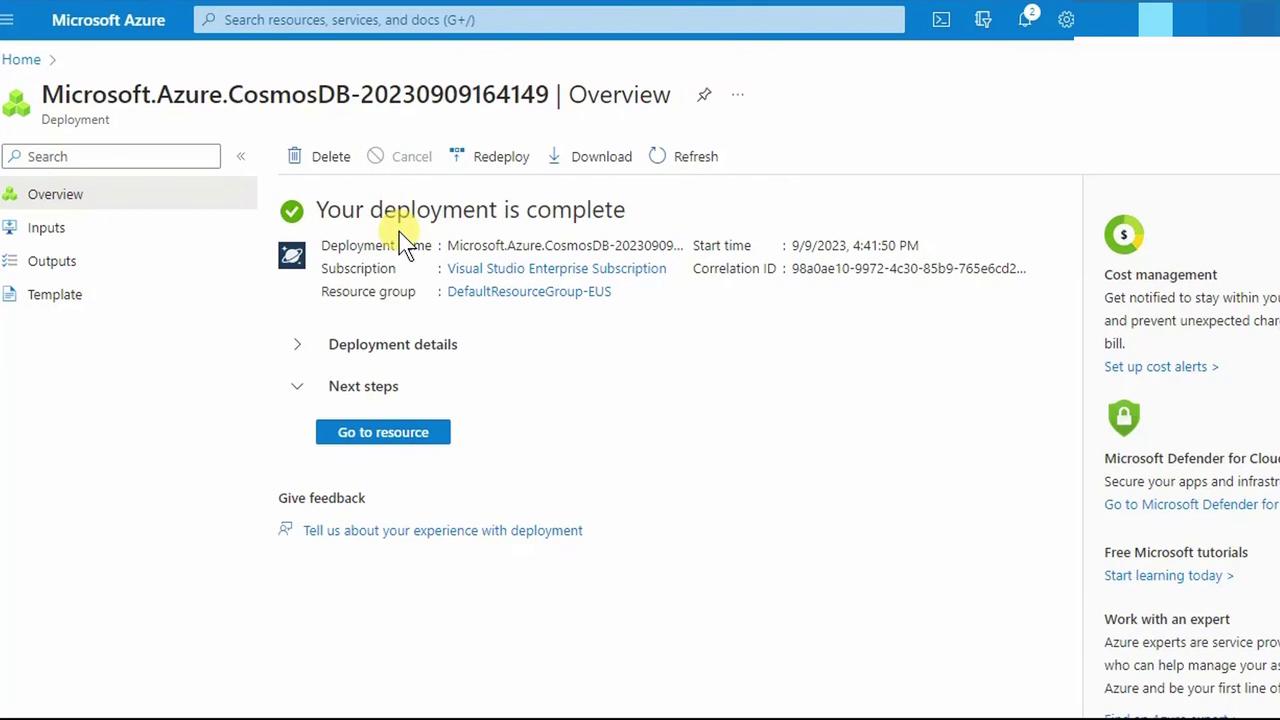
- After validation passes, click Create. Deployment may take a few minutes.
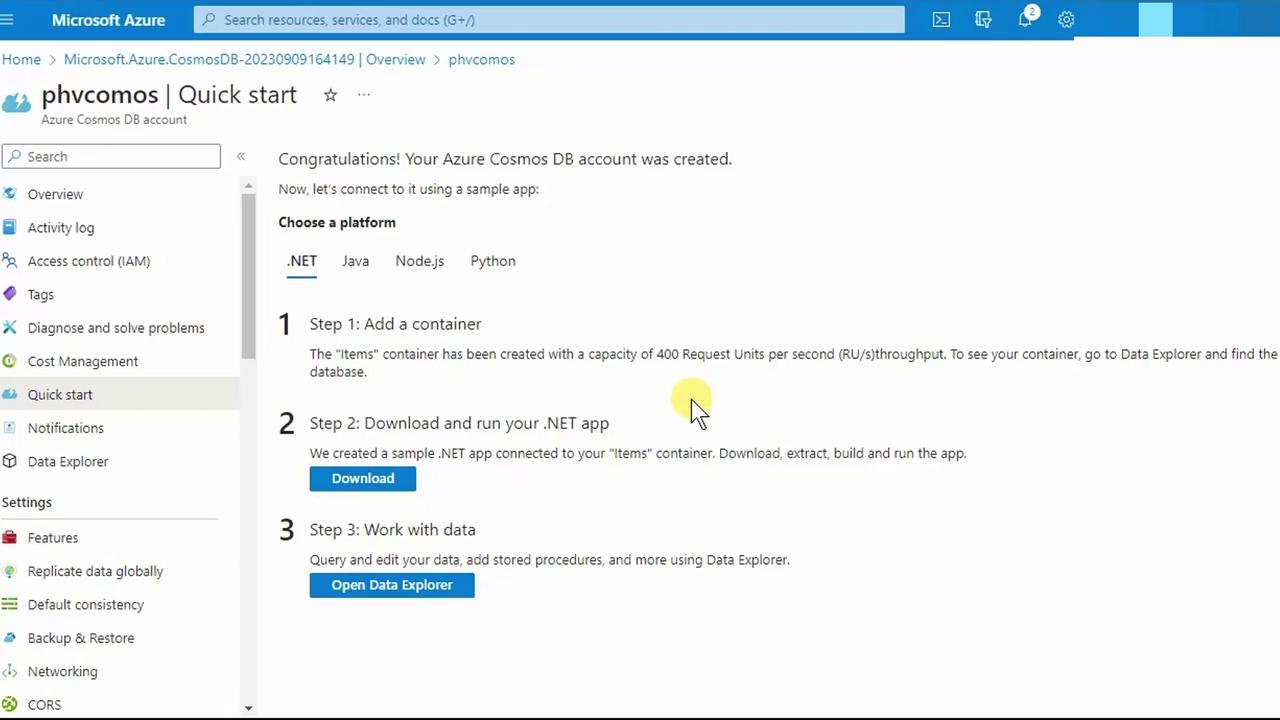
4. Add a Container
- Go to your new account’s Overview page and click + Create Container.
- By default:
- Database ID: items
- Container ID: items
- Throughput: 400 RUs/sec on the container (1,000 RUs/sec at the account level)
5. Configure Global Replication
- Under Settings, select Replicate data globally.
- On the world map, click to add a secondary region (e.g., Canada Central).
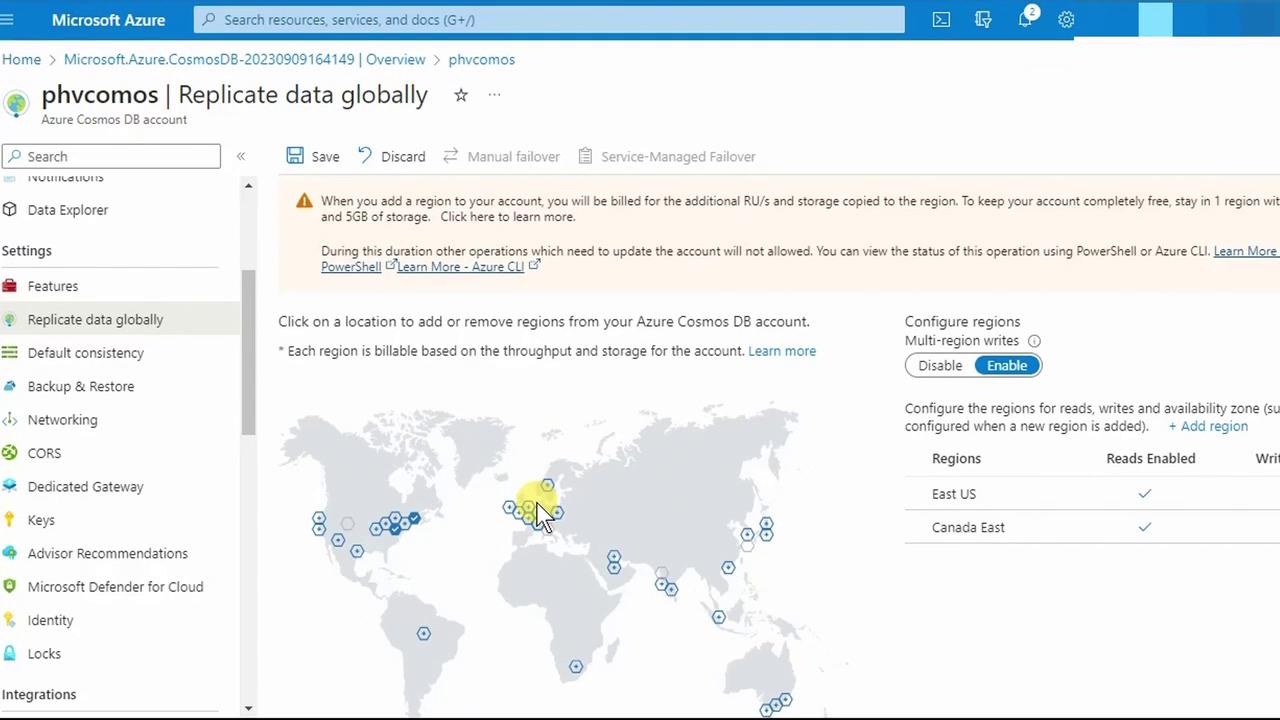
Adding regions with Multi-region writes multiplies RU consumption across each region. Ensure your account-level RU quota covers all selected regions, or adjust your throughput accordingly.
Geo-redundancy vs. Multi-region Writes
- Multi-region writes: Clients can write to any configured region.
- Geo-redundancy: Maintains a passive standby region for automatic failover.
- Click Save. Back in Overview, you’ll now see all configured regions:
6. Explore Data Explorer
- In the portal menu, choose Data Explorer (or press Ctrl + F and search for it).

- Expand your items database and container.
- Click New Item. Replace the default JSON:
- Press Save. Cosmos DB augments your document with system properties:
- _etag: Concurrency control
- _ts: Last-modified timestamp
Congratulations! You have successfully created an Azure Cosmos DB account, configured a NoSQL database and container, set up global distribution, and inserted your first document. For more details, see the Azure Cosmos DB documentation.