DP-900: Microsoft Azure Data Fundamentals

Structured Data

Demo Running SQL Statements

In this lesson, you’ll learn how to run basic T-SQL statements against an Azure SQL Database using Azure Data Studio. We’ll cover:

  • Connecting to your database
  • Exploring tables and views
  • Executing SELECT, DELETE, and UPDATE queries
  • Best practices for clause ordering

1. Connect with Azure Data Studio

  1. In the Azure portal, open your Azure SQL Database resource and click Open Azure Data Studio.
  2. Azure Data Studio will launch and reconnect you to the last database you accessed.
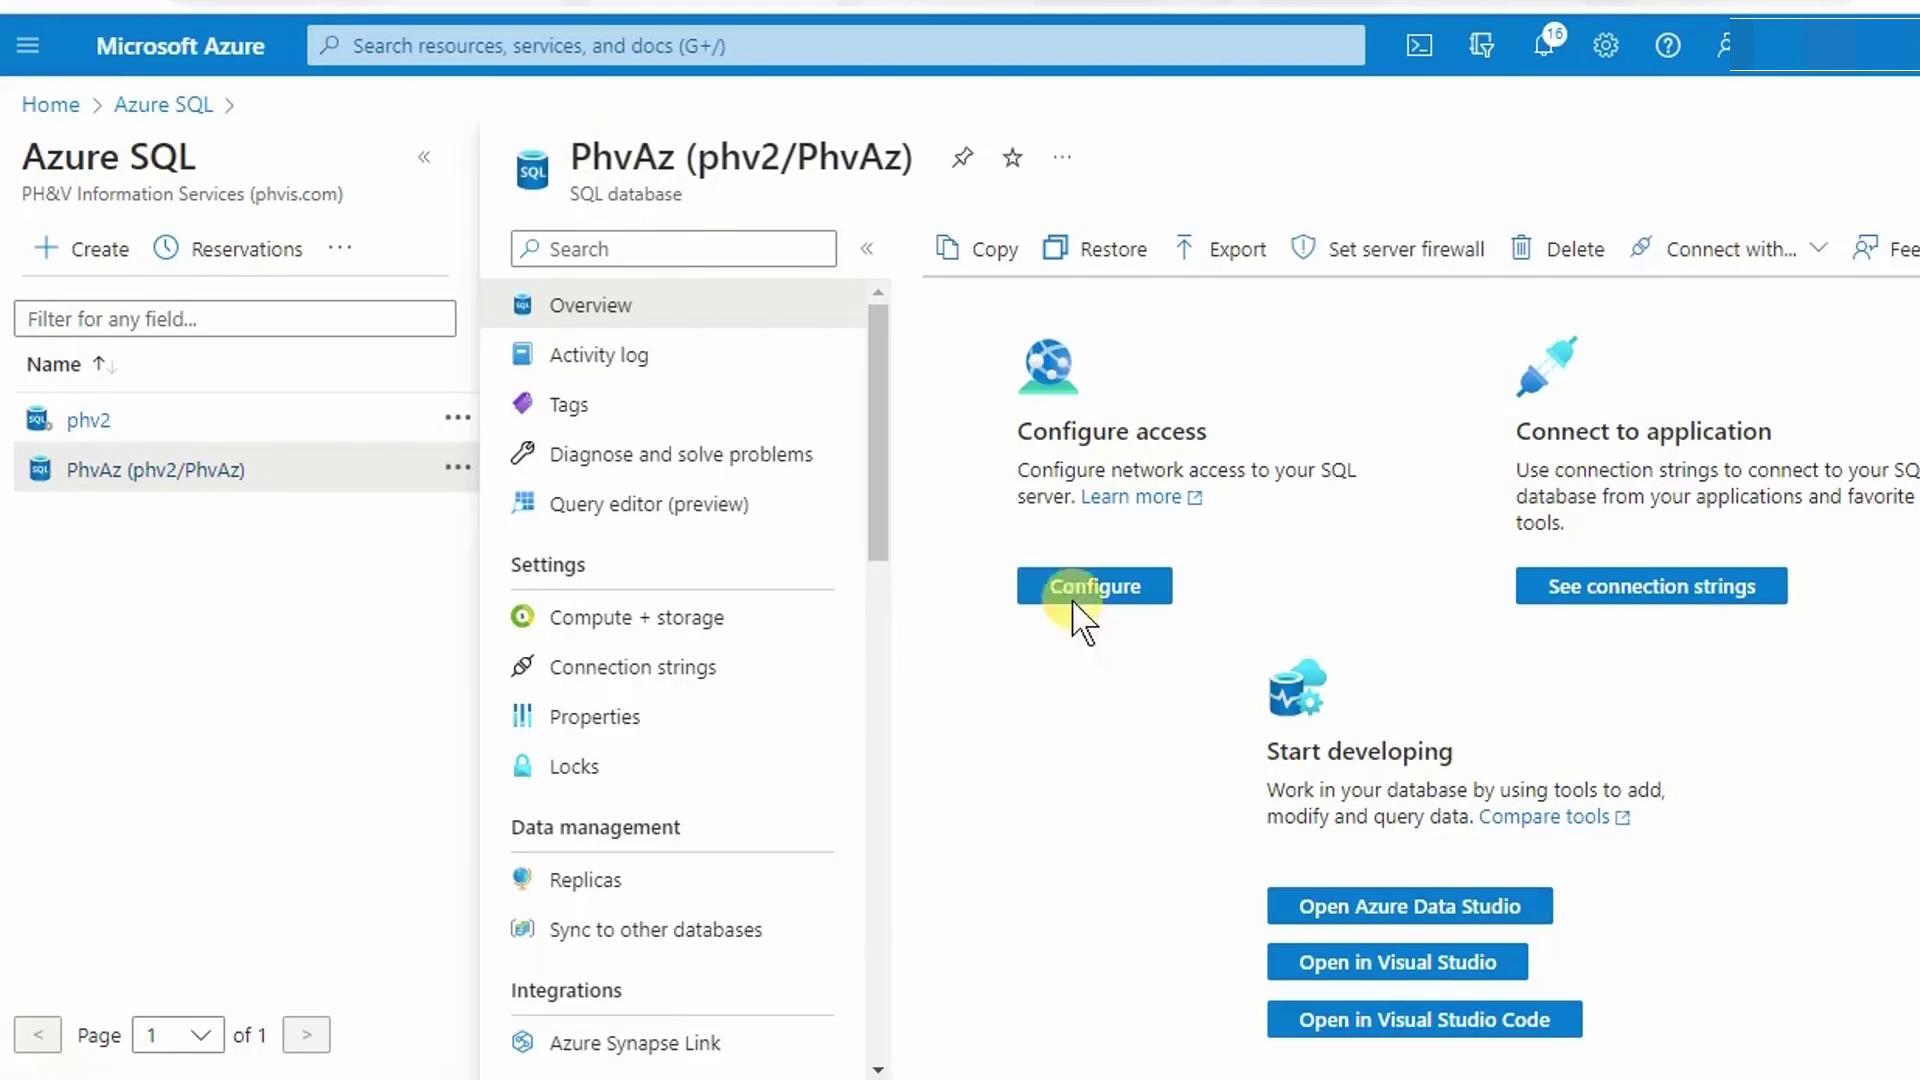
The image shows a Microsoft Azure SQL database management interface, displaying options for configuring access, connecting to applications, and starting development with various tools.

  1. When prompted, choose Launch since Azure Data Studio is already installed.
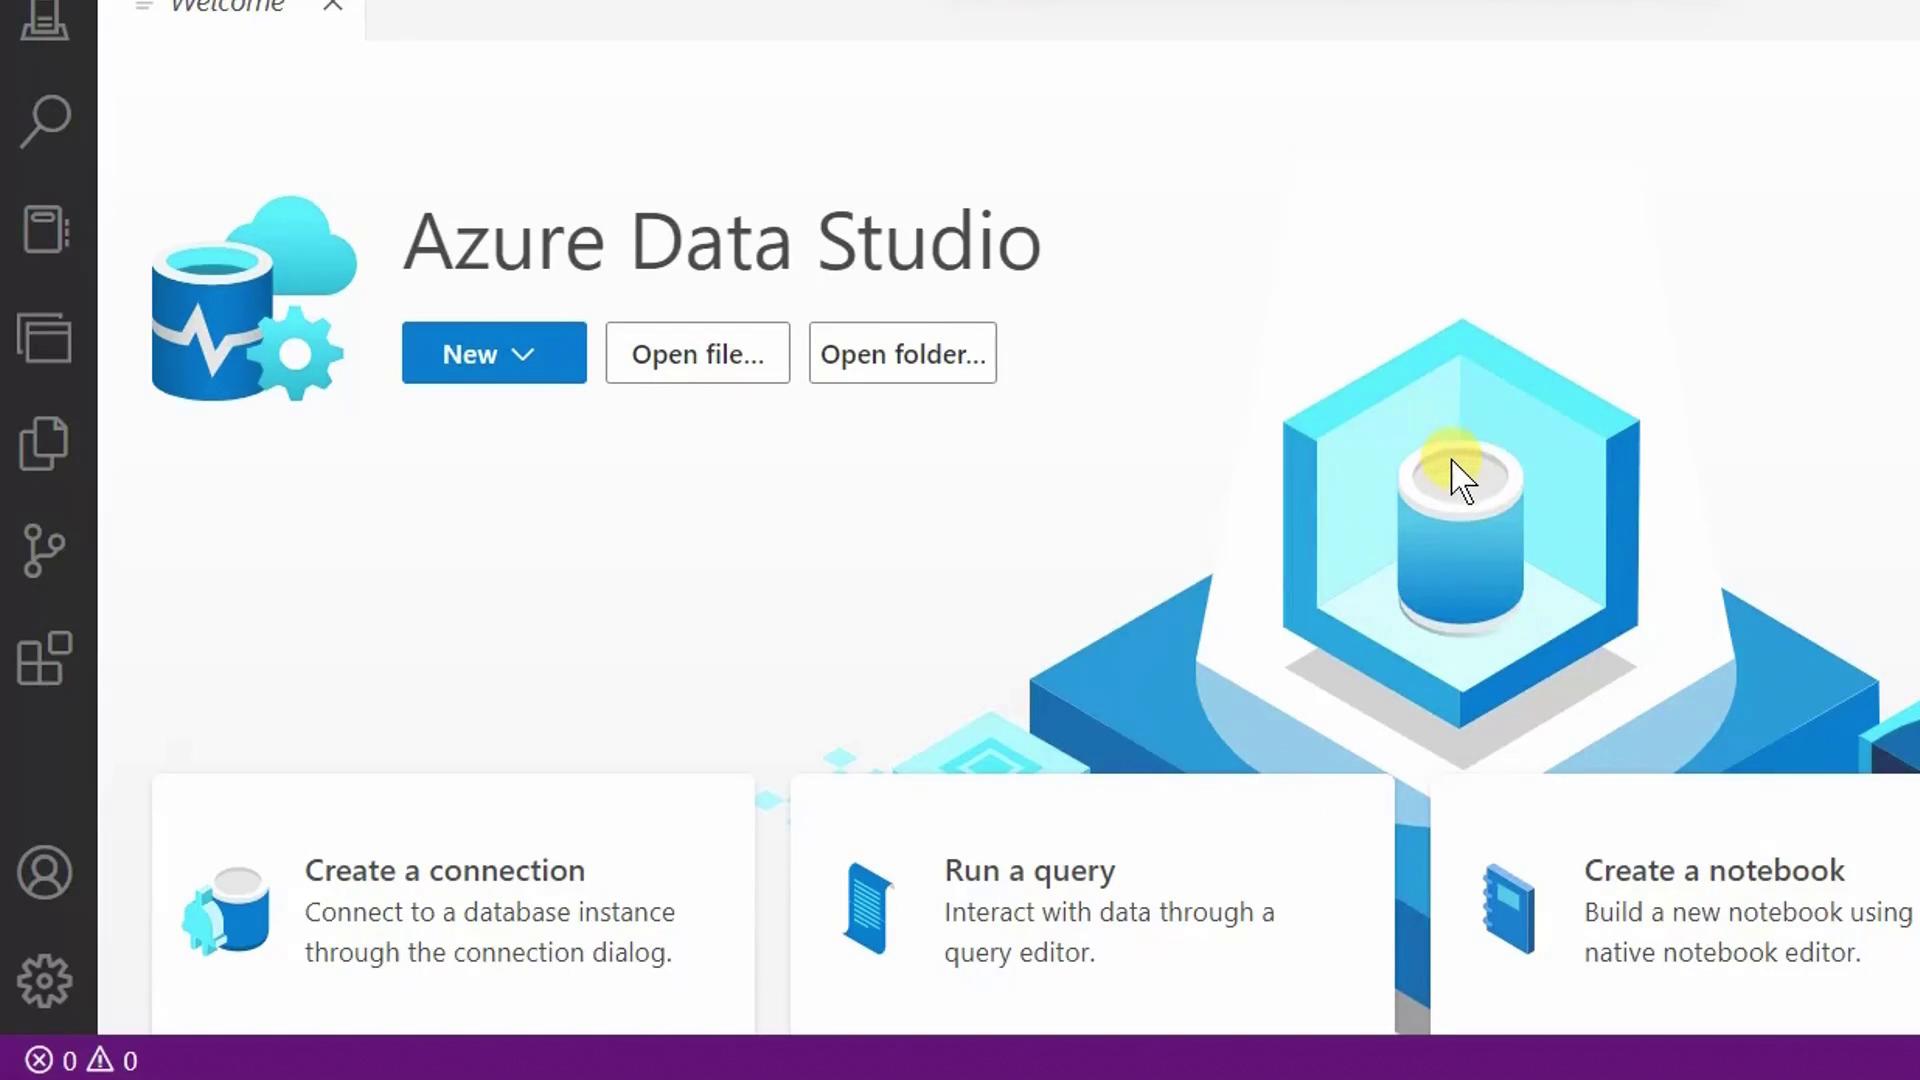
The image shows the Azure Data Studio interface with options to create a connection, run a query, and create a notebook. There are buttons for "New," "Open file," and "Open folder."

  1. Enter your server administrator login and password, then click Connect.
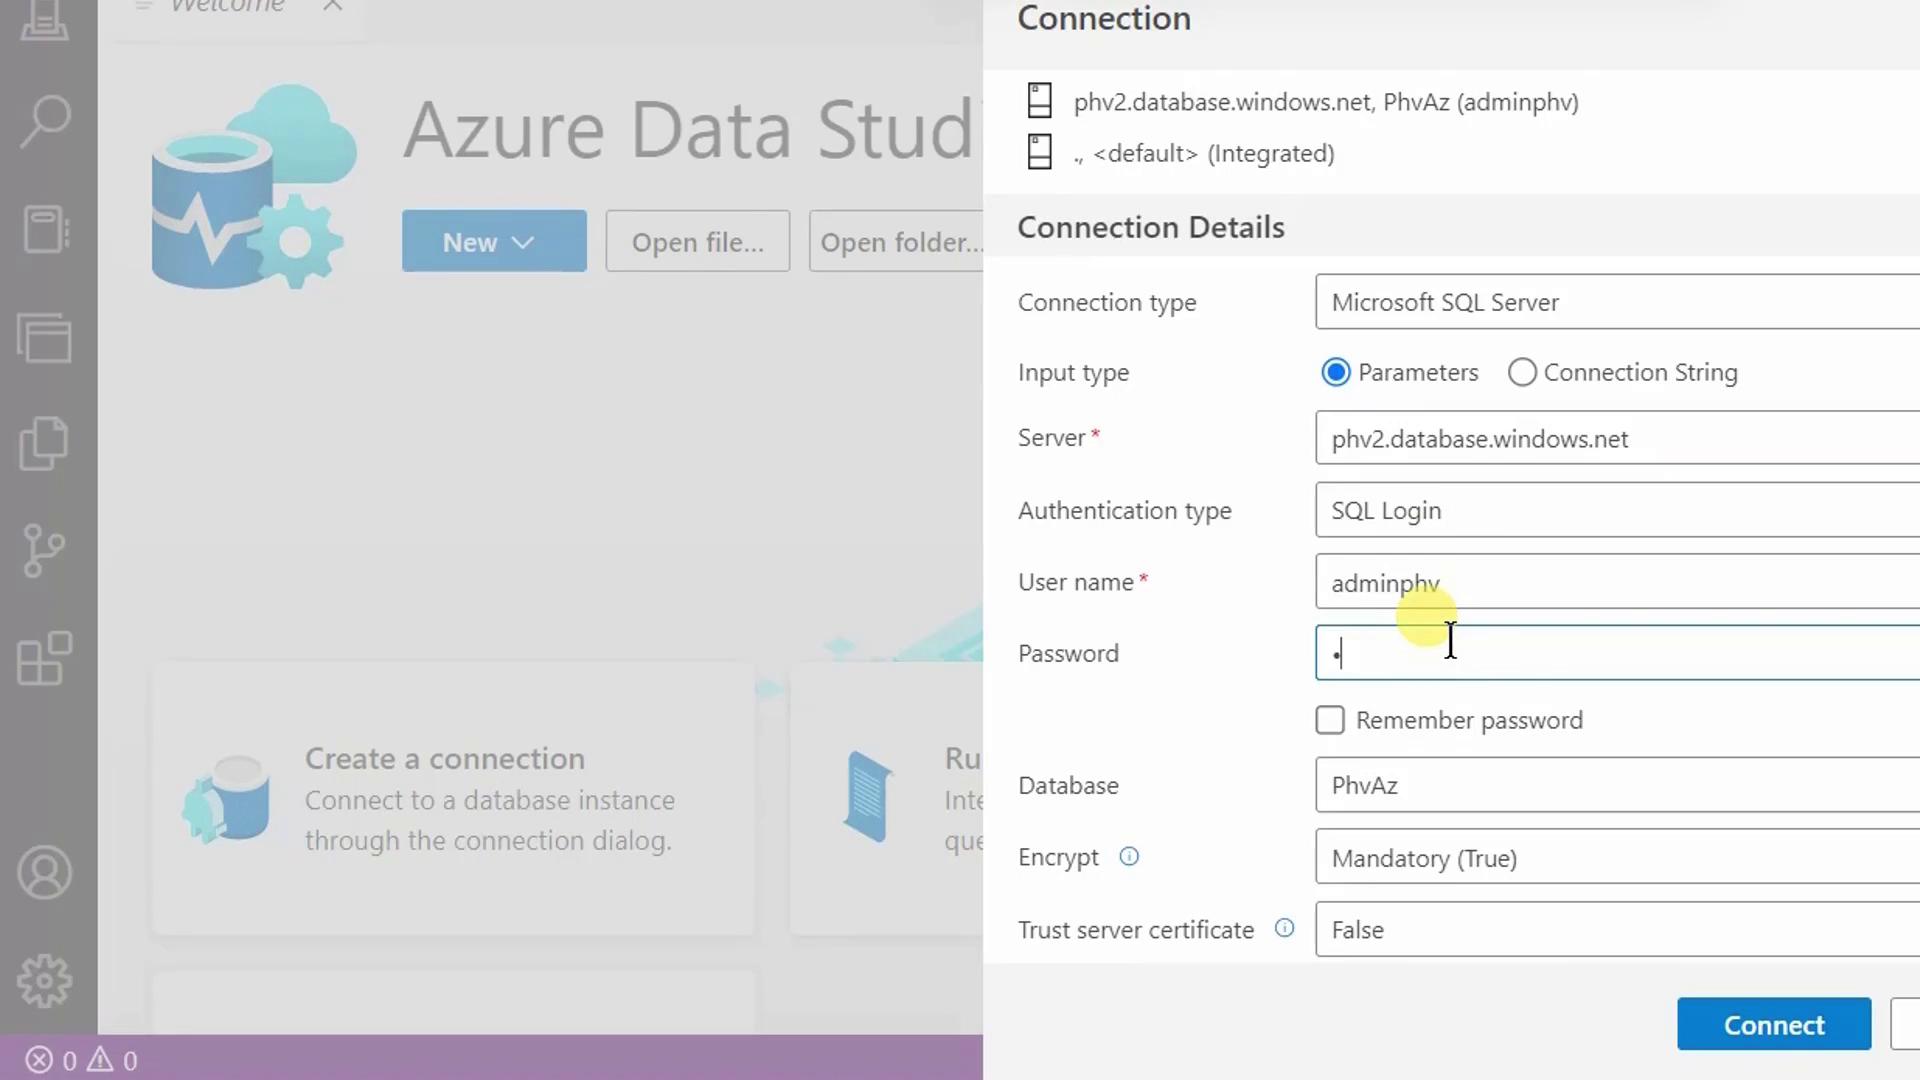
The image shows a connection setup screen in Azure Data Studio, where details like server, authentication type, username, and password are being entered for a Microsoft SQL Server connection.

2. Explore Database Objects

Once connected, the Object Explorer displays your database’s schemas, tables, views, and more. Here’s a view of the SalesLT schema showing the Customer and Product tables.
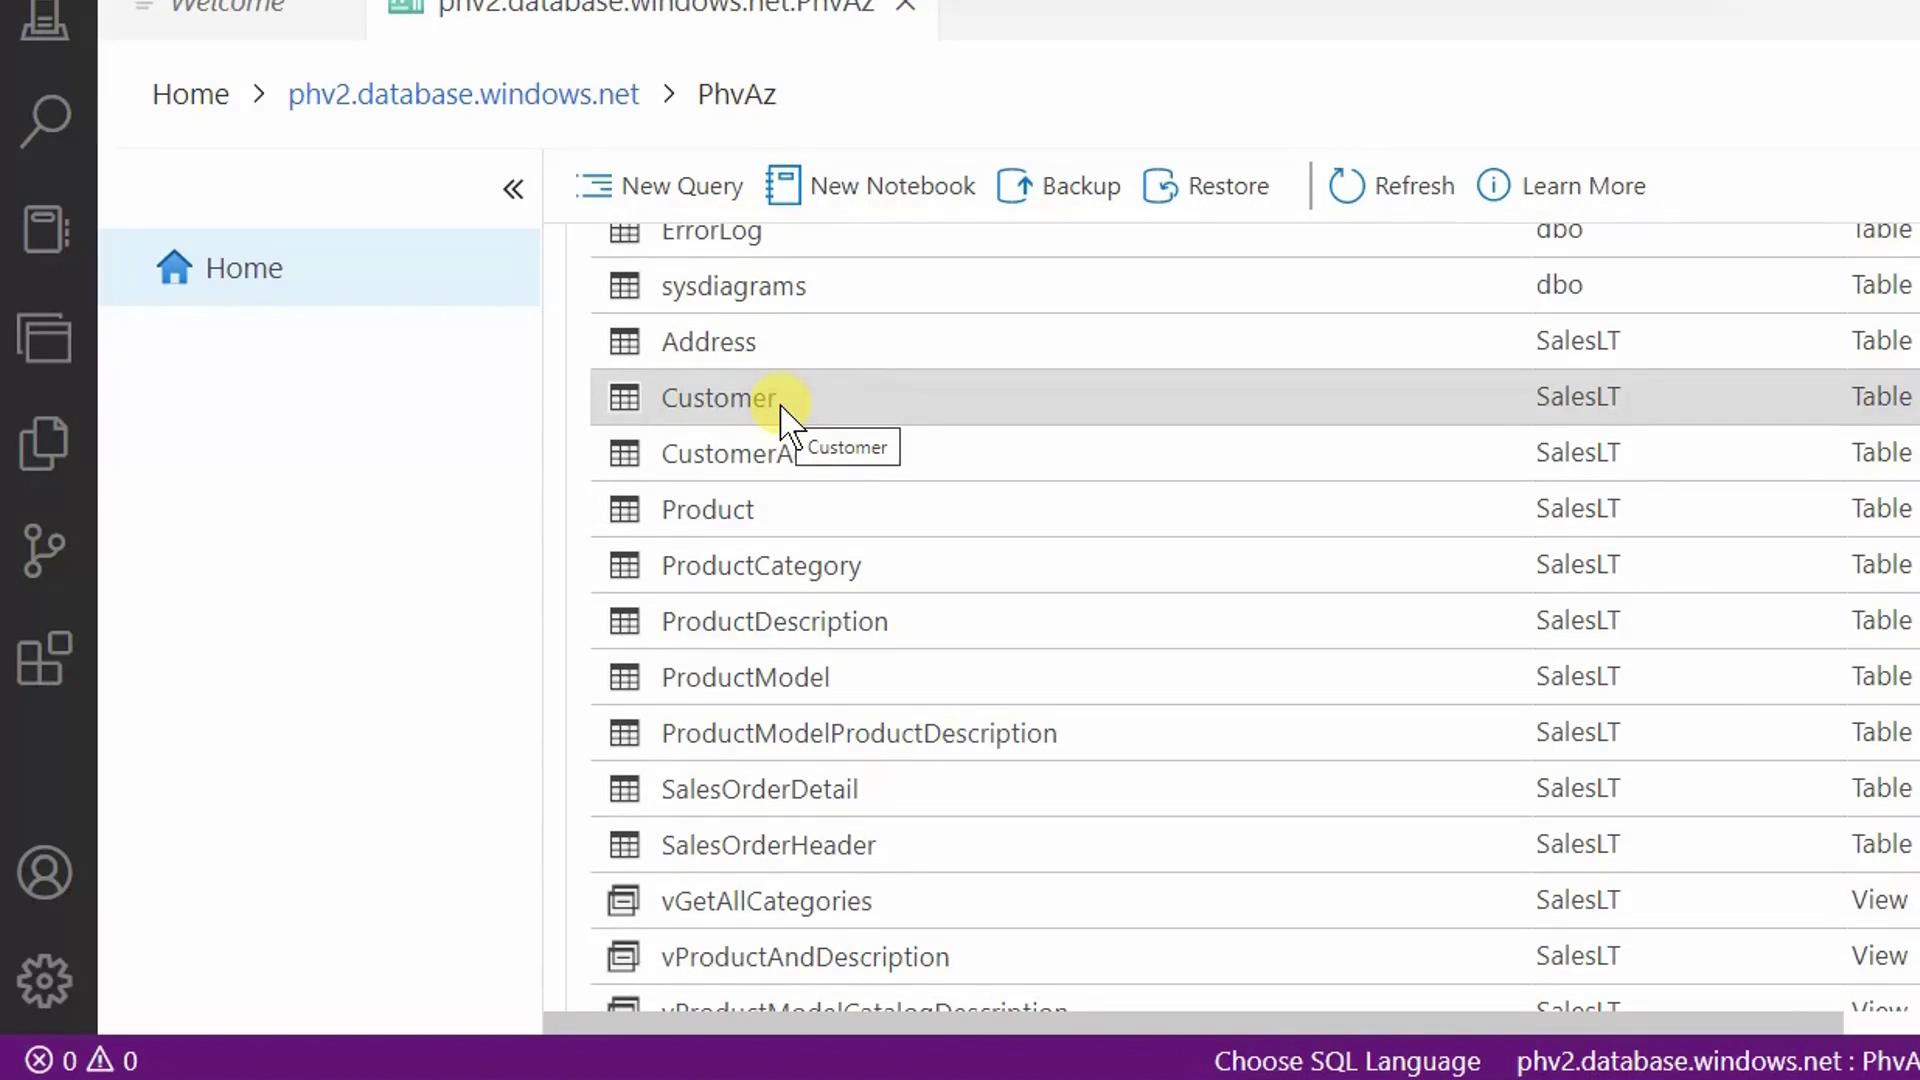
The image shows a database management interface with a list of tables and views, including "Customer" and "Product," on a platform hosted at phv2.database.windows.net.

3. Run SELECT Queries

Click New Query (or press Ctrl+N) to open a SQL editor. Then try these examples:

3.1 Retrieve All Rows and Columns

SELECT *
FROM SalesLT.Customer;

3.2 Select Specific Columns

SELECT FirstName,
       LastName
FROM SalesLT.Customer;

3.3 Sort Results

SELECT FirstName,
       LastName
FROM SalesLT.Customer
ORDER BY LastName;

3.4 Filter with WHERE

SELECT CustomerID,
       FirstName,
       LastName
FROM SalesLT.Customer
WHERE LastName = 'Adams'
ORDER BY LastName;

Note

Always place WHERE before ORDER BY.
Incorrect ordering will trigger a syntax error.

Clause Order Reference

ClausePurpose
SELECTSpecify columns
FROMIdentify the table
WHEREFilter rows
ORDER BYSort the result set

4. Modify Data

4.1 Delete a Row

To remove Francis Adams (CustomerID = 491):

DELETE FROM SalesLT.Customer
WHERE CustomerID = 491;

Result:

(1 row affected)

Re-run the SELECT to verify:

SELECT CustomerID, FirstName, LastName
FROM SalesLT.Customer
WHERE LastName = 'Adams'
ORDER BY LastName;

Warning

Omitting the WHERE clause in a DELETE statement removes all rows.
Use BEGIN TRANSACTION and ROLLBACK for safety during testing.

4.2 Update a Row

To correct Jay Adams (CustomerID = 544) to “Adamson”:

UPDATE SalesLT.Customer
SET LastName = 'Adamson'
WHERE CustomerID = '544';

Result:

(1 row affected)

Verify the change:

SELECT CustomerID, FirstName, LastName
FROM SalesLT.Customer
WHERE LastName = 'Adamson'
ORDER BY LastName;

5. Summary

You’ve now:

  • Connected to Azure SQL Database with Azure Data Studio
  • Explored schemas, tables, and views
  • Run SELECT, DELETE, and UPDATE statements
  • Learned proper T-SQL clause ordering

Watch Video

Watch video content

Previous
Querying and Updating Data