DevOps Pre-Requisite Course

Lab Setup

Demo Install VirtualBox on Windows

Welcome to this comprehensive lesson on setting up a lab environment using VirtualBox. Although the demonstration is performed on a Windows system, the steps are applicable to Linux and macOS as well.

Step 1: Download VirtualBox

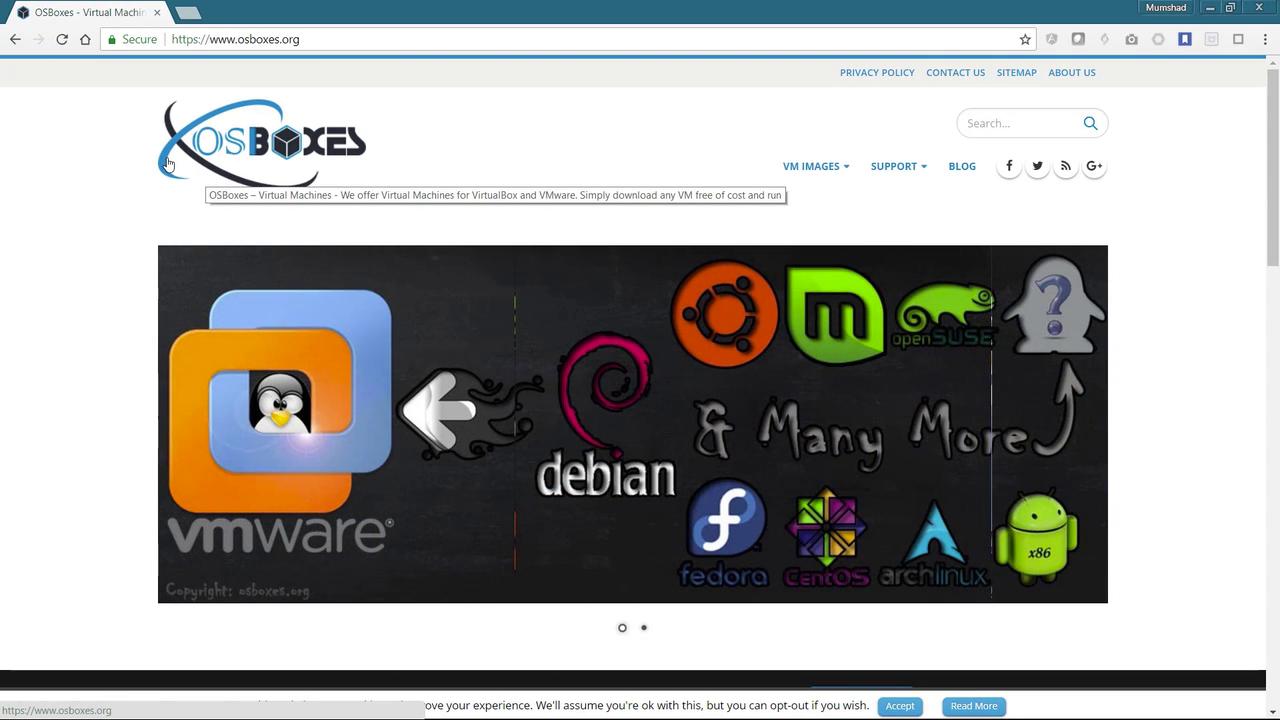
Begin by visiting the VirtualBox website. On the download page, you will find links for different operating systems. Since you are using Windows, click the Windows link to download the VirtualBox installer.

The image shows a webpage for downloading VirtualBox, offering platform packages for Windows, OS X, Linux, and Solaris, along with checksums and extension packs.

After the download completes, run the executable and follow the instructions provided by the setup wizard to install VirtualBox. If VirtualBox is already installed on your system, you can skip this step.

The image shows the Oracle VM VirtualBox 5.2.6 Setup Wizard on a Windows desktop, prompting the user to continue installation.

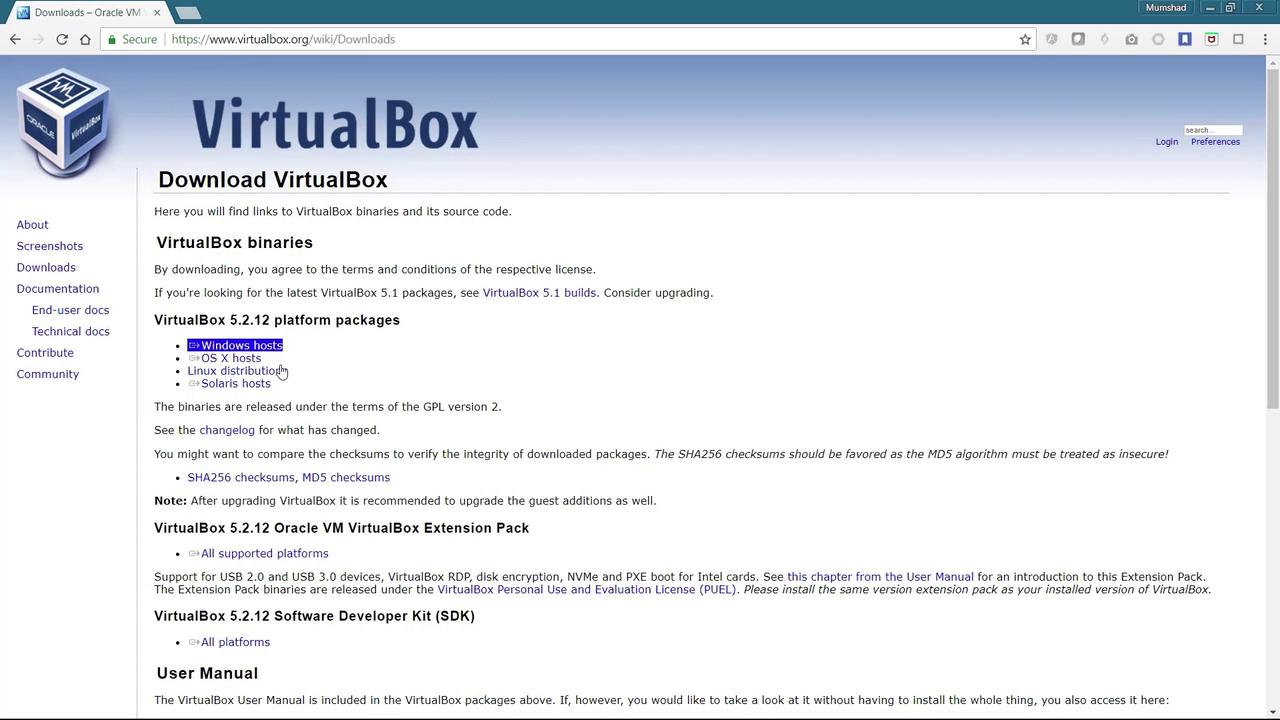
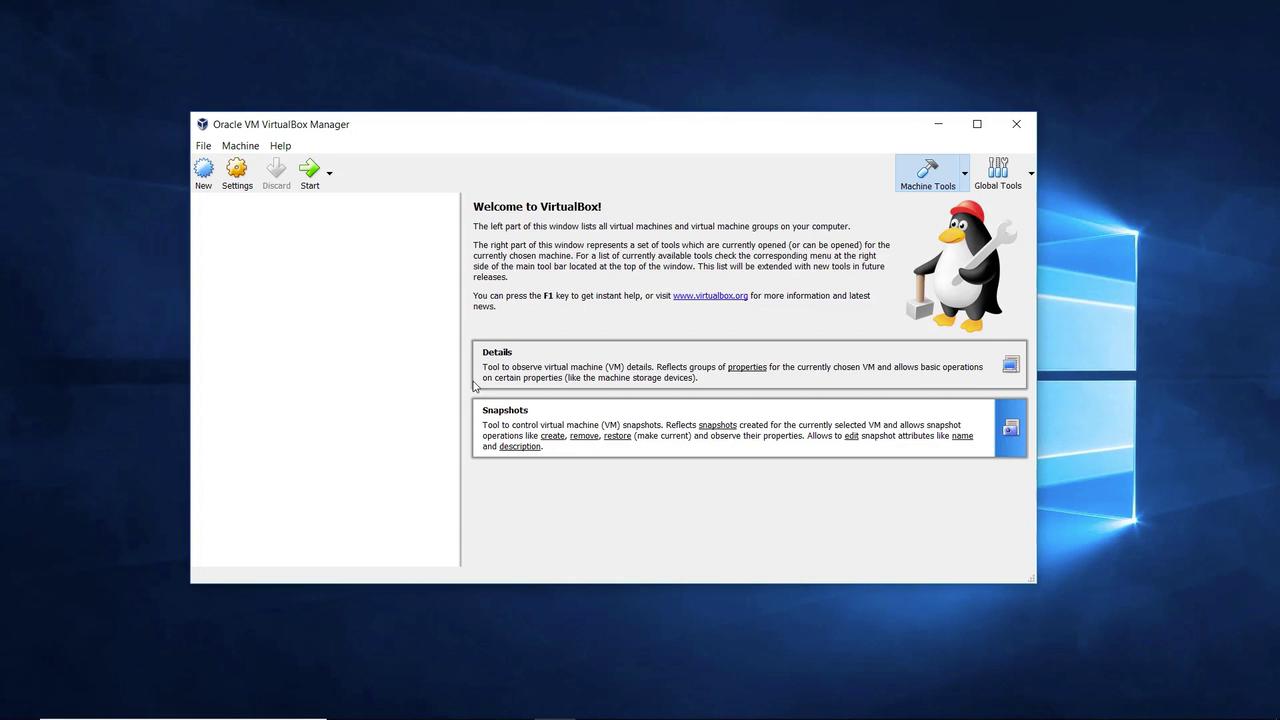
Step 2: Launch VirtualBox and Set Up a Virtual Machine

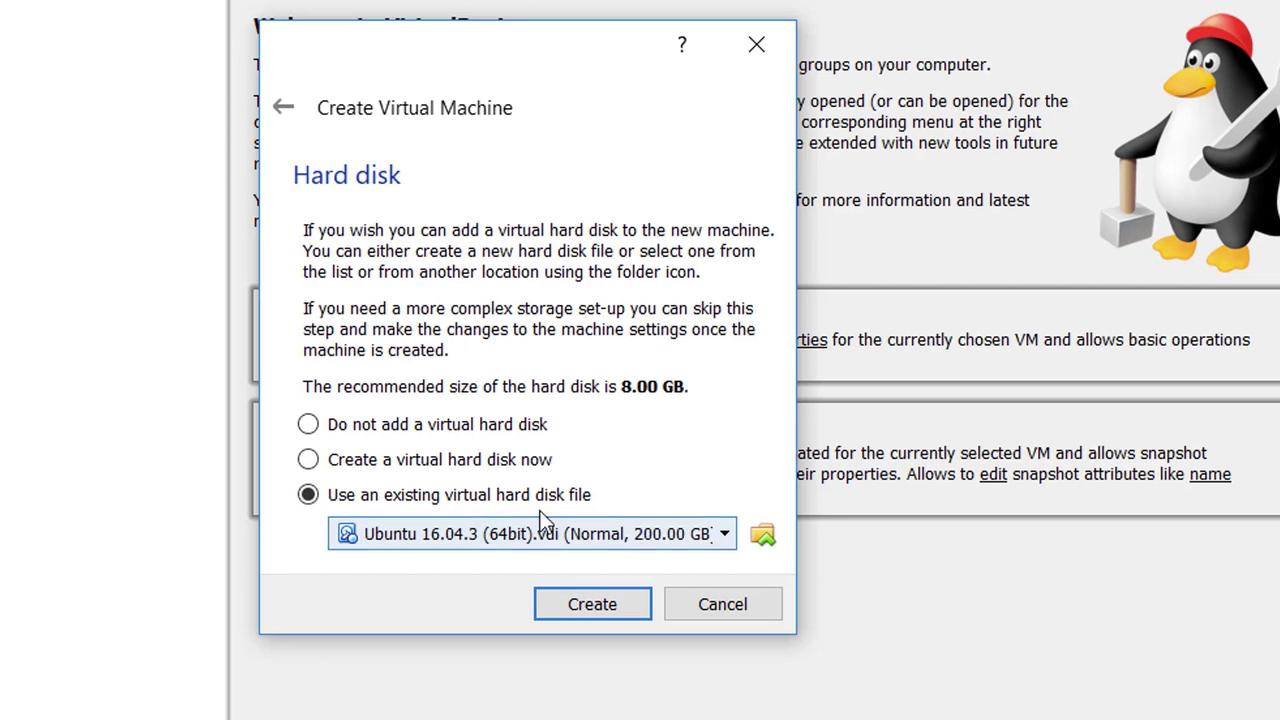
Launch the Oracle VM VirtualBox interface. Your interface should resemble the screenshot shown below. Now you're ready to deploy virtual machines. You have two options:

  1. Create a new machine, attach a CD drive with an operating system installer, and follow the standard installation process.
  2. Use pre-configured operating system images available online for a seamless setup.

The image shows the Oracle VM VirtualBox Manager interface on a Windows desktop, displaying a welcome screen with options for managing virtual machines.

A convenient method is to download pre-installed images from osboxes.org. On the site, select the "VirtualBox images" link at the top to access a list of available operating systems.

The image shows a webpage from OSBoxes.org, featuring logos of various Linux distributions and VMware, promoting virtual machine downloads.

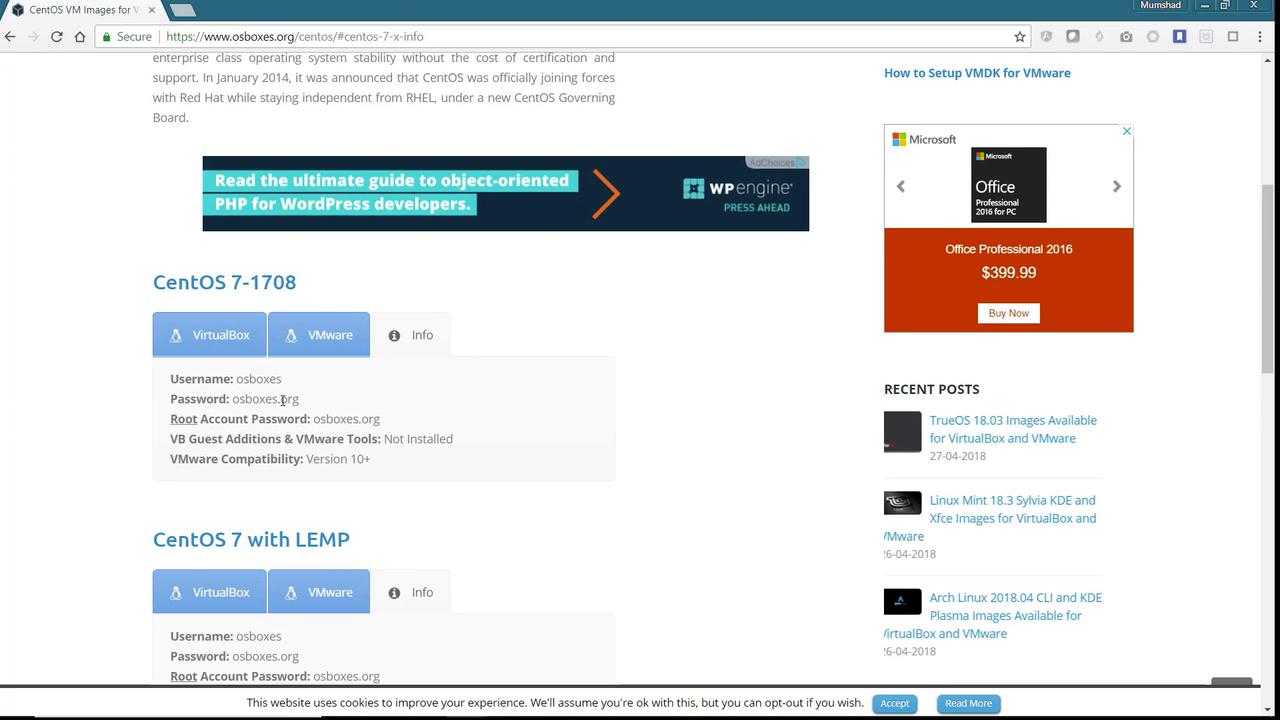
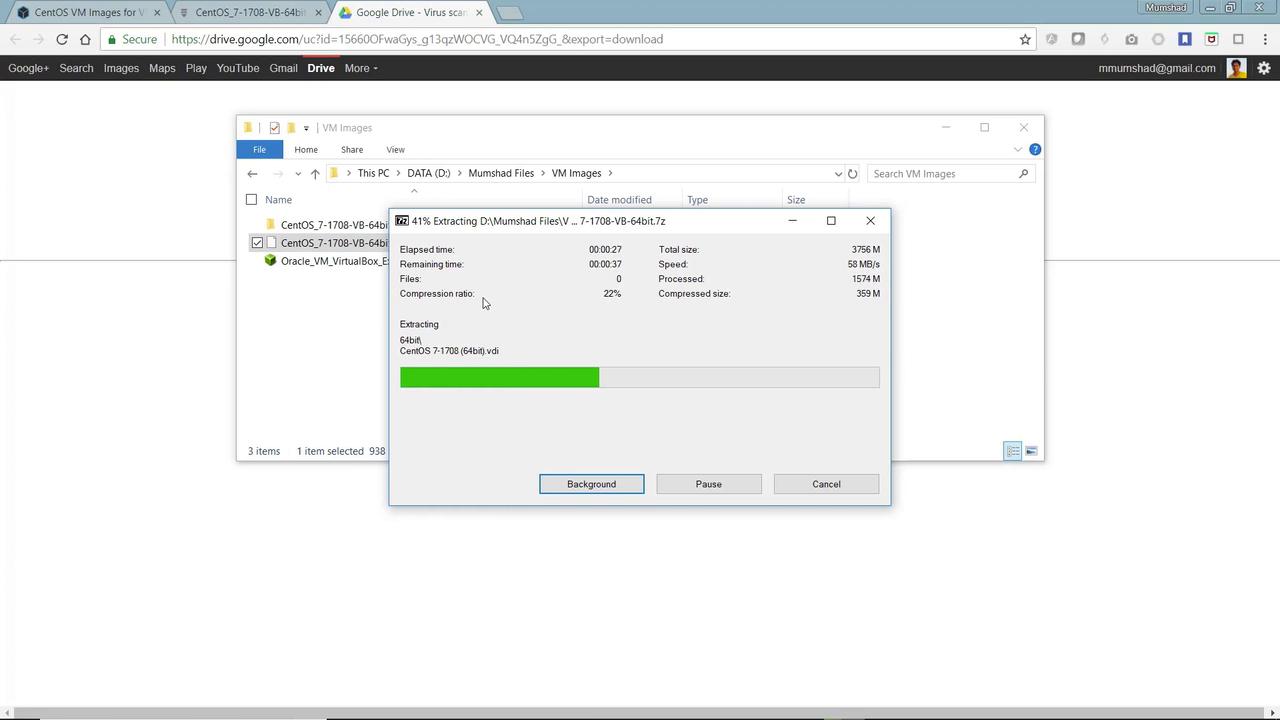
Step 3: Download and Prepare the CentOS Image

For this lesson, we'll use CentOS. Click on the CentOS option to navigate to its downloads page and choose the VirtualBox image for CentOS 7. Be sure to select the 64-bit version.

The image shows a webpage offering CentOS virtual machine images for download, with options for VirtualBox and VMware, including file sizes and SHA256 checksums.

The downloaded file will have a ".7z" extension, indicating that it is a compressed archive. Use an extraction tool like 7-Zip or WinZip to extract its contents to a folder.

The image shows a file extraction process at 41% completion, extracting a CentOS virtual machine image using a file manager on Windows.

After extraction, navigate to the folder and locate the subfolder named "64-bit." Inside, you'll find a file with the .vdi extension, which represents the virtual disk required for creating the virtual machine.

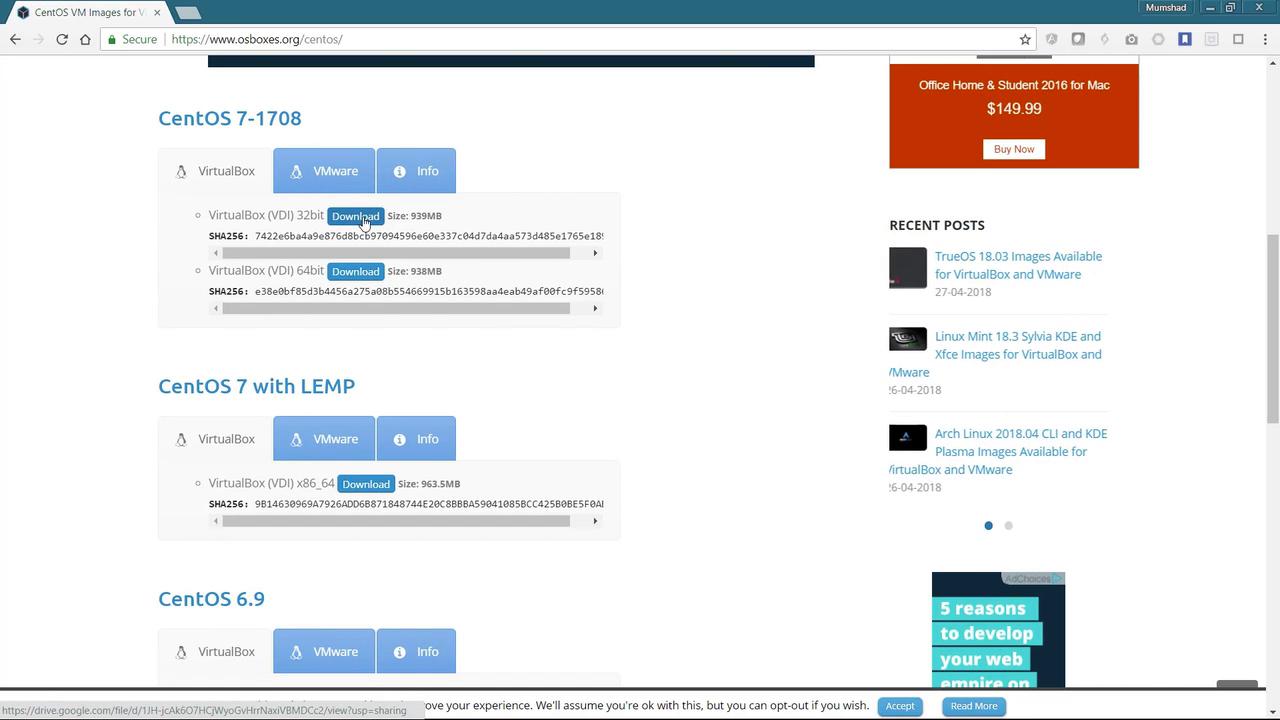
Step 4: Create a New Virtual Machine

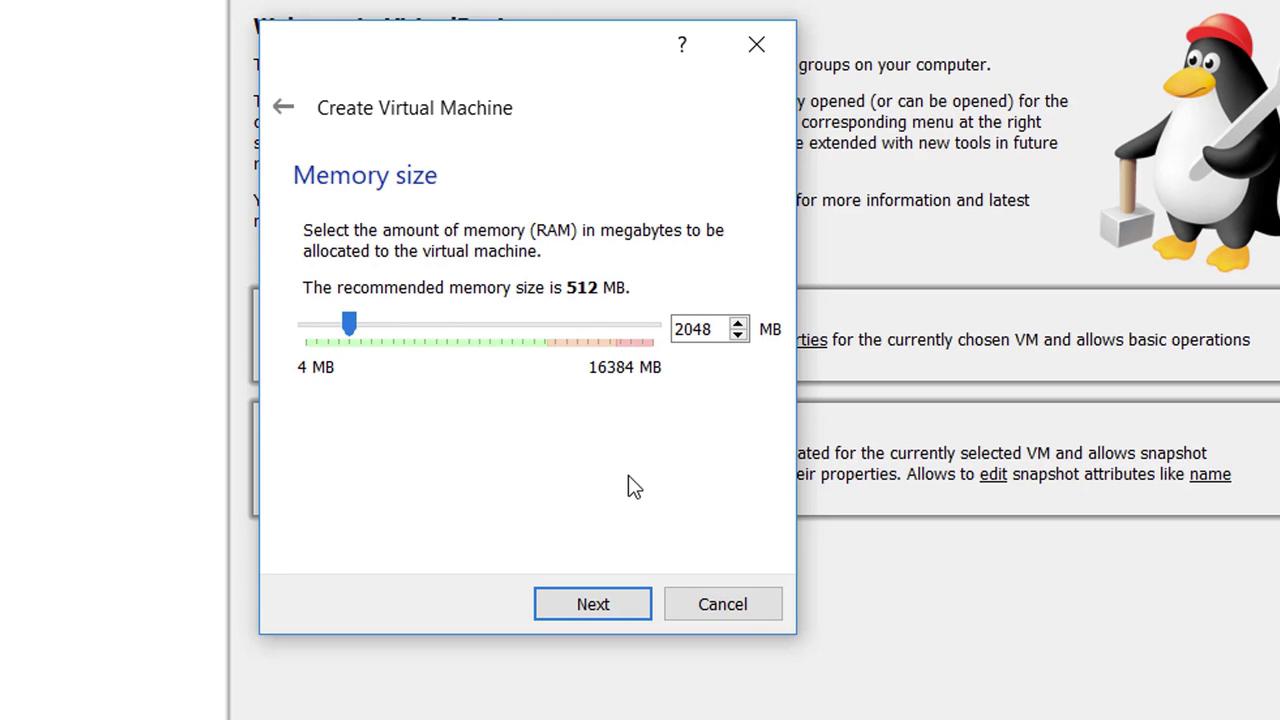
Return to the Oracle VM VirtualBox interface and click on "New" to create a virtual machine. Name the machine "CentOS-template" as it will serve as a template for multiple deployments later. When asked for the operating system type, select "Linux." Since "CentOS" might not be listed explicitly, choose "Other Linux" and ensure you pick the 64-bit version.
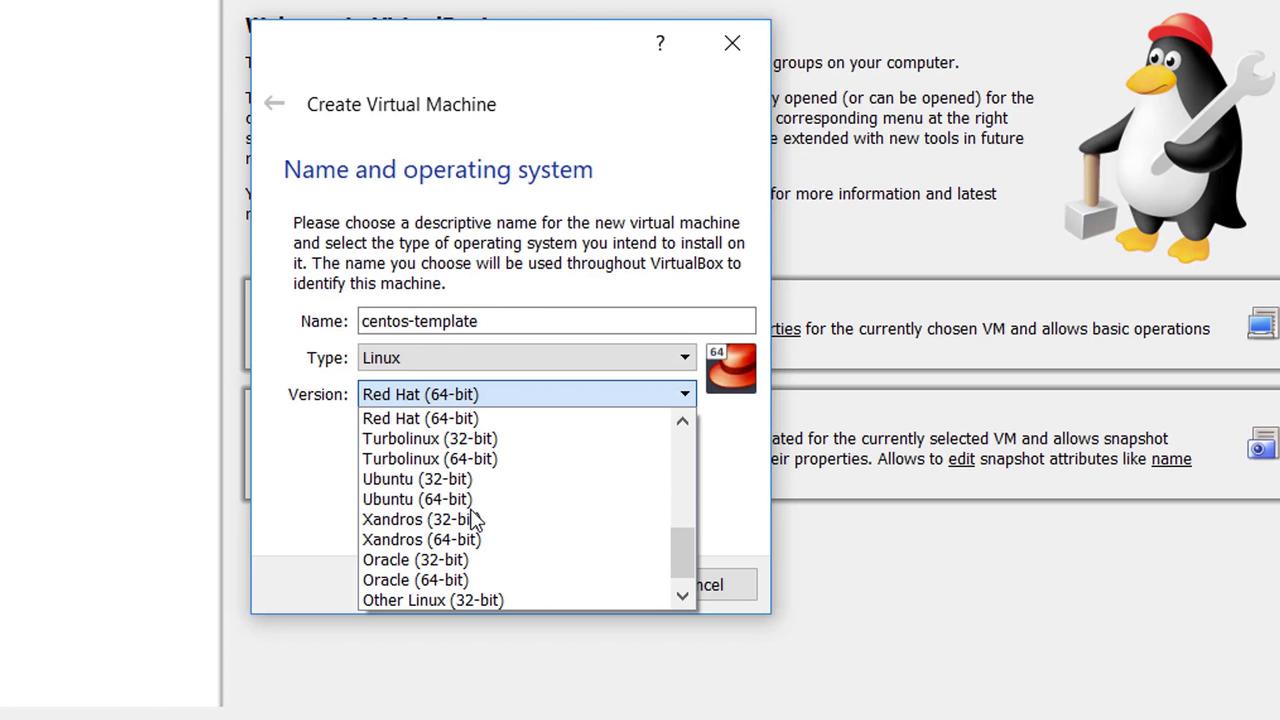
The image shows a VirtualBox window for creating a virtual machine, with options to select the operating system type and version, including Red Hat and Ubuntu.

Virtualization Technology Disabled?

If you don't see any 64-bit options in the drop-down, it may be because virtualization technology is disabled in your BIOS. Reboot your computer and access the BIOS settings to enable an option like "Virtualization Technology" under Advanced Settings.

After restarting with virtualization enabled, proceed by selecting the 64-bit option and clicking "Next."

In the memory configuration prompt, increase the allocated RAM to around 2 GB (2048 MB) instead of the default 512 MB for better performance.

The image shows a virtual machine setup window, allowing the user to allocate memory (RAM) in megabytes, with a recommended size of 512 MB and a current setting of 2048 MB.

When prompted for the hard disk, choose "Use an existing virtual hard disk file." Click on "Browse" and locate the previously extracted CentOS 7 .vdi file.

The image shows a virtual machine setup window, allowing selection of a virtual hard disk, with Ubuntu 16.04.3 (64-bit) chosen, and a recommended size of 8.00 GB.

Click "OK" to complete the virtual machine creation process.

Step 5: Configure Additional Virtual Machine Settings

Before powering on the virtual machine template, adjust a couple of configurations:

  1. Open the Settings menu.
  2. Go to the "System" tab and increase the number of CPUs to 2.
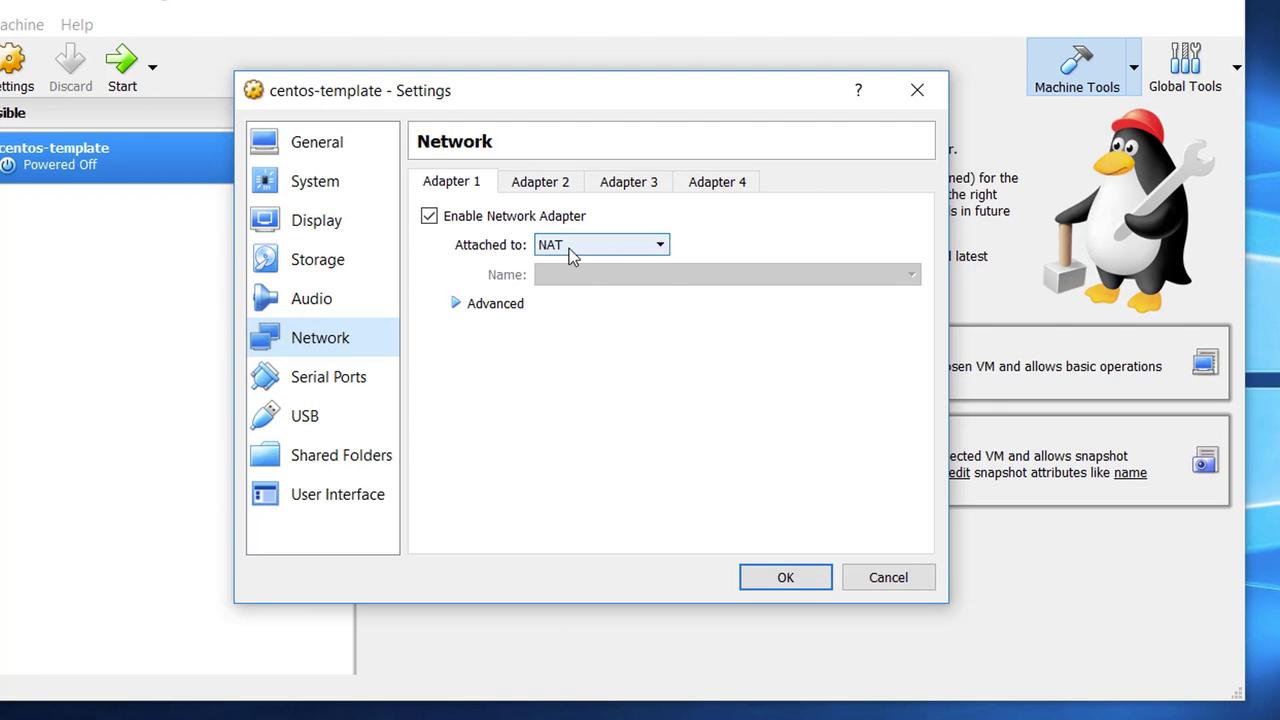
  3. Navigate to the "Networking" section and change Adapter 1 to "Bridged Adapter." This setting enables the virtual machine to receive an IP address and connect to the internet, facilitating downloads and other dependency installations.

The image shows the settings window of a virtual machine in VirtualBox, displaying system configuration options like base memory, boot order, and chipset.

The image shows a VirtualBox settings window for a CentOS template, focusing on network settings with NAT selected for the network adapter.

Step 6: Power On and Log Into CentOS

Power on the virtual machine. When you are presented with the login prompt, use the default credentials provided by osboxes.org:

  • Username: osboxes
  • Password: osboxes

For additional details on these credentials, refer to the Info section on the osboxes.org download page.

The image shows a webpage with CentOS VM download options, user credentials, and compatibility details, alongside advertisements and recent blog post links.

Enter the credentials and click "Sign In" to access the CentOS system. At this point, your lab environment set up using VirtualBox on Windows is successfully complete. Enjoy exploring and leveraging your new virtual machine for your projects!

Happy Virtualizing!

Watch Video

Watch video content

Previous
Demo Install VirtualBox on MacOS