DevOps Pre-Requisite Course
Lab Setup
Virtual Box
In this lesson, we explain how to set up a personal lab environment using VirtualBox to learn DevOps and cloud technologies. While platforms like KodeKloud offer embedded labs within courses, many learners prefer a persistent, customizable environment for hands-on experimentation and troubleshooting.
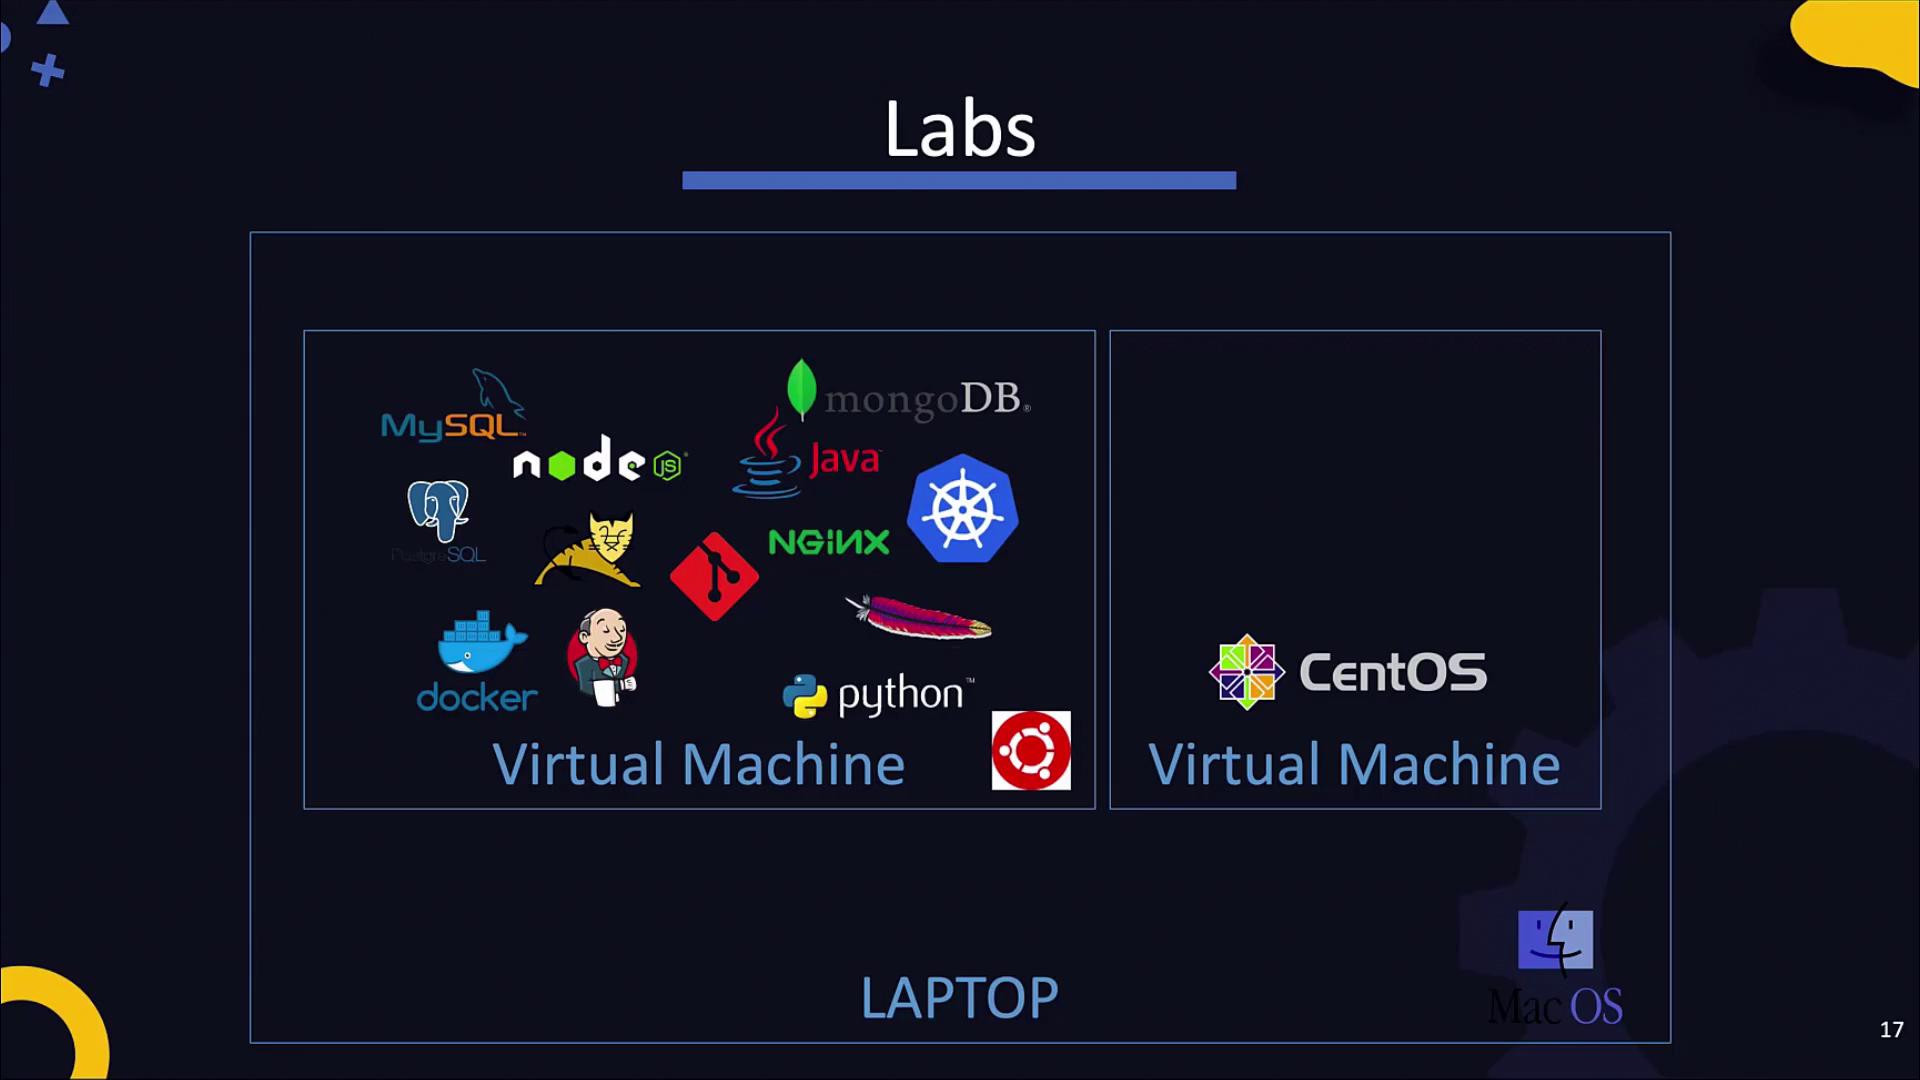
When diving into DevOps, cloud, or IT automation, you encounter a variety of tools—Git for version control, Jenkins for builds, programming languages like Java, Python, or Node.js, web servers (Apache, NGINX, Tomcat), databases (MySQL, MongoDB), containerization platforms such as Docker and Kubernetes, and configuration management solutions like Ansible, Chef, or Puppet. Installing all these tools directly on your laptop may strain system resources and introduce compatibility issues. Running them inside virtual machines (VMs) isolates configurations and allows for risk-free experimentation. If issues arise, you can easily delete or restore a VM without impacting your host system.
A dedicated VirtualBox lab environment on your personal or office laptop lets you experiment with various operating systems and software stacks. For example, you can run Ubuntu or CentOS as guest OS on hosts running Windows, Linux, or macOS. Additionally, you will learn how to configure networking between VMs (for SSH access, internet connectivity, etc.), take snapshots for backup and recovery, and automate VM deployment with tools like Vagrant.
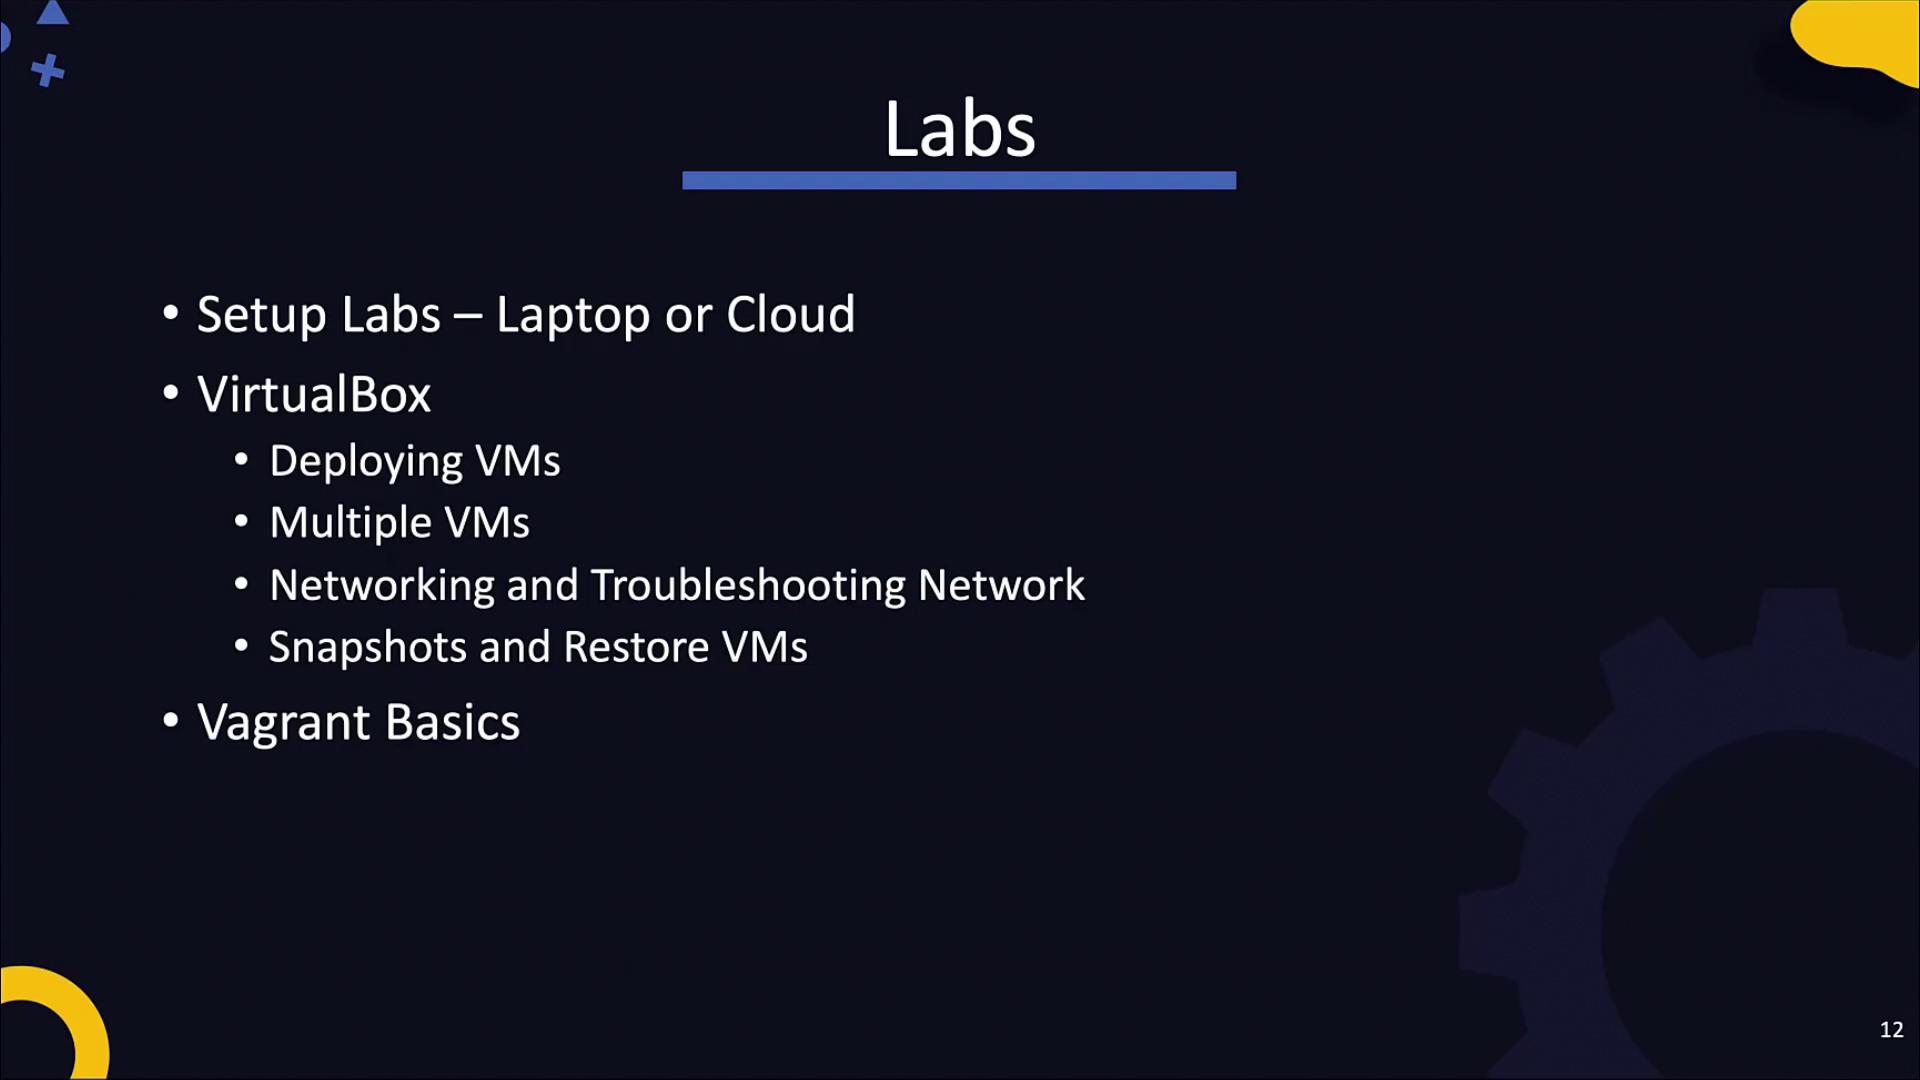
Key Topics Covered
- Benefits of virtualization in a lab environment
- Selecting the right virtualization tool
- Steps to deploy, network, and troubleshoot multiple VMs
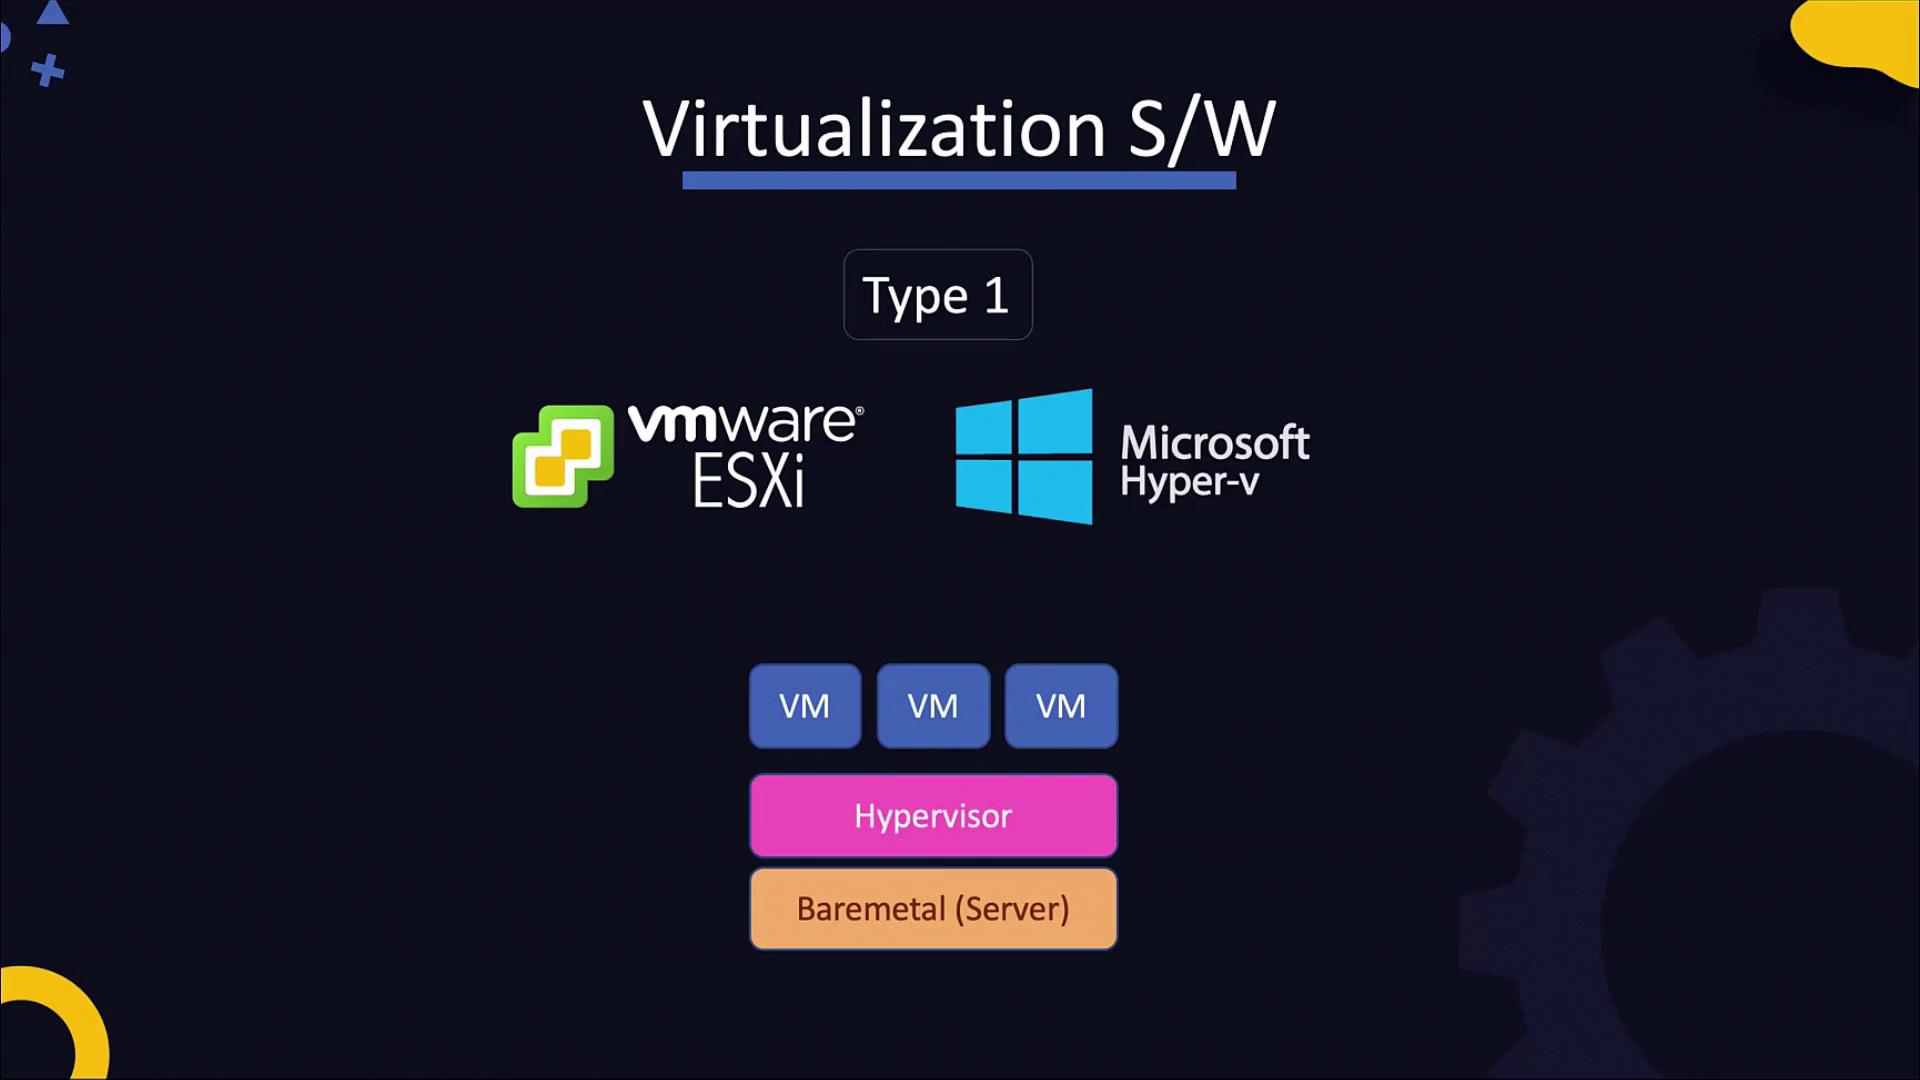
Virtualization primarily falls into two hypervisor categories:
1. Type 1 Hypervisors
Type 1 hypervisors are installed directly on hardware (bare metal) and are commonly used in enterprise settings. Examples include VMware ESXi and Microsoft Hyper-V. Although they offer robust performance, these hypervisors come with higher resource requirements and cost, which makes them less suitable for personal lab environments.
2. Type 2 Hypervisors
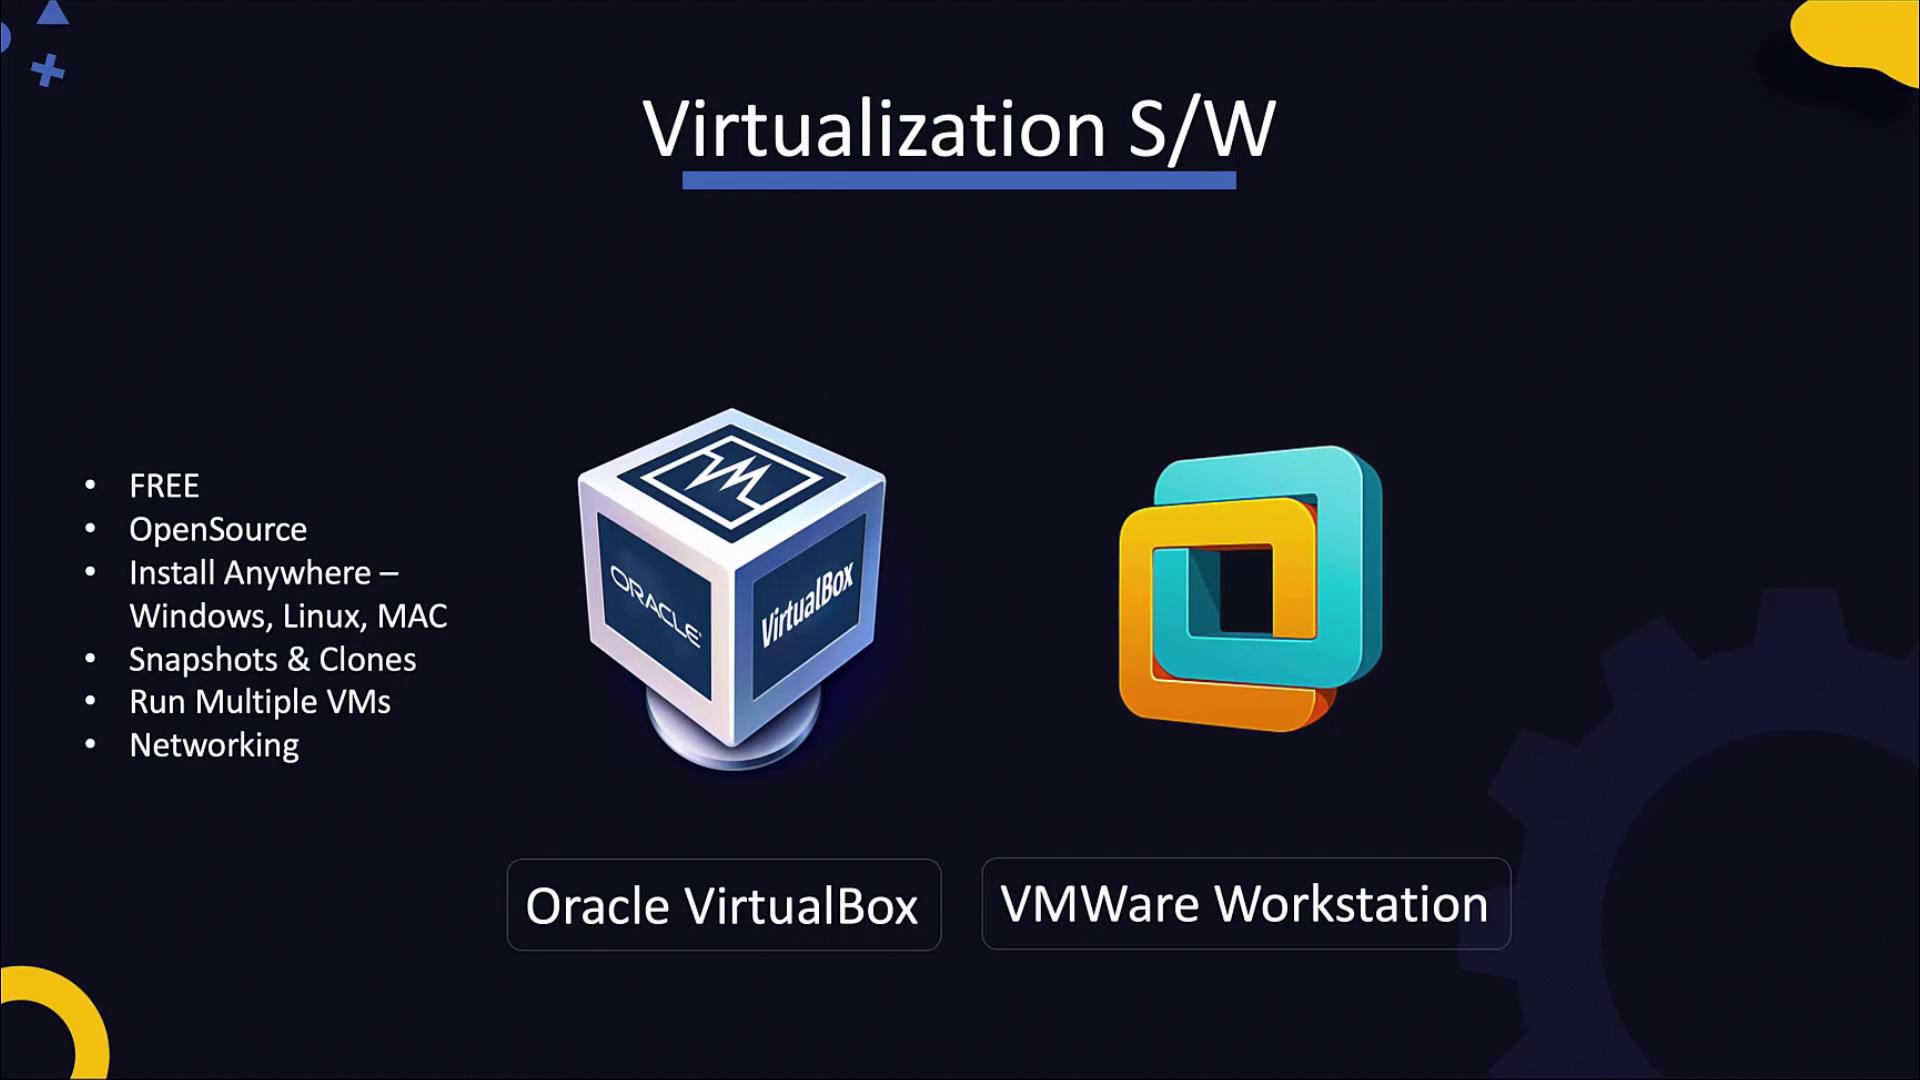
Type 2 hypervisors run on top of an existing operating system. Oracle VirtualBox and VMware Workstation are prominent examples. They are easier to install and manage on a laptop since they do not require a complete system reimaging.
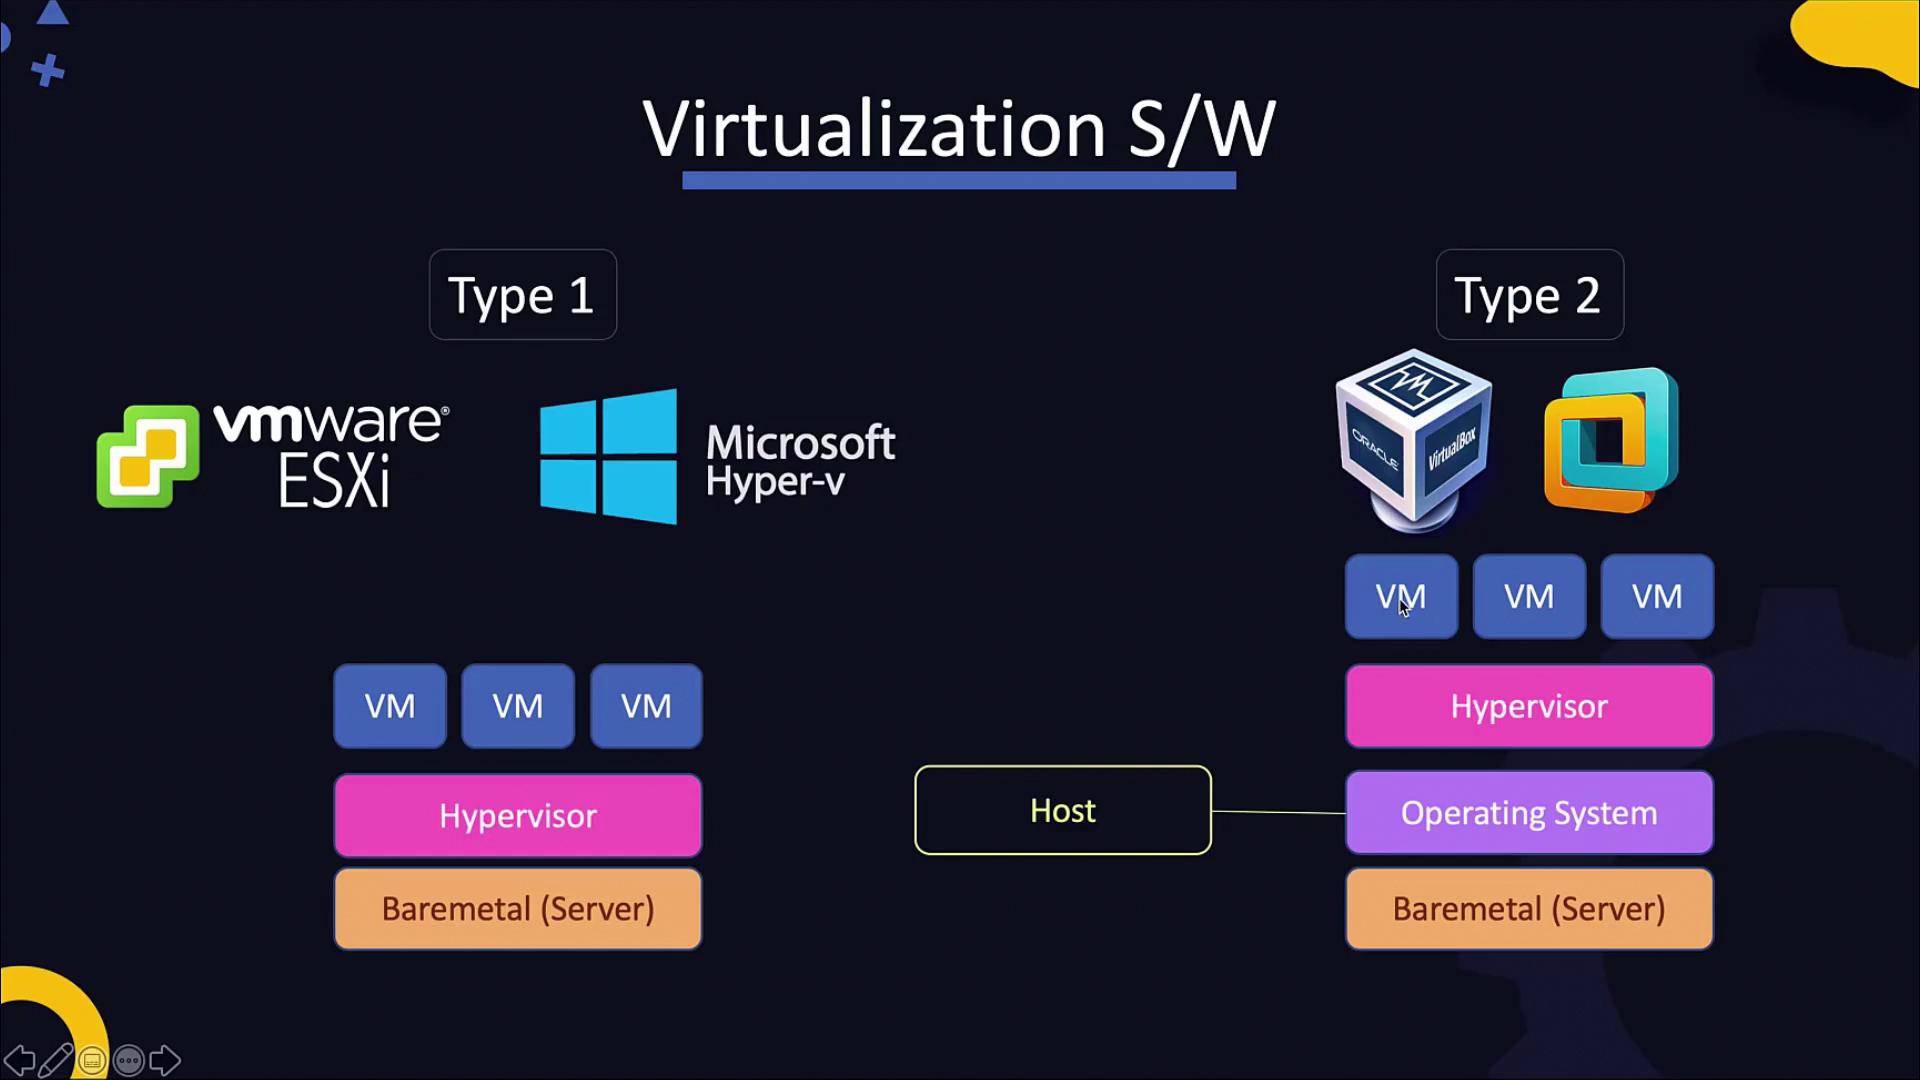
Between these options, Oracle VirtualBox is highly recommended for home labs because it is free, open-source, and compatible with Windows, Linux, macOS, and Solaris. VirtualBox offers advanced features like snapshots, cloning, and isolated networking for multiple VMs. While VMware Workstation provides similar capabilities on Windows and Linux (with VMware Player and VMware Fusion available as free, scaled-down versions), VirtualBox strikes a valuable balance between features and cost-effectiveness.
System Requirements
Although VirtualBox itself requires minimal disk space (around 30 MB), ensure your host machine has adequate resources. A dual-core or quad-core processor with at least 4 GB of memory and 100 GB of disk space is recommended when running one or two small VMs.
Setting Up a Virtual Machine in VirtualBox
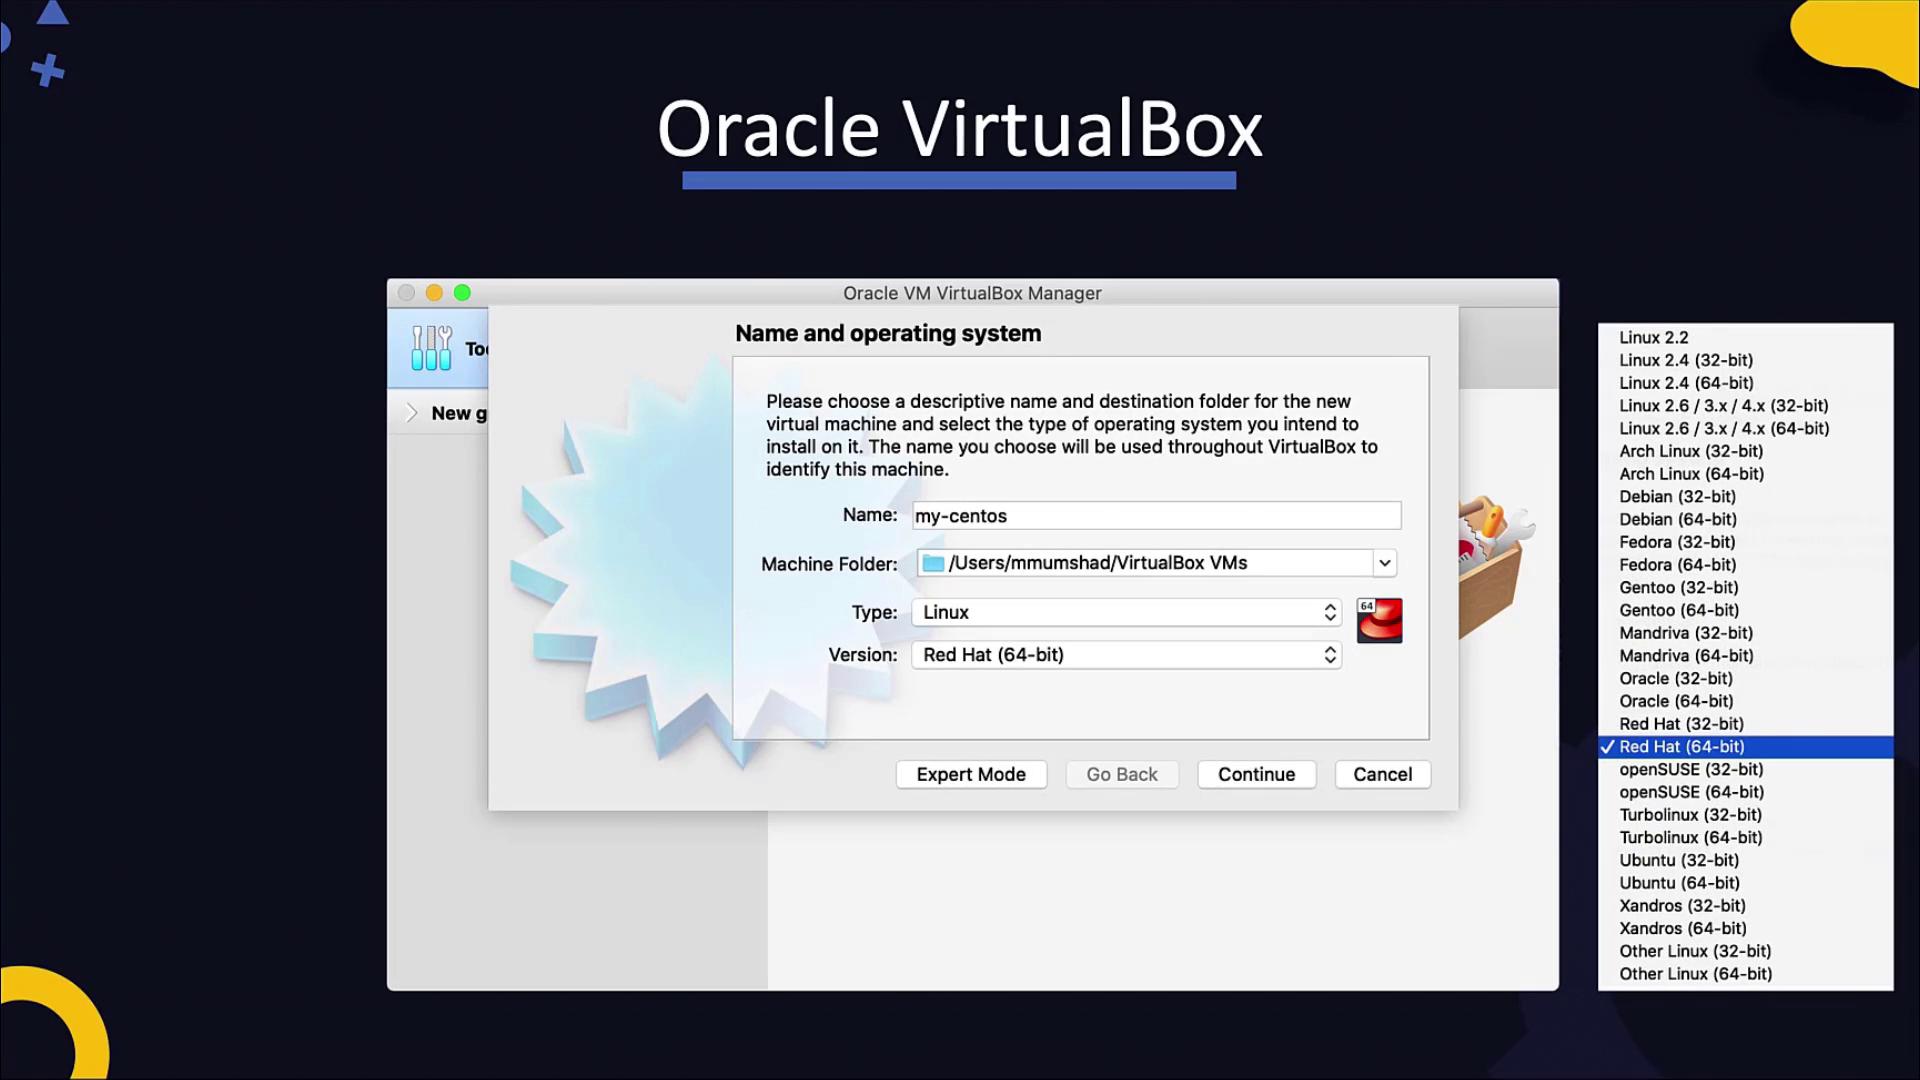
After installing VirtualBox, launch the application from your program or application menu. Follow these steps to create a new VM:
- Click the "New" Button: Located at the top of the VirtualBox interface.
- Enter VM Details: Provide a name for your virtual machine and choose the location to store its files.
- Select the Operating System: For instance, if you plan to run CentOS (a community fork of Red Hat Enterprise Linux), choose "Linux" as the type and "Red Hat (64-bit)" as the version.
- Allocate Memory Resources: Assign the appropriate amount of memory based on the guest OS requirements.
- Create a New Virtual Hard Disk: This disk starts blank, similar to a new computer without an operating system. You will need to install an OS manually using an installation disk or pre-configured disk image.

A more efficient method is to use a pre-configured virtual hard disk image that already includes an operating system. Websites like osboxes.org offer a wide range of images for various distributions such as Ubuntu, Debian, CentOS, and Fedora. By using an existing virtual disk file, your VM will be ready to boot without the lengthy manual installation process.
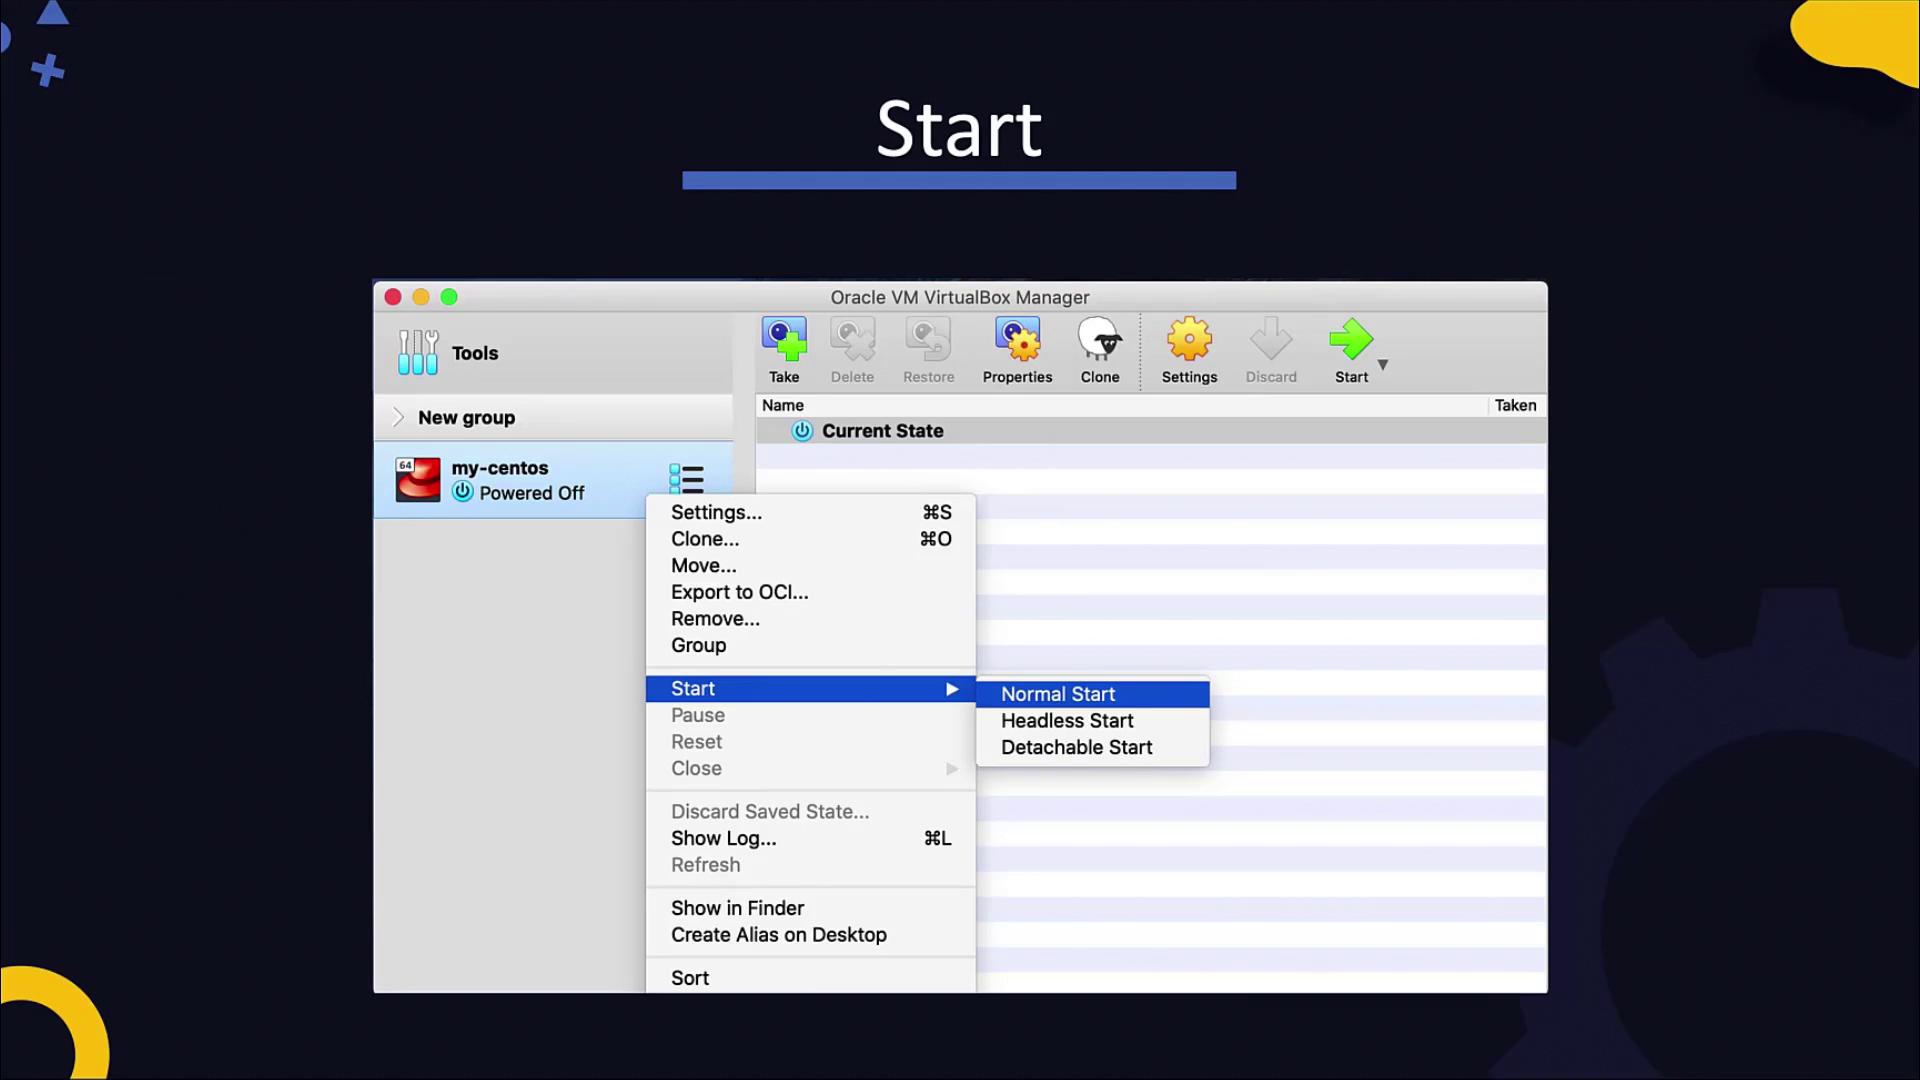
Once your VM is created, you can start it by right-clicking the machine in VirtualBox and selecting "Normal Start" from the context menu.
Next Steps
In the upcoming lesson, we will explore various methods for connecting to your virtual machine, such as SSH, and accessing hosted services. These details will help you manage and troubleshoot your lab environment with confidence.
Thank you for reading. See you in the next lesson!
Watch Video
Watch video content