Pod Lifecycle Recap
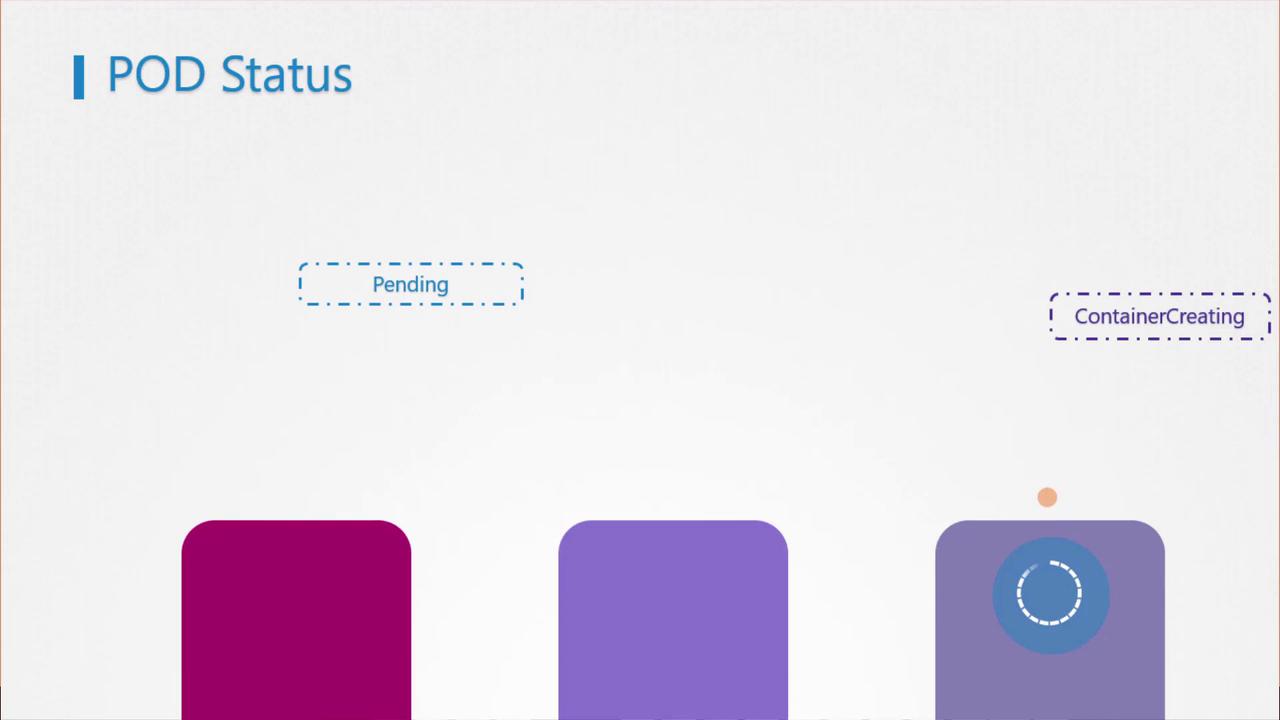
A Pod transitions through several high-level phases:- Pending: Scheduler is selecting a node.
- ContainerCreating: Image pull and container startup.
- Running: All containers have started successfully.
Understanding Pod Conditions
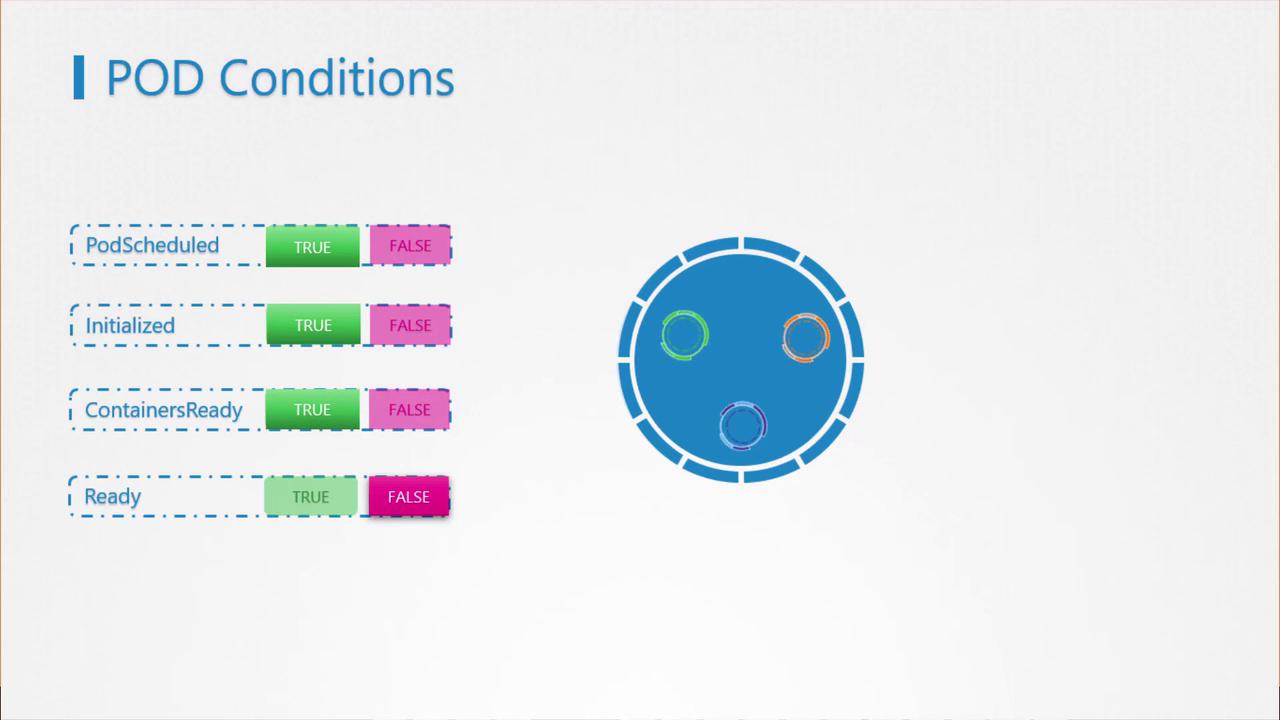
Pod conditions are booleans that provide deeper insights:- PodScheduled: Has the scheduler assigned a node?
- Initialized: Have init containers completed?
- ContainersReady: Are all containers in
Runningstate? - Ready: Is the Pod prepared to serve requests?
By default, Kubernetes marks the
Ready condition as True once containers start, even if the application isn’t fully initialized.Why Readiness Probes Matter
Without readiness probes, a Service may route traffic to a Pod before its application is ready, resulting in errors for end users. Readiness probes let you tie theReady condition to an actual in-container health check.

Probe Types
| Type | Description | Example Snippet |
|---|---|---|
| HTTP GET | Performs an HTTP GET request against a path | httpGet: { path: "/ready" } |
| TCP Socket | Attempts a TCP connection on a port | tcpSocket: { port: 3306 } |
| Exec | Runs a command inside the container | exec: { command: ["cat"] } |
Configuring Readiness Probes
Add areadinessProbe block under your container spec:
1. HTTP GET Probe
2. TCP Socket Probe
3. Exec Command Probe
Customizing Probe Timing
Fine-tune how and when probes run:| Parameter | Description | Default |
|---|---|---|
| initialDelaySeconds | Seconds to wait before first probe | 0 |
| periodSeconds | Interval between each probe | 10 |
| failureThreshold | Number of failures before marking as fail | 3 |
Consider also configuring liveness probes to restart unhealthy containers.
Readiness in a Scaled Deployment
When you scale a Deployment, only Pods that pass their readiness probe will start receiving traffic. This prevents service disruptions caused by uninitialized instances.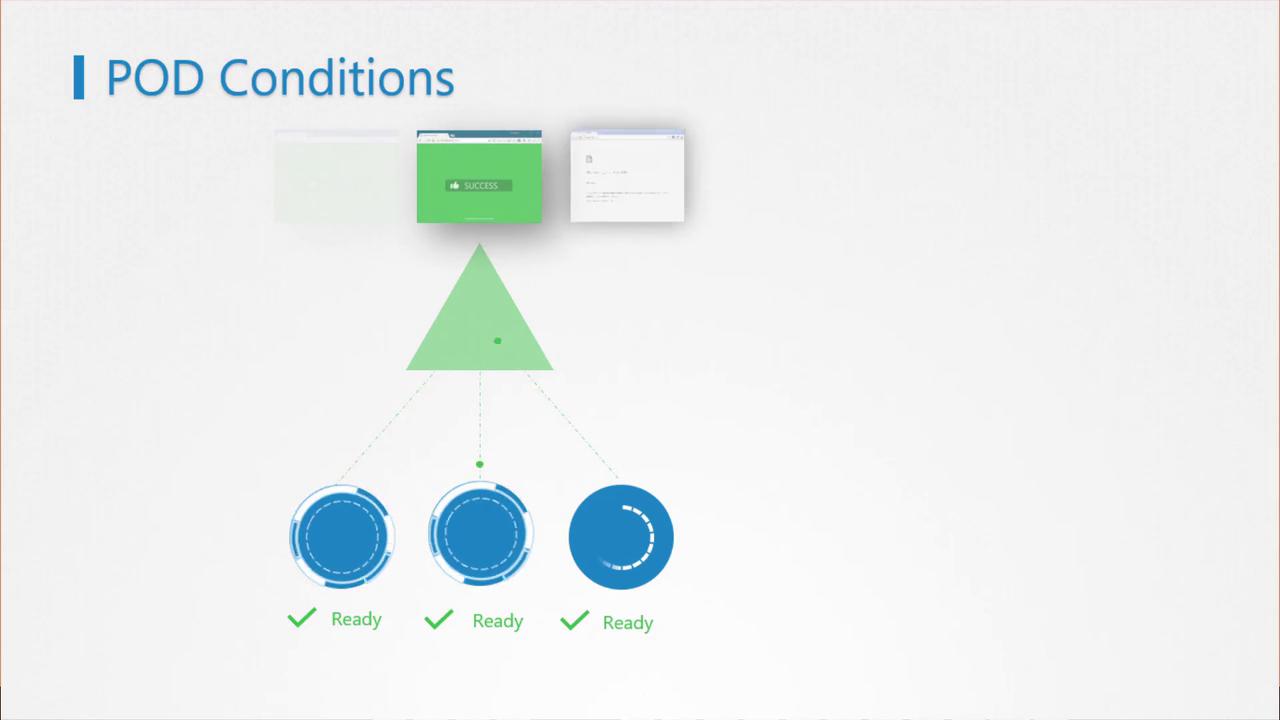
Ensure your readiness probe endpoint is lightweight and fast to avoid delaying traffic routing.