Docker Training Course for the Absolute Beginner
Docker Images
Demo Creating a new Docker Image
Welcome to this detailed guide on building a custom Docker image for a simple Python Flask web application. In this tutorial, you'll learn how to set up the application, manually run it, containerize it using Docker, and finally push your image to Docker Hub. The complete project is available on my GitHub page.
Application Overview
Our web application comprises a single file, app.py
, which defines two routes:
- The default route (
/
) displays a welcome message. - The
/how are you
route returns the response "I am good, how about you?".
Below is the complete source code for app.py
:
import os
from flask import Flask
app = Flask(__name__)
@app.route("/")
def main():
return "Welcome!"
@app.route('/how are you')
def hello():
return 'I am good, how about you?'
if __name__ == "__main__":
app.run()
Deploying the Application Manually
Before containerizing the application, you can deploy it manually on an Ubuntu host. Follow these steps:
Installing Dependencies
Update your package lists and install Python along with required packages:
apt-get update
apt-get install -y python python-setuptools python-dev build-essential python-pip python-mysqldb
Next, install Flask and its MySQL helper using pip:
pip install flask
pip install flask-mysql
To run the application manually, execute the command below:
FLASK_APP=app.py flask run --host=0.0.0.0
Once running, access the following URLs in your web browser:
http://<IP>:5000
– should display "Welcome!"http://<IP>:5000/how%20are%20you
– should display "I am good, how about you?"
The console output will look similar to:
=> Welcome
=> I am good, how about you?
Running the Application Inside a Docker Container
Containerizing your application isolates the environment and simplifies dependency management.
Starting an Ubuntu Container
Launch an interactive Ubuntu container with a bash shell:
docker run -it ubuntu bash
Inside the container, update the package index and install Python:
apt-get update
apt-get install -y python
Tip
If you encounter errors while installing Python due to an outdated package index, make sure to run apt-get update
before attempting the installation.
Installing pip and Flask
If you receive a "pip: command not found" error, install pip:
apt-get install python-pip
Then install Flask using pip:
pip install flask
Successful installation will display messages confirming that Flask and its dependencies (itsdangerous, click, Werkzeug, Jinja2, MarkupSafe) have been installed.
Running the Application
After copying your application code into the container (for example, place it in /opt/app.py
), run the application with:
FLASK_APP=app.py flask run --host=0.0.0.0
The expected output is:
* Serving Flask app "app"
* Running on http://0.0.0.0:5000/ (Press CTRL+C to quit)
You can now access the application using the container's IP on port 5000. Visiting the /how%20are%20you
route should trigger a GET request and display the correct response.
Recording the Steps
It's a good practice to record the commands executed for troubleshooting or later use. Below is an example command history:
apt-get update
apt-get install -y python
apt-get install python-pip
pip install flask
cat > /opt/app.py
vi /opt/app.py
FLASK_APP=app.py flask run --host=0.0.0.0
history
Keep these steps handy as you move forward to Dockerize your application.
Dockerizing the Application
After verifying your web application inside a Docker container, you can now create a Docker image.
Creating a Dockerfile
Create a project directory (e.g., my-simple-webapp
) and add a file named Dockerfile
with the following content:
FROM ubuntu
# Update package lists and install Python and pip
RUN apt-get update && apt-get install -y python python-pip
# Install Flask via pip
RUN pip install flask
# Copy application source code into the container
COPY app.py /opt/app.py
# Set the entrypoint to run the Flask application
ENTRYPOINT ["flask", "run", "--host=0.0.0.0", "--app", "/opt/app.py"]
Ensure that your app.py
file is in the same directory as your Dockerfile
.
Building the Image
Build your Docker image by running:
docker build . -t my-simple-webapp
Docker caches each layer, so subsequent builds without changes will be faster. To verify the image was built, list your Docker images:
docker images
Your image my-simple-webapp
should appear in the list.
Running the Docker Image
To run your containerized application, execute:
docker run my-simple-webapp
Without port mapping, the application is accessible only from the host or via Docker’s internal IP. To make the application accessible externally, run:
docker run -p 5000:5000 my-simple-webapp
Then, navigate to http://<HOST_IP>:5000
in your web browser.
Pushing the Image to Docker Hub
Sharing your application on Docker Hub is simple. Follow these steps:
Tag your image using your Docker Hub username (e.g., if your username is
mmumshad
):docker build . -t mmumshad/my-simple-webapp
Log in to Docker Hub:
docker login
Enter your username and password when prompted.
Push the image to Docker Hub:
docker push mmumshad/my-simple-webapp
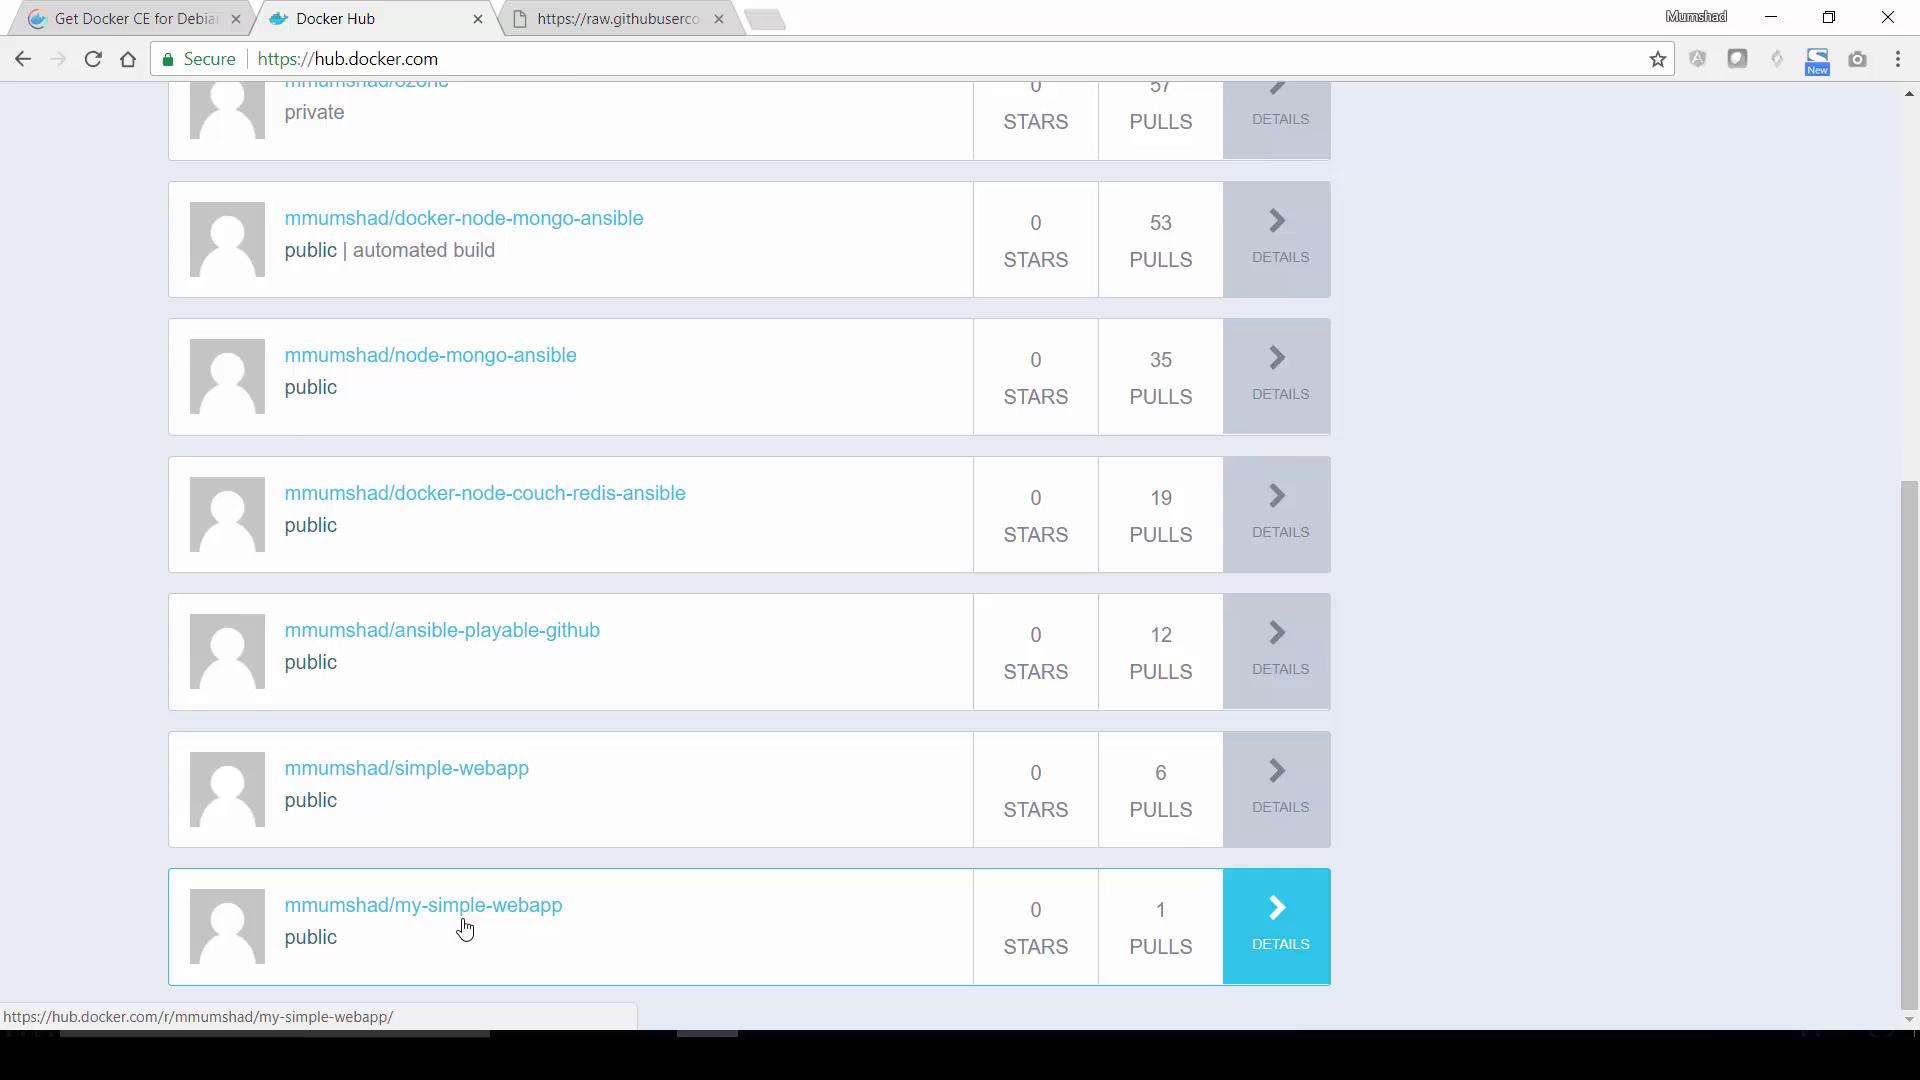
If you encounter an error like “requested access to the resource is denied,” ensure that you have tagged your image with your Docker Hub account name and that you are logged in.
Upon a successful push, your image will be available in your Docker Hub repository. You can view it on your Docker Hub dashboard.
Others can pull your image by running:
docker pull mmumshad/my-simple-webapp
Important
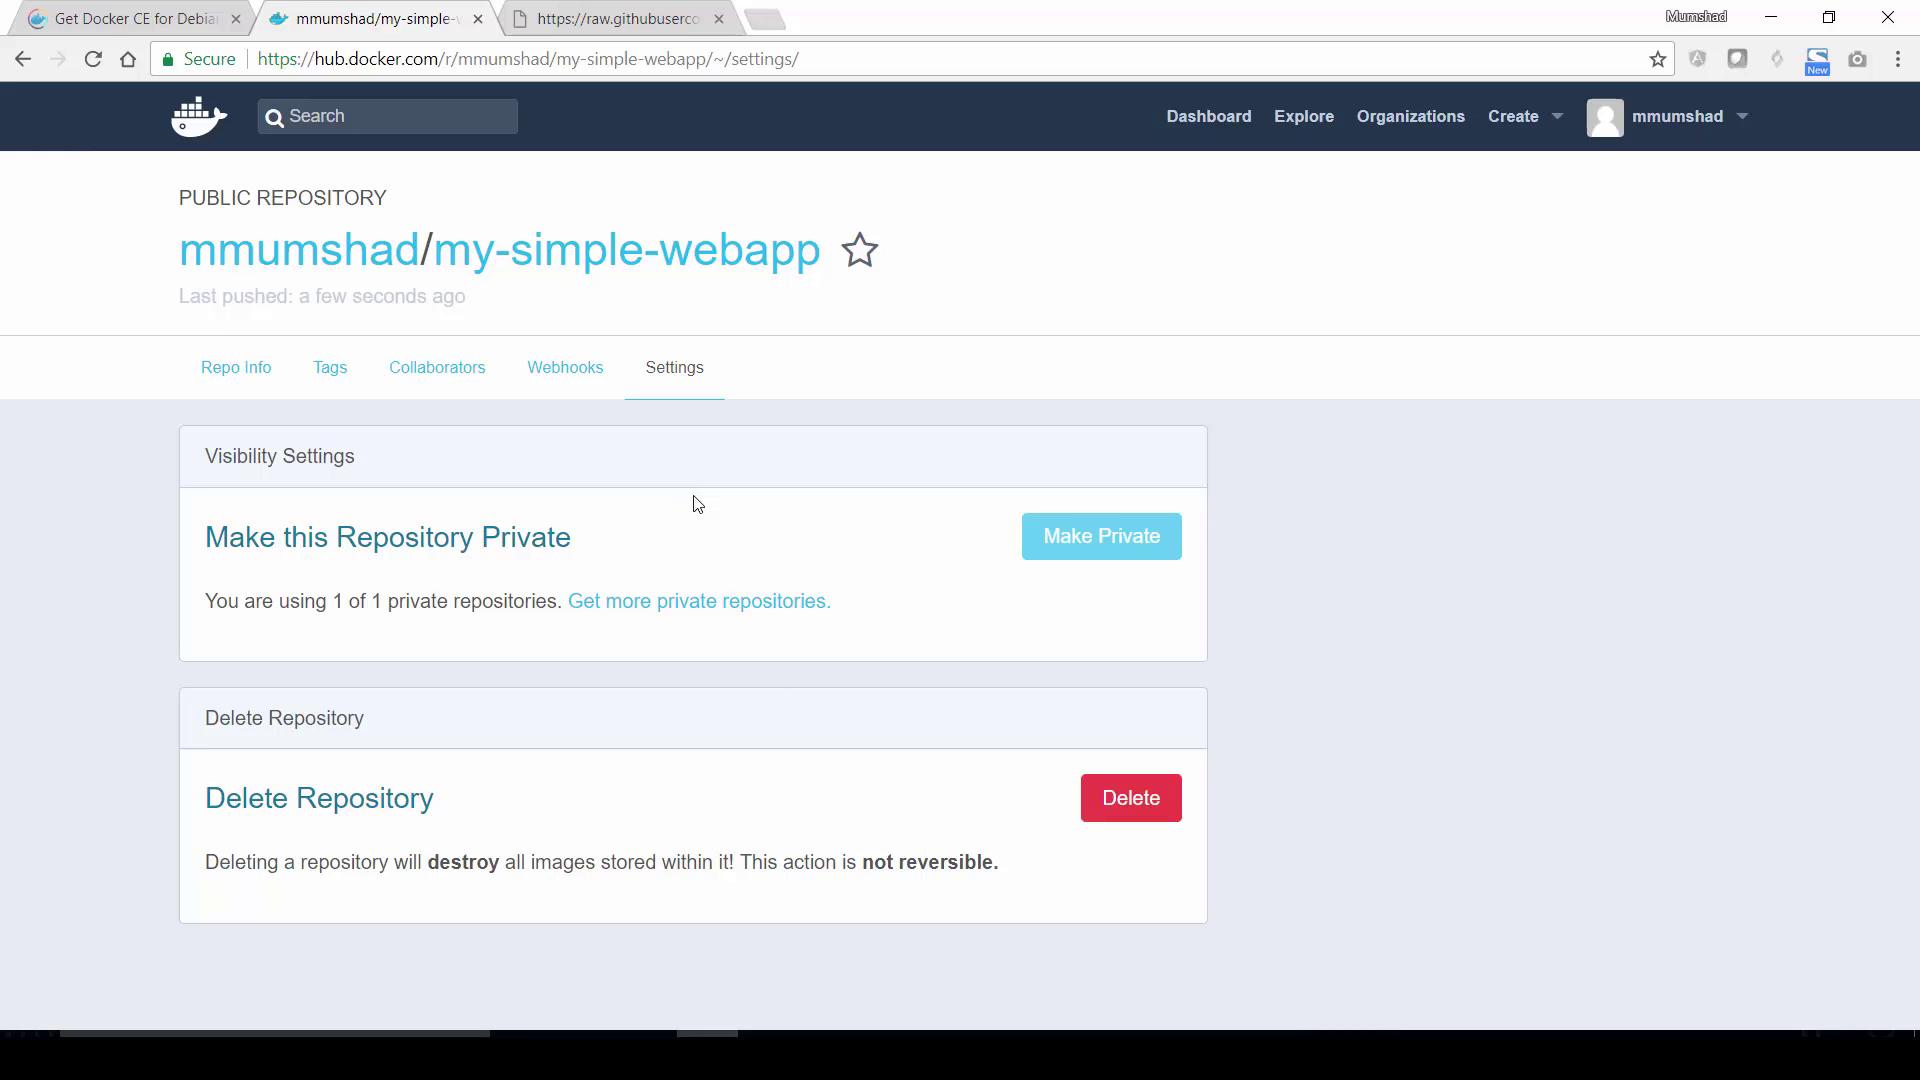
For private images, note that free Docker Hub accounts are limited to one private repository.
Summary
In this guide, we covered:
- Setting up a basic Flask web application.
- Manually installing dependencies and running the application on an Ubuntu host.
- Containerizing the application inside an Ubuntu Docker container.
- Recording the installation and execution steps.
- Creating a Dockerfile to build a custom image.
- Building, running, and verifying the Docker image.
- Tagging and pushing the image to Docker Hub for public distribution.
Practice these steps to master Docker containerization and share your applications with the community. Happy containerizing!
Watch Video
Watch video content
Practice Lab
Practice lab