Docker Training Course for the Absolute Beginner
Introduction
Demo Setup and Install Docker
In this lesson, you'll learn how to install and get started with Docker—a powerful containerization platform essential for modern application deployment. We'll walk you through setting up Docker on a supported system, using an Ubuntu VM as our example.
Open your browser and navigate to docs.docker.com. Click on the "Get Docker" button to access the Docker Engine Community Edition page, which is the free version featured in this guide.
From the left-hand menu, select your system type. For this demonstration, choose Linux, then select your Ubuntu flavor (such as Disco, Cosmic, Bionic, or Sanyo). Make sure to review the prerequisites confirming that your Ubuntu system is 64-bit and one of the supported versions.
System Requirement
Ensure that your system meets all prerequisites before proceeding with the Docker installation.
Step 1: Remove Older Docker Versions
Before installing Docker, it is crucial to remove any existing Docker packages. Run the following command:
sudo apt-get remove docker docker.io docker-engine
Since this setup uses Ubuntu Bionic, verify your Ubuntu version by checking the release information:
cat /etc/*release*
Example output:
vagrant@ubuntu-bionic:~$ cat /etc/*release*
DISTRIB_ID=Ubuntu
DISTRIB_RELEASE=18.04
DISTRIB_CODENAME=bionic
DISTRIB_DESCRIPTION="Ubuntu 18.04.2 LTS"
NAME="Ubuntu"
VERSION="18.04.2 LTS (Bionic Beaver)"
ID=ubuntu
ID_LIKE=debian
PRETTY_NAME="Ubuntu 18.04.2 LTS"
VERSION_ID="18.04"
HOME_URL="https://www.ubuntu.com/"
SUPPORT_URL="https://help.ubuntu.com/"
BUG_REPORT_URL="https://bugs.launchpad.net/ubuntu/"
PRIVACY_POLICY_URL="https://www.ubuntu.com/legal/terms-and-policies/privacy-policy"
VERSION_CODENAME=bionic
UBUNTU_CODENAME=bionic
vagrant@ubuntu-bionic:~$
Also, remove any older versions to ensure a clean installation:
sudo apt-get remove docker docker-engine docker.io containerd runc
Step 2: Install Docker
There are two primary methods to install Docker: using the package manager or the convenience installation script.
Option 1: Using the Package Manager
Update the Repository and Install Prerequisites
Update your package list and install necessary packages:sudo apt-get update sudo apt-get install \ apt-transport-https \ ca-certificates \ curl \ gnupg-agent \ software-properties-common
Add Docker’s Official GPG Key
Add the GPG key for Docker:curl -fsSL https://download.docker.com/linux/ubuntu/gpg | sudo apt-key add -
Verify the GPG Key Fingerprint
Run the following command and ensure the output matches:sudo apt-key fingerprint 0EBFCD88
GPG Key Verification
The expected output should look like:
pub rsa4096 2017-02-22 [SCEA] 9DC8 5822 9FC7 DD38 854A E2D8 8D81 803C 0EBF CD88 uid [unknown] Docker Release (CE deb) <[email protected]>
Option 2: Using the Convenience Installation Script
If you prefer a simpler method, use Docker's convenience script:
curl -fsSL https://get.docker.com -o get-docker.sh
sudo sh get-docker.sh
After executing the script, you can verify its presence:
ls get-docker.sh
Step 3: Verify Docker Installation
After installation, check Docker’s version to confirm the installation:
sudo docker version
A typical output showing Docker version 19.03.1 might appear as follows:
vagrant@ubuntu-bionic:~$ sudo docker version
Client: Docker Engine - Community
Version: 19.03.1
API version: 1.40
Go version: go1.12.5
Git commit: 74ble89
Built: Thu Jul 25 21:21:05 2019
OS/Arch: linux/amd64
Experimental: false
Server: Docker Engine - Community
Engine:
Version: 19.03.1
API version: 1.40 (minimum version 1.12)
Go version: go1.12.5
Git commit: 74ble89
Built: Thu Jul 25 21:19:41 2019
OS/Arch: linux/amd64
Experimental: false
containerd:
Version: 1.2.6
GitCommit: 894b81a4b802e4eb2a91d1ce216b8817763c29fb
runc:
Version: 1.0.0-rc8
GitCommit: 425e105d5a03fabd737a126ad93d62a9eeede87f
docker-init:
Version: 0.18.0
GitCommit: fec3683
vagrant@ubuntu-bionic:~$
Step 4: Run a Docker Container
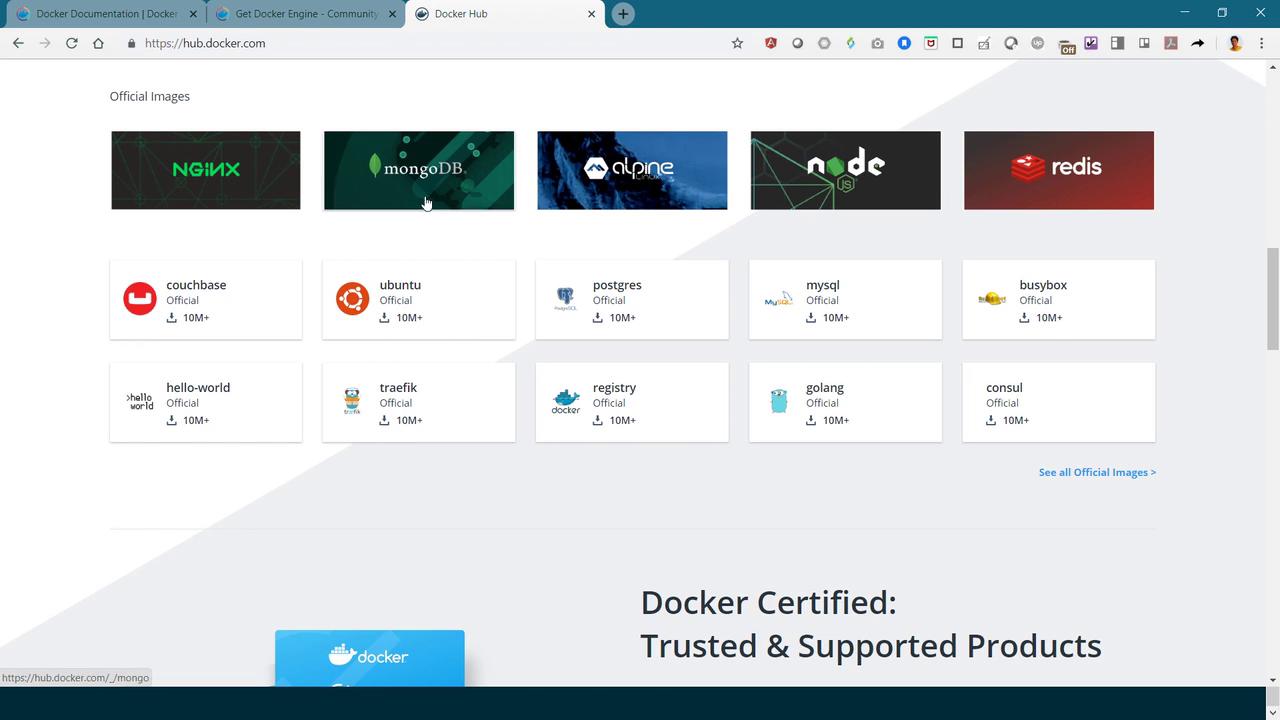
To confirm Docker is running correctly, try launching a simple container. Docker Hub offers a variety of images; in this guide, we'll use the fun "whalesay" image.
Run the Initial Container Command
docker run docker/whalesay cowsay boo
Expected output:
_______ < boo > ------- \ ^__^ \ (oo)\_______ (__)\ )\/\ ||----w | || ||
Modify the Command with Sudo and Change the Message
sudo docker run docker/whalesay cowsay Hello-World!
When executed, Docker pulls the whale image from Docker Hub and displays a message:
vagrant@ubuntu-bionic:~$ sudo docker run docker/whalesay cowsay Hello-World! Unable to find image 'docker/whalesay:latest' locally latest: Pulling from docker/whalesay [DEPRECATION NOTICE] registry v2 schema1 support will be removed in an upcoming release. Please contact admins of the docker.io registry NOW to avoid future disruption. e190868d6f3f: Pull complete 909cd34c6fd7: Pull complete 0b9fbabab7c1: Pull complete a3ed95caeb02: Pull complete 0bf65475aba: Pull complete c57b6bcc83e3: Pull complete 897f867892ef: Pull complete 8eed3712d2cf: Pull complete Digest: sha256:178598e51a26abbc958b8a2e48825c90bc22e641de3d31e18aaf55f3258ba93b Status: Downloaded newer image for docker/whalesay:latest __________ < Hello-World! > ---------- \ ^__^ \ (oo)\_______ (__)\ )\/\ ||----w | || || vagrant@ubuntu-bionic:~$
Hands-On Practice
While this guide provides an overview of setting up Docker, hands-on labs are available for those who want to experiment and gain further practical experience.
Conclusion
This demonstration has provided a comprehensive guide to installing Docker on an Ubuntu system, from removing previous installations to launching your first container. With Docker now installed, you can begin exploring containerized application deployments and enjoy the benefits of modern development workflows.
Happy containerizing!
Watch Video
Watch video content