Event Streaming with Kafka

Project Building an Event Driven System

Demo Starting Our Internal Interface

In this lesson, we’ll build the backend dashboard for our warehouse—completing the event-driven flow using Apache Kafka and Flask. We’ll begin by reviewing how the toy shop frontend publishes order events, then implement a Kafka consumer in the warehouse UI.

Recap: Producing Order Events

When a customer places an order in the toy shop frontend (app.py), we serialize the cart as JSON and send it to the cartevent Kafka topic:

from flask import render_template
import json
import logging

@app.route('/place_order', methods=['POST'])
def place_order():
    order_event = {
        'customer_name': name,
        'delivery_address': address,
        'products': cart,
        'total_amount': sum(item['price'] for item in cart)
    }
    event_string = json.dumps(order_event)
    logging.info(f"Sending order event to Kafka: {event_string}")

    producer.produce(
        topic='cartevent',
        value=event_string
    )
    return render_template('cart.html', cart=cart)

In your Flask logs, you’ll see:

127.0.0.1 - - [20/Apr/2025 10:30:31] "POST /place_order HTTP/1.1" 200 -

And the JSON event published to Kafka looks like:

{"customer_name":"Bob","delivery_address":"Japan","products":[{"id":1,"name":"Toy 1","price":10.99,"image":"toy1.jpg"}],"total_amount":10.99}

Building the Warehouse UI Consumer

  1. Close the toy shop folder and open final-projects/warehouse-ui in VS Code.
  2. Edit app.py, importing Kafka and configuring logging at the top:
from flask import Flask, render_template, jsonify
from confluent_kafka import Consumer
import json
import logging
import uuid

logging.basicConfig(
    level=logging.INFO,
    format='%(asctime)s %(levelname)s - %(message)s'
)
logger = logging.getLogger(__name__)

app = Flask(__name__)
KAFKA_TOPIC = 'cartevent'
  1. Add a function to poll Kafka for order events:
def get_kafka_messages():
    """Retrieve all available order events from Kafka."""
    messages = []
    consumer_config = {
        'bootstrap.servers': '3.68.92.91:9092',
        'group.id': f'warehouse_reader_{uuid.uuid4()}',
        'auto.offset.reset': 'earliest',
        'enable.auto.commit': False
    }

    consumer = Consumer(consumer_config)
    logger.info("Created new Kafka consumer")

    try:
        consumer.subscribe([KAFKA_TOPIC])
        logger.info(f"Subscribed to topic: {KAFKA_TOPIC}")

        # Poll the broker up to 10 times for new messages
        for _ in range(10):
            msg = consumer.poll(1.0)
            if msg is None:
                continue
            if msg.error():
                logger.error(f"Kafka error: {msg.error()}")
                continue

            messages.append(json.loads(msg.value().decode('utf-8')))
    finally:
        consumer.close()

    return messages

Below is a breakdown of the Kafka consumer configuration:

Configuration KeyDescriptionExample
bootstrap.serversAddress of your Kafka broker3.68.92.91:9092
group.idUnique consumer group identifierwarehouse_reader_<UUID>
auto.offset.resetWhere to start reading if no offset existsearliest
enable.auto.commitDisable automatic offset commits for safetyFalse

Warning

Ensure bootstrap.servers matches your Kafka broker’s public IP. You can verify it in the AWS EC2 dashboard.

The image shows an AWS EC2 dashboard with details of a running instance named "kafka-server." It displays information such as the instance ID, public IPv4 address, and instance type.


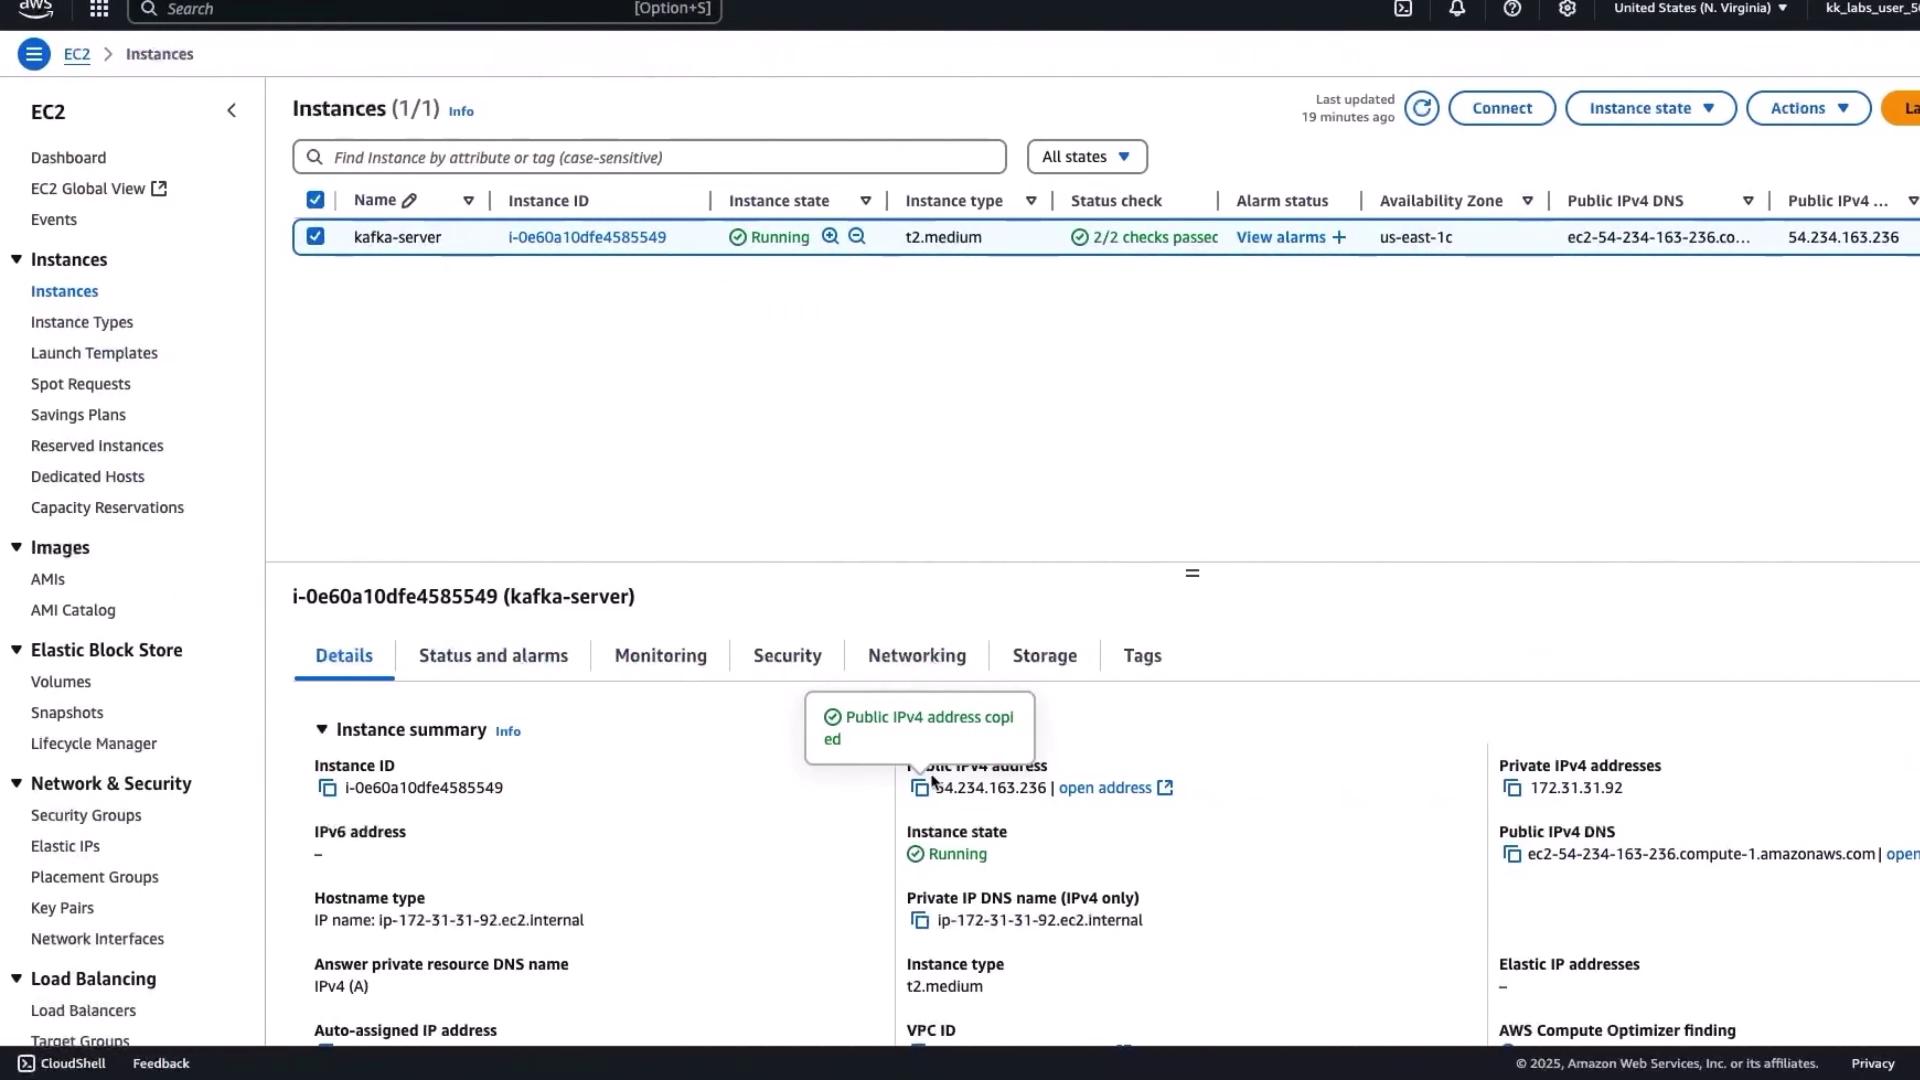
Rendering the Dashboard

Expose a Flask route that fetches orders from Kafka and renders them in dashboard.html:

@app.route('/')
def dashboard():
    orders = get_kafka_messages()
    return render_template('dashboard.html', orders=orders)

In dashboard.html, iterate over orders to display each customer’s details, products, and total amount.


Running and Testing the Warehouse UI

cd final-projects/warehouse-ui
pip install -r requirements.txt
python3 app.py

Visit http://localhost:5000/ in your browser. The dashboard polls Kafka for new cartevent messages.

End-to-End Test

  1. In the toy shop frontend, add Toy 6 to the cart.
  2. Enter Rose as the customer name and Delhi as the address.
  3. Click Place Order to send the event to Kafka.
  4. Return to the warehouse dashboard and refresh. You should see Rose’s order listed.

Next Steps

  • Auto-refresh the dashboard when new events arrive
  • Persist orders to a database and map products to rack locations
  • Add packing instructions or real-time inventory lookups

Congratulations! You’ve built an end-to-end event-driven warehouse dashboard using Apache Kafka. Next, we’ll recap the full architecture and explore scaling strategies.

Watch Video

Watch video content

Practice Lab

Practice lab

Previous
Demo Starting Our Frontend Interface