Welcome back! In this demo, we’ll build a Flask-based frontend that publishes cart events to your Kafka cluster on AWS EC2. We’ll walk through project setup, configuring the Kafka producer, defining routes, and verifying events in Kafka.
Prerequisites
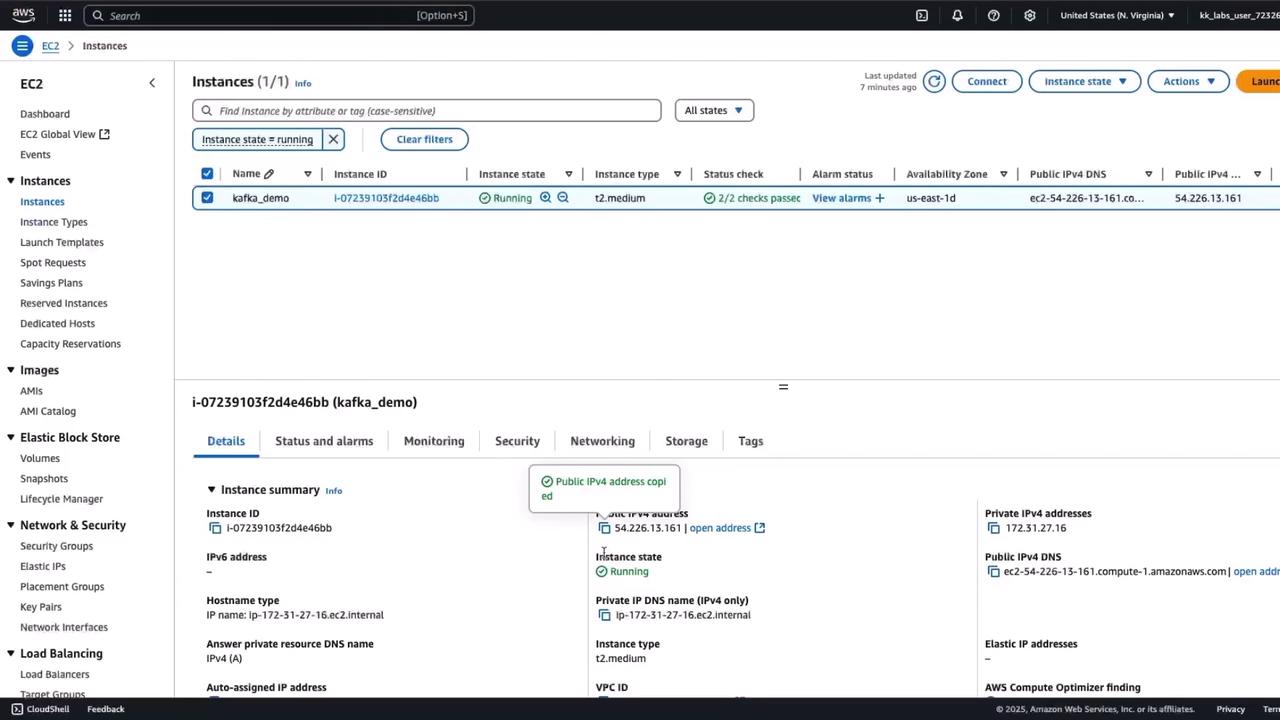
Kafka cluster running with the KRaft protocol .
cart_event topic already created.EC2 instance with public IP.
VS Code or another code editor.
1. Open the Project In your terminal:
You’ll see:
Directory Purpose toy-shop Frontend UI (Flask app) warehouse-ui Backend dashboard (consumer)
Move into the frontend folder:
2. Install Dependencies pip3 install -r requirements.txt
3. Inspect the Project Structure File/Folder Description static CSS and images templates HTML templates for each page app.py Main Flask application requirements.txt Python dependencies README.md Project overview
Open app.py to configure the Kafka producer.
from flask import Flask, render_template, request, redirect, url_for from confluent_kafka import Producer import json import logging import socket # Configure logging logging.basicConfig( level = logging. INFO ) logger = logging.getLogger( __name__ ) app = Flask( __name__ ) # Kafka producer configuration conf = { 'bootstrap.servers' : '3.68.92.91:9092' , # Replace with your EC2 instance's public IP 'client.id' : socket.gethostname() } producer = Producer(conf) def delivery_callback ( err , msg ): if err: logger.error( f "Message delivery failed: { err } " ) else : logger.info( f "Message delivered to { msg.topic() } [ { msg.partition() } ] at offset { msg.offset() } " ) logger.info( f "Message timestamp: { msg.timestamp() } " ) # Sample product data products = [ { "id" : "1" , "name" : "Toy 1" , "price" : 16.99 , "image" : "toy1.jpg" }, { "id" : "2" , "name" : "Toy 2" , "price" : 15.99 , "image" : "toy2.jpg" }, { "id" : "3" , "name" : "Toy 3" , "price" : 35.99 , "image" : "toy3.jpg" }, { "id" : "4" , "name" : "Toy 4" , "price" : 25.99 , "image" : "toy4.jpg" }, { "id" : "5" , "name" : "Toy 5" , "price" : 19.99 , "image" : "toy5.jpg" }, { "id" : "6" , "name" : "Toy 6" , "price" : 35.99 , "image" : "toy6.jpg" }, ] cart = []
Update the bootstrap.servers value with your EC2 instance’s public IP so the producer connects to the correct Kafka endpoint.
5. Define Routes and Logic Below the setup, locate the route handlers:
@app.route ( '/' ) def index (): return render_template( 'index.html' , products = products) @app.route ( '/cart' ) def view_cart (): return render_template( 'cart.html' , cart = cart) @app.route ( '/add_to_cart' , methods = [ 'POST' ]) def add_to_cart (): product_id = request.form[ 'id' ] selected = next ((p for p in products if p[ "id" ] == product_id), None ) if selected: cart.append(selected) return redirect(url_for( 'index' )) @app.route ( '/place_order' , methods = [ 'POST' ]) def place_order (): name = request.form[ 'name' ] address = request.form[ 'address' ] order_event = { "customer_name" : name, "delivery_address" : address, "products" : cart, "total_amount" : sum (item[ "price" ] for item in cart) } event_string = json.dumps(order_event) logger.info( f "Sending order event to Kafka: { event_string } " ) producer.produce( topic = "cart_event" , value = event_string.encode( "utf-8" ), callback = delivery_callback ) producer.flush() cart.clear() return render_template( 'order.html' , name = name)
This code:
Renders the product catalog.
Manages cart additions.
Sends a JSON order event to the cart_event topic.
Clears the cart after publishing.
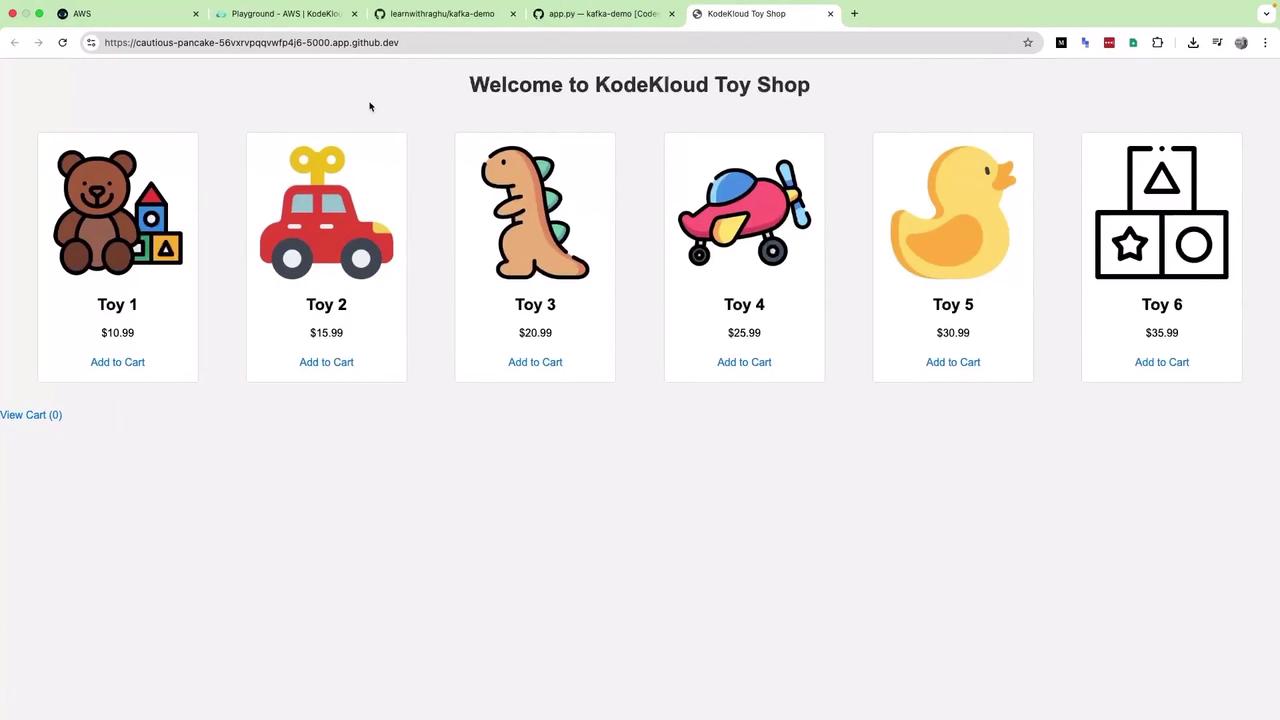
6. Run the Frontend Open http://127.0.0.1:5000 in your browser:
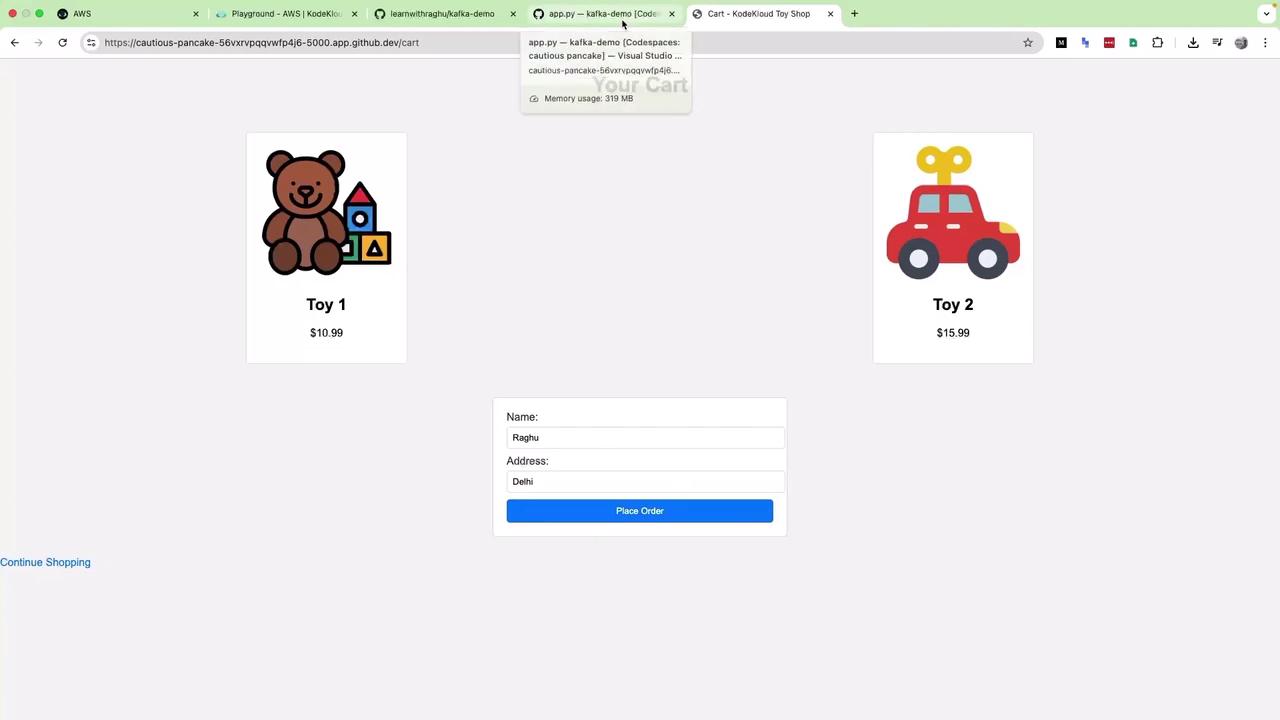
Add Toy 1 and Toy 2, click View Cart , fill in your details, and place the order:
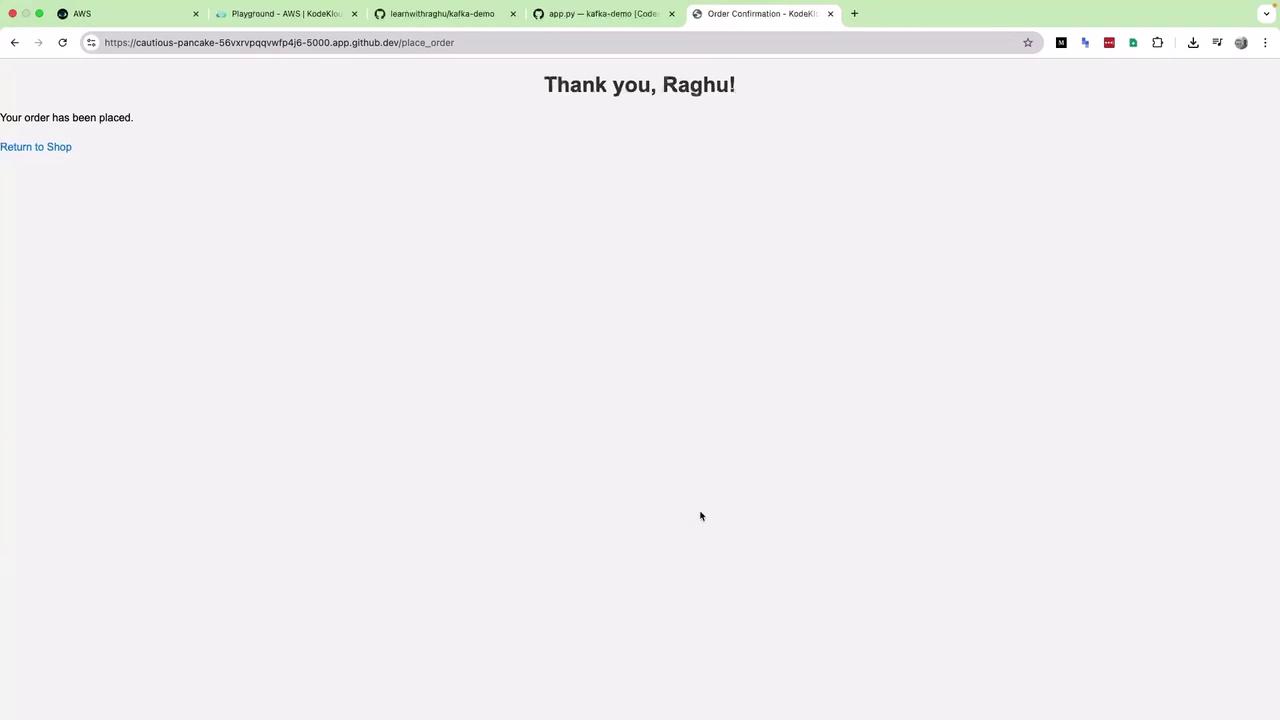
After submitting, you’ll see confirmation:
Your terminal will log delivery status:
INFO:__main__:Sending order event to Kafka: {"customer_name": "Raghu", ...}
INFO:__main__:Message delivered to cart_event [0] at offset 5
7. Verify Events in Kafka SSH into your EC2 instance and run:
cd kafka_2.13-3.0.0/

# Create topic if it doesn’t exist
bin/kafka-topics.sh \
  --create \
  --topic cart_event \
  --bootstrap-server YOUR_IP:9092 \
  --partitions 3 \
  --replication-factor 1

# Consume events
bin/kafka-console-consumer.sh \
  --bootstrap-server YOUR_IP:9092 \
  --topic cart_event \
  --from-beginning
You’ll see real-time JSON order events as the frontend publishes them.
Next Steps You now have a working frontend that publishes cart events. In the next guide, we’ll build the Warehouse Dashboard to consume and analyze these events.
References