Step 1: Select Your Project
Before you begin, ensure that you have selected the correct project. We have created a dedicated project for our learning process—make sure to choose this project from the drop-down menu.Step 2: Locate the Compute Engine
After selecting your project, use the search bar to enter “compute” and select the corresponding compute option when it appears. The top result, “Compute Engine,” is your gateway to the Compute API dashboard. The Compute Engine API is disabled by default when you first use GCP resources. To utilize it, you must enable the API: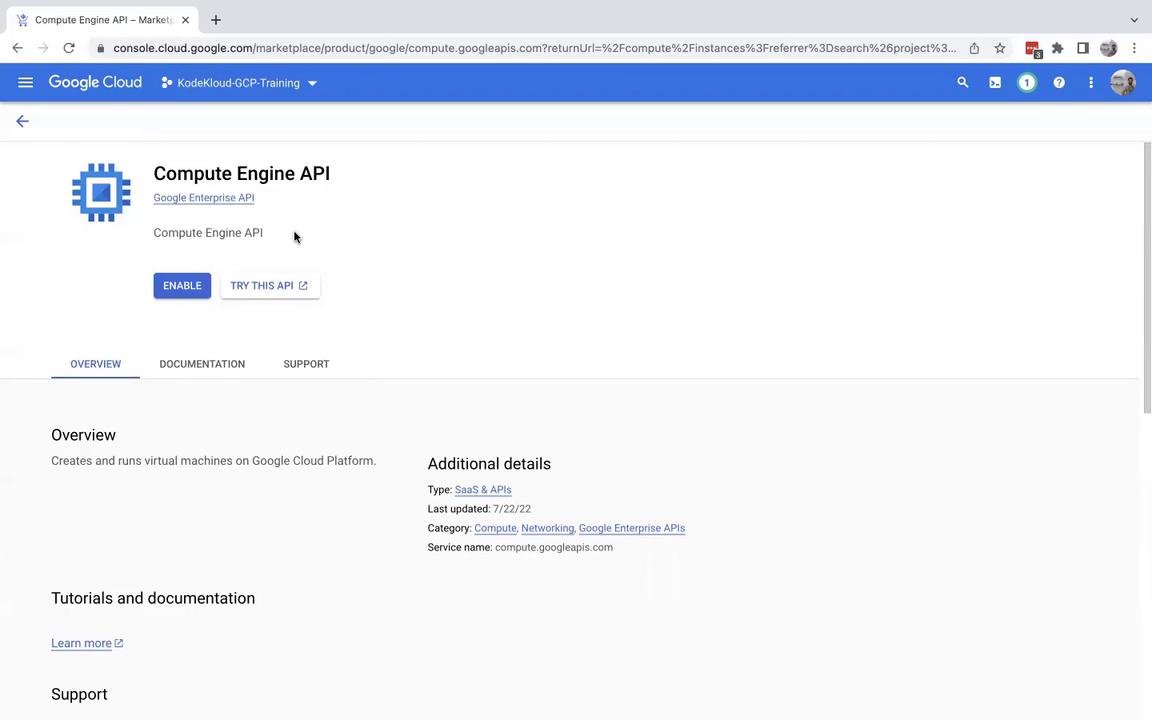
If the API is already enabled due to previous usage, you may not see the enable prompt.
Step 3: Enable the Compute Engine API
Click the “Enable” button to activate the Compute Engine API. You might be prompted to provide billing information at this stage: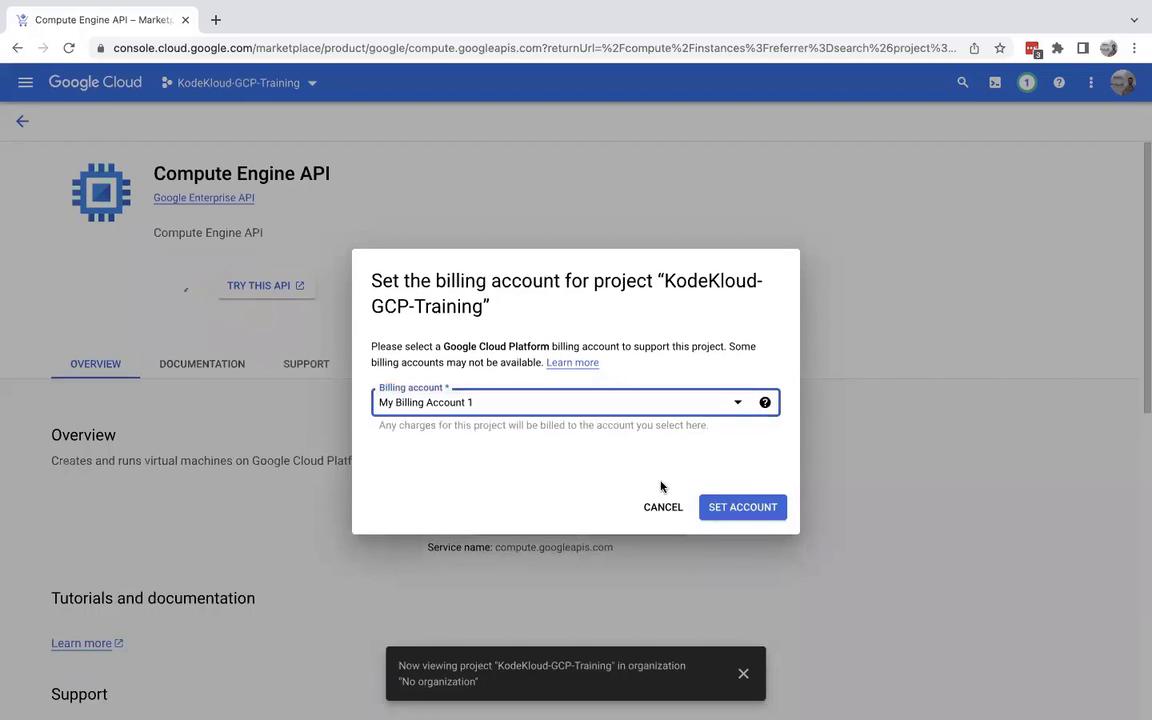
If you are using a free trial subscription or selected region without billing requirements, this prompt may not appear.
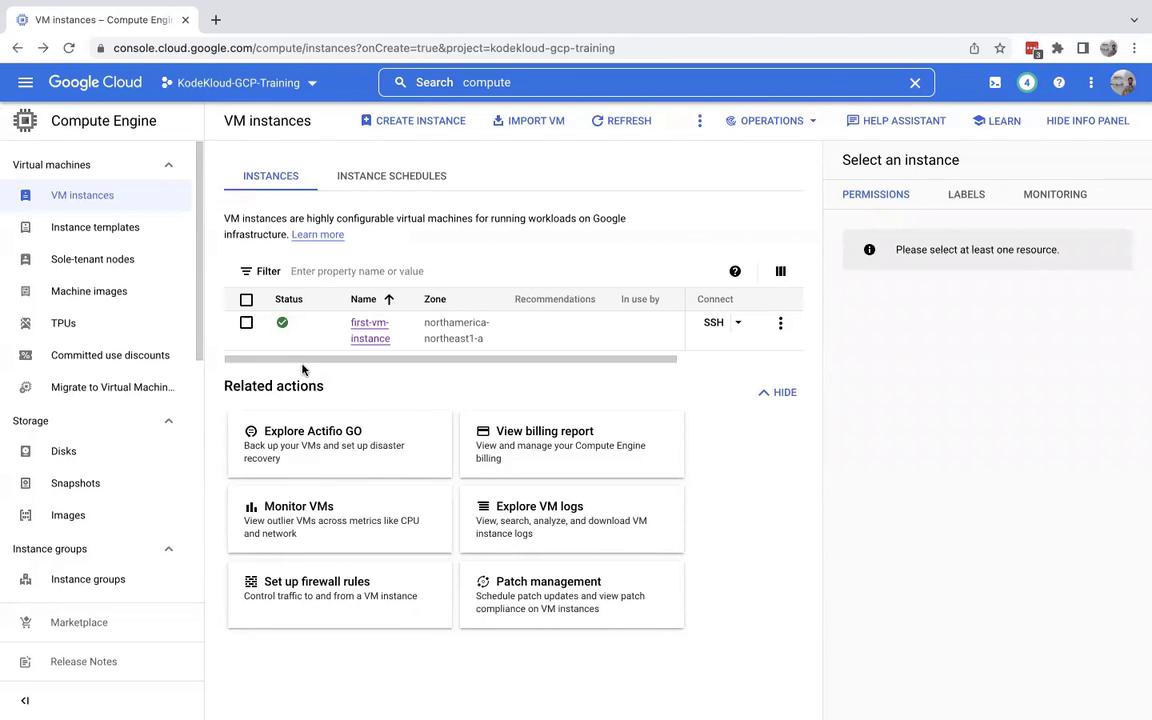
Step 4: Create a New VM Instance
On the Compute Engine dashboard, click the “Create Instance” option or switch to the VM instance tab. This action opens a form with comprehensive options for configuring your virtual machine (VM).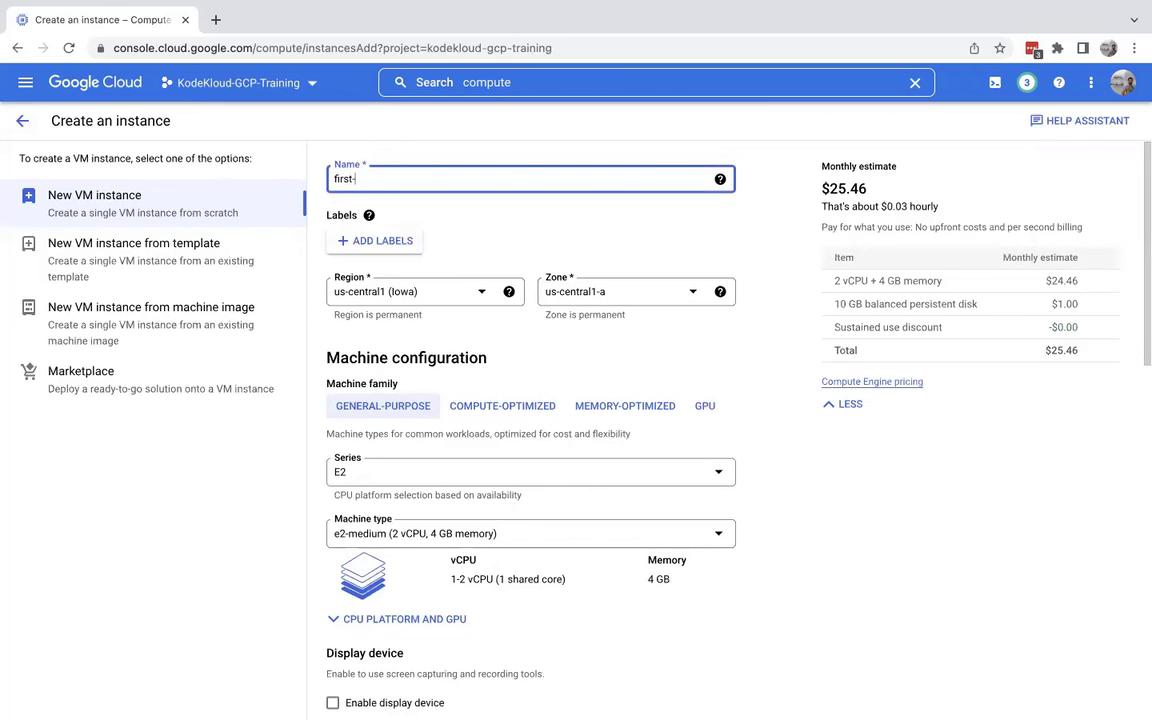
Configuring Your VM Instance
-
Name and Labels
- Assign a unique name to your VM.
- Optionally, add labels (e.g., “environment: dev”) for better organization.
-
Region and Zone
- Select the appropriate region and zone based on your requirements. For this demonstration, choose Montreal and an available zone.
- Consider factors like low CO2 emissions when selecting your region if that is important to your deployment strategy.
-
Machine Configuration
- Choose among the four available machine families: General Purpose, Compute Optimized, Memory Optimized, and GPU.
- For development and testing, the default General Purpose settings are typically sufficient.
-
Operating System and Boot Disk
- Click “Change” in the boot disk section to view the available operating system options.
- Debian is set as the default, but you can opt for alternatives like CentOS.
- Adjust the disk size or persistent disk options as needed.

-
Firewall Configuration
- Scroll down to the firewall settings and enable HTTP traffic. This setting permits both HTTP and HTTPS traffic through the firewall.
-
Advanced Networking Options
- For users interested in deeper network and disk configurations, advanced options are available. These settings will be covered in later lessons.
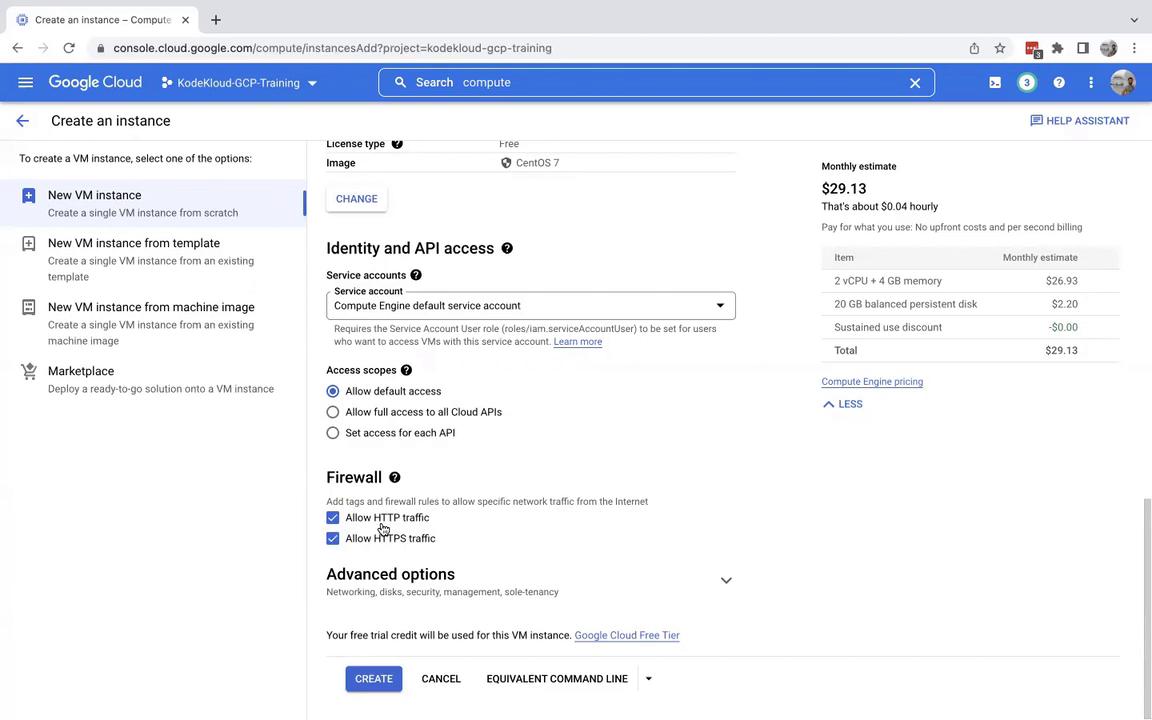
Step 5: Launch Your Virtual Machine
After finalizing your settings, click “Create” to launch your virtual machine. Remember, within the same project (KodeKloud GCP Training), you can create VMs in various regions without having to switch projects. Your project can support multiple VMs of different sizes, purposes, and geographic locations. The provisioning process may take a few minutes—typically around 2–3 minutes in this demo, but up to 10 minutes in some cases. Once your instance is ready, its details will appear on the console.