Accessing Your Virtual Machine
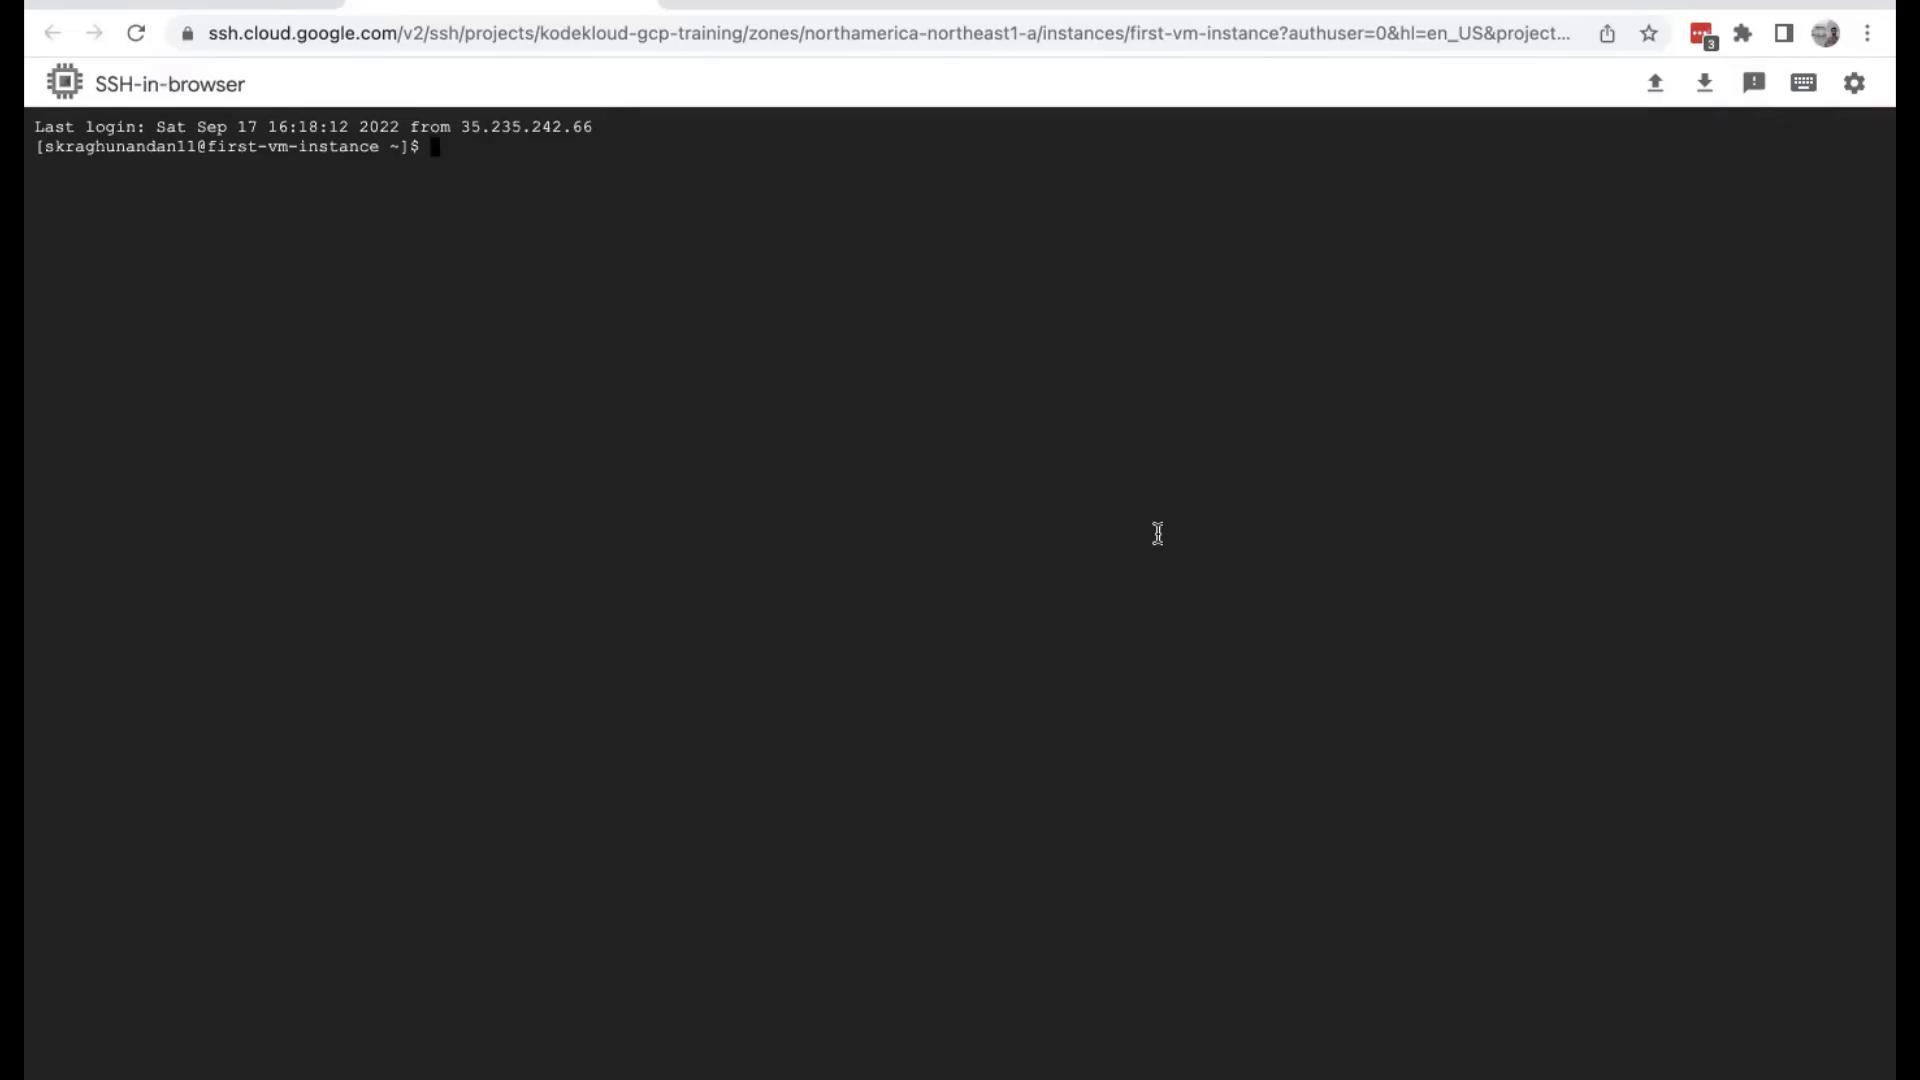
To connect to a specific compute instance, click on the SSH option provided in the instance list. This action opens a new browser tab with an instantaneous terminal session, allowing you to interact directly with the virtual machine.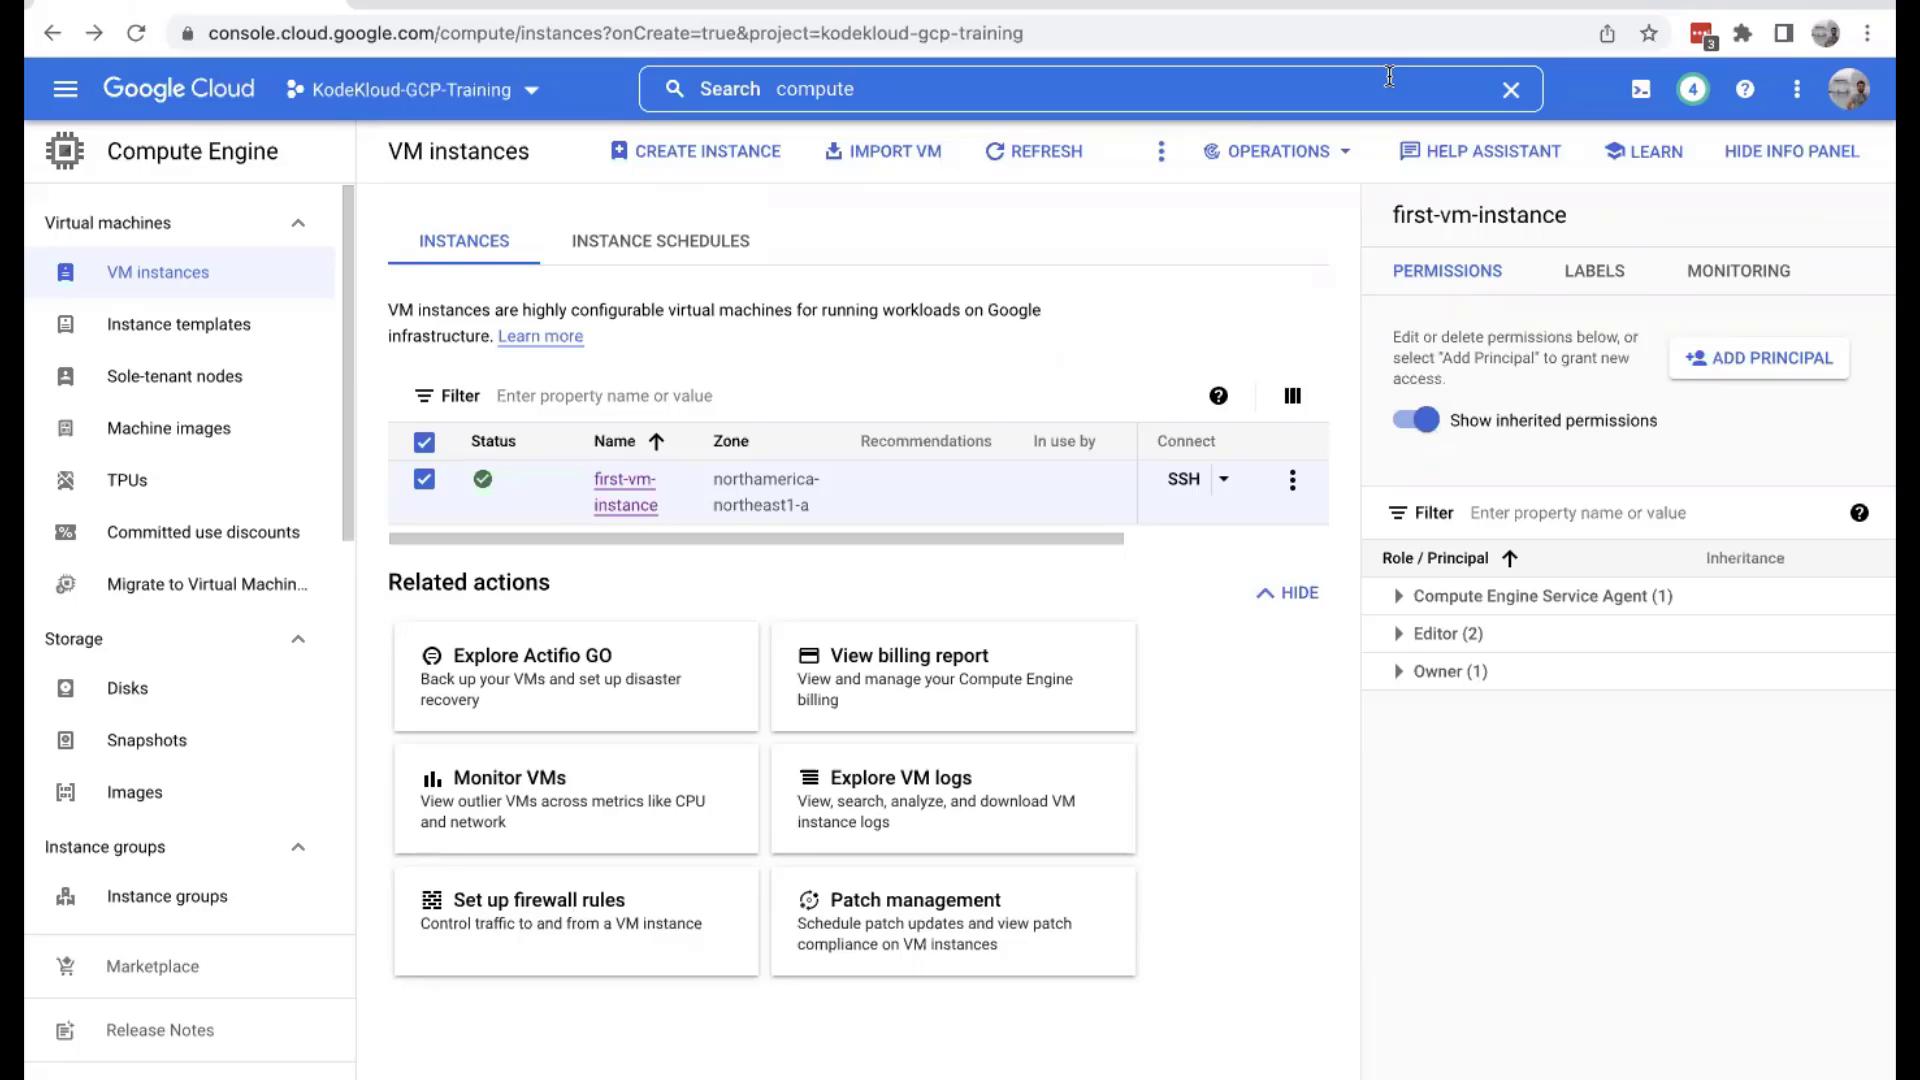
Managing Your Compute Instance
Stopping the Instance
To stop the virtual machine, click on the three-dot menu associated with the instance and select the “Stop” option. This action safely shuts down your VM, and you can later choose to delete the instance if it is no longer needed.Monitoring Performance
For performance monitoring, click on the “View Monitoring” option. This takes you to a dedicated page where you can review vital statistics, including CPU usage, memory consumption, running processes, and other essential metrics. The monitoring page also categorizes logs by severity level, assisting you in troubleshooting any issues. To return to the main dashboard, simply click on “VM Instances” in the left-hand navigation menu.Deleting the Instance
When you are finished, you might want to clean up unused resources. To delete the virtual machine, open the three-dot menu again, select “Delete,” and confirm your action.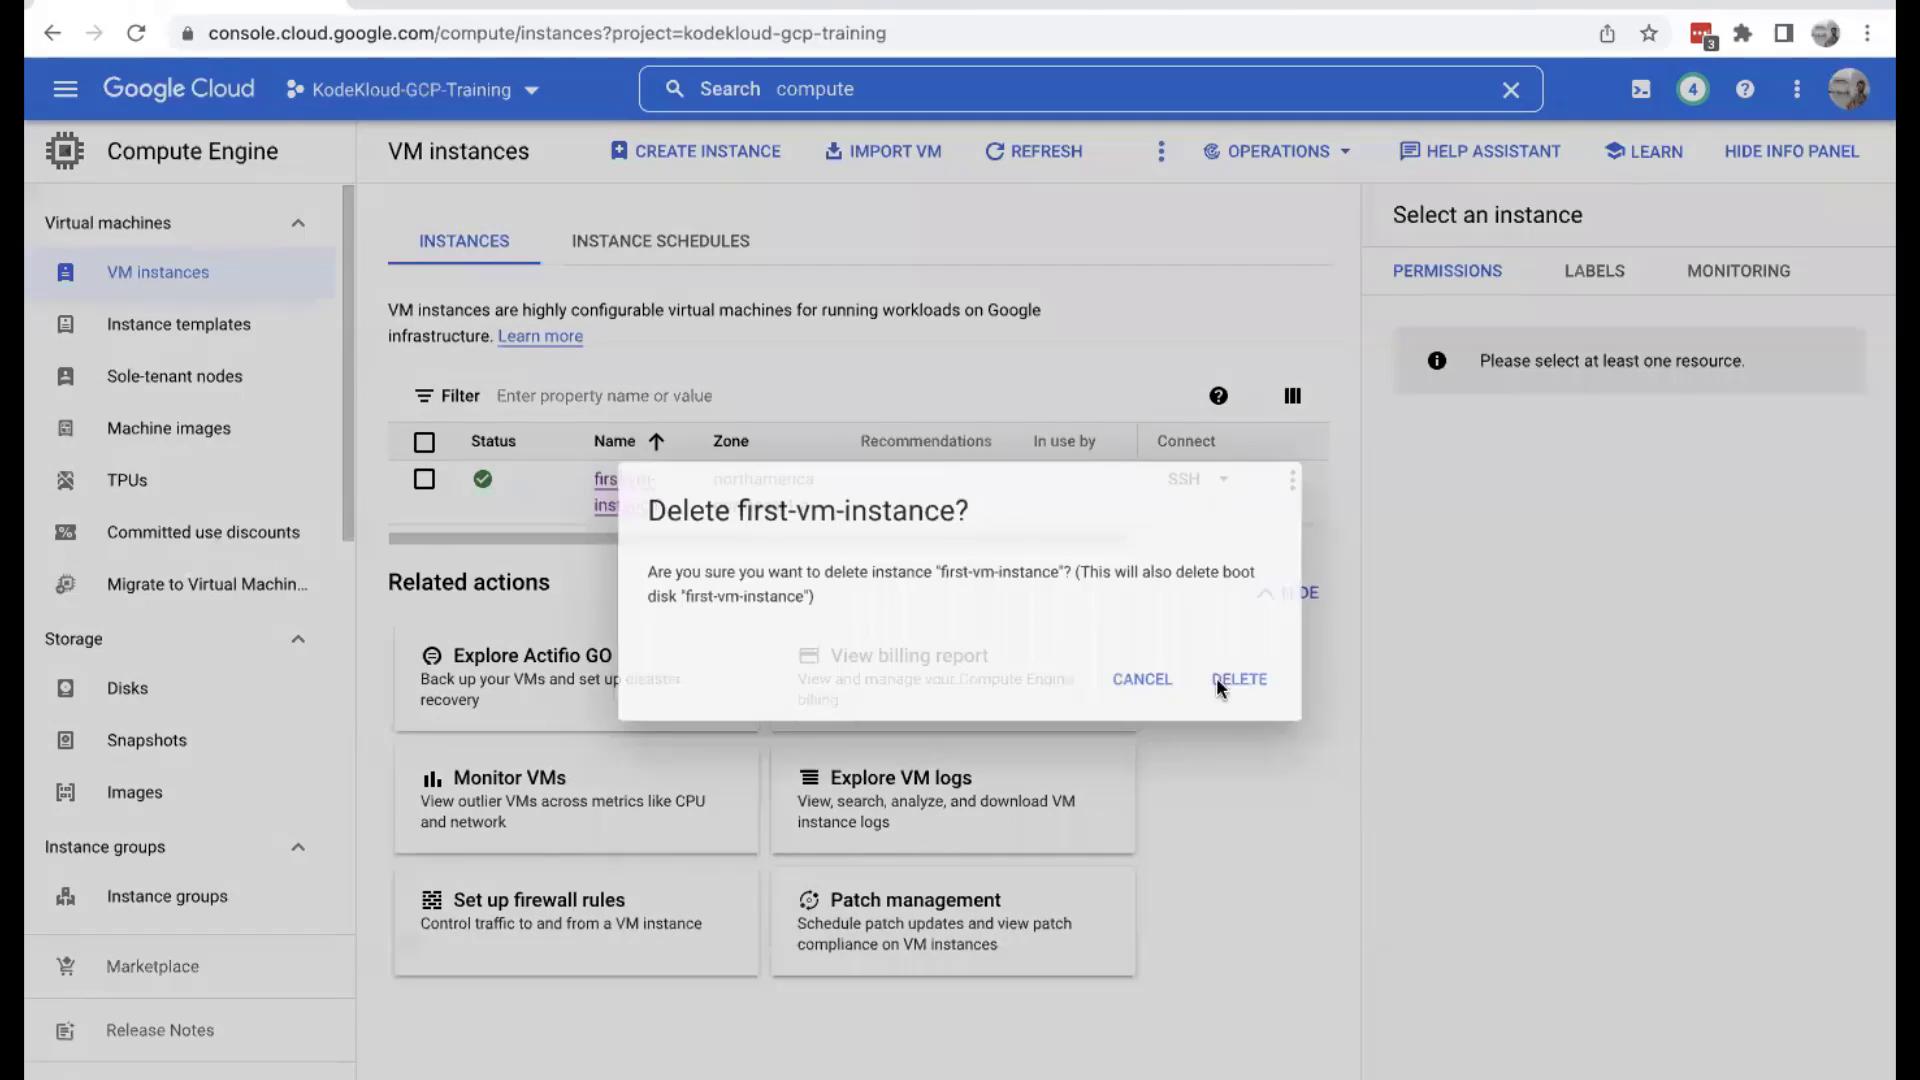
If you’re utilizing a free trial, be aware that the time spent on the virtual machine counts against your trial resources. For non-trial users, charges may apply based on the usage duration. We highly recommend deleting unused virtual machines promptly to avoid unexpected billing.