Accessing the GCP Console
- Log into the Google Cloud Platform Console.
- Once logged in, verify that you have selected the correct project. For this demonstration, I have chosen the project I created specifically for this training.
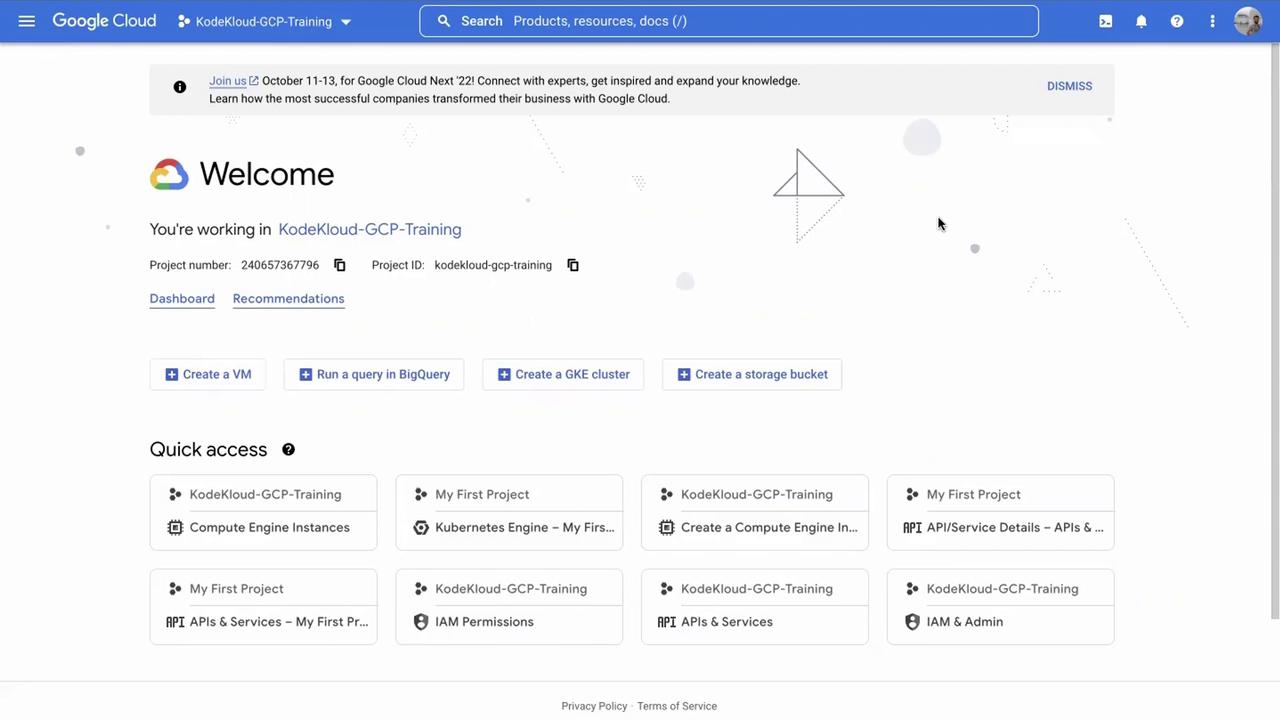
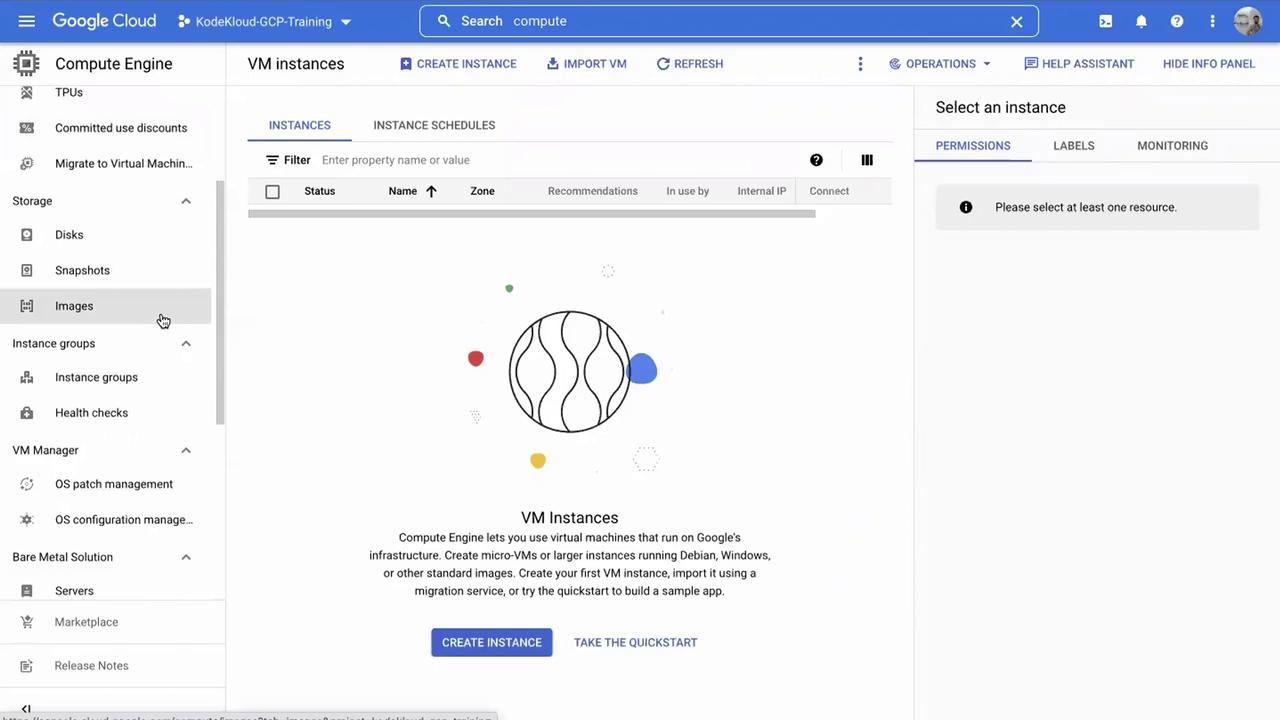
- In the search bar, type “compute” and select Compute Engine. The Compute Engine page will display, showing that there are no active VMs running to help avoid unnecessary costs.
- If you do not see the left sidebar, click the toggle icon (the chevron icon) at the bottom of the screen.
Creating an Instance Group
- Scroll down the left sidebar until you find the Instance groups section. If you haven’t created any instance groups yet, the interface will indicate that none exist. Click Create instance group to start the process.

-
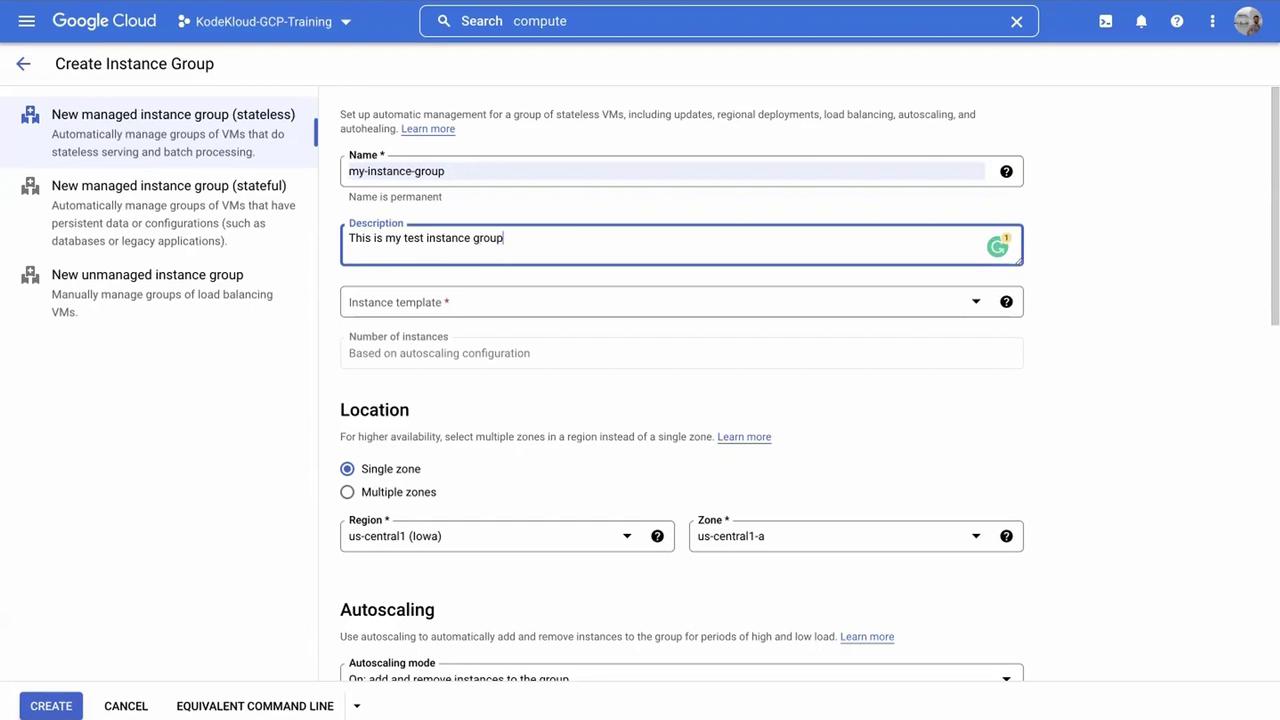
A configuration form appears with several parameters:
- Name and Description: Provide a clear name for your instance group and a brief description (for example, “this is my test instance group”). A meaningful description is especially useful in collaborative environments.
- Instance Template: An instance template defines the configuration of the virtual machines within the group, including machine type, disk space, and other settings. If you haven’t created one yet, you can create an instance template on the fly. Within the instance template settings, you have the option to add labels (for example, “NVIDIA development”) and adjust boot disk configurations. In this demonstration, the boot disk options are left as default and both HTTP and HTTPS traffic are enabled.
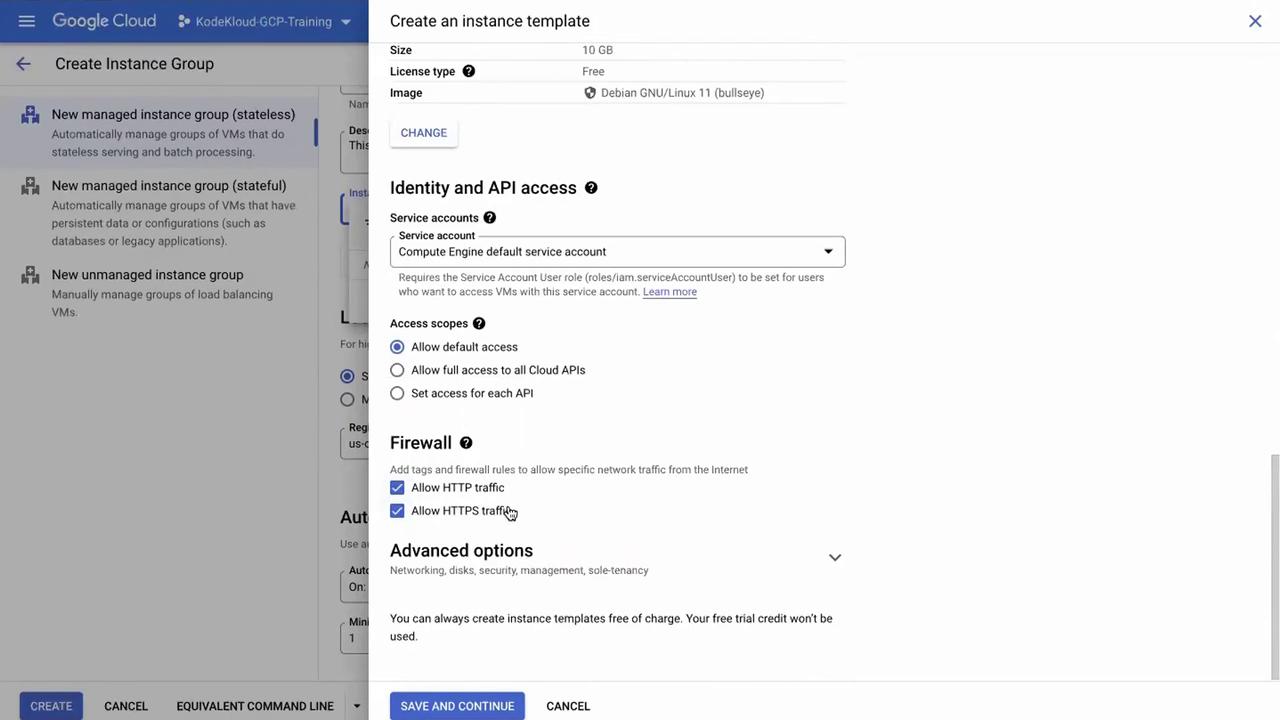
- Once the instance template is configured, click Save and continue. This saves the template for future instance groups, ensuring consistency across your deployments.
-
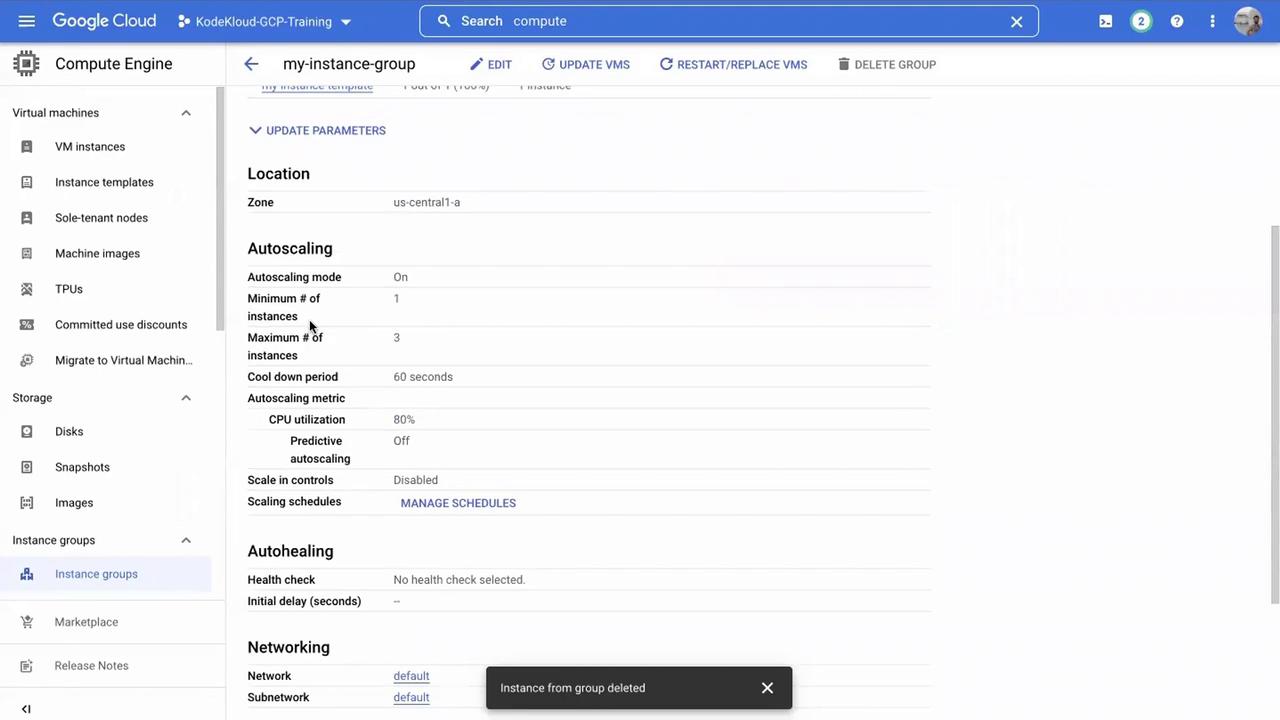
Configure the instance group location (using the default option is acceptable) and adjust the autoscaling settings:
- Autoscaling Settings: Define the minimum and maximum number of instances. For this demo, the minimum is set to 1 and the maximum to 3. A scaling rule is configured to add an instance if CPU utilization exceeds 60%.
For a more conservative scaling policy, consider setting the CPU utilization threshold to 80% and defining an appropriate cooldown period to prevent frequent scaling events.

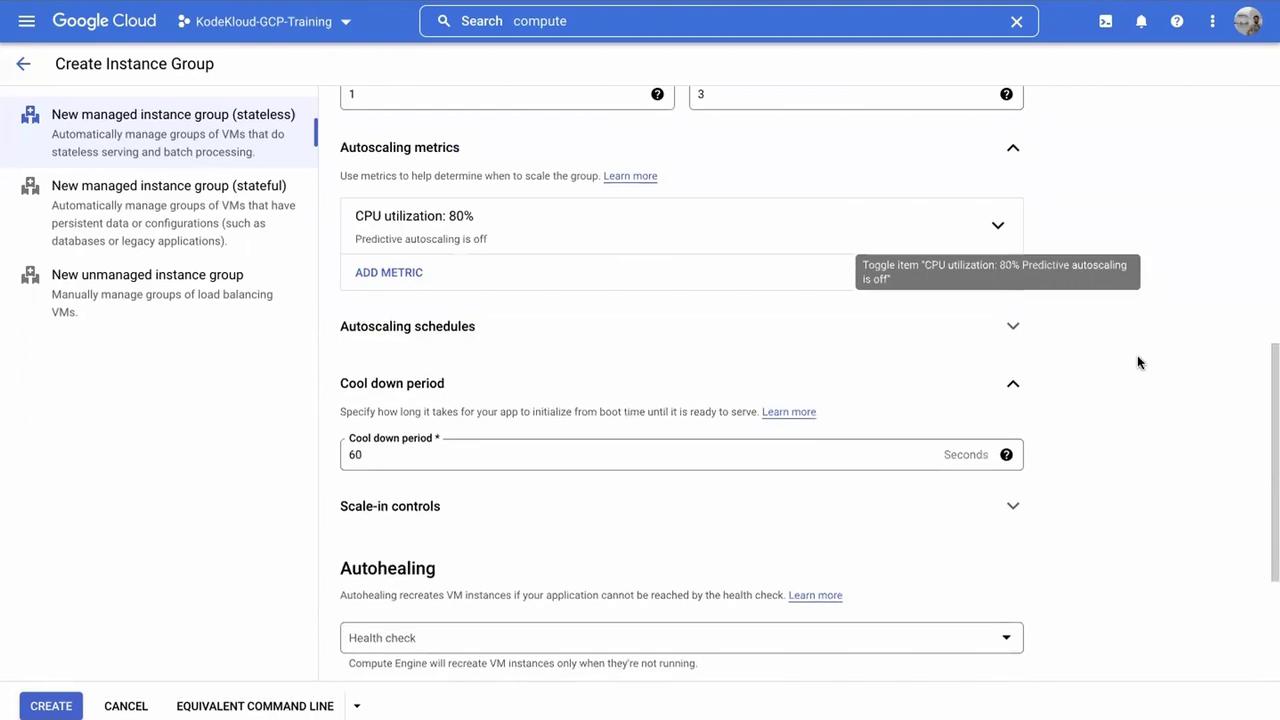
- After reviewing all settings, click Create. With these configurations, the instance group will initially deploy one virtual machine. If you specify a higher minimum instance count, the corresponding number of VMs will be created immediately.
Verifying and Monitoring the Instance Group
- Navigate to VM instances in the left-hand menu. You should see that one virtual machine has been created and is managed by the instance group configuration, indicated by its labels and linked instance template.
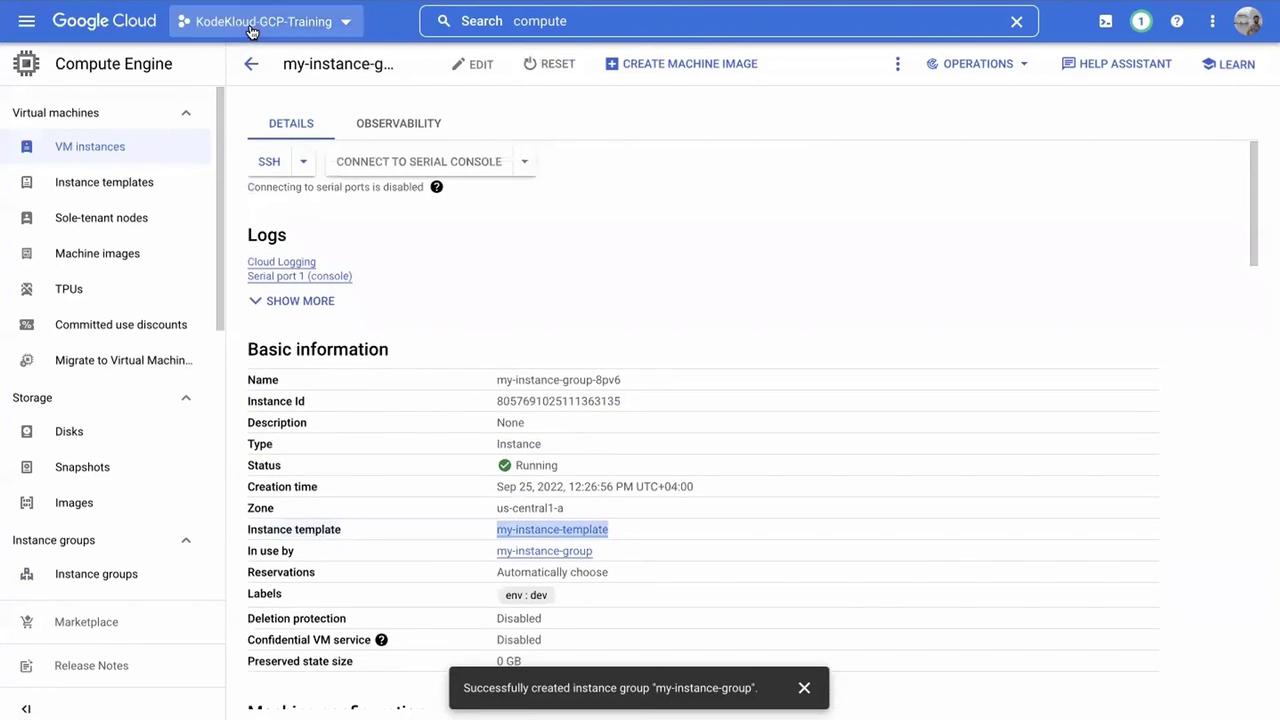
- Click on the individual VM to inspect its configuration and confirm that it belongs to the instance group. Managed VMs are preferable to unmanaged ones, which might only be used for testing.
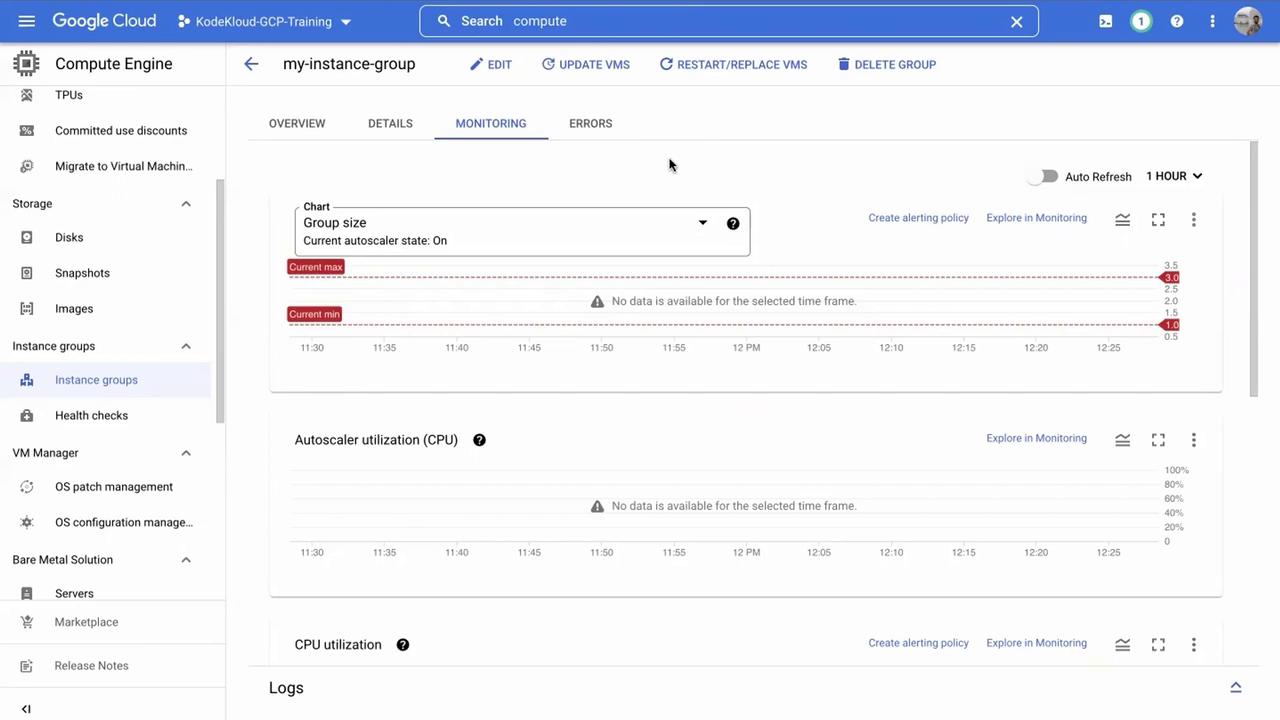
- Return to the instance group view and click on the Monitoring tab. This section displays aggregate metrics (such as average CPU and RAM utilization) for all VMs in the group, making centralized management of autoscaling and autohealing features easier.
Testing Self-Healing Capability
It is important to understand how instance groups handle failures:- Select any instance in the group and click Delete instance. Confirm the deletion when prompted.
With a minimum instance count set to 1, the instance group will automatically create a new virtual machine after deletion. This self-healing feature maintains service availability even if a VM is manually removed.
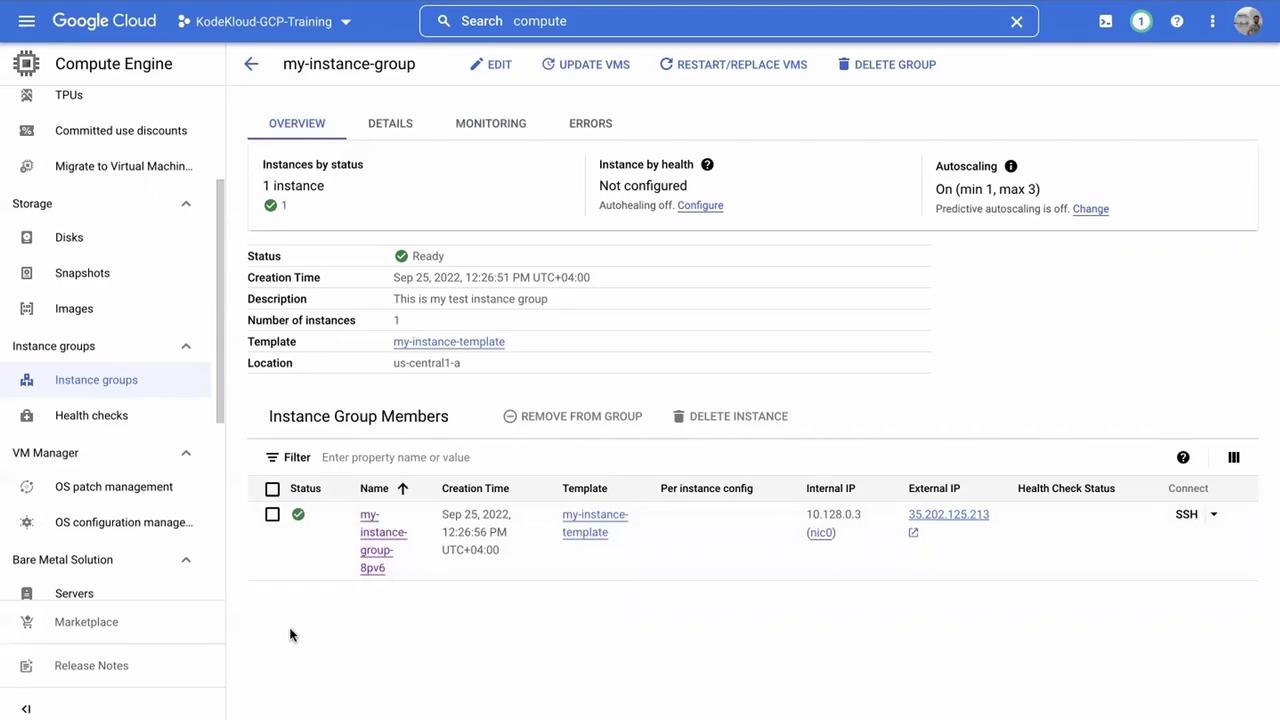
- Monitor the instance group to see a new VM being added. The newly created VM will have a modified identifier, confirming it as a replacement.
Cleaning Up Resources
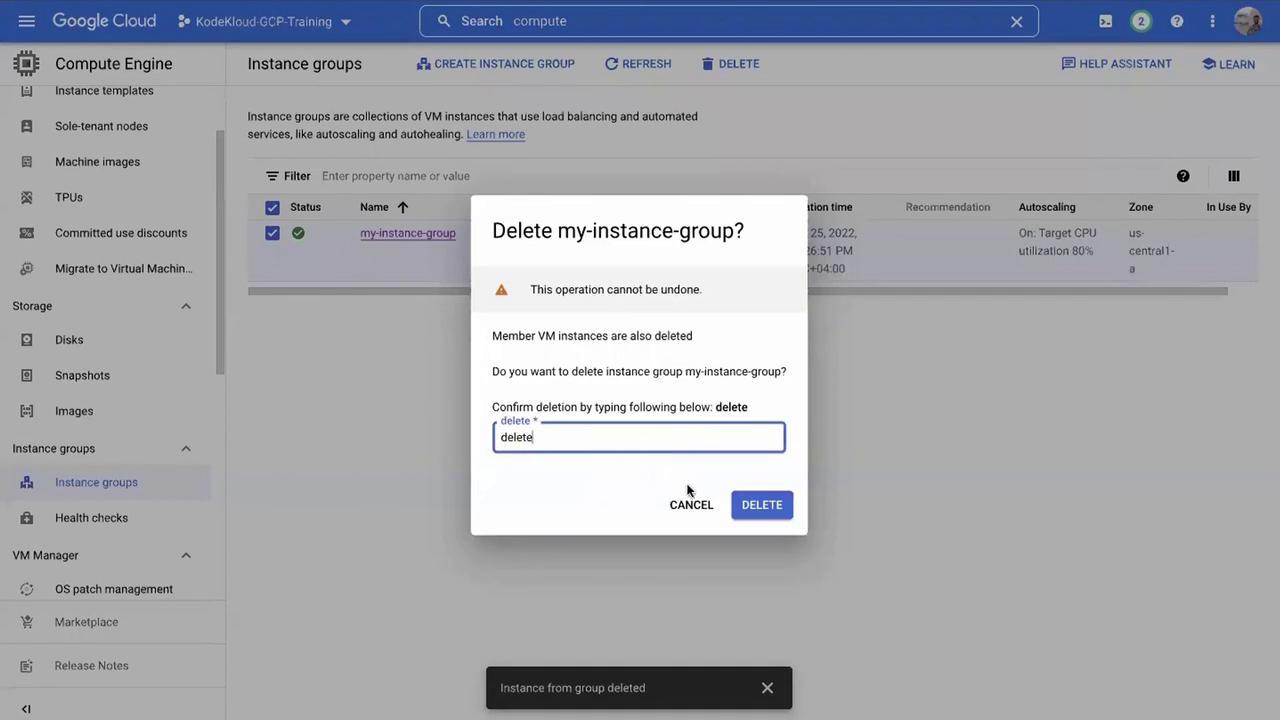
When you have finished practicing, it is crucial to delete resources to prevent unnecessary charges:- Return to the instance group page.
- Select the instance group and click Delete.
Always delete unused resources to avoid exceeding your free quota and incurring additional costs.
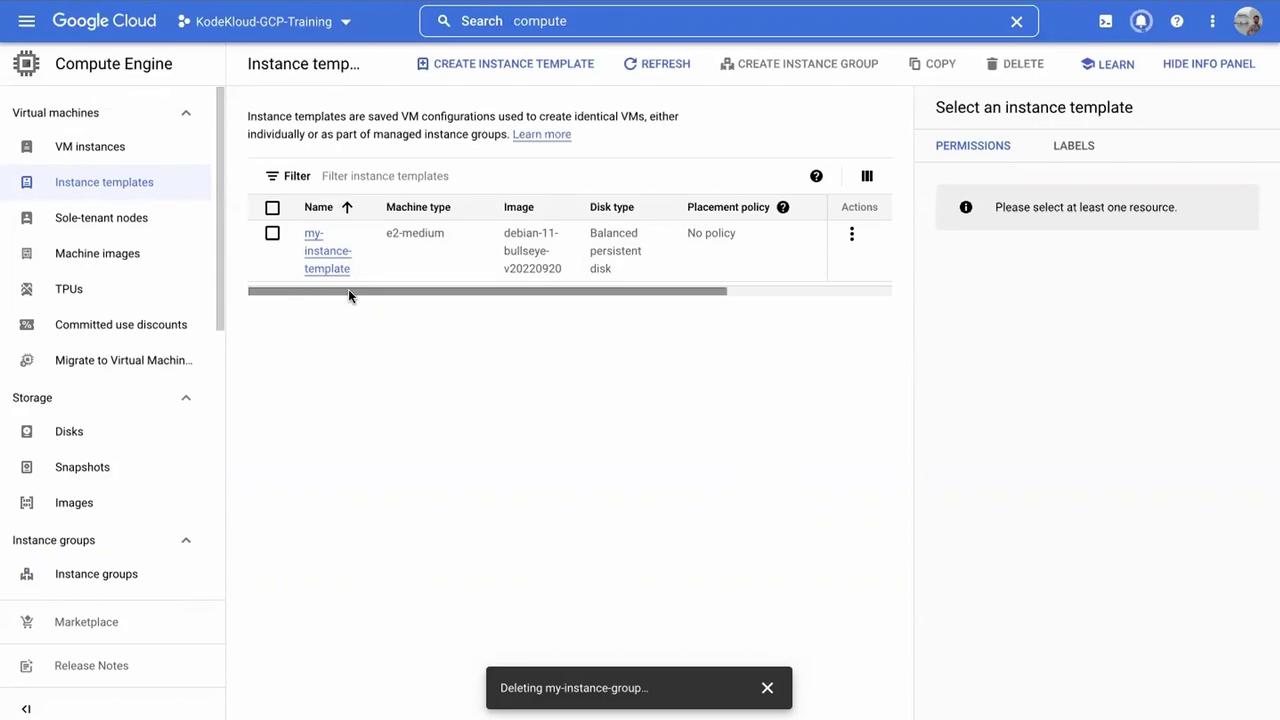
- Although we created an instance template during this process, there is no need to delete it since it does not incur extra charges and can be reused in future projects.
Conclusion
This lesson demonstrated how to create, configure, and monitor an instance group in GCP. Follow each step diligently, and don’t forget to clean up your resources to avoid unnecessary charges. Thank you for participating, and see you in the next lesson!For further reading and more detailed guides, consider checking out the following resources: