Welcome back! Now that your Flask application is running locally, it’s time to containerize it with Docker and push your code to GitHub. This guide walks you through creating a Dockerfile, staging and committing changes, working with feature branches, and opening a pull request.
Preparing the Dockerfile In VS Code (or your preferred editor), create a file named Dockerfile in your project root:
FROM python:3.8-slim-buster WORKDIR /app COPY requirements.txt . RUN pip install --no-cache-dir -r requirements.txt COPY . . CMD [ "python3" , "-m" , "flask" , "run" , "--host=0.0.0.0" ]
This Dockerfile installs dependencies, copies your application code, and starts the Flask development server on all interfaces (0.0.0.0).
Use --no-cache-dir with pip to reduce image size by preventing caching of package files.
Staging and Committing Changes Once your Dockerfile, app.py, requirements.txt, and README.md are ready, stage all modified and new files:
Commit with a clear, descriptive message:
git commit -m "Add Dockerfile and initial Flask application"
Expected output:
[main a1479f6] Add Dockerfile and initial Flask application 4 files changed, 20 insertions ( + ) , 2 deletions ( - ) create mode 100644 Dockerfile create mode 100644 app.py create mode 100644 requirements.txt
Confirm you’re on the main branch:
Output:
Make sure sensitive files (e.g., .env, keys) are listed in your .gitignore to avoid accidental commits.
Branching and Pushing Feature Branch Follow Git best practices by working in a feature branch named after your JIRA task:
Create and switch to the branch:
git checkout -b sprint-01/jira-id-0202
Push the branch to GitHub:
git push origin sprint-01/jira-id-0202
You should see:
Enumerating objects: 8, done. Counting objects: 100% (8/8), done. Delta compression using up to 8 threads. Compressing objects: 100% (5/5), done. Writing objects: 100% (6/6), 730.00 KiB | 730.00 KiB/s, done. Total 6 (delta 0 ), reused 0 ( delta 0 ), pack-reused 0 remote: Create a pull request for 'sprint-01/jira-id-0202' on GitHub by visiting: remote: https://github.com/learnwithraghu/github-example/pull/new/sprint-01/jira-id-0202 * [new branch] sprint-01/jira-id-0202 - > sprint-01/jira-id-0202
Command Description git checkout -b <branch-name>Create & switch to a new feature branch git push origin <branch-name>Push local branch to remote repository git add .Stage all changes git commit -m "<message>"Commit staged changes with a message
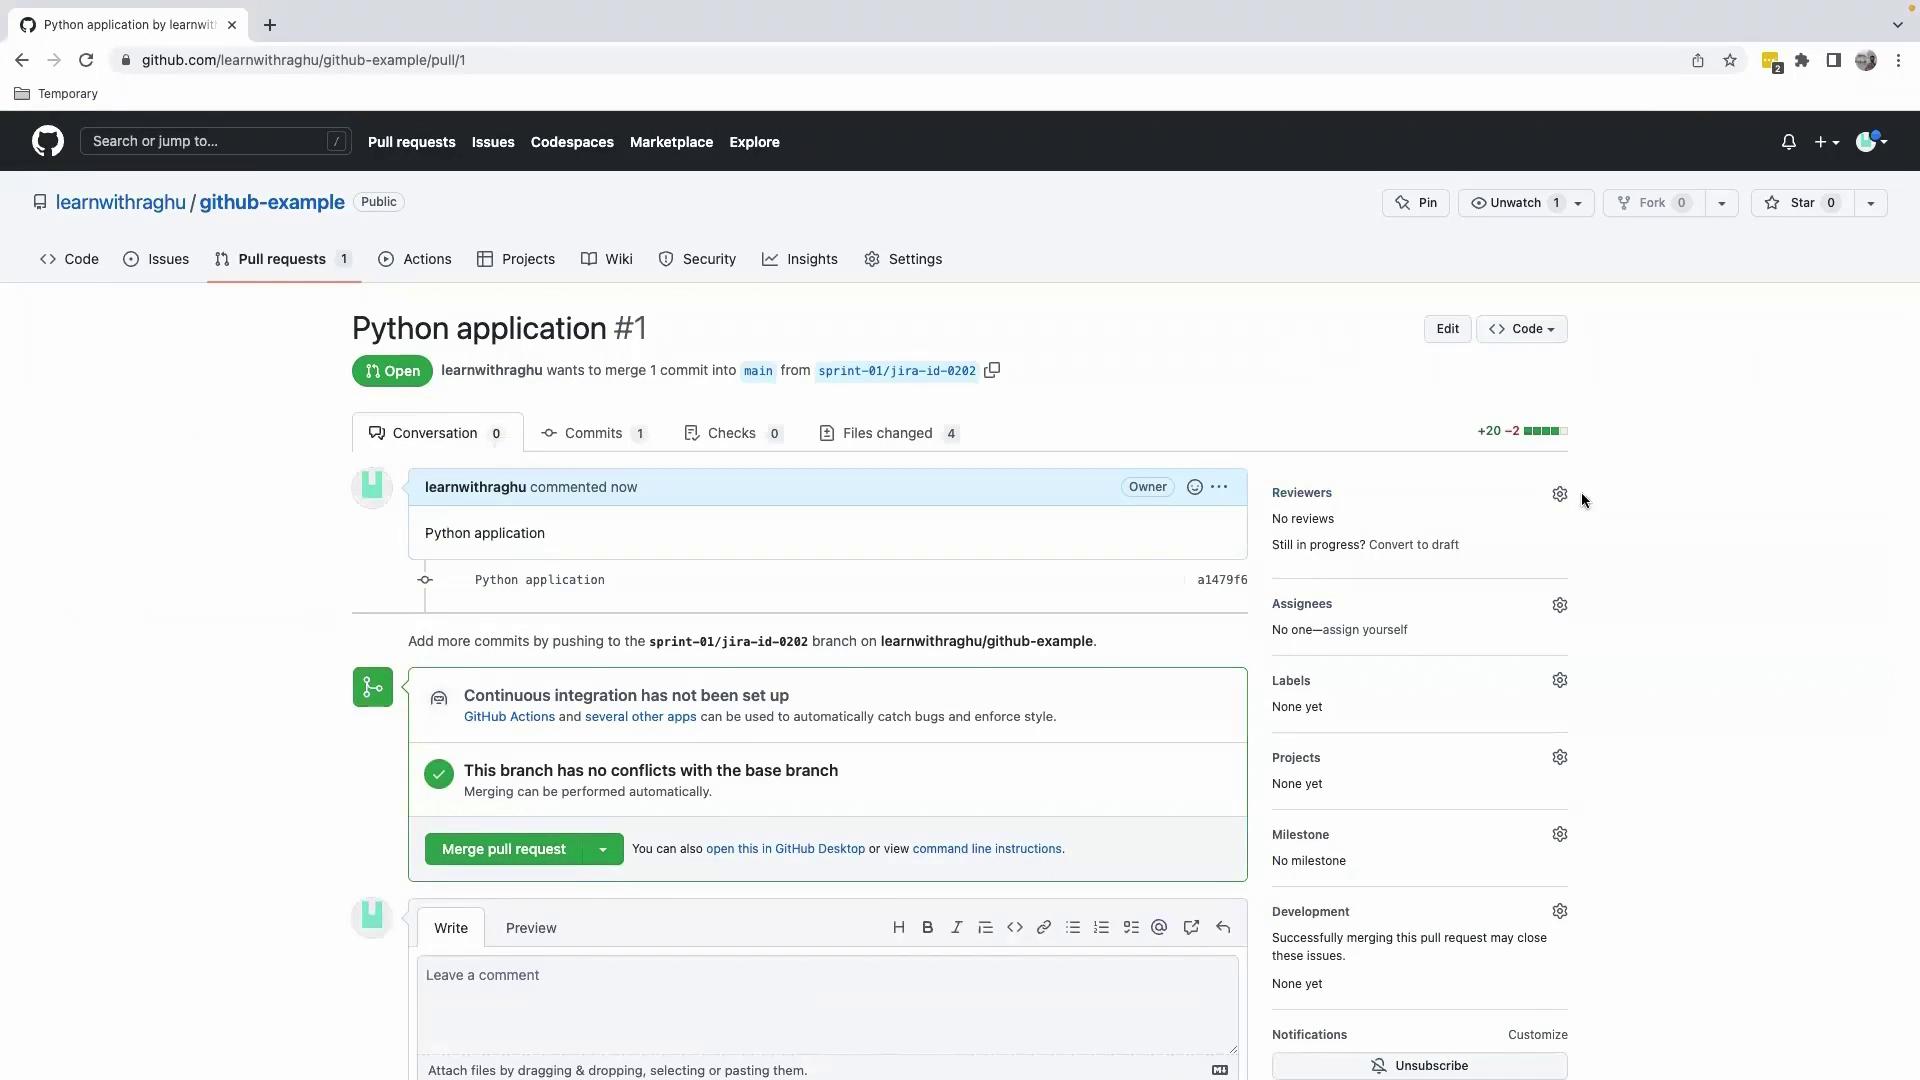
Opening a Pull Request
Navigate to your GitHub repository in a browser.
Click Compare & pull request for sprint-01/jira-id-0202.
Add a title and paste your commit message in the description.
Assign a reviewer from your team.
Once the PR is approved, click Merge pull request , then Confirm merge . Finally, switch back to main and pull the latest changes:
git checkout main
git pull origin main
Your main branch now contains the merged feature.
Next Steps With Sprint 01 completed, we’ll proceed to the sprint review—covering objectives, demos, and feedback. Stay tuned!
Links and References