GCP DevOps Project
Sprint 07
Upgrade replicas using the new flow
Overview
In this guide, you’ll learn how to scale your GKE Deployment from 1 to 3 replicas using a GitOps-based workflow. Instead of applying changes directly to production, we will:
- Update the
developmentbranch via the GitHub UI - Trigger a Cloud Build pipeline
- Verify changes in the dev environment
- Promote to the
mainbranch for production rollout
This approach ensures reliable deployments and aligns with DevOps best practices, improving both velocity and confidence.
Prerequisites
- A Google Cloud project with GKE cluster deployed
- A Cloud Build trigger configured to deploy the
developmentbranch - Permissions to modify GitHub repositories and view Cloud Build logs
Step 1: Update the Deployment via GitHub UI
Note
Hotfixes via the GitHub UI can be useful for quick changes, but in production environments it's recommended to use pull requests and code reviews.
- Switch to the
developmentbranch in your GitHub repo. - Navigate to
gke.yaml. - Change the
replicasfield from1to3:
apiVersion: apps/v1
kind: Deployment
metadata:
  name: gcp-devops-gke
spec:
  replicas: 3
  selector:
    matchLabels:
      app: gcp
  template:
    metadata:
      labels:
        app: gcp
    spec:
      containers:
        - name: gcp-devops-gke
          image: gcr.io/kodekloud-gcp-training/gcpdevops-dev:latest
          ports:
            - containerPort: 5000
          env:
            - name: PORT
              value: "5000"
---
apiVersion: v1
kind: Service
metadata:
  name: gcp-devops-gke-service
  namespace: gcp-devops-dev
  labels:
    app.kubernetes.io/managed-by: gcp-cloud-build-deploy
spec:
  ports:
    - protocol: TCP
      port: 80
      targetPort: 5000
- Commit and push your changes. This action triggers the Cloud Build pipeline.
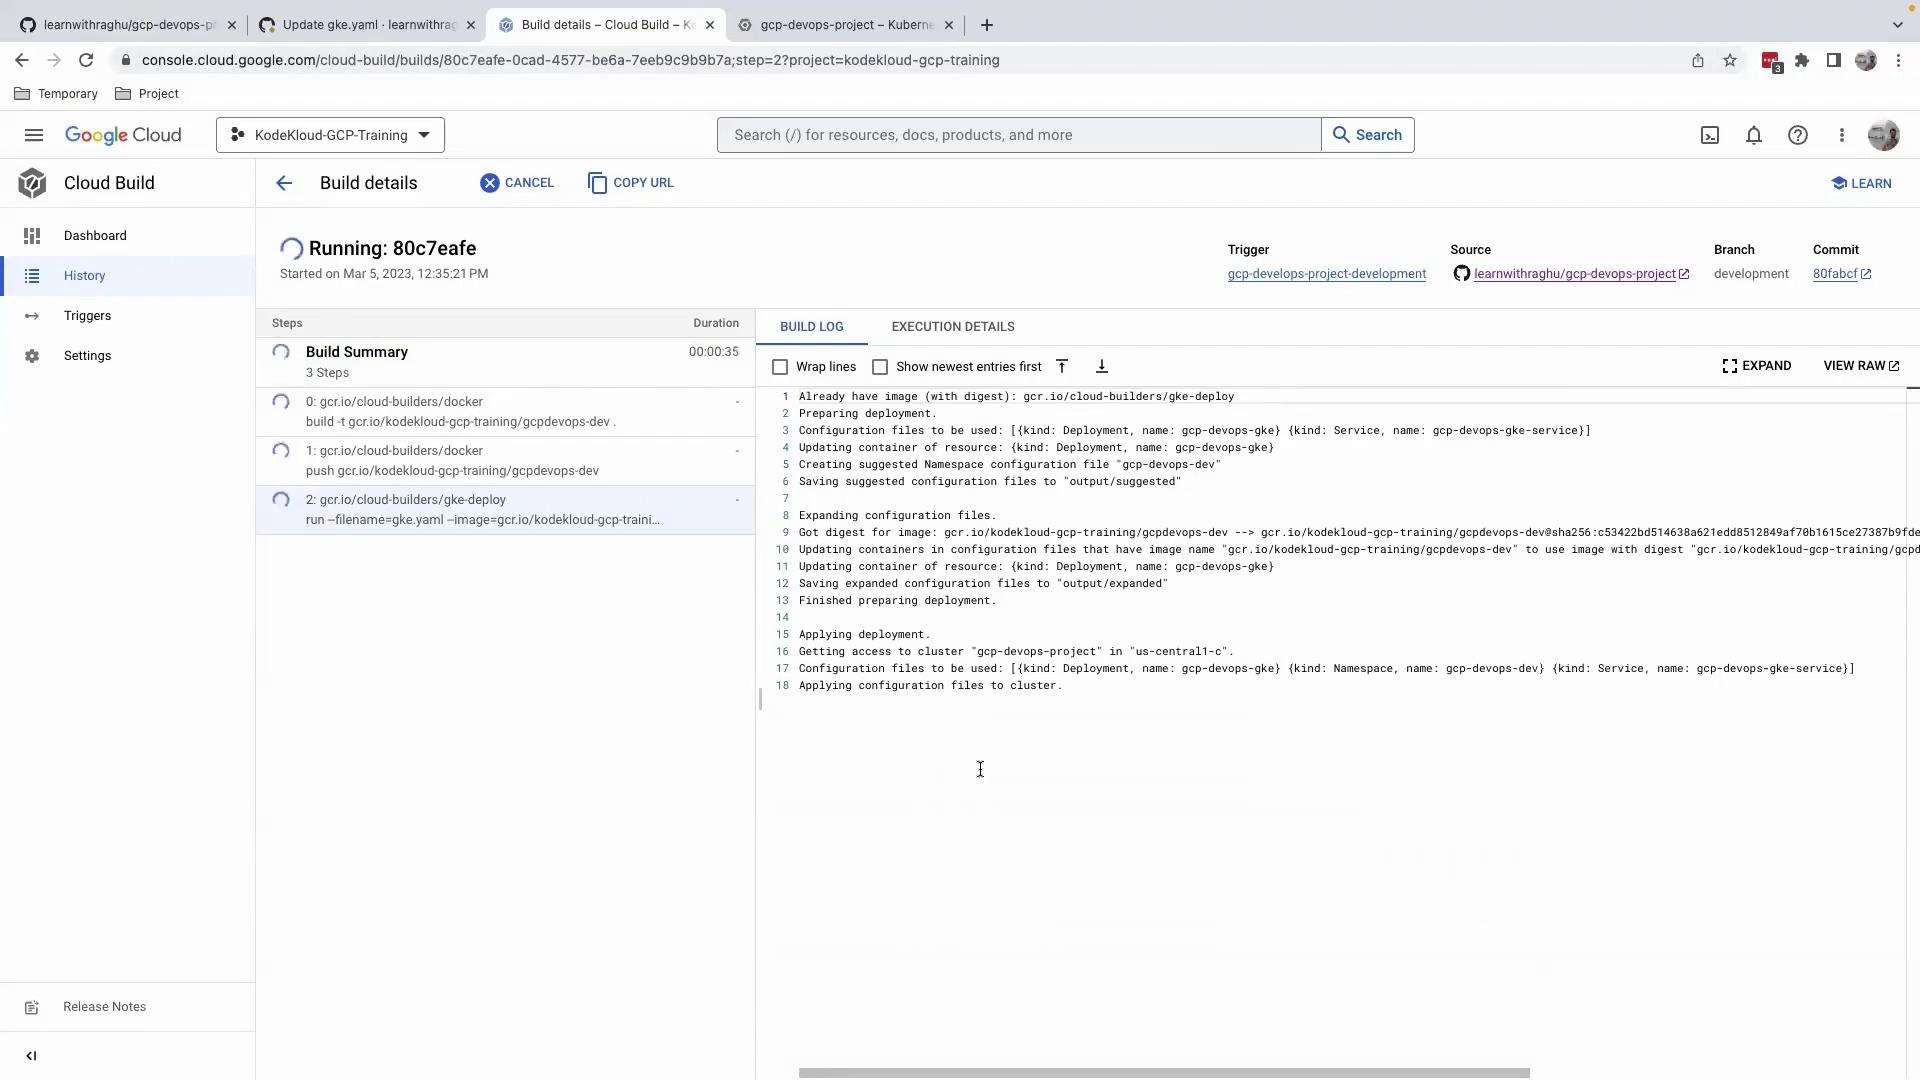
Step 2: Monitor the Cloud Build Pipeline
After pushing the commit, navigate to the Cloud Build Console to follow the build steps. The pipeline typically includes:
| Step | Description |
|---|---|
| Fetch Source | Clone the development branch |
| Build Image | Build and push Docker image to GCR |
| Deploy to GKE | Apply updated manifests to GKE |
Warning
Ensure your Cloud Build service account has the required IAM roles for deploying to GKE.
Step 3: Verify the Deployment in Dev Environment
- Open the Google Cloud Console.
- Navigate to Kubernetes Engine > Workloads.
- Select the
gcp-devops-gkeworkload in thegcp-devops-devnamespace.
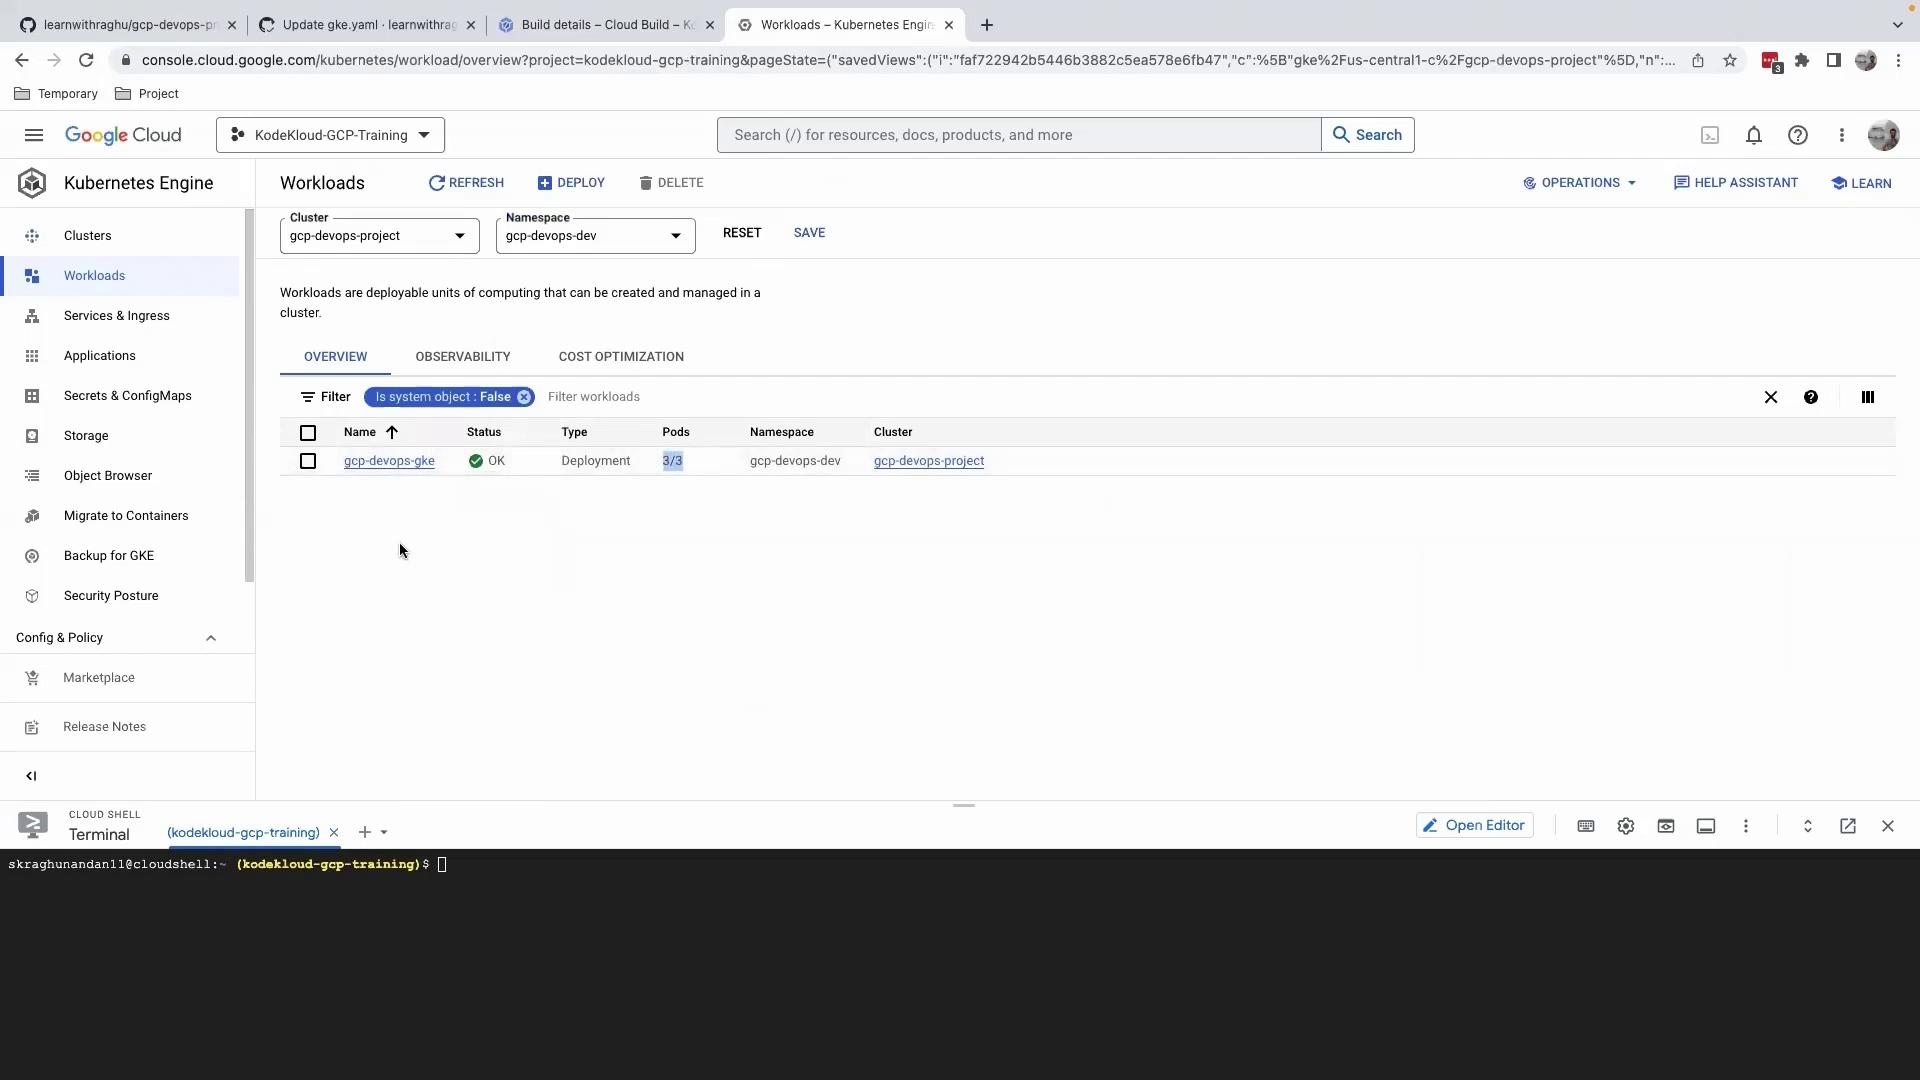
You should see all three pods in the Running state. Perform any required functionality or load tests to validate the scaling update.
Step 4: Promote Changes to Production
Once the dev environment tests pass:
- Switch to the
main(orproduction) branch. - Repeat the replica count update in
gke.yaml. - Commit and push to trigger the production build and deployment.
This promotes consistency across environments and ensures a smooth rollout.
Conclusion
By following this GitOps-style workflow, you can safely scale your GKE workloads, reduce manual errors, and enhance your deployment automation.
References
Watch Video
Watch video content