In this tutorial, you’ll learn how to use Flux’s Helm Controller to deploy a Helm chart from a Git repository into your Kubernetes cluster. We’ll create Flux sources, overrides, and a HelmRelease to run the block-buster-helm-app version 7.5.0 .
Prerequisites
A Kubernetes cluster with Flux CD installed
kubectl configured for your clusterA Git repository containing your Helm chart
Step 1: Prepare a Git Branch Switch to the application source and create a new branch called 5-demo based on 4-demo:
cd bb-app/source git checkout 4-demo git checkout -b 5-demo origin/5-demo
This branch contains the block-buster-helm-app chart at version 7.5.0 .
Step 2: Inspect the Helm Chart Open Chart.yaml to view the chart metadata:
apiVersion : v2 name : block-buster-helm-app description : A Helm Chart for Block Buster App version : 7.5.0
Review the default values in values.yaml :
image : repository : siddharth67/block-buster-dev:7.5.0 pullPolicy : Always service : type : ClusterIP port : 80 targetPort : 80 namespace : name : demo-app labels : app : name : bb-app version : 7.x.x env : uat
The templates/ directory includes standard Kubernetes manifests like Deployment and Service.
Step 3: Create a GitRepository Source Tell Flux where to fetch your chart by defining a GitRepository:
flux create source git 5-demo-source-git-helm-bb-app \ --url https://github.com/sidd-harth-2/bb-app-source \ --branch 5-demo \ --timeout 10s \ --export > flux-clusters/dev-cluster/5-demo-source-git-bb-app.yaml
Save the following in flux-clusters/dev-cluster/5-demo-source-git-bb-app.yaml:
apiVersion : source.toolkit.fluxcd.io/v1beta2 kind : GitRepository metadata : name : 5-demo-source-git-helm-bb-app namespace : flux-system spec : interval : 1m url : https://github.com/sidd-harth-2/bb-app-source ref : branch : 5-demo
Step 4: Override Chart Values Add a 5-demo-values.yaml file in your Flux cluster repo to customize deployment:
# flux-clusters/dev-cluster/5-demo-values.yaml replicaCount : 2 service : type : NodePort nodePort : 30005 namespace : name : 5-demo labels : app : name : block-buster version : 7.5.0 env : dev
Step 5: Define the HelmRelease Create a HelmRelease that combines your source and values:
flux create helmrelease 5-demo-helm-release-git-helm-bb-app \ --chart block-buster-helm-app \ --interval 10s \ --target-namespace 5-demo \ --source GitRepository/5-demo-source-git-helm-bb-app \ --values 5-demo-values.yaml \ --export > flux-clusters/dev-cluster/5-demo-helm-release-git-helm-bb-app.yaml
Save it alongside the other manifests:
apiVersion : helm.toolkit.fluxcd.io/v2beta1 kind : HelmRelease metadata : name : 5-demo-helm-release-git-helm-bb-app namespace : flux-system spec : interval : 10s targetNamespace : 5-demo chart : spec : chart : block-buster-helm-app sourceRef : kind : GitRepository name : 5-demo-source-git-helm-bb-app values : replicaCount : 2 service : type : NodePort nodePort : 30005 namespace : name : 5-demo labels : app : name : block-buster version : 7.5.0 env : dev
Ensure unique manifest names across your repo to avoid reconciliation conflicts.
Summary of Flux Resources Kind Filename Description GitRepository 5-demo-source-git-bb-app.yaml Points Flux to your Helm chart in Git Values File 5-demo-values.yaml Overrides default chart values HelmRelease 5-demo-helm-release-git-helm-bb-app.yaml Deploys the chart into the Kubernetes cluster
Step 6: Commit and Reconcile Push your manifests to the Flux cluster repo:
cd flux-clusters/dev-cluster git add 5-demo-source-git-bb-app.yaml 5-demo-values.yaml 5-demo-helm-release-git-helm-bb-app.yaml git commit -m "Add Flux HelmRelease for block-buster-helm-app" git push
Verify Flux has detected the resources:
flux get sources git 5-demo-source-git-helm-bb-app flux get helmreleases
Step 7: Validate in Kubernetes Check the new namespace and resources:
kubectl get ns kubectl get all -n 5-demo
You should see two replicas and a NodePort service on port 30005:
NAME READY STATUS RESTARTS AGE pod/block-buster-helm-app-xx 1/1 Running 0 2m NAME TYPE CLUSTER-IP EXTERNAL-IP PORT ( S ) AGE service/block-buster-helm-app NodePort 10.96.185.58 < non e > 80:30005/TCP 2m
Confirm the overridden labels:
kubectl get pod -n 5-demo block-buster-helm-app-xx --show-labels
Step 8: Inspect the Packaged Helm Chart Flux creates HelmChart artifacts—list and view them:
flux get sources helmchart kubectl -n flux-system get helmcharts.source.toolkit.fluxcd.io kubectl -n flux-system get helmcharts.source.toolkit.fluxcd.io flux-system-5-demo-helm-release-git-helm-bb-app -o yaml
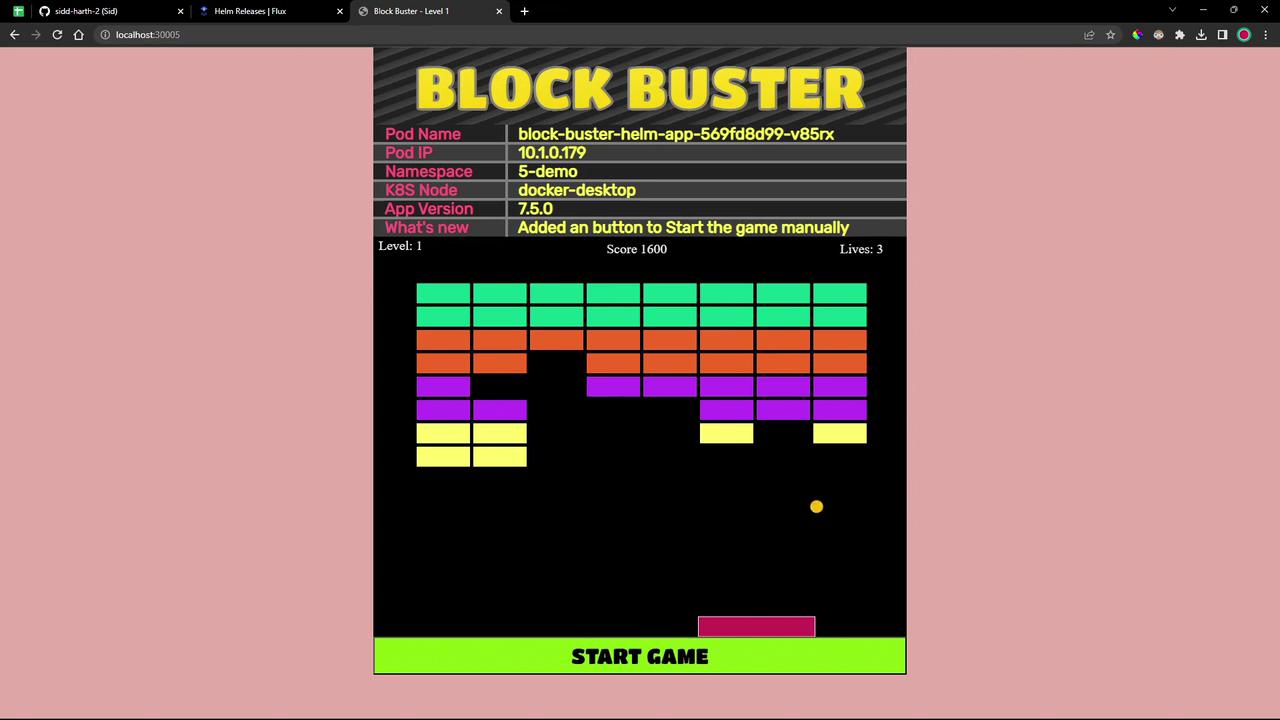
Step 9: Access the Application Point your browser to http://<node-ip>:30005. Version 7.5.0 includes a Start Game button to launch the game manually.
References