Welcome to this hands-on tutorial on using the Kustomize controller to apply overlays via Flux CD. In this lesson, you’ll learn how to:
- Switch to the
3-demo branch containing a kustomization.yaml
- Create a Flux
GitRepository source
- Define a Flux
Kustomization resource
- Verify the setup with Flux commands
- Inspect the deployed Kubernetes resources
- View the updated Block Buster application
By the end, you’ll have a working overlay that skips the build phase and applies changes automatically.
1. Switch to the 3-demo Branch
First, clone or navigate to your application source and check out the 3-demo branch where the kustomization.yaml is already defined:
cd ~/bb-app-source
git checkout 3-demo
Branch '3-demo' set up to track remote branch '3-demo' from 'origin'.
Switched to a new branch '3-demo'
| File | Description |
|---|
| deployment.yml | Deployment specification for block-buster |
| service.yml | Service exposing your application |
| namespace.yml | Namespace definition for isolation |
| kustomization.yaml | Kustomize resource list for overlay |
kustomization.yaml:
apiVersion: kustomize.config.k8s.io/v1beta1
kind: Kustomization
resources:
- deployment.yml
- service.yml
- namespace.yml
Because the kustomization.yaml is present, the Kustomize controller will skip the normal build phase and apply resources directly.
2. Create a Git Source in the Flux Cluster
Switch to your Flux configuration repository:
cd ~/block-buster/flux-clusters/dev-cluster/
GitRepository resource that points to branch 3-demo of your app repo:
flux create source git 3-demo-source-git-bb-app \
--url https://github.com/sidd-harth-2/bb-app-source \
--branch 3-demo \
--interval 10s \
--export > 3-demo-source-git-bb-app.yaml
3-demo-source-git-bb-app.yaml:
apiVersion: source.toolkit.fluxcd.io/v1beta2
kind: GitRepository
metadata:
name: 3-demo-source-git-bb-app
namespace: flux-system
spec:
interval: 10s
ref:
branch: 3-demo
url: https://github.com/sidd-harth-2/bb-app-source
Flux will poll the Git repository every 10 seconds and store an artifact for the specified branch.
3. Create the Kustomization Resource
Next, define a Flux Kustomization that applies the overlay found under kustomize:
flux create kustomization 3-demo-kustomize-git-bb-app \
--source GitRepository/3-demo-source-git-bb-app \
--path kustomize \
--target-namespace 3-demo \
--prune true \
--interval 10s \
--export > 3-demo-kustomize-git-bb-app.yaml
3-demo-kustomize-git-bb-app.yaml:
apiVersion: kustomize.toolkit.fluxcd.io/v1beta2
kind: Kustomization
metadata:
name: 3-demo-kustomize-git-bb-app
namespace: flux-system
spec:
interval: 10s
path: ./kustomize
prune: true
sourceRef:
kind: GitRepository
name: 3-demo-source-git-bb-app
targetNamespace: 3-demo
git add 3-demo-source-git-bb-app.yaml 3-demo-kustomize-git-bb-app.yaml
git commit -m "Add 3-demo overlay with Kustomization"
git push
4. Verify with Flux
Check that the Git source is registered:
Expected output:
NAME REVISION SUSPENDED READY MESSAGE
2-demo-source-git-bb-app 2-demo@sha1:7dfa8105 False True stored artifact for revision '2-demo@sha1:7dfa8105'
3-demo-source-git-bb-app 3-demo@sha1:990e6de9 False True stored artifact for revision '3-demo@sha1:990e6de9'
flux-system main@sha1:548f1930 False True stored artifact for revision 'main@sha1:548f1930'
NAME REVISION SUSPENDED READY MESSAGE
2-demo-kustomize-git-bb-app 2-demo@sha1:7dfa8105 False True Applied revision: 2-demo@sha1:7dfa8105
3-demo-kustomize-git-bb-app 3-demo@sha1:990e6de9 False True Applied revision: 3-demo@sha1:990e6de9
flux-system main@sha1:548f1930 False True Applied revision: main@sha1:548f1930
5. Inspect Deployed Resources
List all namespaces to ensure 3-demo exists:
View resources in the 3-demo namespace:
kubectl get all -n 3-demo
NAME READY STATUS RESTARTS AGE
pod/block-buster-68f7ccdfd7-62w6f 1/1 Running 0 69s
NAME TYPE CLUSTER-IP EXTERNAL-IP PORT(S) AGE
service/block-buster-service NodePort 10.101.115.232 <none> 80:30008/TCP 69s
NAME READY UP-TO-DATE AVAILABLE AGE
deployment.apps/block-buster 1/1 1 1 69s
NAME DESIRED CURRENT READY AGE
replicaset.apps/block-buster-68f7ccdfd7 1 1 1 69s
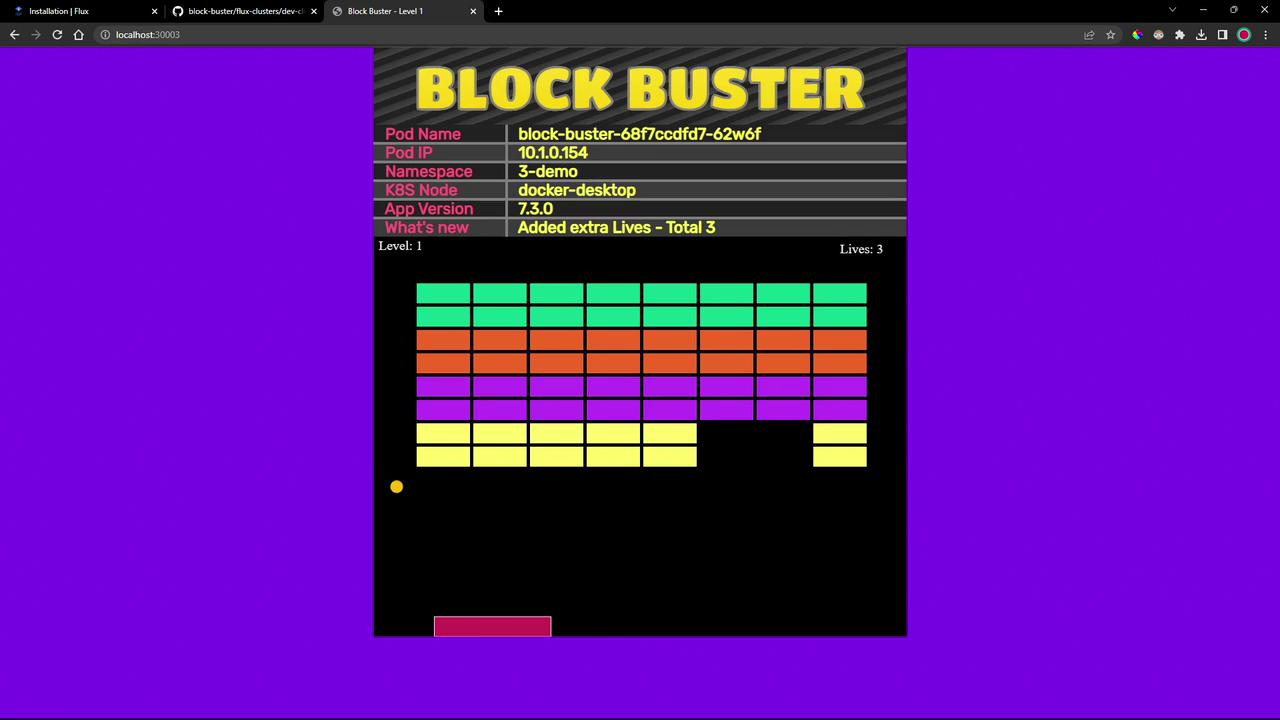
6. View the Updated Application
Open your browser to http://<node-ip>:30008. You’ll notice that the game now shows three lives instead of one:
Links and References