GitOps with FluxCD

Source and Kustomize Controller

DEMO Source Controller Git Manifest in Flux Repo

In this guide, you’ll learn how Flux’s Source Controller pulls manifests from a Git repository and how the Kustomize Controller applies them to a Kubernetes cluster, showcasing a GitOps-driven workflow.

Note

Ensure you’ve bootstrapped Flux CD with SSH credentials so the secretRef in your GitRepository can authenticate to GitHub.
See Flux CD installation for details.

1. Define GitRepository and Kustomization

Create a GitRepository to tell Flux where to fetch your manifests, then reference it in a Kustomization:

apiVersion: source.toolkit.fluxcd.io/v1beta2
kind: GitRepository
metadata:
  name: flux-system
  namespace: flux-system
spec:
  interval: 10s
  url: ssh://[email protected]/sidd-harth-2/block-buster
  ref:
    branch: main
  secretRef:
    name: flux-system
---
apiVersion: kustomize.toolkit.fluxcd.io/v1beta2
kind: Kustomization
metadata:
  name: flux-system
  namespace: flux-system
spec:
  interval: 10s
  path: ./flux-clusters/dev-cluster
  prune: true
  sourceRef:
    kind: GitRepository
    name: flux-system

Key fields explained:

  • interval: reconciliation frequency
  • url/ref: Git source and branch
  • secretRef: SSH key for cloning
  • path: directory in the repo to apply
  • prune: deletes resources removed from Git

Flux Controllers Overview

Flux ControllerResourcePurposeExample CLI
Source ControllerGitRepositoryFetches manifests from Gitflux get sources git
Kustomize ControllerKustomizationApplies overlays and syncs resourcesflux get kustomizations

2. Verify Flux Sources and Kustomizations

Confirm that Flux has registered your sources and kustomizations:

# List all registered sources
flux get sources

# Filter for Git sources
flux get sources git
# NAME         REVISION                READY   MESSAGE
# flux-system  main@sha1:edf2288f      True    stored artifact for revision 'main@sha1:edf2288f'
# List Kustomizations
flux get kustomizations
# NAME         REVISION                READY   MESSAGE
# flux-system  main@sha1:edf2288f      True    Applied revision: main@sha1:edf2288f

3. Import and Clone the Demo Application
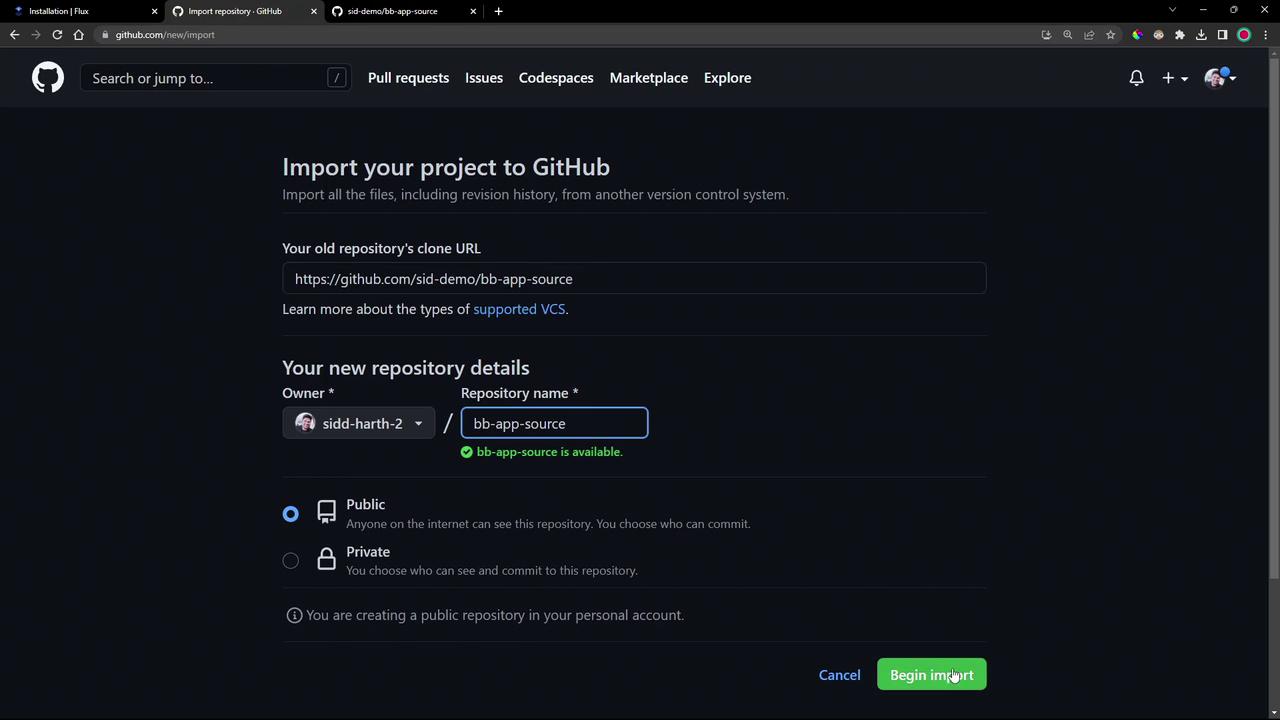
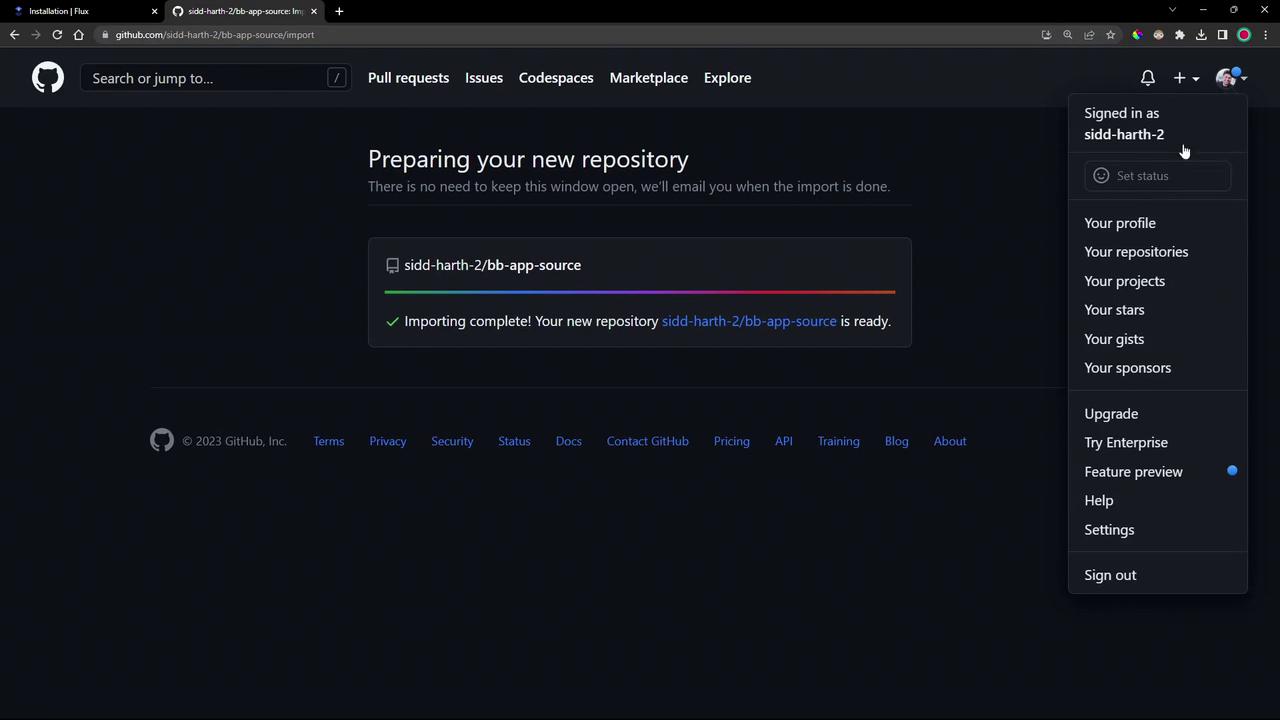
We’ll use a repository named bb-app-source containing both app code and Kubernetes manifests.

  1. Import into your GitHub account
    The image shows a GitHub page for importing a project, with fields for the old repository's clone URL and new repository details, including options for public or private visibility. A "Begin import" button is highlighted.

  2. Clone locally and switch to the demo branch

    git clone https://github.com/your-account/bb-app-source
    cd bb-app-source
    git checkout 1-demo
    

    The image shows a GitHub page indicating that a new repository import is complete, with a user menu open on the right side.

4. Examine Application Source and Manifests

  • src/: PHP app reporting its Pod and namespace.
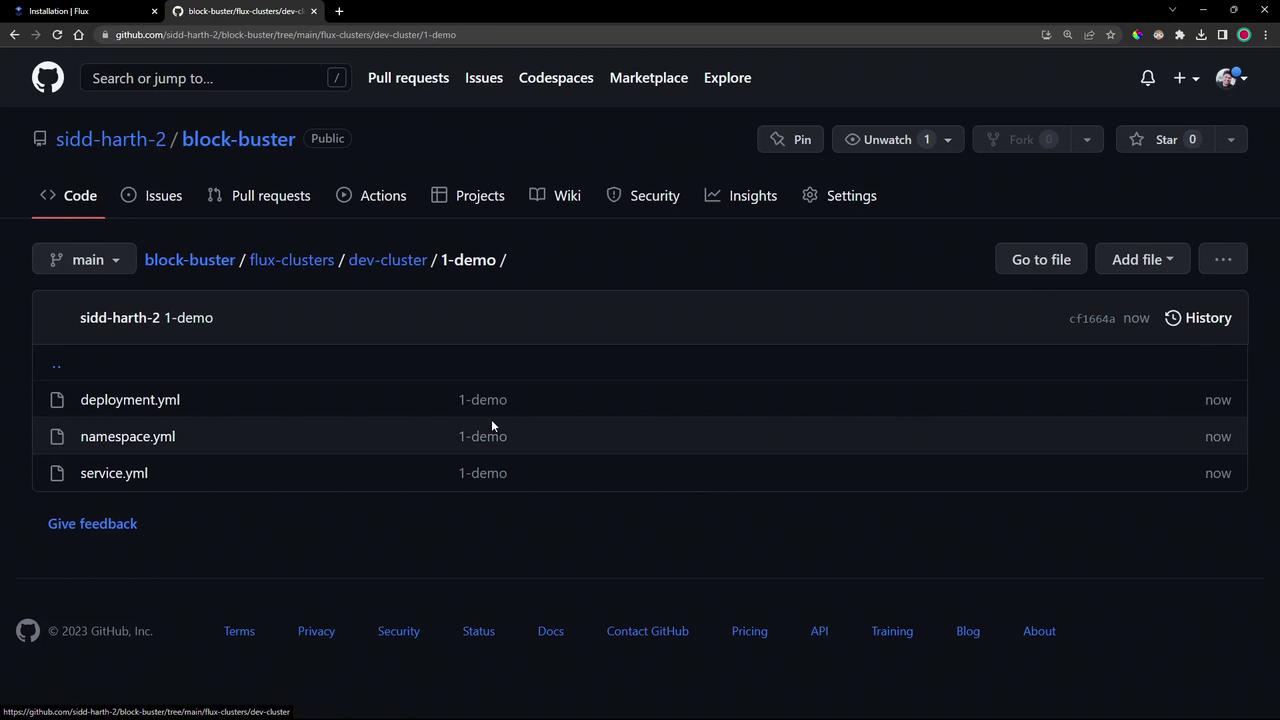
  • manifests/1-demo/: Contains three YAML definitions:
    • deployment.yml
    • namespace.yml
    • service.yml

The image shows a GitHub repository page with a directory listing for "1-demo" containing three YAML files: deployment.yml, namespace.yml, and service.yml.

Here’s the Deployment snippet (manifests/1-demo/deployment.yml):

apiVersion: apps/v1
kind: Deployment
metadata:
  name: block-buster
  namespace: 1-demo
spec:
  replicas: 1
  selector:
    matchLabels:
      app: block-buster
      version: "7.1.0"
      env: dev
  template:
    metadata:
      labels:
        app: block-buster
        version: "7.1.0"
        env: dev
    spec:
      containers:
        - name: app
          image: siddharth67/block-buster-dev:7.1.0
          imagePullPolicy: Always
          resources:
            requests:
              memory: "10Mi"
              cpu: "10m"
            limits:
              memory: "20Mi"
              cpu: "50m"

5. Add Manifests to Your Flux Cluster Repo

Copy the demo manifests into your Flux cluster repository under flux-clusters/dev-cluster/1-demo:

cp manifests/1-demo/*.yml \
   ../block-buster/flux-clusters/dev-cluster/1-demo/
cd ../block-buster/flux-clusters/dev-cluster/
git add 1-demo/*.yml
git commit -m "Add 1-demo manifests"
git push

Flux will detect these new files and begin applying them automatically.

6. Verify the GitOps Deployment

  1. Check Kubernetes namespaces
    kubectl get ns
    # NAME         STATUS   AGE
    # 1-demo       Active   30s
    # default      Active   49m
    # flux-system  Active   42m
    
  2. Confirm Flux has the latest revision
    flux get sources git
    flux get kustomizations
    

7. Inspect the Source Controller Cache

Dive into the Source Controller pod to view the cached repository archive:

kubectl -n flux-system exec -it deploy/source-controller -- sh
cd data/gitrepository/flux-system/flux-system
ls -ltr
# latest.tar.gz -> ...cf1664a0b9...tar.gz
tar -tf latest.tar.gz
# flux-clusters/
# flux-clusters/dev-cluster/1-demo/deployment.yaml
# flux-clusters/dev-cluster/1-demo/namespace.yaml
# flux-clusters/dev-cluster/1-demo/service.yaml
exit

8. Access the Deployed Application

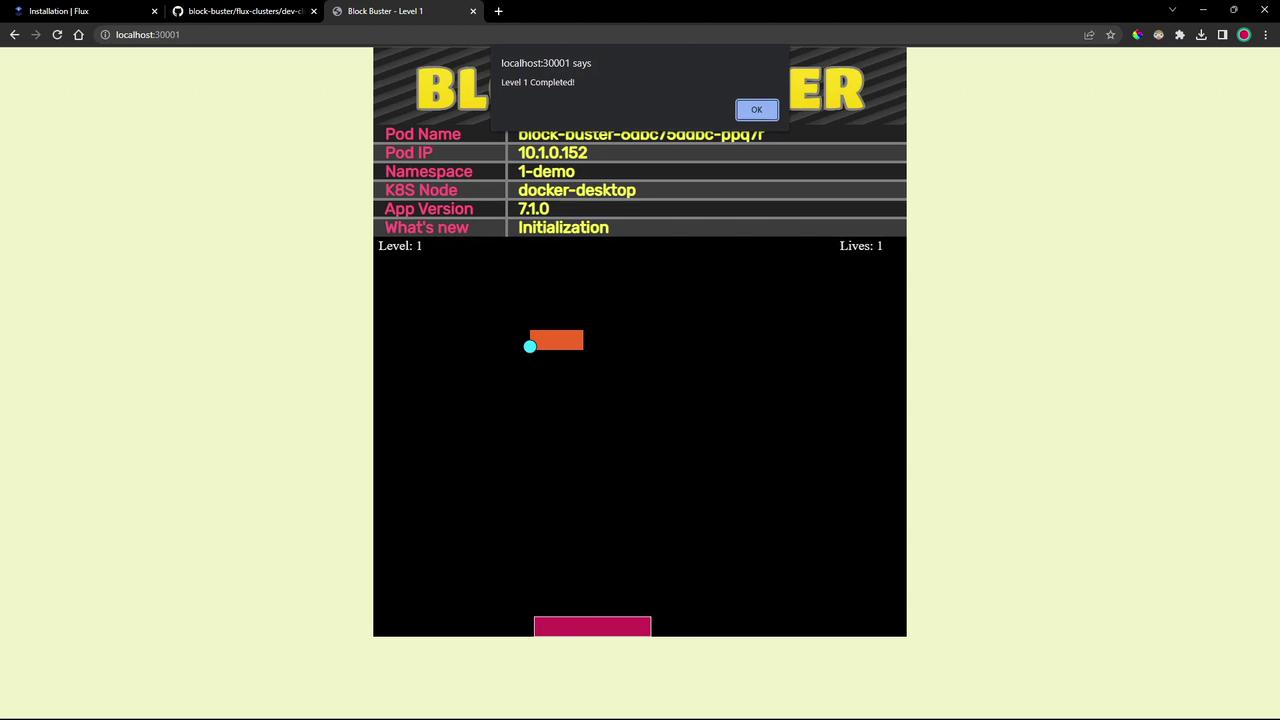
  1. List resources in the demo namespace
    kubectl -n 1-demo get all
    # pod/block-buster-...      1/1   Running   0   2m
    # service/block-buster-svc  NodePort  10.110.102.187  <none>  80:30001/TCP 2m
    
  2. Open the game in your browser
    http://localhost:30001
    The image shows a web-based game interface called "Block Buster" with a notification indicating "Level 1 Completed." It includes game details like pod name, IP, namespace, and app version, with a simple game layout featuring a paddle and ball.

This PHP-based game displays live pod metadata, demonstrating a full GitOps flow with Flux CD.


Watch Video

Watch video content

Practice Lab

Practice lab

Previous
Source Controller