This article introduces Go programming, its installation process, and setting up a workspace for writing Go programs.
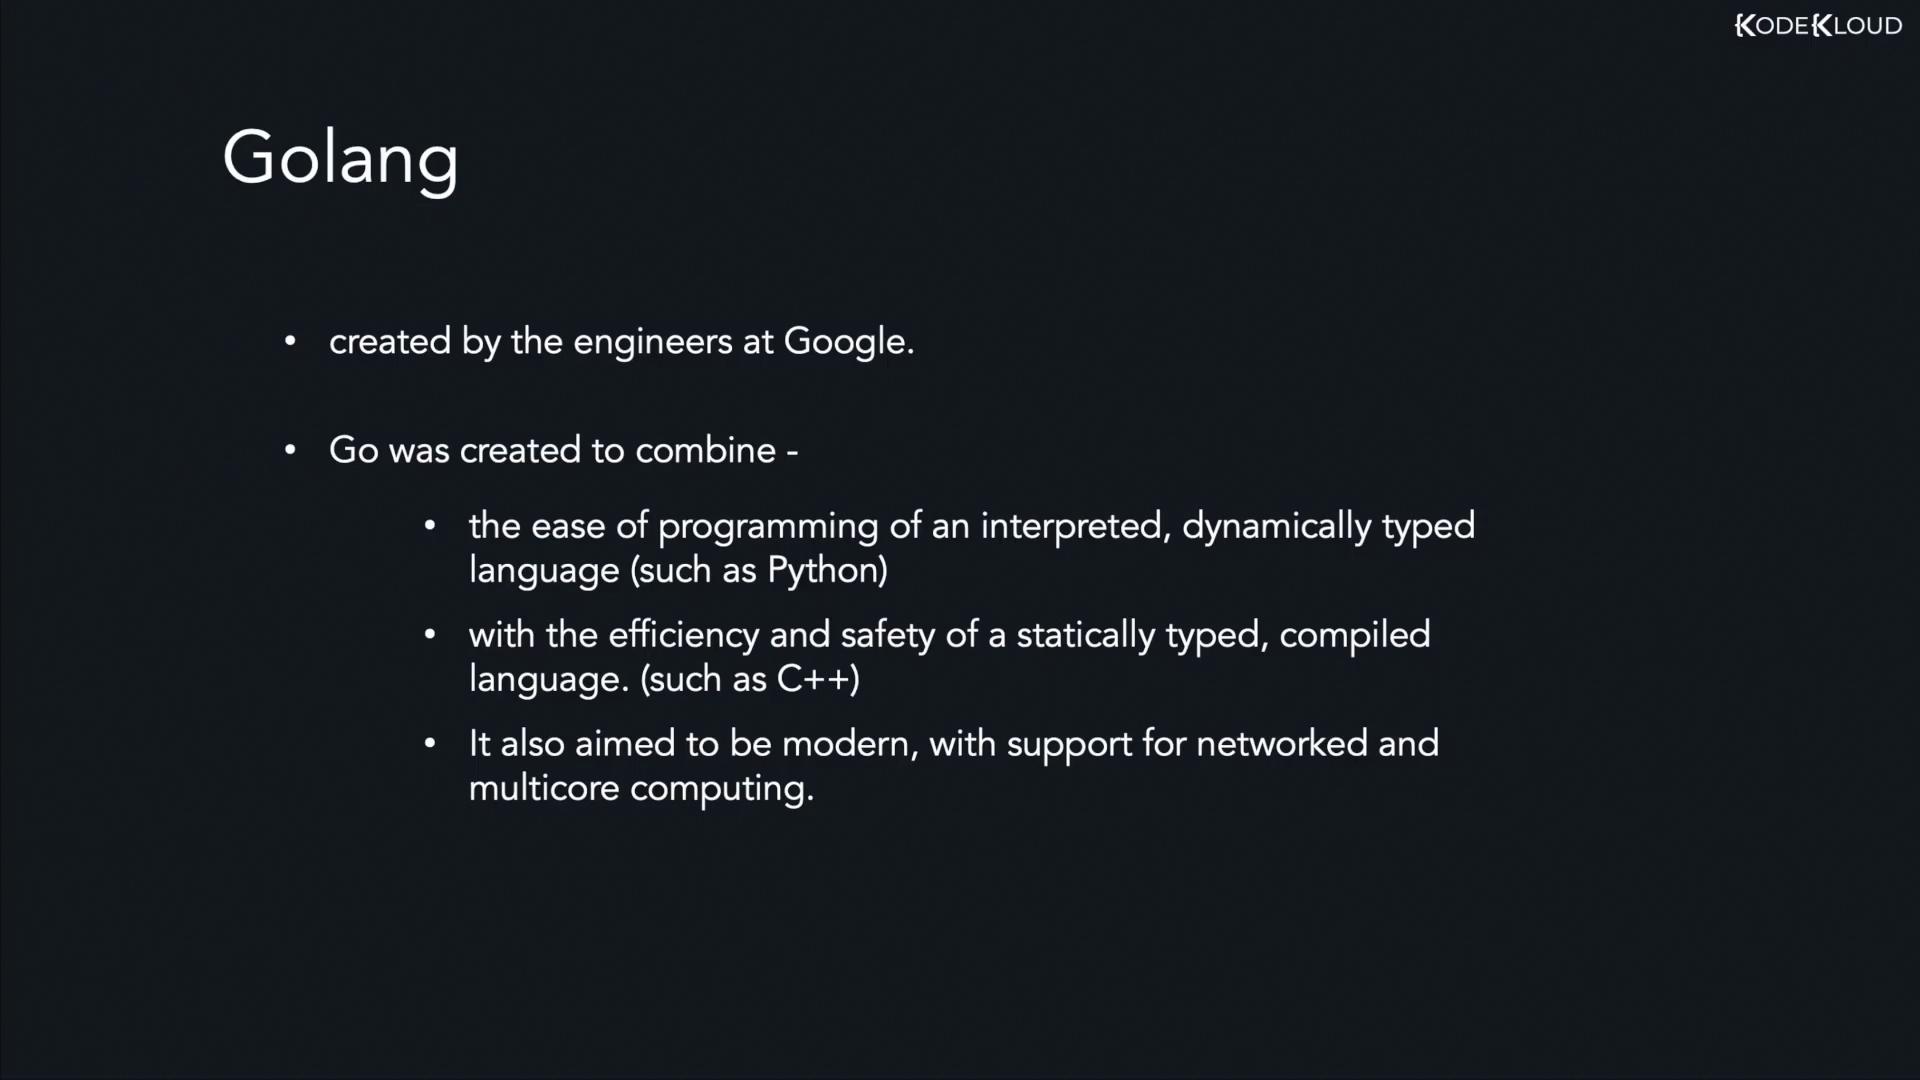
Before diving into Go programming, it’s helpful to understand its origins and the vision behind its creation. Go—commonly known as Golang—was developed by Google engineers nearly a decade ago in response to the challenges of programming in languages like C++ and Java. At that time, most computational software relied on languages that made it difficult to take full advantage of multiprocessor systems. The Go team sought to blend the simplicity and ease of development found in dynamically typed, interpreted languages (such as Python) with the performance and safety of statically typed, compiled languages (like C++). Modern networked and multicore computing requirements also influenced Go’s design.Later in this series, we will explore the differences between statically typed and dynamically typed languages.
Golang is a compiled language, which means that source code is converted into machine code before execution. Therefore, installing the Go compiler is a prerequisite for writing and running Go programs.
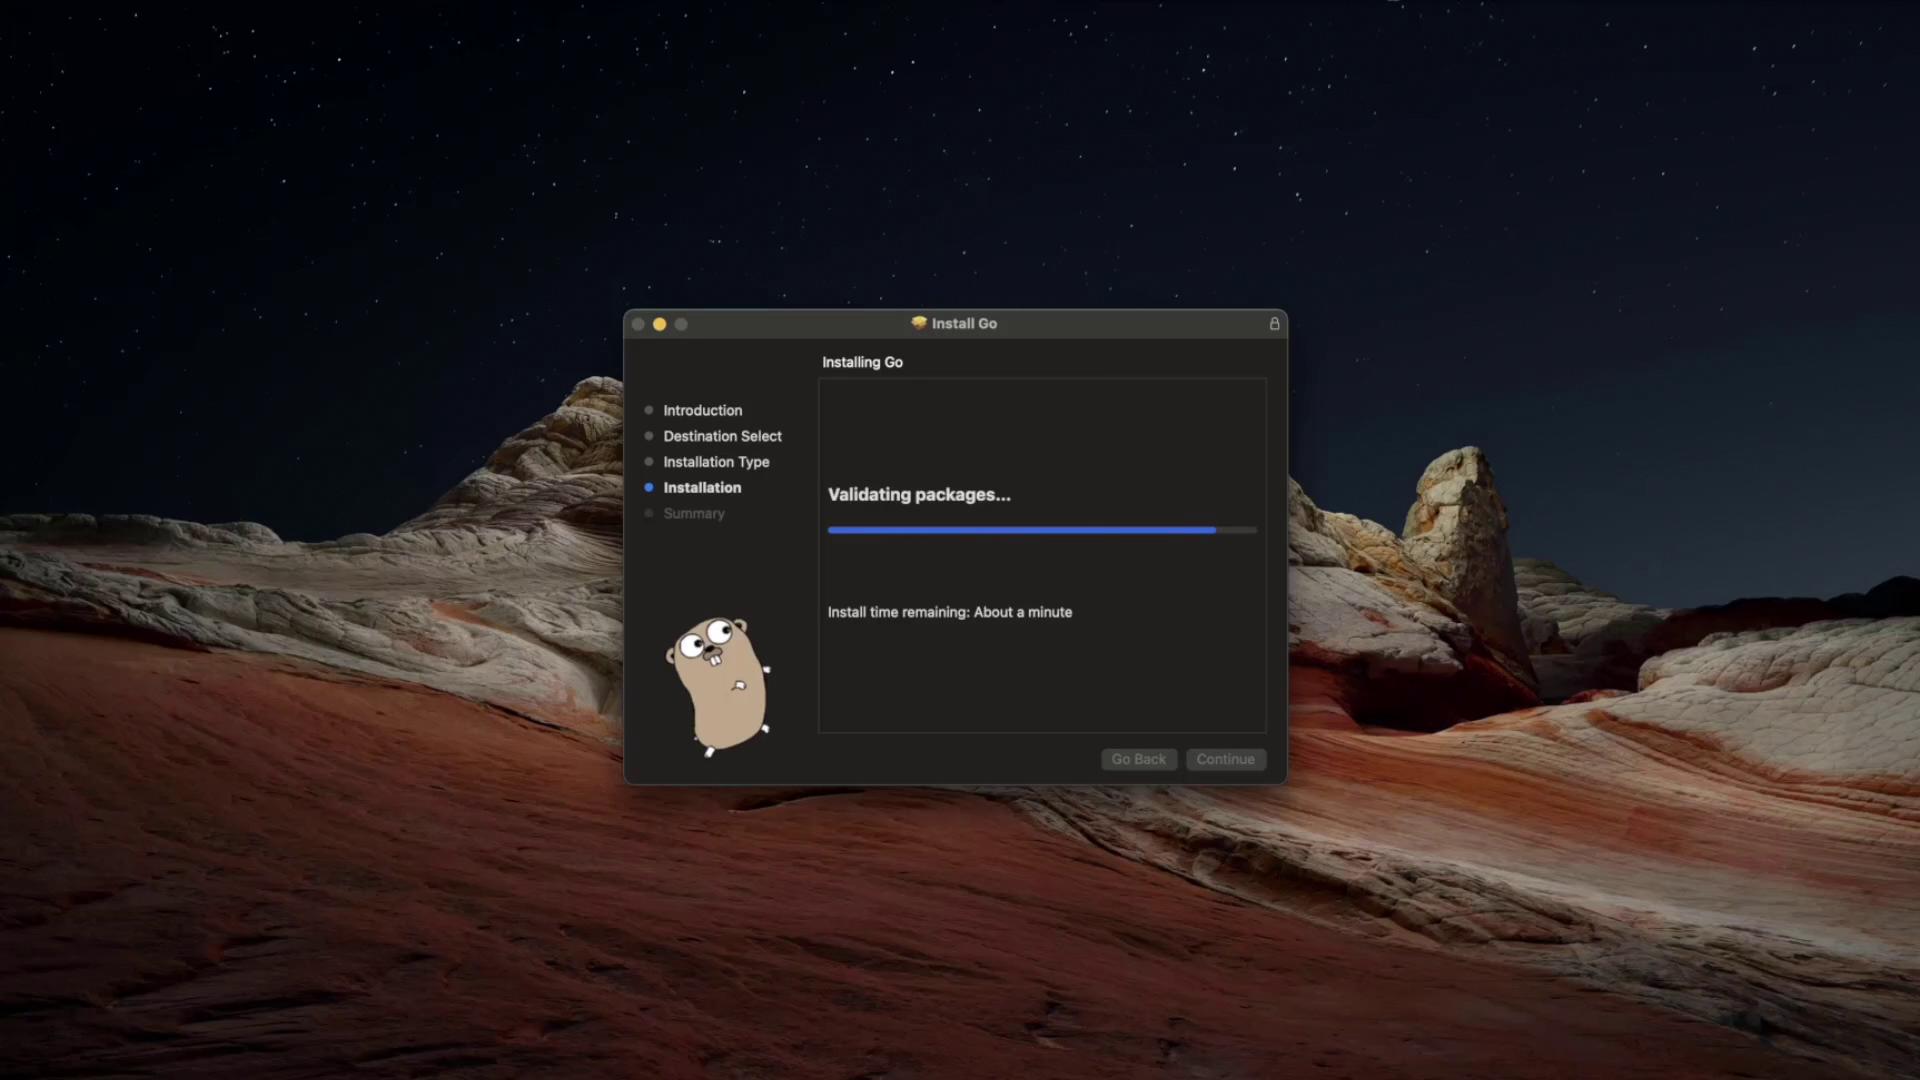
For macOS users, download the appropriate package from the official download page. The installer manages the installation process and updates your PATH environment variable automatically. Once installed, confirm by running:
Copy
go version
Successful execution of these commands should display your current Go version.
The Go tool suite offers numerous commands and subcommands. To see the full list, run:
Copy
go help
This command will display useful information about tools such as build, clean, doc, env, fmt, and more. For details on a specific command, execute:
Now that Go is installed, it’s time to set up your workspace to store your Go programs. Create a directory—anywhere you like, for instance in your home folder. Open your terminal and run:
Copy
cd ~mkdir workspacecd workspacetouch main.go
Open the workspace using your favorite IDE (such as Visual Studio Code) and add a simple “Hello, World!” program in main.go:
Save the file, return to your terminal, and execute the program with:
Copy
go run main.go
You should see the output “Hello World!” in your console.
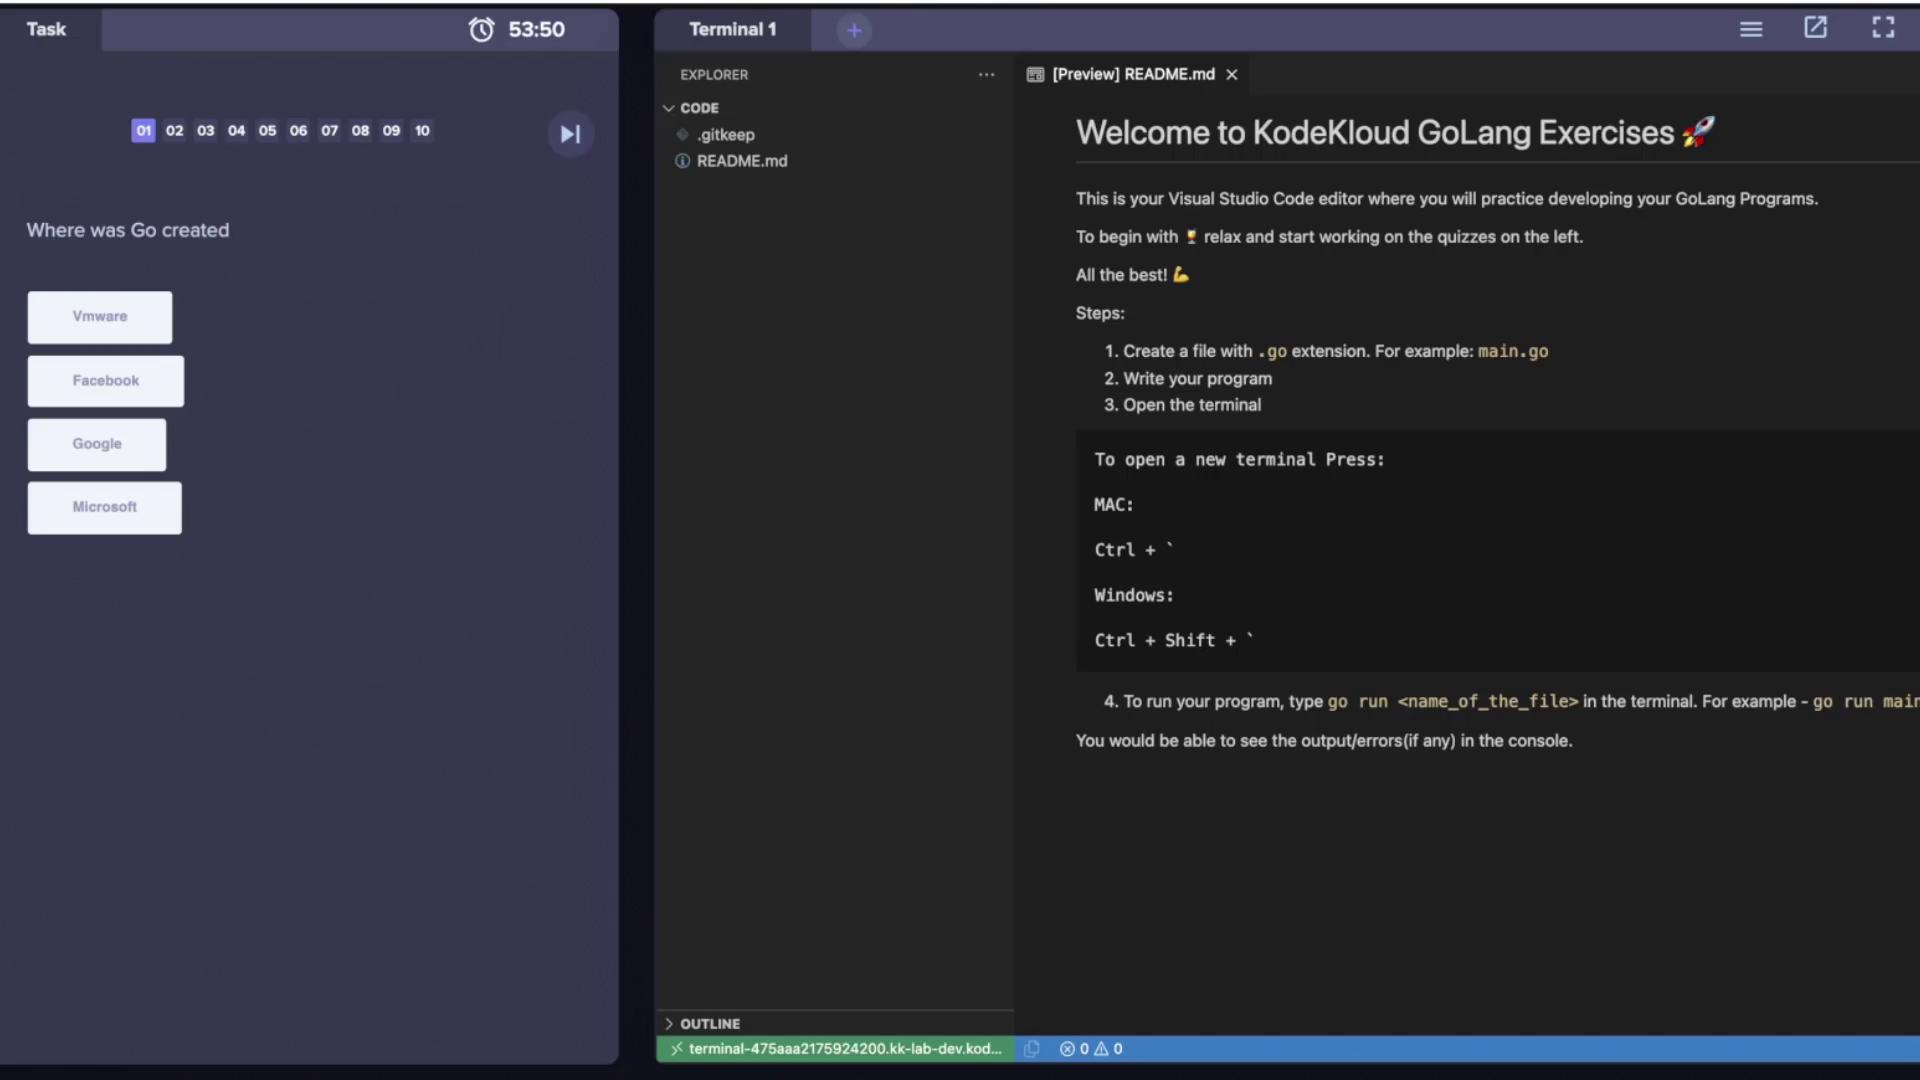
For those who prefer working in a browser without local installation, platforms like KodeKloud offer lab environments. They provide step-by-step instructions and a ready-to-use terminal for running your Go code.
Below is another example of the “Hello, World!” program with an additional comment:
Copy
package mainimport "fmt"// This is a comment explaining the main functionfunc main() { fmt.Println("Hello World")}
When you run the program:
Copy
~/code via v1.17.4 ➜ go run main.goHello World~/code via v1.17.4 ➜
This concludes our lecture on the introduction and installation of Go. In the upcoming sections, we will dive deeper into Go’s syntax and explore its rich features in greater detail.