HashiCorp Certified: Consul Associate Certification
Deploy a Single Datacenter
Demo Starting the Consul Process Using Dev Mode
Welcome to the first lab of this course. In this lesson, we’ll cover two main tasks:
- Starting a Consul server in dev mode on your local machine
- Bootstrapping two AWS EC2 instances into a Consul cluster
Throughout the course, we’ll reuse these servers so you can follow along and observe how the cluster evolves.
1. Running Consul in Dev Mode
Note
Running Consul in dev mode is intended for local testing only. Data is ephemeral and not suitable for production.
Start the Dev Agent
Open PowerShell (or your preferred shell) and launch the Consul agent:
consul agent -dev
You should see output similar to:
2021-02-10T16:03:43.762-0500 [INFO]  agent.leader: started routine: routine="federation state anti-entropy"
2021-02-10T16:03:43.763-0500 [DEBUG] agent.server: successfully established leadership: duration=19.001ms
2021-02-10T16:03:43.817-0500 [INFO]  agent: Synced node info
2021-02-10T16:03:45.177-0500 [DEBUG] agent: Node info in sync
Verify the Local Agent
In a new shell, confirm the agent is running:
consul members
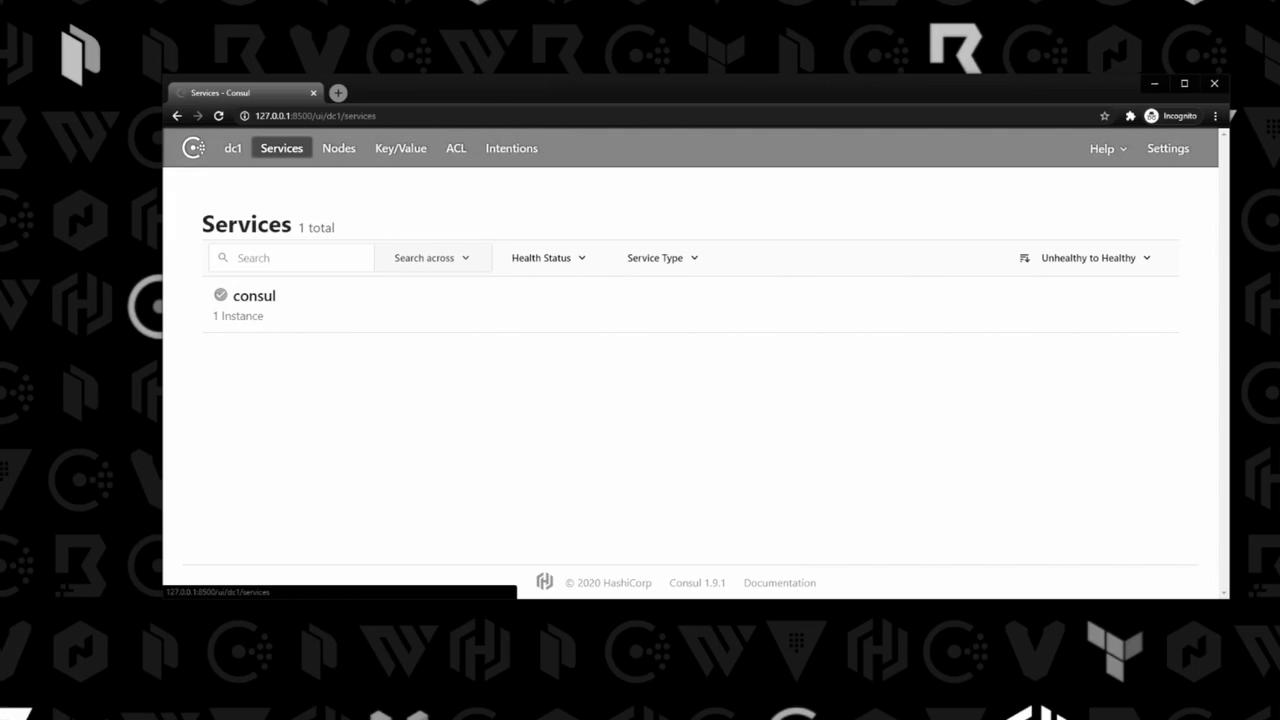
You’ll see a single-node entry. Then open your browser to explore the Consul UI:
http://127.0.0.1:8500
To stop the agent, press Ctrl+C in the shell where it’s running.
2. Preparing AWS EC2 Instances
I’ve provisioned two EC2 instances and used Packer to install Consul under /usr/local/bin. Let’s verify everything:
# Check Consul version
consul version
Consul v1.9.3+ent
Revision bd0dc9e5d
Protocol 2 spoken by default, understands 2 to 3
# Confirm the binary in PATH
ls /usr/local/bin
consul
# List systemd service files
ls /etc/systemd/system
consul.service consul-snapshot.service basic.target.wants ...
You should see both consul.service and consul-snapshot.service.
3. Reviewing the Systemd Service File
Open /etc/systemd/system/consul.service to inspect how Consul is managed:
[Unit]
Description="HashiCorp Consul - A service mesh solution"
Documentation=https://www.consul.io/
Requires=network-online.target
After=network-online.target
ConditionFileNotEmpty=/etc/consul.d/config.hcl

[Service]
Type=notify
User=consul
Group=consul
ExecStart=/usr/local/bin/consul agent -config-file=/etc/consul.d/config.hcl
ExecReload=/usr/local/bin/consul reload
KillMode=process
Restart=on-failure
LimitNOFILE=65536

[Install]
WantedBy=multi-user.target
This unit ensures Consul starts after networking is available and points to our main configuration file.
4. Reviewing the Consul Configuration (Node A)
Below is the JSON-based configuration at /etc/consul.d/config.hcl for node A (10.0.101.110):
{
  "log_level": "INFO",
  "node_name": "consul-node-a",
  "server": true,
  "ui": true,
  "leave_on_terminate": true,
  "data_dir": "/etc/consul.d/data",
  "datacenter": "us-east-1",
  "client_addr": "0.0.0.0",
  "bind_addr": "10.0.101.110",
  "advertise_addr": "10.0.101.110",
  "retry_join": ["10.0.101.248"],
  "enable_syslog": true,
  "performance": {
    "raft_multiplier": 1
  }
}
Key configuration parameters:
| Parameter | Description |
|---|---|
| server | Enables server mode |
| ui | Activates the built-in web UI |
| retry_join | List of peer addresses for automatic joining |
| data_dir | Location for Raft logs and state |
| bind_addr | Network interface for cluster communication |
5. Starting Consul on Both Nodes
Open required ports (8300–8302, 8500, 8600) in your security groups before proceeding.
Node A
sudo systemctl start consul
Node B
On the second instance (10.0.101.248), the /etc/consul.d/config.hcl is identical except for IP addresses and node_name:
{
  "node_name": "consul-node-b",
  "bind_addr": "10.0.101.248",
  "advertise_addr": "10.0.101.248",
  "retry_join": ["10.0.101.110"],
  ...
}
Start the service:
sudo systemctl start consul
Verify Cluster Membership
Run on either node:
consul members
Node           Address             Status  Type    Build       Protocol  DC          Segment
consul-node-a  10.0.101.110:8301   alive   server  1.9.3+ent   2         us-east-1   <all>
consul-node-b  10.0.101.248:8301   alive   server  1.9.3+ent   2         us-east-1   <all>
| Node | Address | Status | Type |
|---|---|---|---|
| consul-node-a | 10.0.101.110:8301 | alive | server |
| consul-node-b | 10.0.101.248:8301 | alive | server |
Because of the retry_join settings, both servers automatically discover each other and form a cluster.
That concludes this lab. You’ve learned how to:
- Run Consul in dev mode locally
- Prepare EC2 instances and verify Consul installation
- Inspect systemd service and configuration files
- Bootstrap a two-node Consul server cluster on AWS
Links and References
- Consul Documentation
- Consul Agent Overview
- Consul Web UI
- AWS EC2 Documentation
- Packer by HashiCorp
- Systemd Service Files Best Practices
Watch Video
Watch video content
Practice Lab
Practice lab