HashiCorp Certified: Consul Associate Certification
Deploy a Single Datacenter
Start the Consul Process
This guide walks you through the essential workflow for getting Consul up and running on your machine or server. You’ll learn how to:
- Download and install the Consul CLI
- Create configuration files
- Launch the Consul agent (service or manual)
- Run Consul in development mode
1. Download and Install Consul
Visit the Consul releases page to download the appropriate binaries for your operating system:
Note
If you have a Consul Enterprise license, be sure to select the enterprise package instead of the open-source edition.
- Unzip the downloaded archive.
- Move the
consulbinary into your$PATH. For example, on Linux:
sudo mv consul /usr/local/bin/
- Verify the installation:
consul version
2. Create Consul Configuration
Consul supports HCL files and CLI flags. You can use a single file or a directory of files.
Single File vs. Configuration Directory
| Method | Command | Description |
|---|---|---|
| Single file | -config-file=/etc/consul.d/config.hcl | Load one HCL file |
| Configuration folder | -config-dir=/etc/consul.d/ | Load all .hcl files in the directory |
Example directory structure when using a folder:
/etc/consul.d
├── config.hcl
├── metadata.hcl
└── service.hcl
Warning
Mixing CLI flags and configuration files can lead to unexpected overrides. Prefer HCL files for production setups.
3. Start the Consul Agent
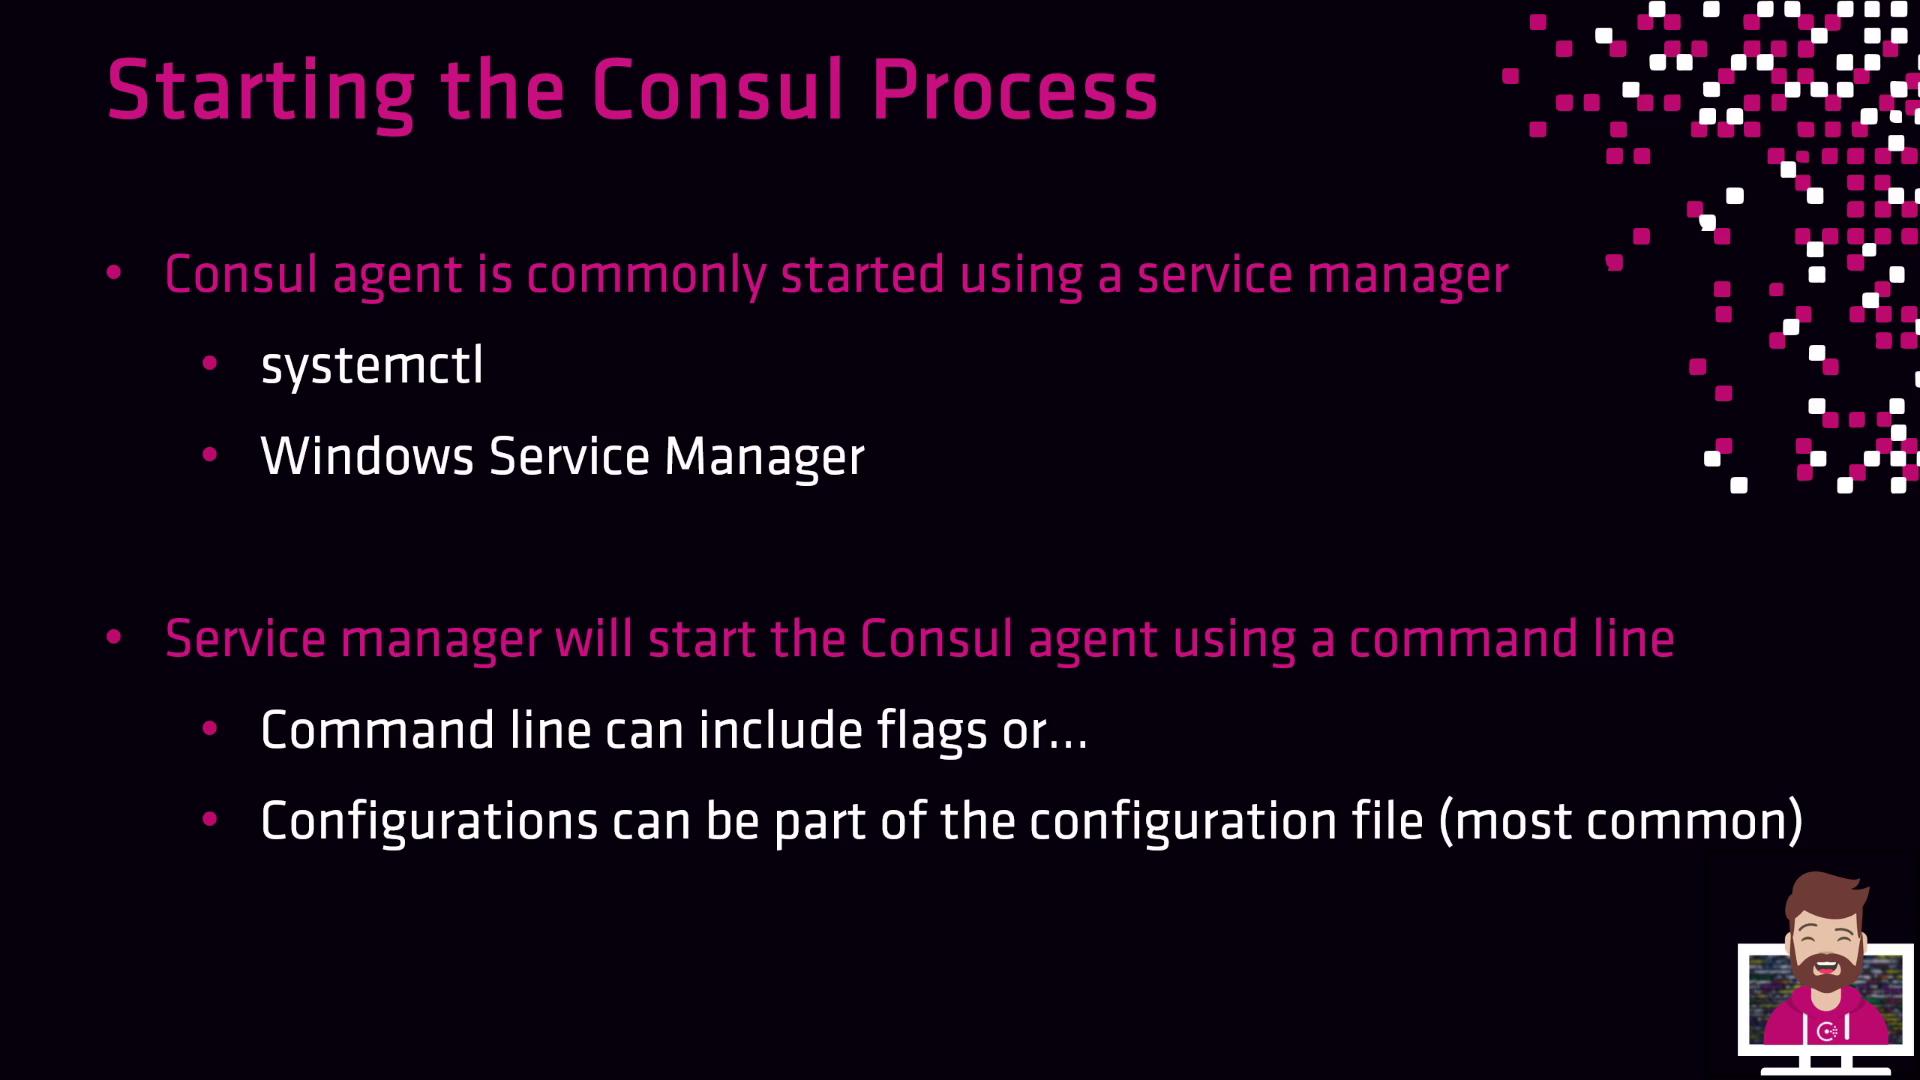
In production environments, run Consul under a service manager (e.g., systemd on Linux). Create a unit file like this:
[Unit]
Description=Consul Agent
After=network.target

[Service]
ExecStart=/usr/local/bin/consul agent -config-dir=/etc/consul.d/
Restart=on-failure

[Install]
WantedBy=multi-user.target

Alternatively, launch the agent manually with custom flags:
consul agent \
  -datacenter="aws" \
  -bind="10.0.10.42" \
  -data-dir="/opt/consul" \
  -encrypt="<key>" \
  -retry-join="10.0.10.64,10.4.23.98"
| Flag | Description | Example |
|---|---|---|
-datacenter | Name of your datacenter | aws |
-bind | Address for RPC and gossip | 10.0.10.42 |
-data-dir | Path to store Consul data | /opt/consul |
-encrypt | Gossip encryption key | <key> |
-retry-join | Peers for initial join | 10.0.10.64,10.4.23.98 |
4. Development Mode
For quick testing or demos, start Consul in development mode. This is not recommended for production.
consul agent -dev
- Runs entirely in memory (no disk persistence)
- Enables Connect (service mesh) on port
8502 - Suitable for single-node experiments
To stop the dev agent, press Ctrl+C.
Now you have the basics: installing Consul, writing configurations, and starting the agent in both production and development modes. Next up: service registration and health checks.
Links and References
Watch Video
Watch video content