In this guide, we’ll deploy a sample application on a HashiCorp Consul Service Mesh. You’ll use Consul Connect to secure communication between two microservices—dashboard and counting —each with its own sidecar proxy. Finally, you’ll control traffic using Consul intentions .
Based on the HashiCorp Learn tutorial on Consul Service Mesh , we assume you have a Consul cluster with two server nodes and two web servers. We’ll:
Enable Consul Connect for TLS encryption
Register counting and dashboard services
Launch services with sidecar proxies
Verify mutual TLS traffic
Manage service intentions
1. Enable Consul Connect First, activate Consul Connect on each server node so sidecar proxies can establish mutual TLS.
– Consul 1.7+ installed
Edit /etc/consul.d/config.hcl on consul-node-a :
# /etc/consul.d/config.hcl log_level = "INFO" node_name = "consul-node-a" server = true ui = true leave_on_terminate = true data_dir = "/etc/consul.d/data" datacenter = "us-east-1" client_addr = "0.0.0.0" bind_addr = "10.0.101.110" advertise_addr = "10.0.101.110" retry_join = [ "10.0.101.248" ] bootstrap_expect = 2 enable_syslog = true connect { enabled = true performance { raft_multiplier = 1 } }
Save and restart Consul:
sudo systemctl restart consul
Repeat on consul-node-b , adjusting node_name, bind_addr, advertise_addr, and retry_join. When both nodes are up, verify membership:
Now register the two application services on separate web servers:
Service Node Port Definition File counting counting 9003 counting.hcl dashboard dashboard 9002 dashboard.hcl
2.1 Counting Service On the counting server, create counting.hcl:
# counting.hcl node_name = "counting" service { name = "counting" id = "counting-1" port = 9003 connect { sidecar_service {} } check { id = "counting-check" http = "http://localhost:9003/health" method = "GET" interval = "1s" timeout = "1s" } }
Register it:
consul services register counting.hcl
2.2 Dashboard Service On the dashboard server, create dashboard.hcl:
# dashboard.hcl node_name = "dashboard" service { name = "dashboard" port = 9002 connect { sidecar_service { proxy { upstreams = [ { destination_name = "counting" local_bind_port = 5000 } ] } } } check { id = "dashboard-check" http = "http://localhost:9002/health" method = "GET" interval = "15s" timeout = "1s" } }
Register it:
consul services register dashboard.hcl
Services are registered immediately but not yet running—health checks will show “critical” until the application and proxy start.
3. Start Services and Sidecar Proxies Launch each application and its sidecar proxy so traffic is routed via Consul Connect.
3.1 Counting Service & Proxy On the counting server:
export PORT = 9003 ./counting-service & # Start Consul sidecar proxy for counting consul connect proxy --sidecar-for counting-1 > counting-proxy.log &
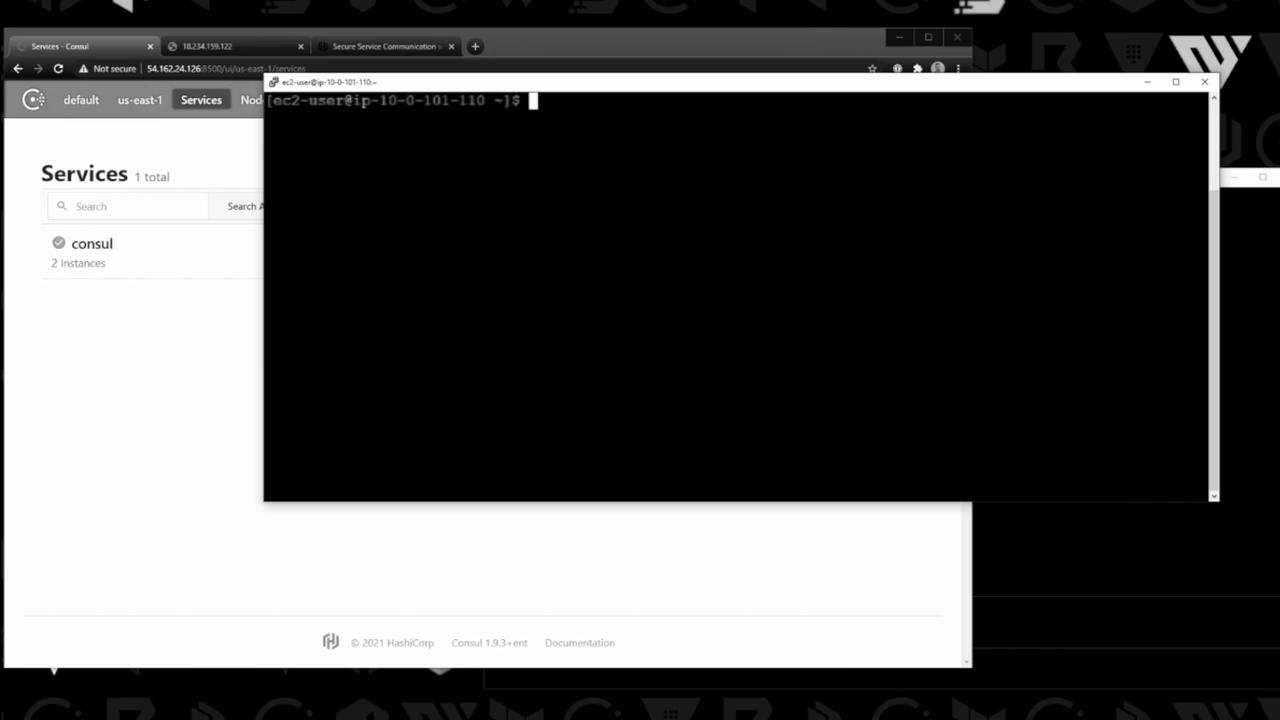
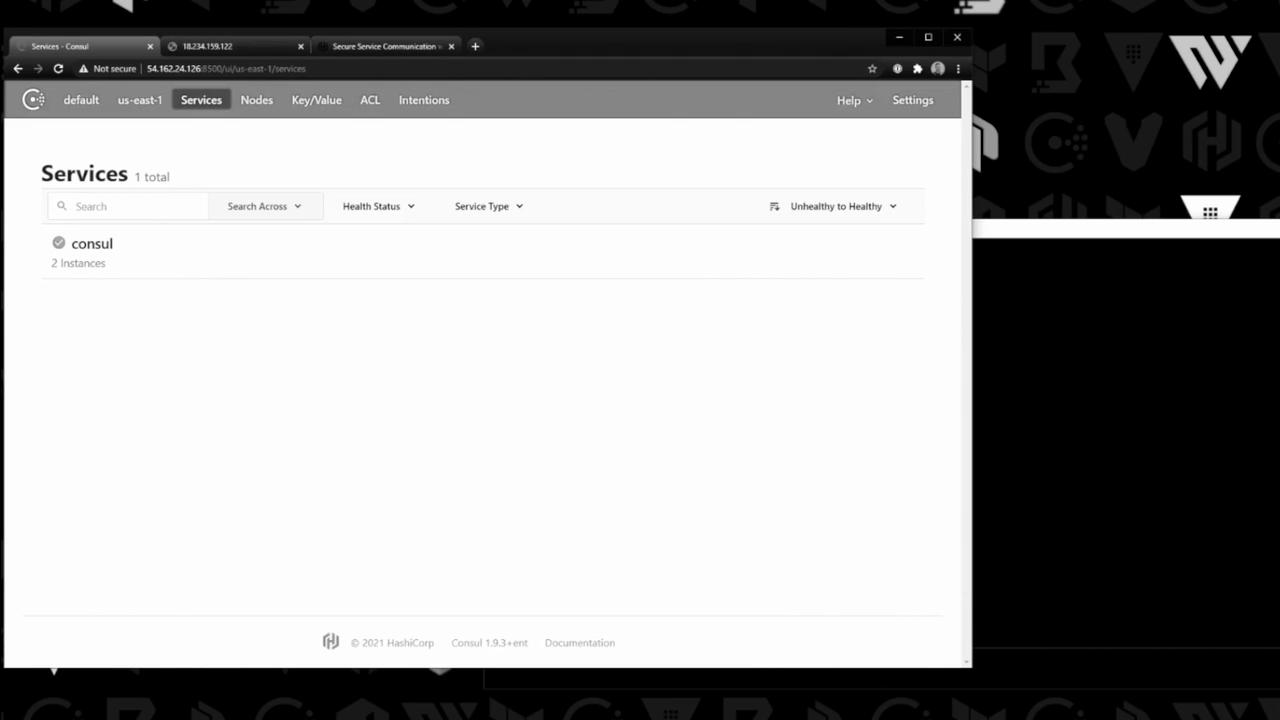
Check the status in Consul’s UI:
3.2 Dashboard Service & Proxy On the dashboard server:
export PORT = 9002 export COUNTING_SERVICE_URL = "http://localhost:5000" ./dashboard-service & # Start Consul sidecar proxy for dashboard consul connect proxy --sidecar-for dashboard > dashboard-proxy.log &
Now both sidecars are active and enforce mTLS.
4. Verify Connectivity Open your browser to http://<dashboard-node-ip>:9002 and refresh the page. You should see the counter increment via the proxy:
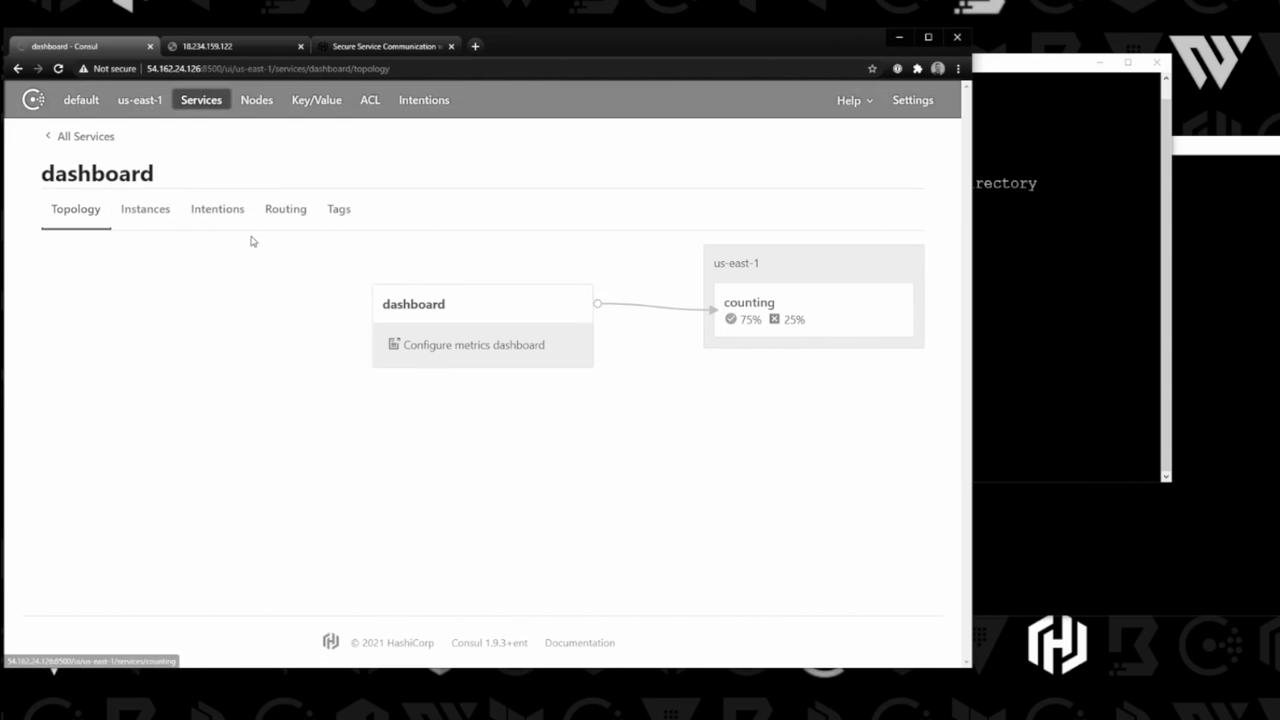
In the Consul UI you’ll also see the service topology and traffic distribution:
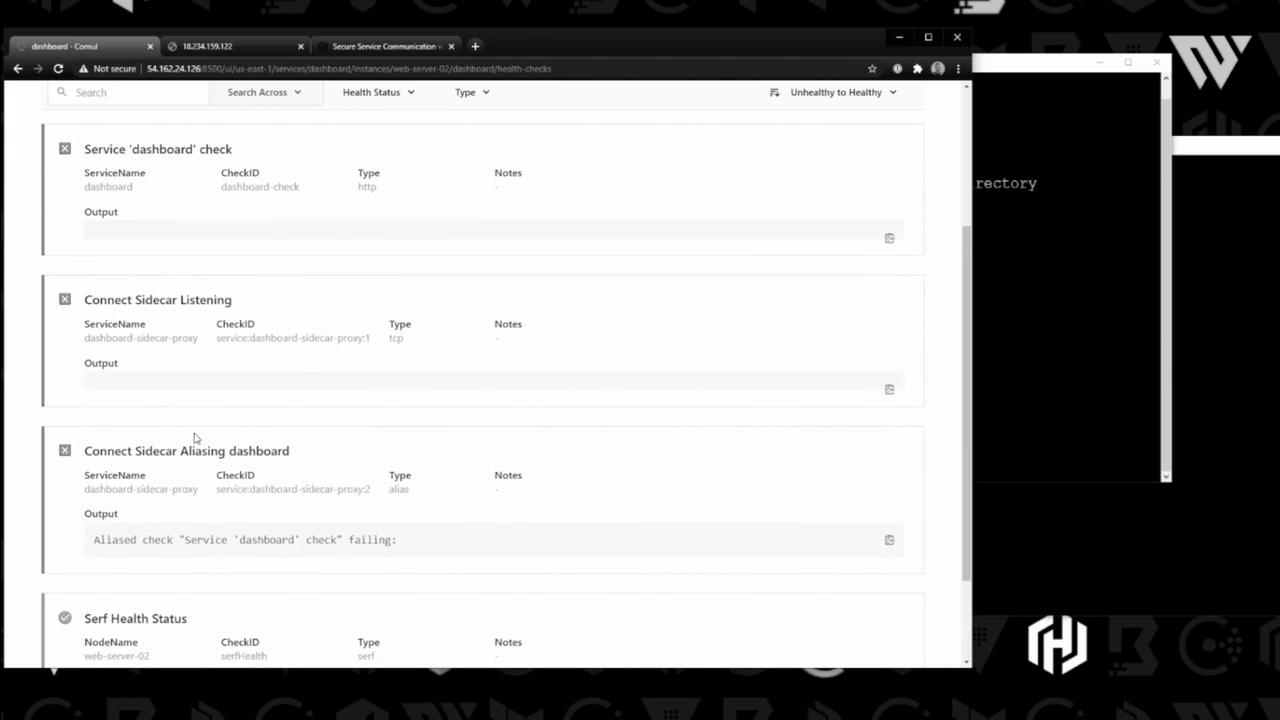
Monitor overall health checks:
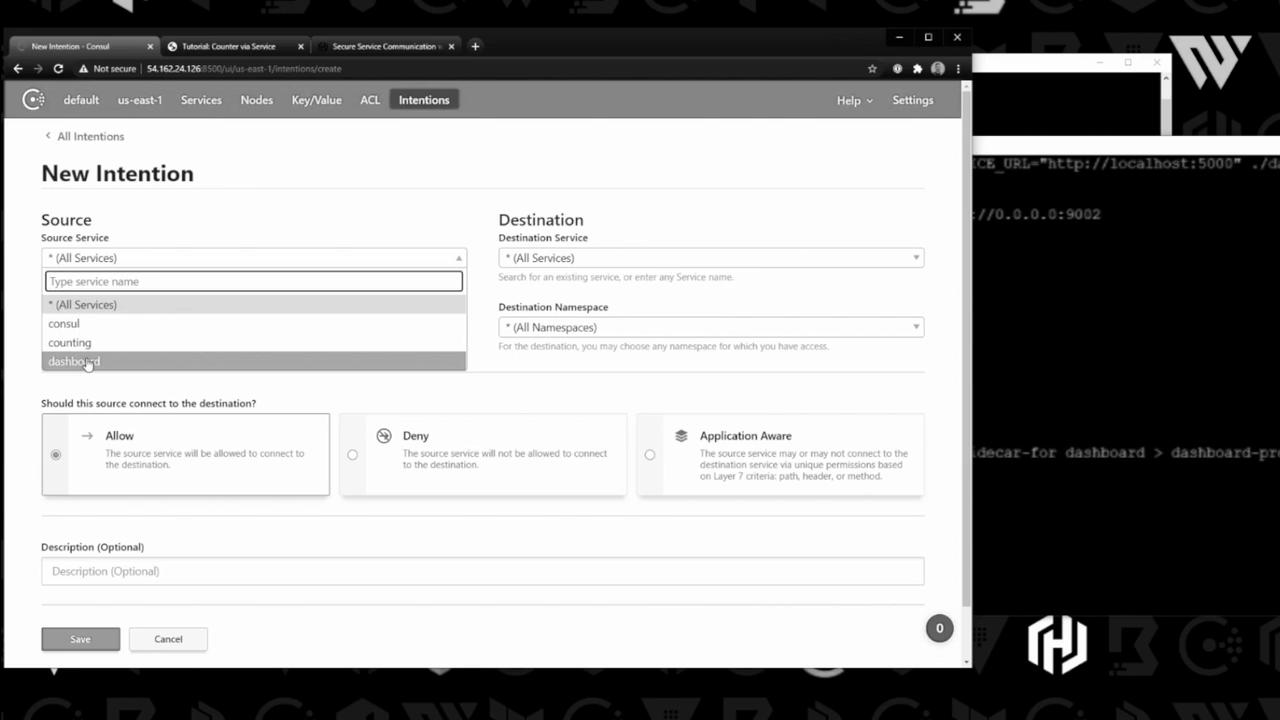
5. Manage Intentions By default, Consul permits all service-to-service calls. Use intentions to enforce allow/deny policies.
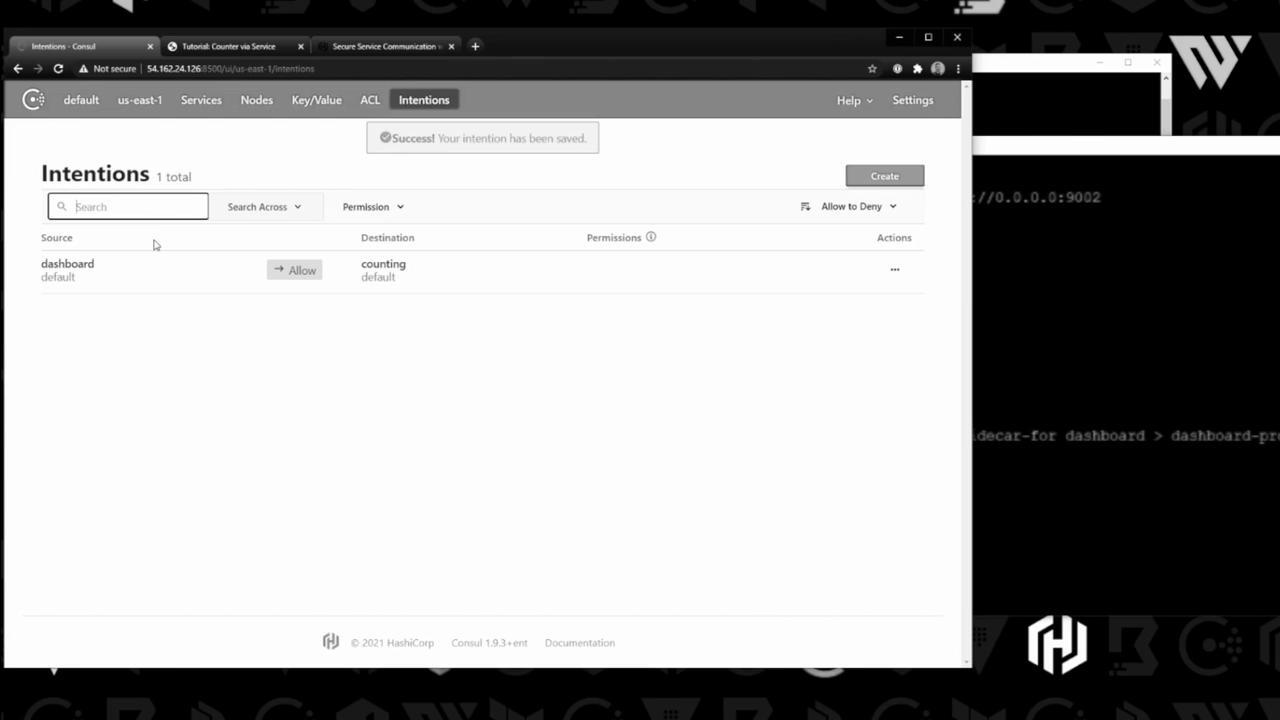
Create a new intention to allow dashboard → counting :
Once saved, you’ll see it in the UI:
To test a deny rule, switch the intention to Deny :
Save and refresh the dashboard—updates stop, confirming the proxy enforces your policy. Revert to Allow to resume traffic.
Conclusion You’ve successfully:
Enabled Consul Connect for mutual TLS service mesh
Registered services with sidecar proxies
Started applications and proxies
Verified secure communication
Managed traffic via intentions
Consul’s service mesh lets you implement fine-grained security and traffic policies without modifying application code. Happy networking!
Links and References