false, so you must explicitly activate them in your JSON or HCL config file. Enabling these options ensures all RPC/API calls in your Consul cluster are both encrypted and authenticated.
Quick Reference
| Setting | Purpose | Default |
|---|---|---|
| verify_incoming | Enforce TLS on all incoming RPC and HTTP API calls | false |
| verify_outgoing | Enforce TLS on all outgoing connections | false |
| verify_server_hostname | Validate server hostname against certificate SAN | false |
1. verify_server_hostname
Whenverify_server_hostname is enabled, the agent checks that every outgoing TLS connection matches the server’s hostname against the certificate’s Subject Alternative Name (SAN). Without this check, Consul only validates the CA signature but not the actual hostname, leaving room for certificate spoofing.
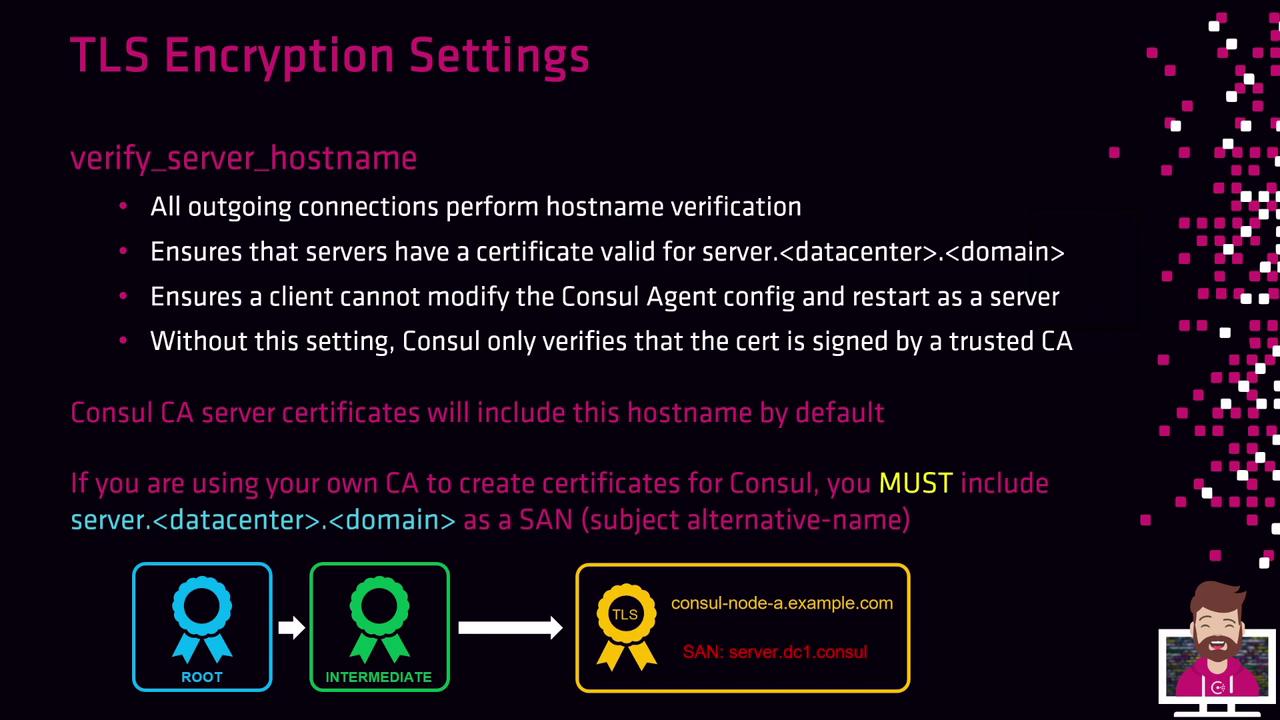
SAN Requirements
- With Consul CA Server: Node certificates automatically include
server.datacenter.consulby default. - With an External CA: You must add the SAN
server.<datacenter>.consul(e.g.,server.dc1.consul) when issuing certificates. Failing to do so will stop nodes from joining the cluster ifverify_server_hostnameis on.
If you switch a client node to
server: true without a proper SAN, the node will fail to join the cluster due to a hostname mismatch in its certificate.Example: Web Server Agent
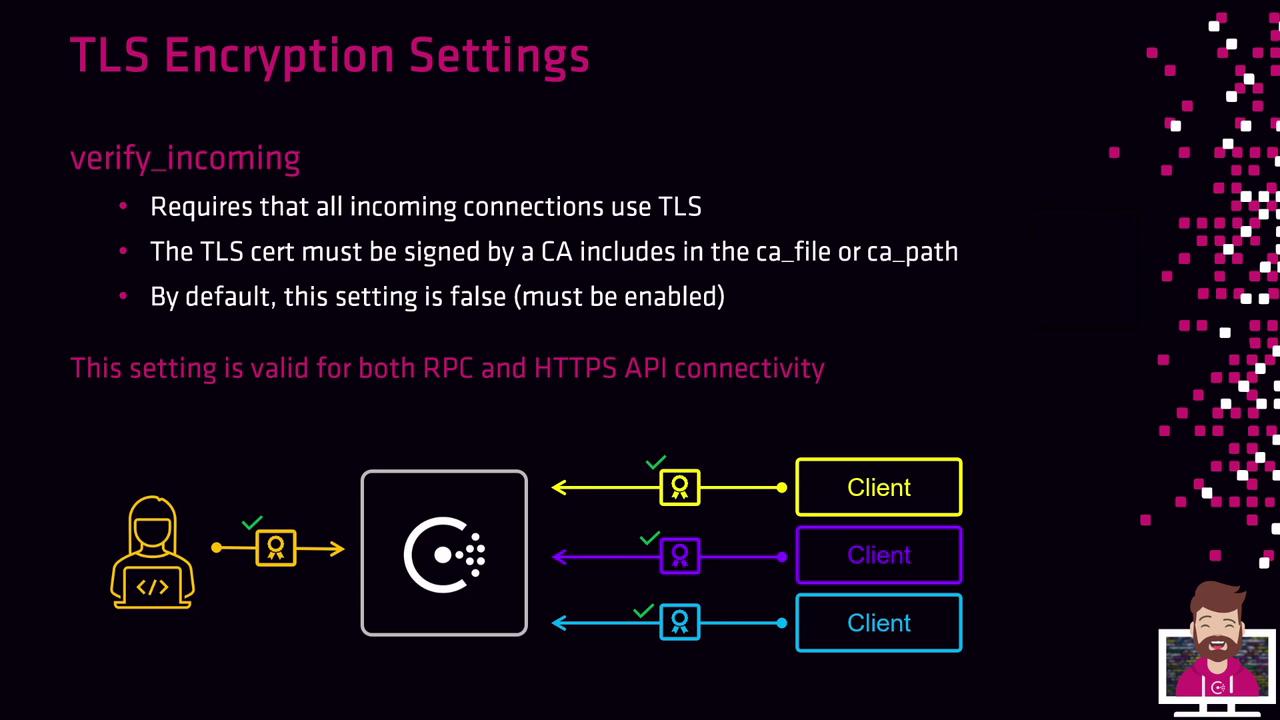
2. verify_incoming
Enableverify_incoming to require TLS for all incoming connections, including both RPC and the HTTP API. The presenting certificate must be signed by a CA listed in your ca_file or ca_path.
3. verify_outgoing
Whenverify_outgoing is set to true, Consul enforces TLS on all outgoing connections from both clients and servers. The remote peer’s certificate must be signed by a trusted CA.

By combining
verify_incoming, verify_outgoing, and verify_server_hostname, you lock down your Consul cluster with end-to-end TLS encryption and strict certificate verification.