In this guide, you’ll learn how to start a Vault server locally, initialize it with Raft storage, configure AWS KMS for auto-unseal, migrate from Shamir sealing to AWS KMS, and validate the auto-unseal workflow. This is ideal for test environments and hands-on practice toward certification.
Vault v1.10.0-ent or later
AWS CLI v2 configured with sufficient IAM permissions
A customer-managed AWS KMS key in the desired region
Basic knowledge of Vault CLI and AWS IAM
Table of Contents
Initial Vault Configuration Start Vault Server Initialize & Unseal Vault Enable KV Secrets Engine Configure AWS KMS Auto-Unseal Grant AWS IAM Permissions Set AWS Credentials Restart & Migrate Seal Validate Auto-Unseal
1. Initial Vault Configuration Create a vault.hcl with Raft storage and default Shamir sealing (no seal stanza yet):
storage "raft" { path = "/Users/bk/vault/data" node_id = "btk-macbook-pro" } listener "tcp" { address = "0.0.0.0:8200" cluster_address = "0.0.0.0:8201" tls_disable = true } api_addr = "http://btk-macbook-pro:8200" cluster_addr = "http://btk-macbook-pro:8201" cluster_name = "btk-macbook-pro" ui = true log_level = "INFO" license_path = "/Users/bk/vault/vault.hclic"
2. Start Vault Server Launch Vault with the above configuration:
vault server -config=vault.hcl
Look for:
Version: Vault v1.10.0-ent Storage: raft (HA available) Api Address: http://btk-macbook-pro:8200 Cluster Address: https://btk-macbook-pro:8201 ==> Vault server started! Log data will stream in below:
In a new shell, set:
export VAULT_ADDR = "http://127.0.0.1:8200"
3. Initialize & Unseal Vault
Check status:
Expected output:
Seal Type shamir Initialized false Sealed true Storage Type raft HA Enabled true
Initialize Vault with 1 key share and threshold:
vault operator init -key-shares=1 -key-threshold=1
Save the Unseal Key and Initial Root Token .
Unseal Vault:
vault operator unseal < your-unseal-ke y >
Login:
vault login < your-root-toke n >
Verify unseal:
4. Enable KV Secrets Engine Enable the KV (Key/Value) secrets engine and add a sample secret:
vault secrets enable kv vault kv put kv/hcvop certification=fun
Edit vault.hcl to include the seal stanza for AWS KMS:
seal "awskms" { region = "us-east-1" kms_key_id = "arn:aws:kms:us-east-1:003674902126:key/8bc6b2ab-840a-4eef-8f2d-5616a3e67900" } storage "raft" { path = "/Users/bk/vault/data" node_id = "btk-macbook-pro" } listener "tcp" { address = "0.0.0.0:8200" cluster_address = "0.0.0.0:8201" tls_disable = true } api_addr = "http://btk-macbook-pro:8200" cluster_addr = "http://btk-macbook-pro:8201" cluster_name = "btk-macbook-pro" ui = true log_level = "INFO" license_path = "/Users/bk/vault/vault.hclic"
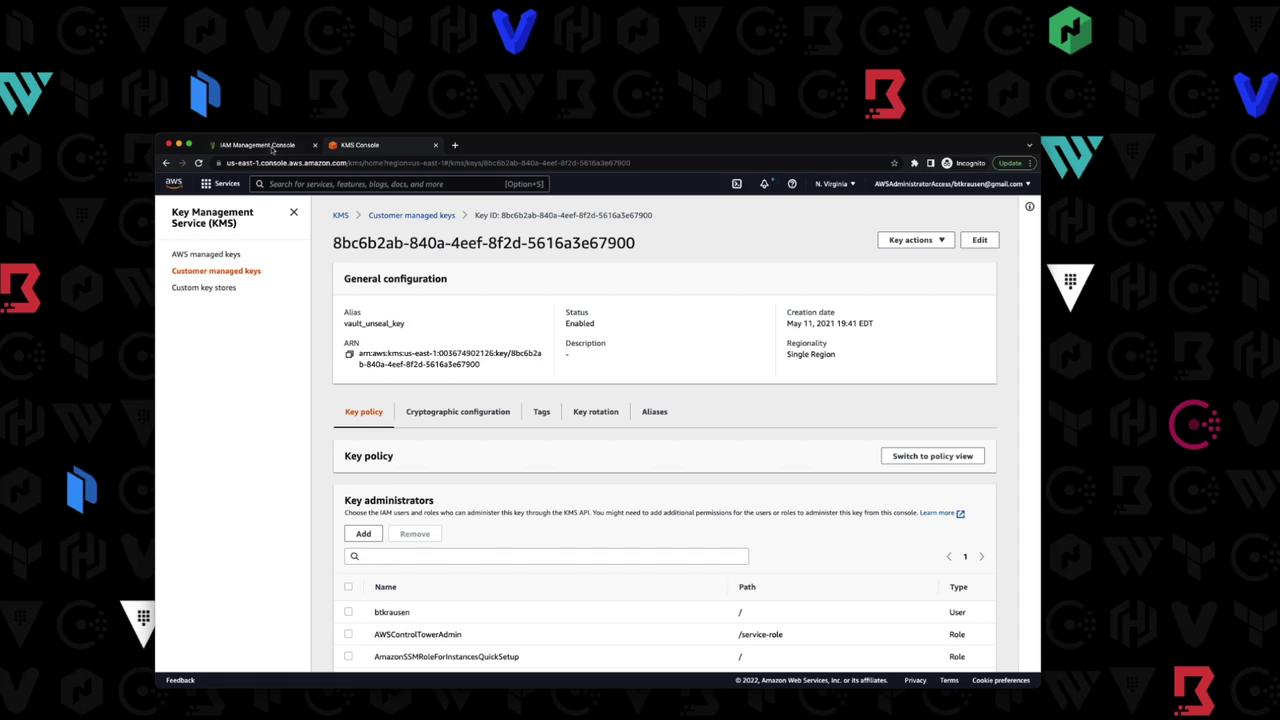
5.1 Retrieve KMS Key ARN In the AWS KMS console, copy your customer-managed key ARN:
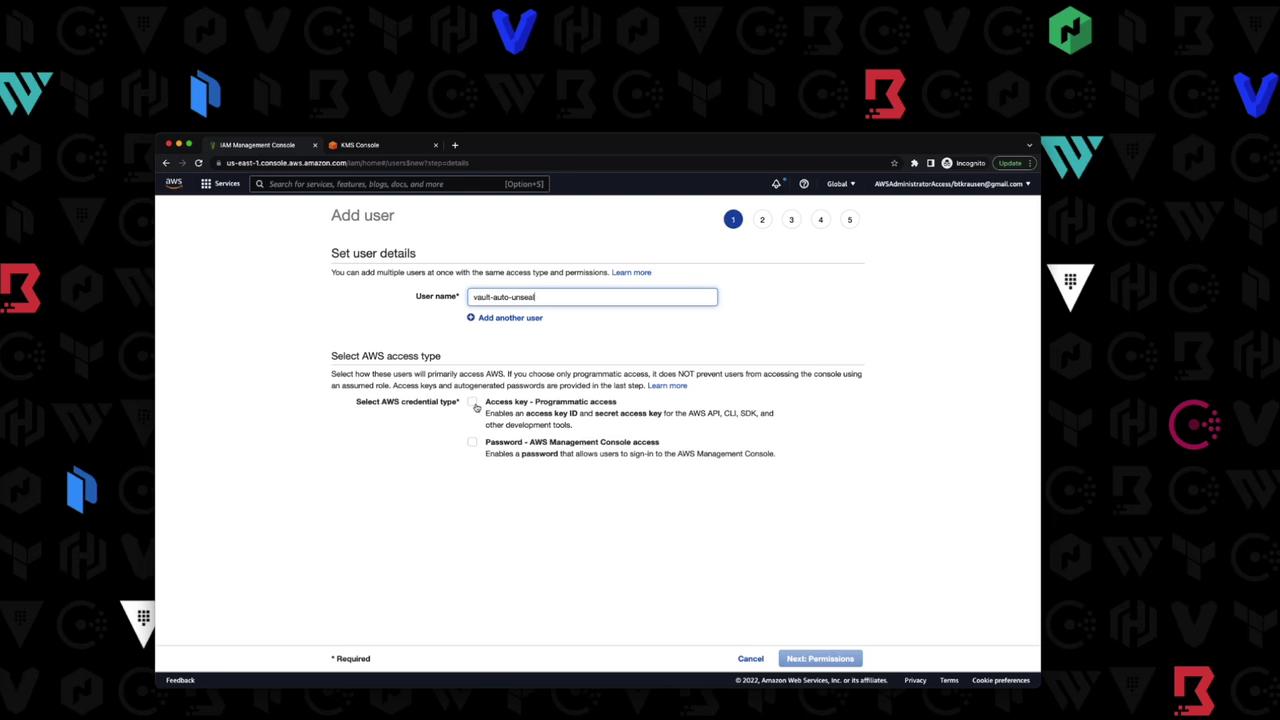
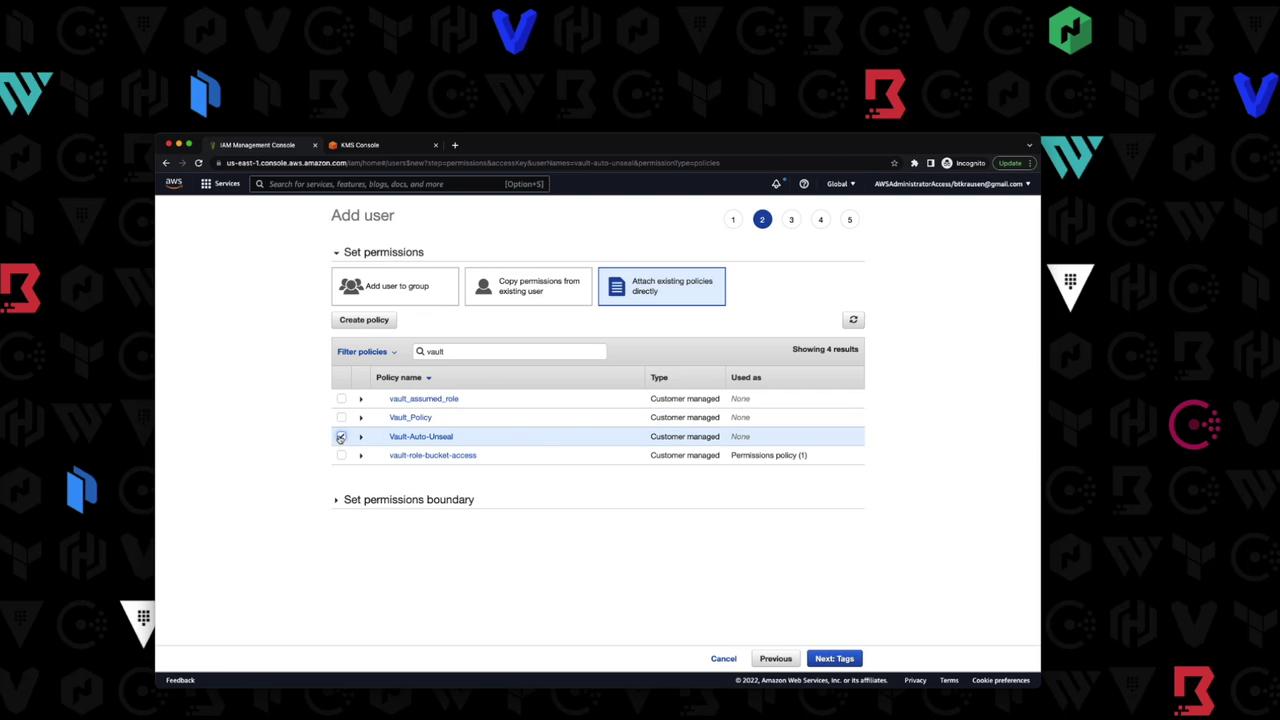
6. Grant AWS IAM Permissions Create an IAM user with programmatic access and attach a policy allowing Vault to use the KMS key.
Example IAM policy:
{ "Version" : "2012-10-17" , "Statement" : [ { "Effect" : "Allow" , "Action" : [ "kms:Encrypt" , "kms:Decrypt" , "kms:DescribeKey" ], "Resource" : "arn:aws:kms:us-east-1:003574902126:key/88cbe20f-848a-4eef-87d4-561636729908" } ] }
IAM Action Description kms:Encrypt Allows encryption operations kms:Decrypt Allows decryption operations kms:DescribeKey Allows viewing key metadata
7. Set AWS Credentials In your shell, export the IAM user credentials and region:
export AWS_ACCESS_KEY_ID = "AKIAQBWYKRZAXUEDIHZ" export AWS_SECRET_ACCESS_KEY = "srKLi5zFuJRj8E23mRoY5w5FgLzts23cb52K" export AWS_REGION = "us-east-1"
Perform seal migration only in a non-production environment first. Ensure you have backups of your unseal keys before proceeding.
8. Restart & Migrate Seal
Stop the Vault process (Ctrl+C).
Restart with the updated vault.hcl:
vault server -config=vault.hcl
You’ll see:
[WARN] core: entering seal migration mode; Vault will not automatically unseal even if using an autoseal: from_barrier_type=shamir
Migrate the seal:
vault operator unseal -migrate < your-unseal-ke y >
Successful output:
[INFO] core: migrating from shamir to auto-unseal: to=awskms [INFO] core: seal migration complete
9. Validate Auto-Unseal
Stop and start Vault again:
vault server -config=vault.hcl
Look for:
[INFO] core: vault is unsealed [INFO] core: unsealed with stored key
Confirm seal type:
The Seal Type should be awskms and Sealed should be false.
You have now configured Vault with AWS KMS auto-unseal, migrated from Shamir, and verified the process. For more details, see: