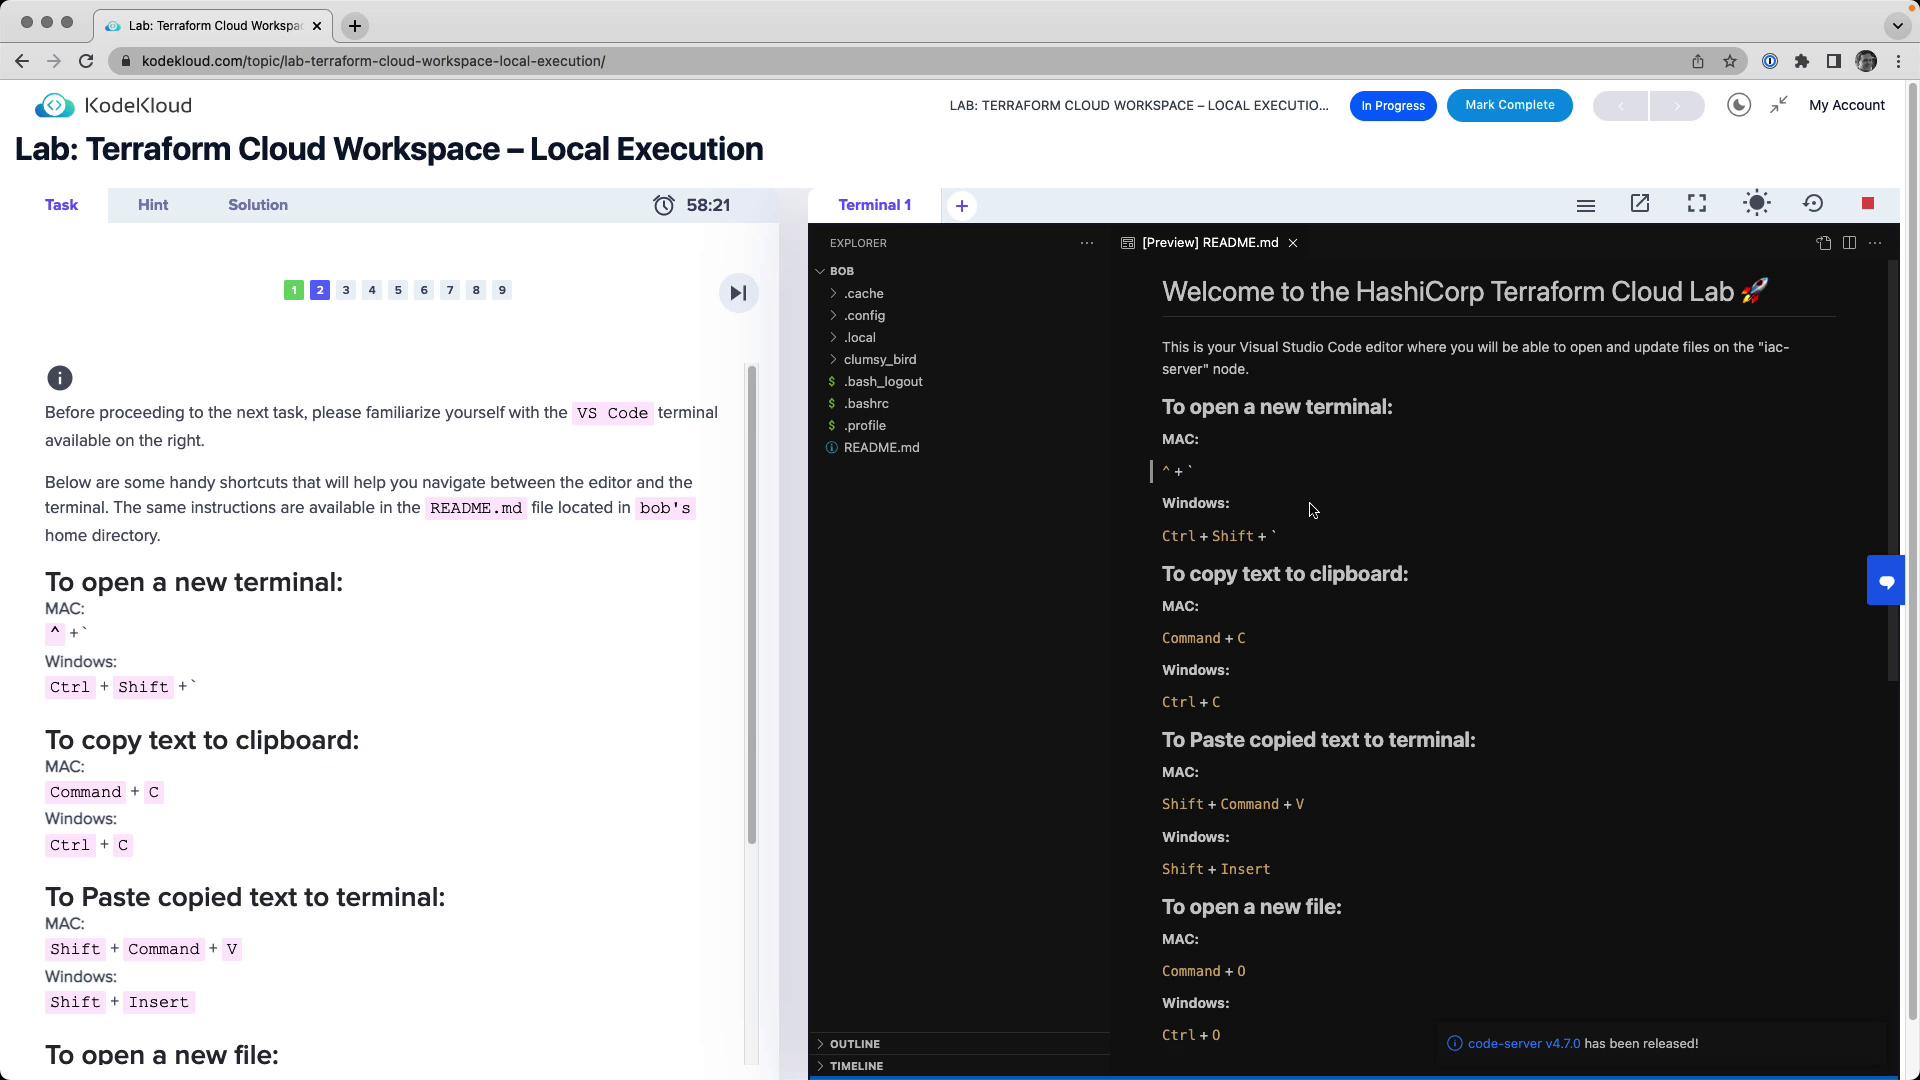
In this guide, we’ll walk through configuring and running Terraform Cloud Workspaces using local execution mode . Follow each step to authenticate, set up AWS credentials, create your workspace, and manage your infrastructure—all from your local machine.
Table of Contents
Authenticate the CLI with Terraform Cloud Configure AWS Credentials Create a Terraform Cloud Workspace Match Versions & Set Execution Mode Initialize, Plan, and Apply Verify in Terraform Cloud Tear Down Infrastructure
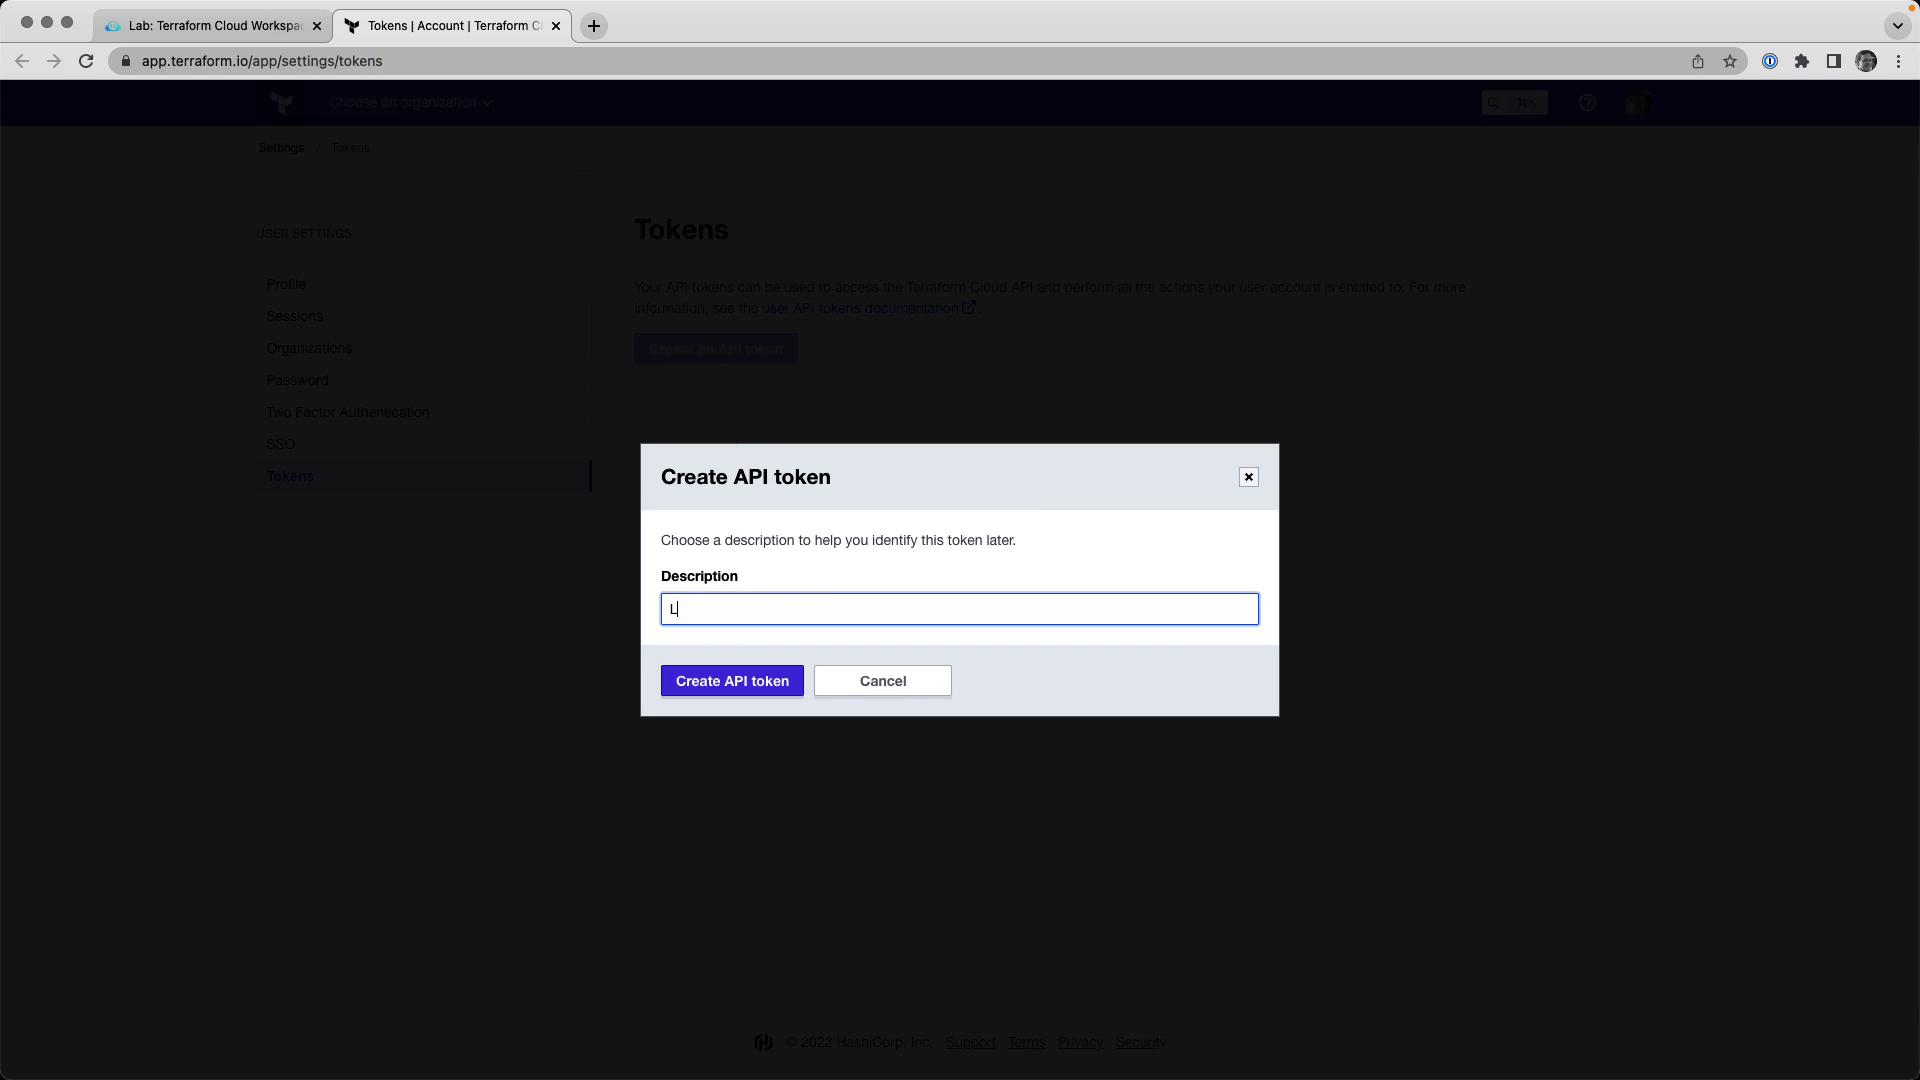
First, log in to Terraform Cloud from your terminal:
Follow the on-screen prompts to generate a new API token.
When prompted, paste your API token into the terminal. Successful authentication will display your user ID and a confirmation message.
Command Description terraform loginAuthenticate your local CLI with Terraform Cloud
Export your AWS credentials as environment variables:
export AWS_ACCESS_KEY_ID = YOUR_AWS_ACCESS_KEY_ID export AWS_SECRET_ACCESS_KEY = YOUR_AWS_SECRET_ACCESS_KEY
Never commit your AWS credentials or API tokens to version control. Use environment variables or a secrets manager.
These lab environments automatically tear down after one hour, so your temporary credentials remain safe.
Environment Variable Purpose AWS_ACCESS_KEY_IDAWS API access key AWS_SECRET_ACCESS_KEYAWS API secret key
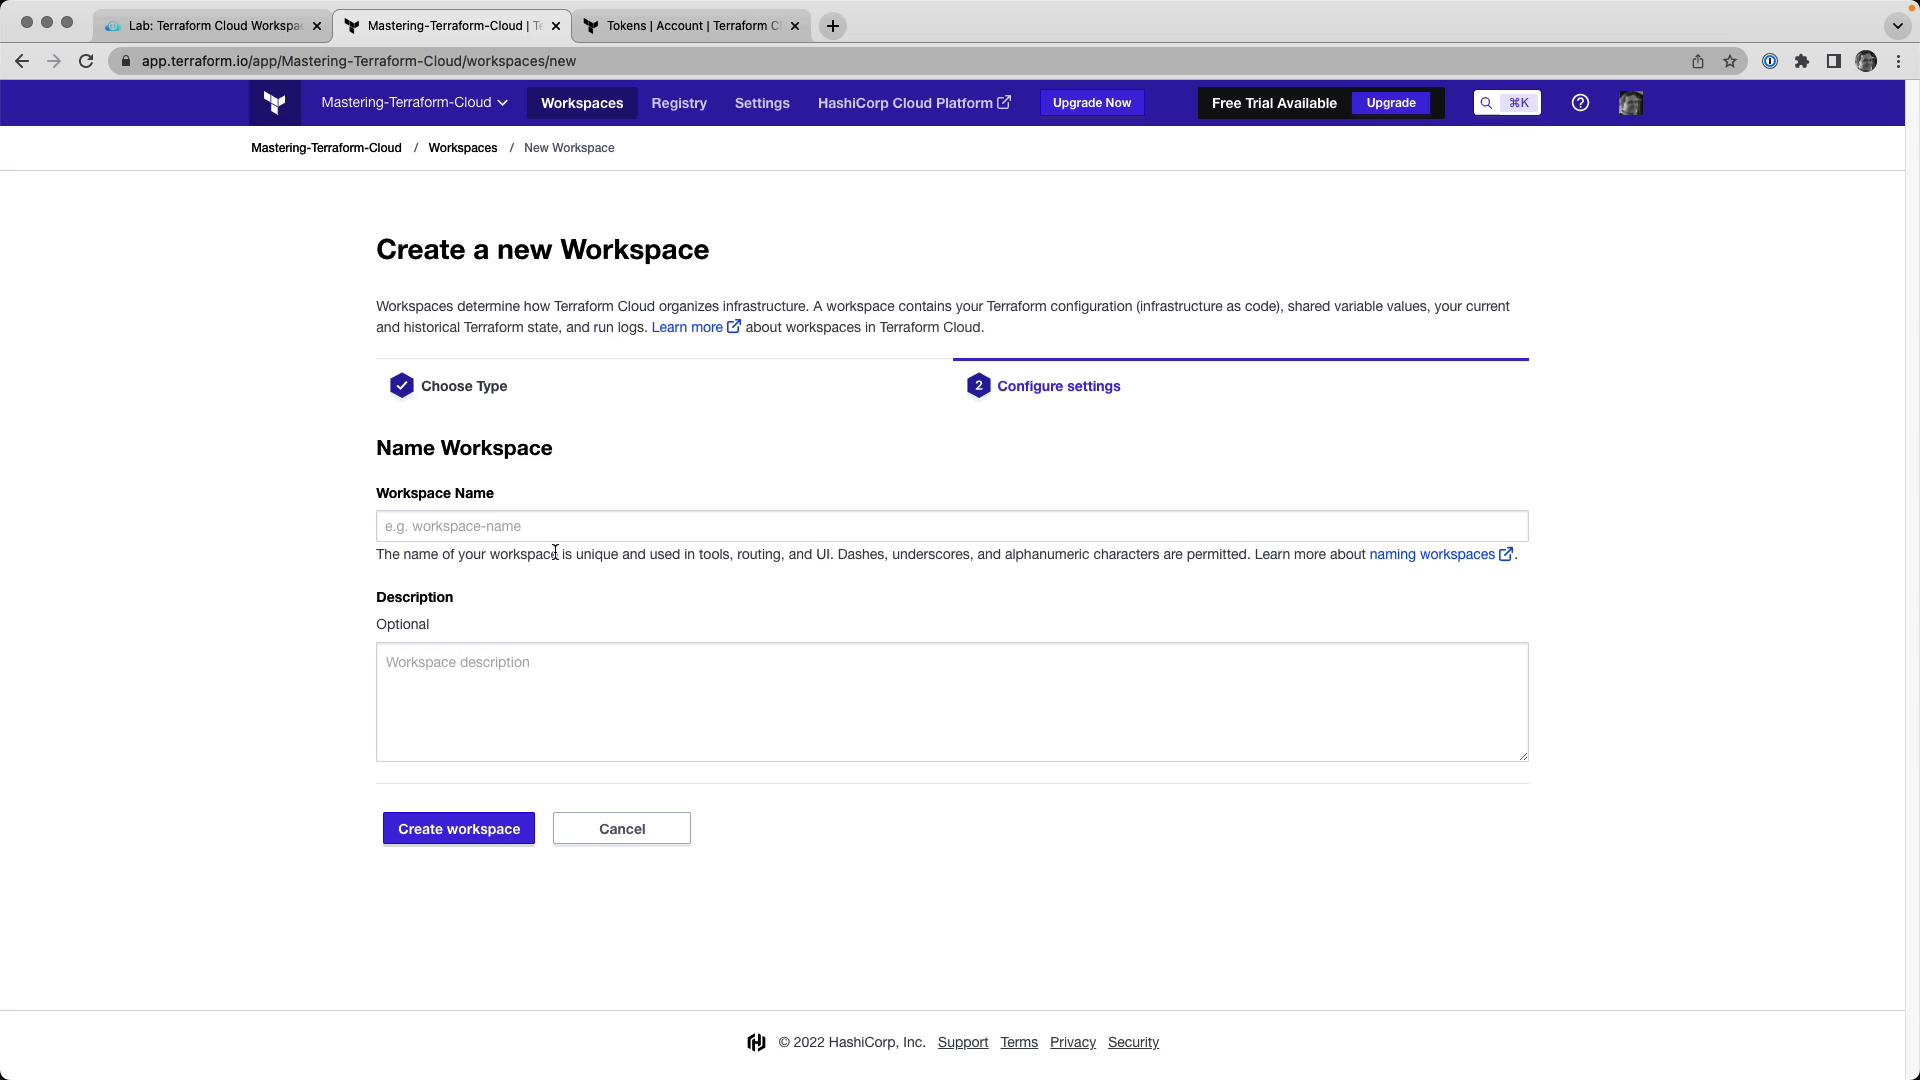
In Terraform Cloud’s web UI:
Select your organization.
Click New Workspace → CLI-driven workflow .
Enter:
Name : devops-aws-myapp-devDescription : Development environment for MyApp on AWS.
Add the following backend configuration to backend.tf (or your chosen .tf file):
terraform { cloud { organization = "Mastering-Terraform-Cloud" workspaces { name = "devops-aws-myapp-dev" } } }
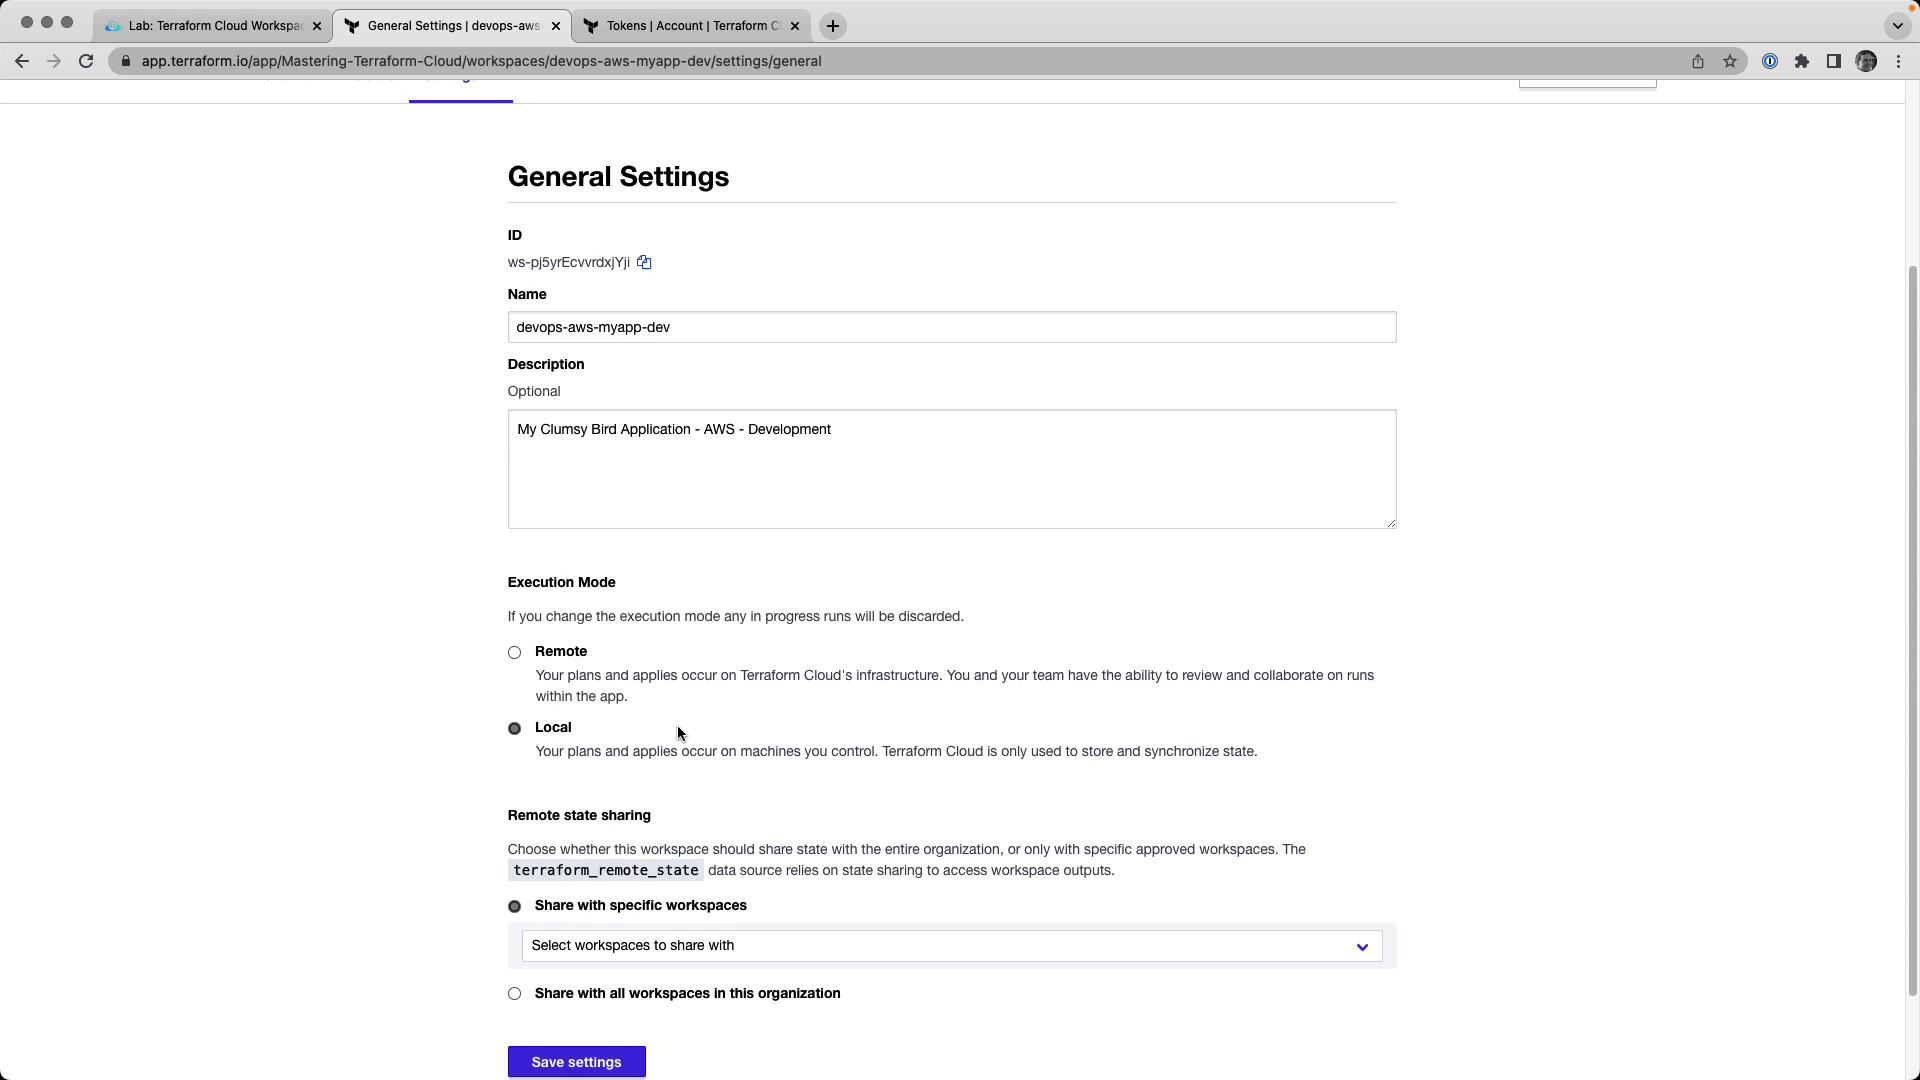
4. Match Versions & Set Execution Mode Ensure your local Terraform version matches the workspace setting:
In Terraform Cloud’s UI, go to Workspace → Settings → General , then:
Set Terraform Version to match your local client.
Change Execution Mode to Local .
Save your changes.
5. Initialize, Plan, and Apply Initialize your local directory and review the execution plan:
terraform init terraform plan
Expected plan output:
Plan : 23 to add, 0 to change, 0 to destroy . Changes to Outputs : + clumsy-bird-ip = (known after apply) + clumsy-bird-url = (known after apply)
Apply your configuration:
terraform apply -auto-approve
Sample apply summary:
Apply complete! Resources: 23 added, 0 changed, 0 destroyed. Outputs: clumsy-bird-ip = "http://18.214.74.214:8001" clumsy-bird-url = "http://ec2-18-214-74-214.compute-1.amazonaws.com:8001"
Navigate to Workspace → Runs and inspect the latest run. You’ll see resource details and outputs:
{ "outputs" : { "clumsy-bird-ip" : { "value" : "http://18.214.74.214:8001" , "type" : "string" }, "clumsy-bird-url" : { "value" : "http://ec2-18-214-74-214.compute-1.amazonaws.com:8001" , "type" : "string" } }, "resources" : [ { "mode" : "data" , "type" : "aws_ami" , "name" : "ubuntu" , "provider" : "provider.terraform.io/hashicorp/aws" } ] }
7. Tear Down Infrastructure When testing is complete, destroy all resources:
terraform destroy -auto-approve
Confirm the teardown:
Plan: 0 to add, 0 to change, 23 to destroy. Do you really want to destroy all resources in workspace "devops-aws-myapp-dev"? ... yes ... Apply complete! Resources: 0 added, 0 changed, 23 destroyed.
Links and References