devops-aws-myapp-dev) from local to remote execution. You’ll learn how to rename variable files, configure the remote backend, authenticate, and manage runs in Terraform Cloud—all while securely handling AWS credentials.
1. Log in and Select Your Workspace
- Navigate to https://app.terraform.io/ and log in.
- Choose your organization Mastering-Terraform-Cloud.
- Under Workspaces, click devops-aws-myapp-dev.

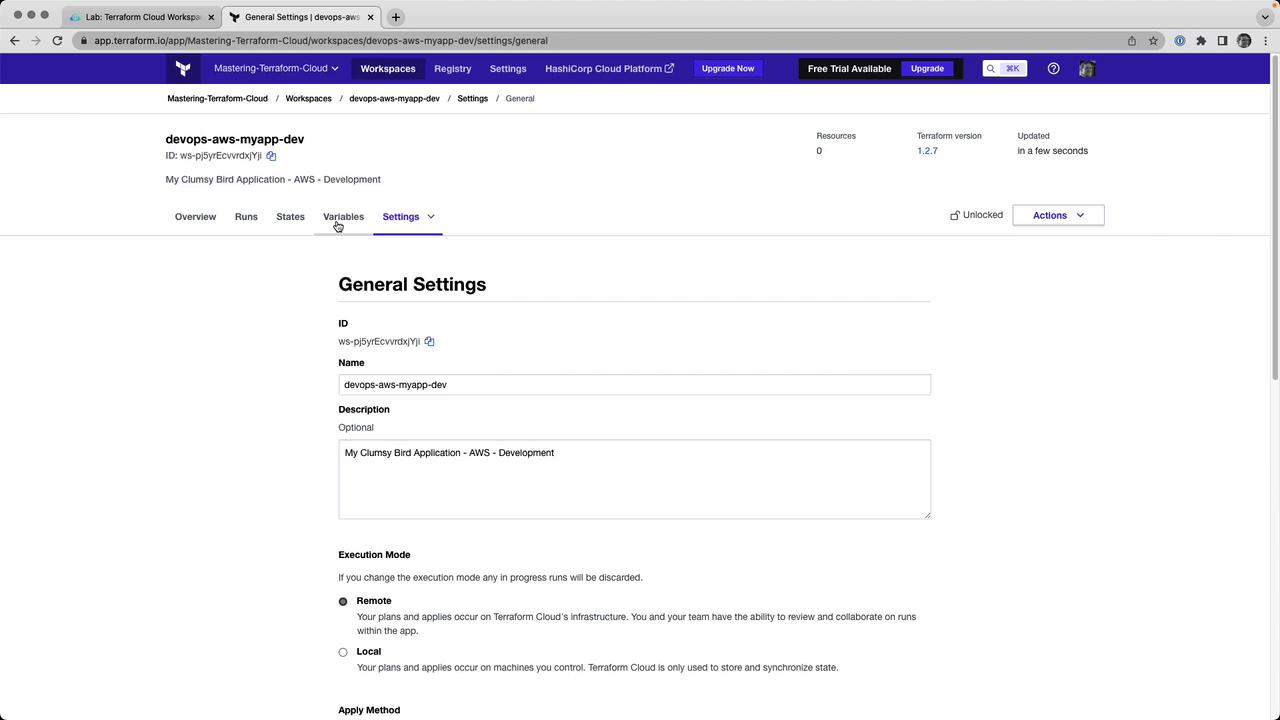
2. Enable Remote Execution
- Go to Settings → General.
- Change Execution Mode from Local to Remote.
- Click Save settings.
3. Rename Your Variables File
Terraform Cloud automatically loads any file ending in.auto.tfvars. Rename your local terraform.tfvars to:
terraform.auto.tfvars:
Files with the
*.auto.tfvars suffix are auto-loaded by Terraform Cloud—no manual variable uploads required.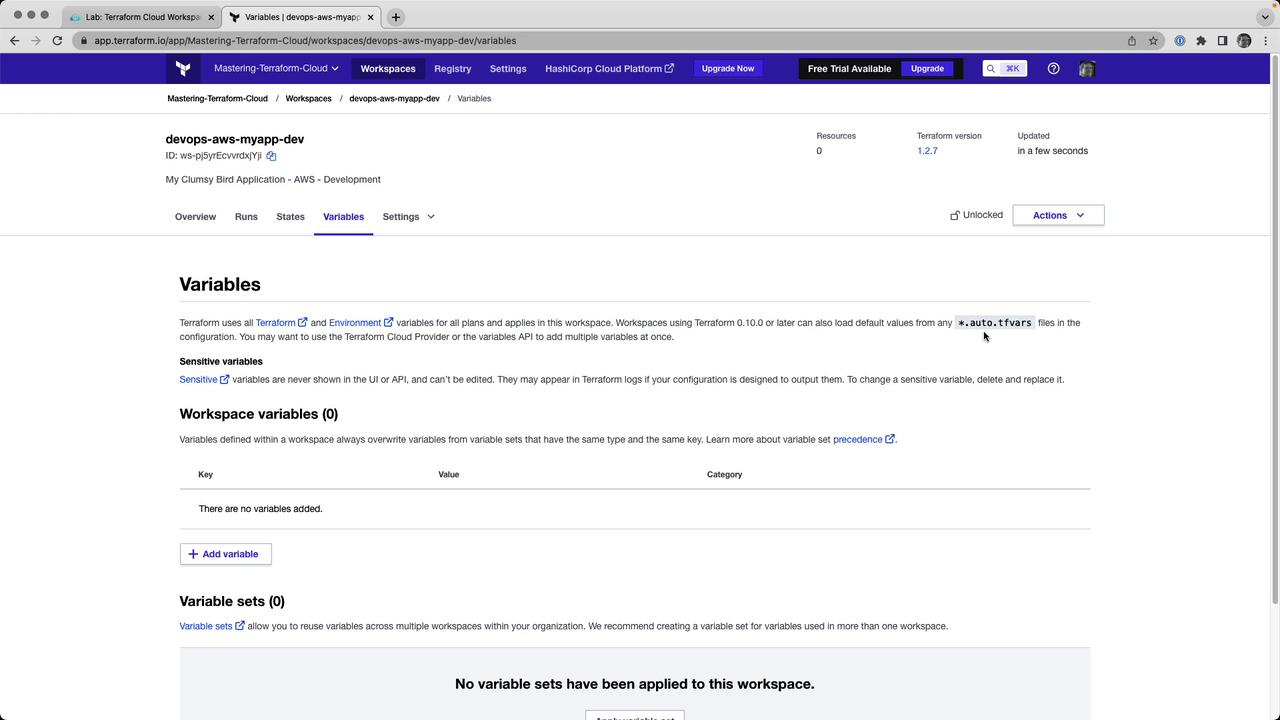
4. Configure the Remote Backend
In your Terraform configuration (e.g.,backend.tf), point to your Terraform Cloud organization and workspace:
5. Authenticate with Terraform Cloud
Run the login command to link your CLI to Terraform Cloud: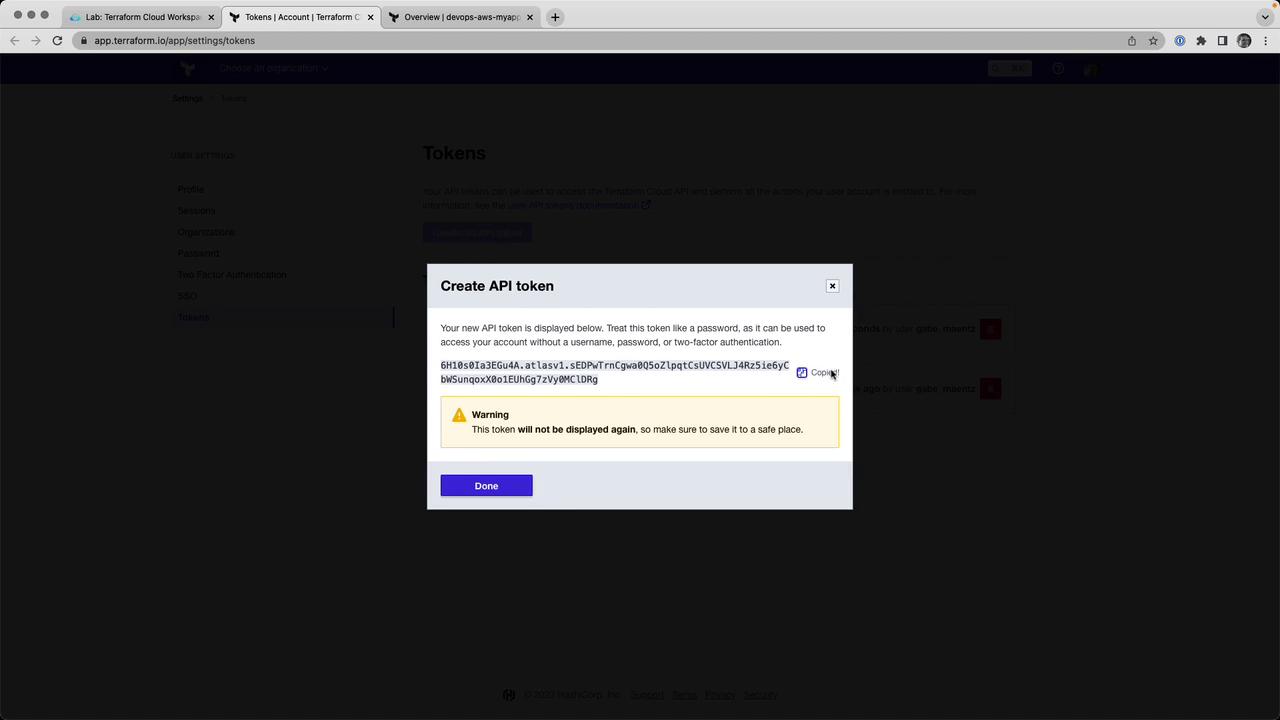
6. Initialize Terraform
Initialize the backend, providers, and modules. This will register your workspace with Terraform Cloud:7. Set Environment Variables in the Workspace
In the Terraform Cloud UI, go to Variables and add:| Variable Name | Category | Sensitive |
|---|---|---|
| AWS_ACCESS_KEY_ID | Environment | No |
| AWS_SECRET_ACCESS_KEY | Environment | Yes |
Mark
AWS_SECRET_ACCESS_KEY as Sensitive to prevent it from being exposed in logs or state files.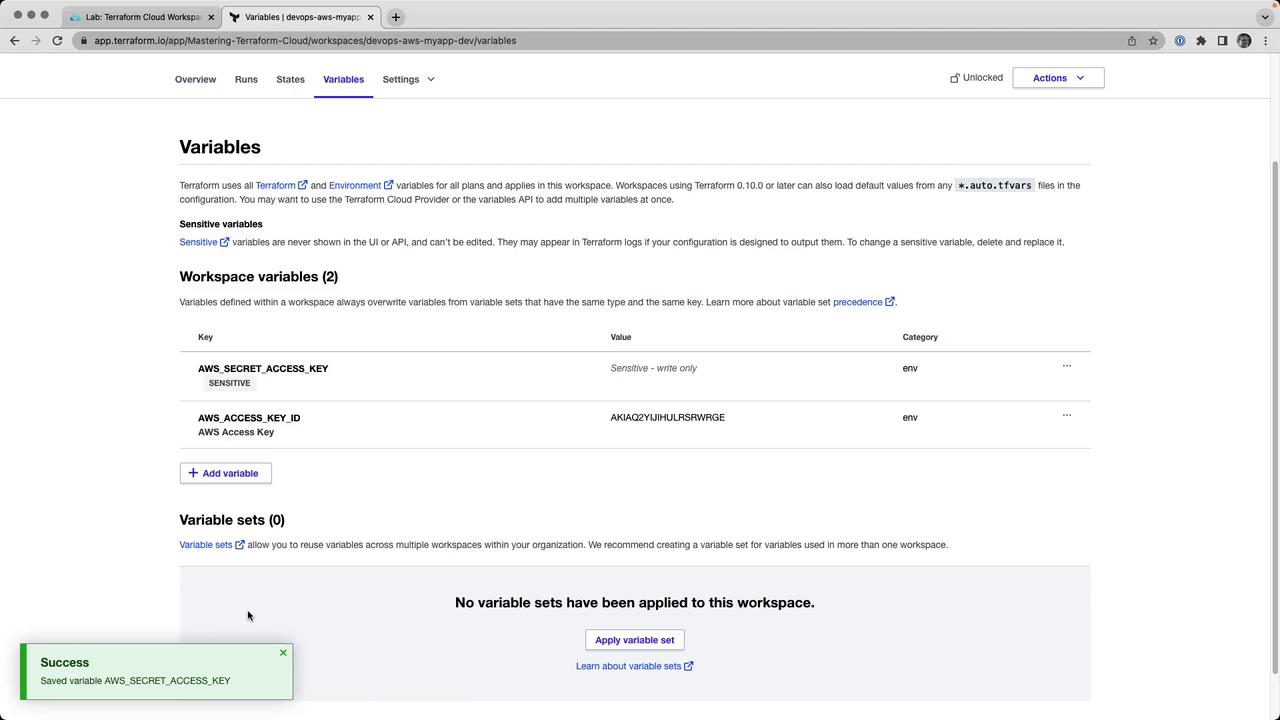
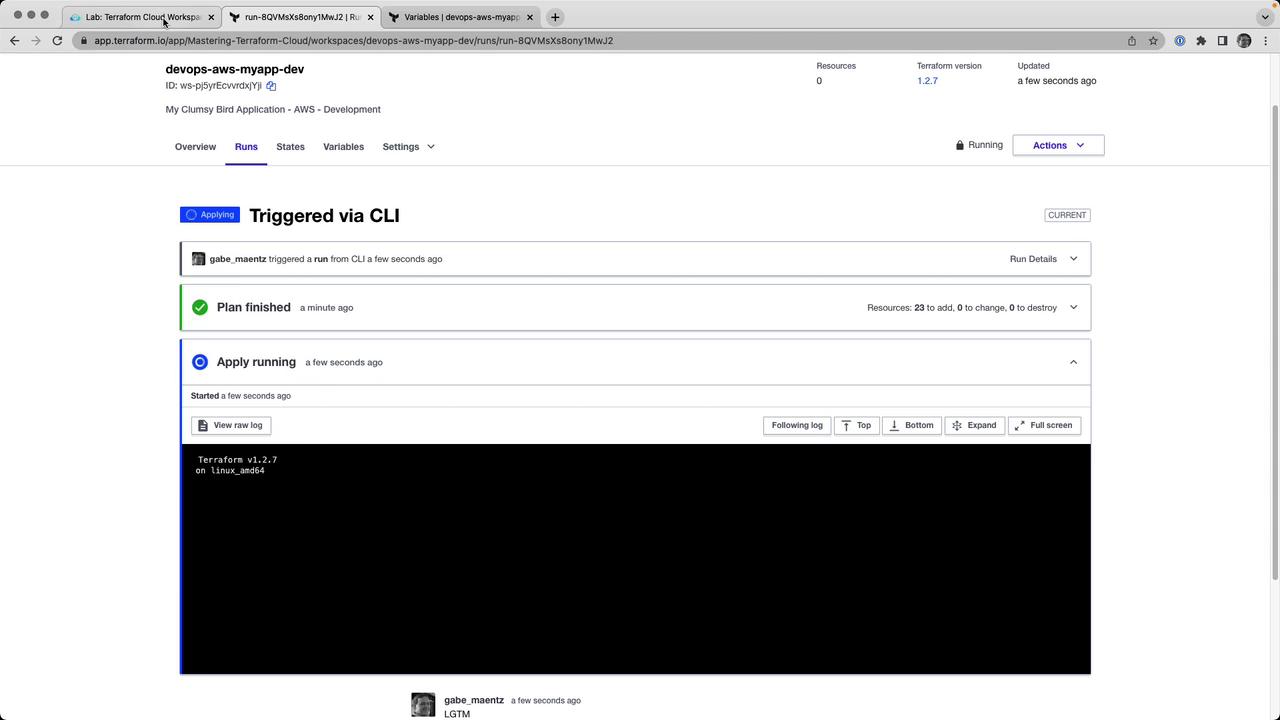
8. Run a Remote Plan
From your CLI, execute:
9. Apply the Run
Approve and apply your plan:-
CLI:
Type
yeswhen prompted. - UI: Click Confirm & Apply in the Runs tab.
10. Inspect State Versions
Terraform Cloud automatically versions your state. Under States, you can browse previous versions or view the latest state JSON:11. Teardown (Optional)
To destroy all resources managed by this workspace:Congratulations! You’ve successfully switched your Terraform Cloud workspace to remote execution, centralized state and runs, and managed sensitive variables securely.