HashiCorp : Terraform Cloud
Terraform Cloud Workspaces
Lab Solution Approval State locking
In this lab, you’ll learn how Terraform Cloud manages state locks to prevent concurrent state modifications. You’ll configure a remote backend, run a standard Terraform workflow, and explore both automatic and manual workspace locking.
Prerequisites
- Terraform CLI installed (v1.0+ recommended)
- Terraform Cloud account with access to the
Mastering-Terraform-CIorganization - An existing Terraform workspace named
devops-aws-myapp-dev
Note
Ensure you have Workspace Admin privileges in Terraform Cloud to manage locks.
1. Configure the Remote Backend
Update your Terraform configuration to use Terraform Cloud as the remote backend:
terraform {
  cloud {
    organization = "Mastering-Terraform-CI"

    workspaces {
      name = "devops-aws-myapp-dev"
    }
  }
}
Commit this change to your repository before proceeding.
2. Authenticate and Initialize
- Log in to Terraform Cloud:
terraform login - Clone the sample repo and initialize:
git clone https://github.com/hashicorp/tfc-getting-started.git
cd tfc-getting-started
terraform init
scripts/setup.sh
You should see output similar to:
Initializing Terraform Cloud...

Initializing provider plugins...
- Finding hashicorp/aws versions matching ">= 3.73.0, < 4.0"...
- Installing hashicorp/aws v4.32.0...
- Installed hashicorp/aws v4.32.0 (signed by HashiCorp)

Terraform has created a lock file .terraform.lock.hcl to record the provider
selections. Include this file in your version control repository.

Terraform Cloud has been successfully initialized!
3. Run Terraform Plan & Apply
When you execute terraform plan or terraform apply, Terraform Cloud:
- Queues the run
- Automatically locks the workspace during execution
- Prevents other runs until the lock is released
terraform plan
terraform apply
After a successful apply, you’ll see:
Apply complete! Resources: 23 added, 0 changed, 0 destroyed.

Outputs:

clumsy-bird-ip  = "http://54.235.109.203:8001"
clumsy-bird-url = "http://ec2-54-235-109-203.compute-1.amazonaws.com:8001"
Commit any changes before moving on.
4. Understanding Lock Types
| Lock Type | Trigger | Description |
|---|---|---|
| Automatic Lock | plan / apply operations | Terraform Cloud locks the workspace during runs automatically. |
| Manual Lock | User action in UI | Administrators can prevent new runs until they unlock. |
5. Manually Locking a Workspace
You can manually lock your workspace to halt any new runs:
- In Terraform Cloud UI, go to Workspaces > devops-aws-myapp-dev.
- Click Lock workspace.
You’ll see who owns the lock and any queued runs will wait:
Warning
Queued runs remain in the Pending state until the lock is released. Ensure this doesn’t block critical deployments.
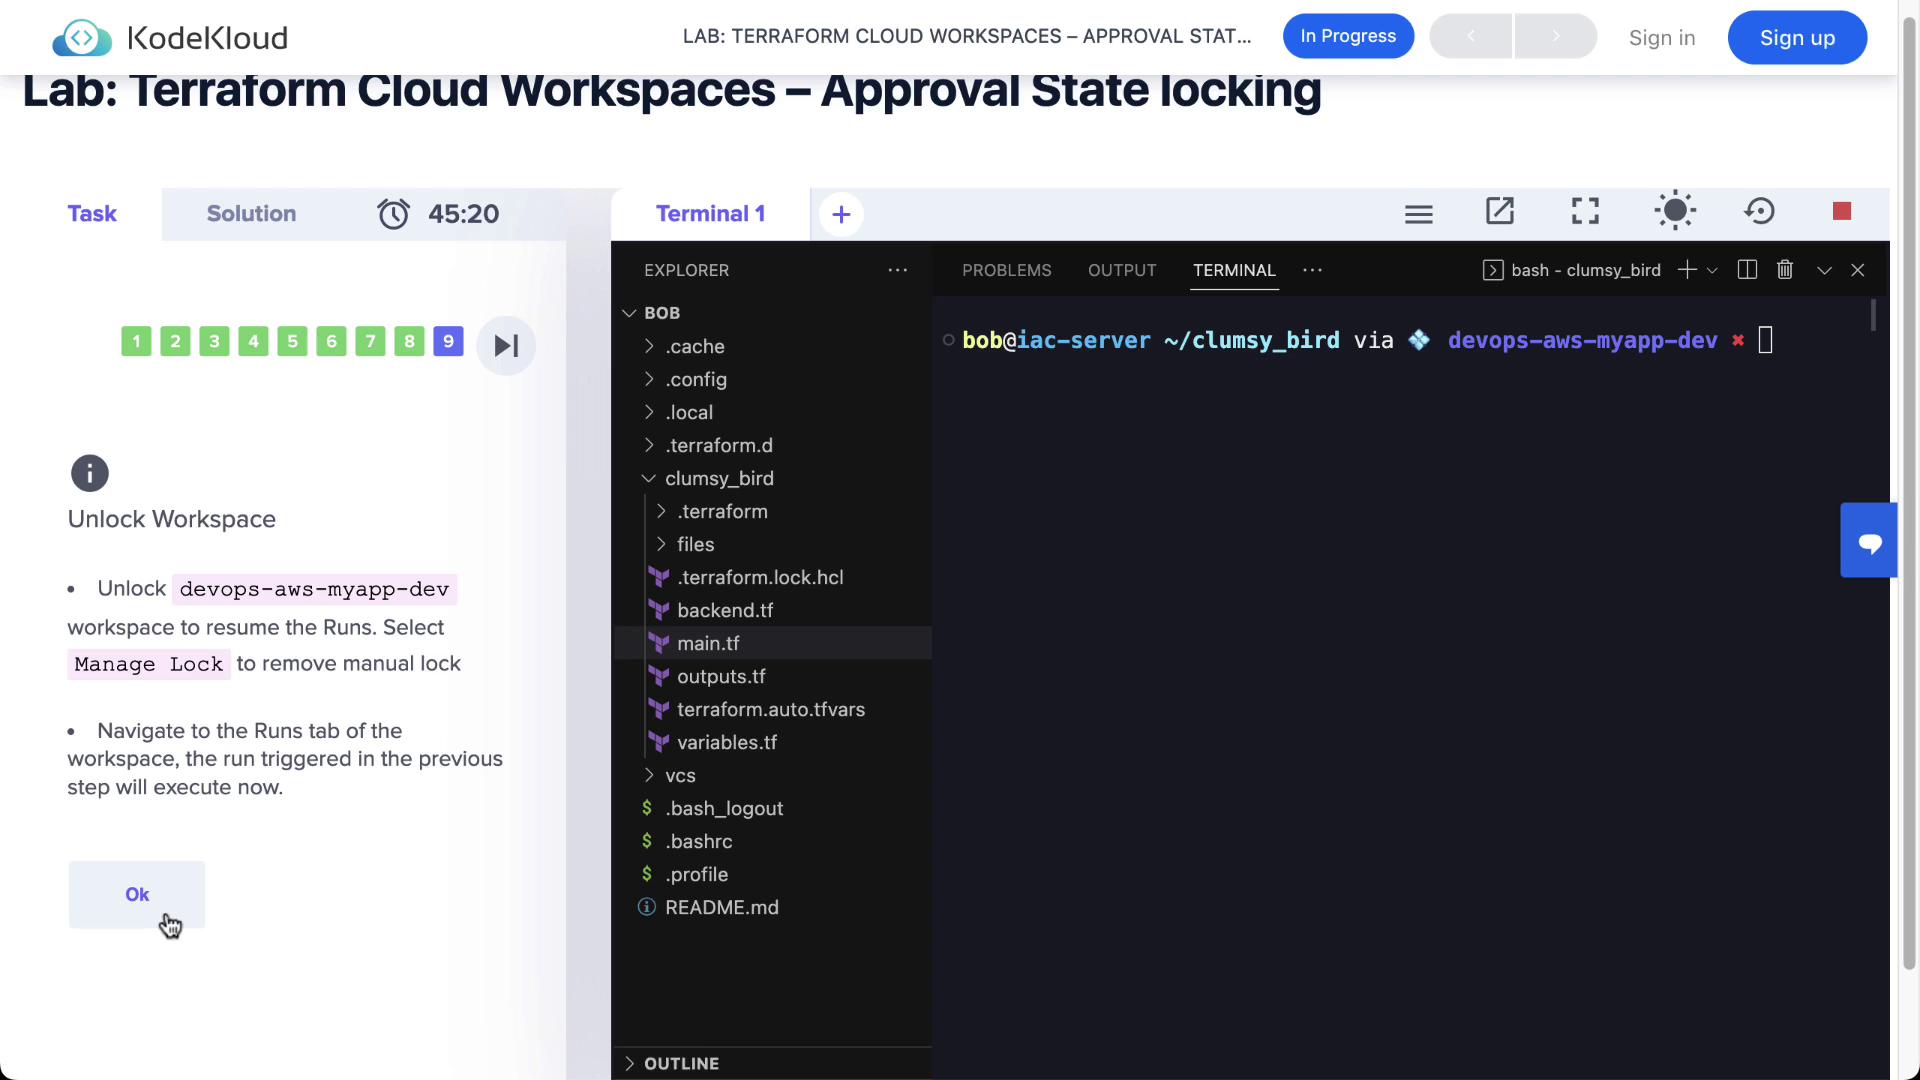
6. Unlocking the Workspace
Once you're ready to proceed:
- Navigate to Manage lock in the workspace settings.
- Click Unlock.
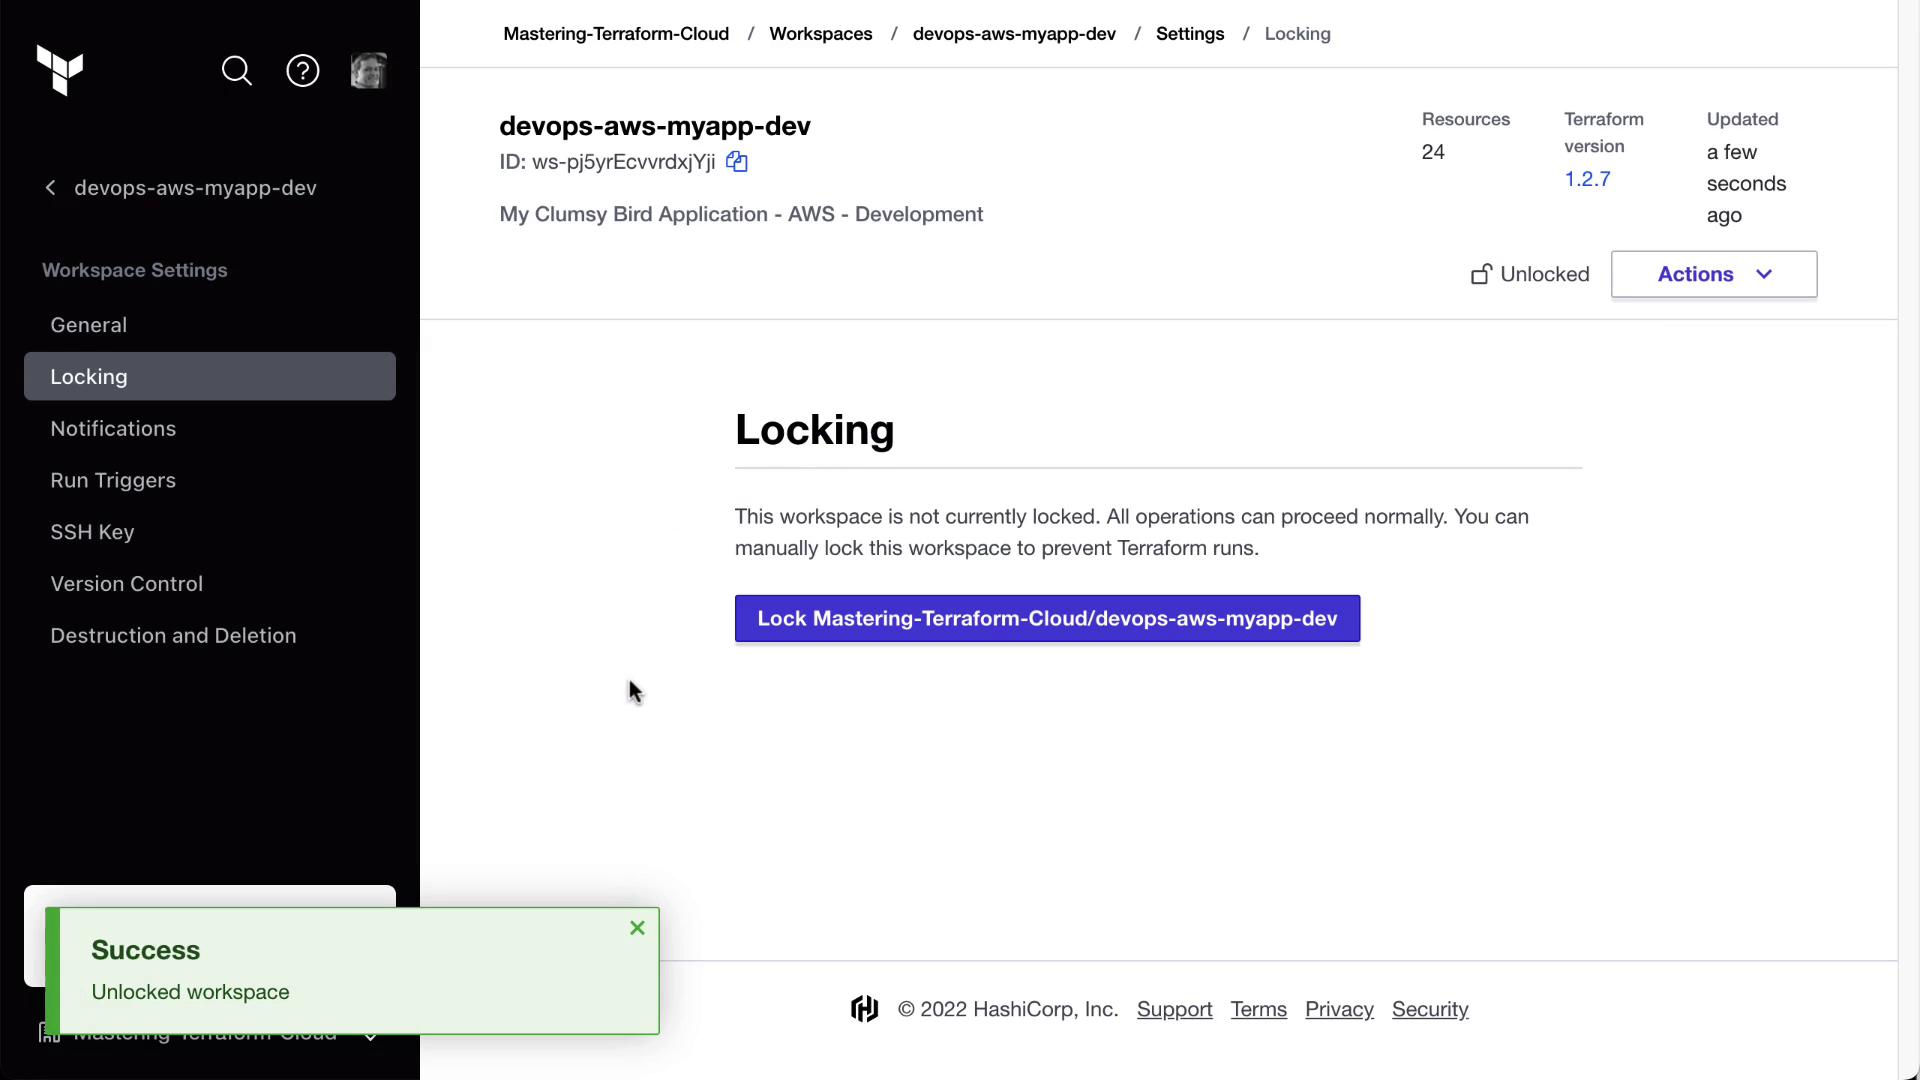
After unlocking, any pending runs will automatically move forward through plan and apply phases.
Next Steps
- Automate approvals with Run Tasks
- Explore Sentinel Policies to enforce compliance
- Integrate with VCS for pull request workflows
Links and References
Watch Video
Watch video content