Jenkins Pipelines

AWS Lambda and Advanced Deployment Techniques

Update Lambda Configuration

In this article, we explain how to update the AWS Lambda configuration using a Jenkinsfile. We focus on updating environment variables through the AWS Lambda CLI rather than the console, streamlining the deployment process.

AWS Lambda CLI: Updating Environment Variables

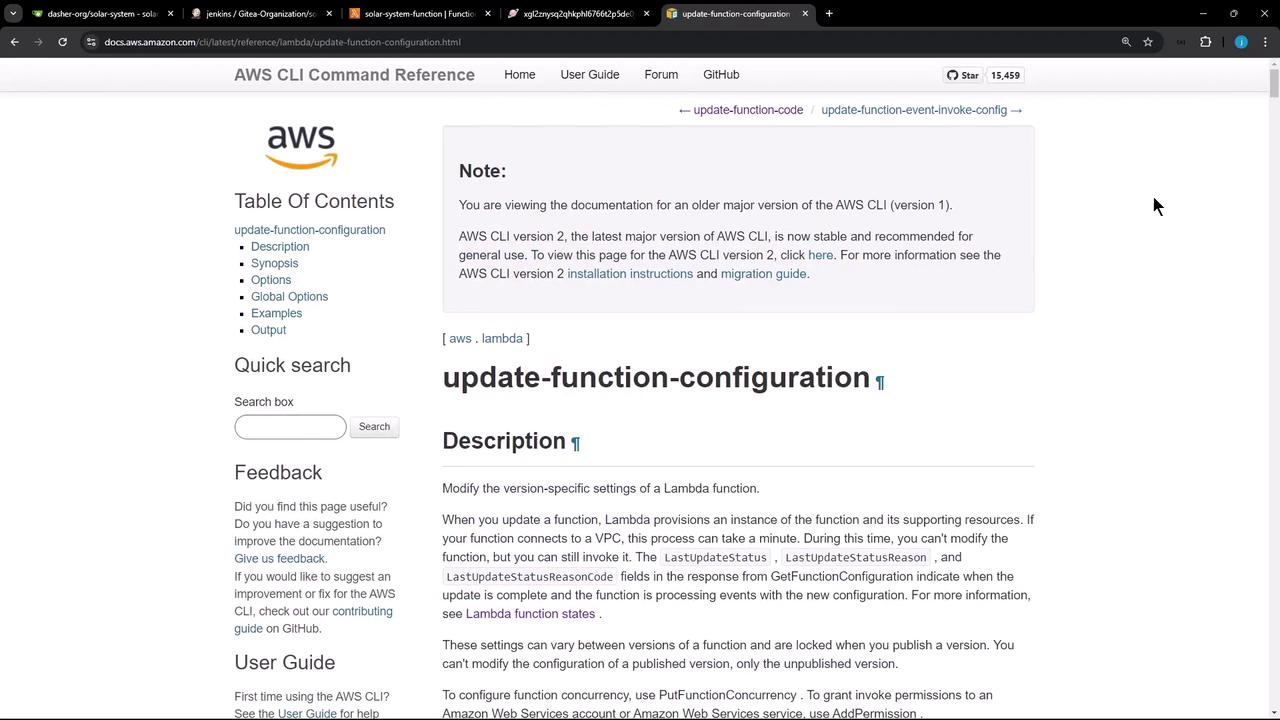
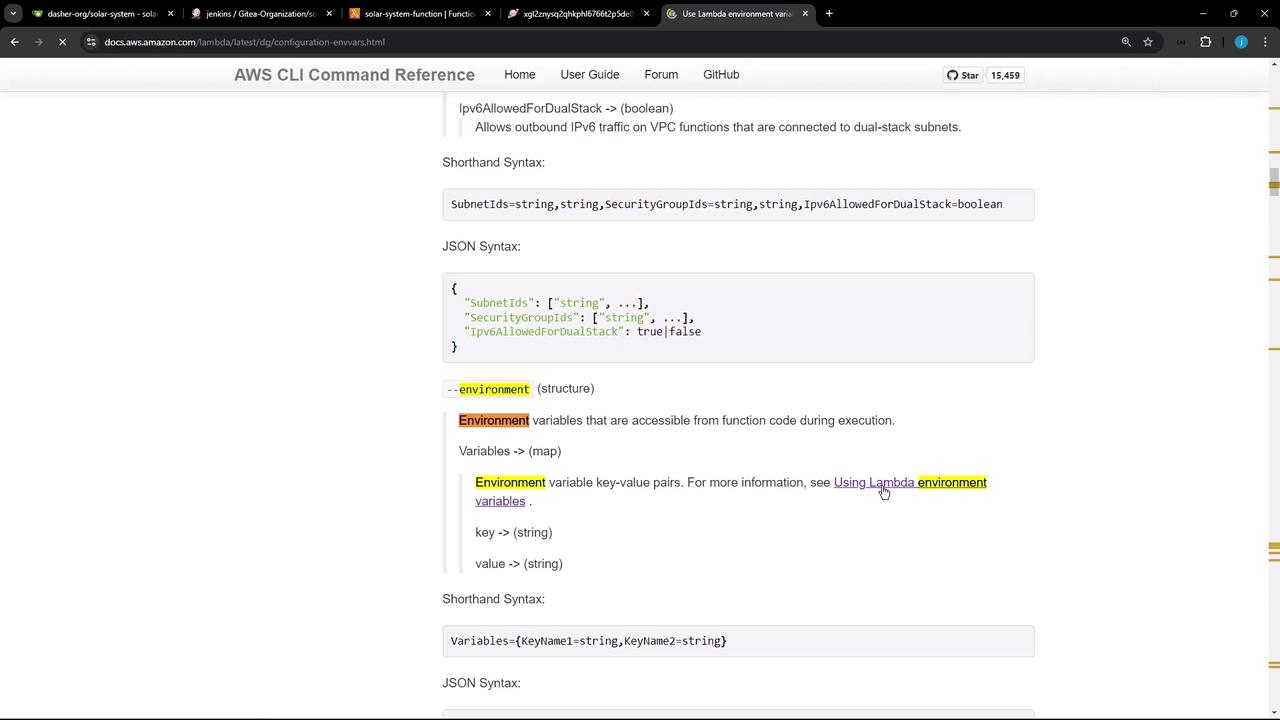
The AWS CLI command for updating Lambda function configuration is documented in the AWS CLI Command Reference. One key option in this command is "environment," which accepts environment variables as key-value pairs. Below is an overview of the command syntax:

The image shows a webpage from the AWS CLI Command Reference, specifically for the "update-function-configuration" command related to AWS Lambda. It includes sections like description, synopsis, options, and examples.

update-function-configuration
    --function-name <value>
    [-role <value>]
    [-handler <value>]
    [-description <value>]
    [-timeout <value>]
    [-memory-size <value>]
    [-vpc-config <value>]
    [-environment <value>]
    [-runtime <value>]
    [-dead-letter-config <value>]
    [-kms-key-arn <value>]
    [-tracing-config <value>]
    [-revision-id <value>]
    [-layers <value>]
    [-file-system-configs <value>]
    [-image-config <value>]
    [-ephemeral-storage <value>]
    [-snap-start <value>]
    [-logging-config <value>]
    [-cli-input-json <value>]
    [-generate-cli-skeleton <value>]
    [-debug]
    [-endpoint-url <value>]
    [-no-verify-ssl]
    [-no-paginate]
    [-output <value>]
    [-query <value>]
    [-profile <value>]

The environment variables are provided in JSON format. For more details on configuring Lambda functions using other methods (e.g., AWS SAM, SDKs, or the console), review the AWS documentation.

The image shows a webpage from the AWS CLI Command Reference, specifically detailing the configuration of environment variables for AWS Lambda functions, including syntax examples.

AWS SAM Template Example

Here is an example snippet from an AWS SAM template showing a basic function configuration. Although our focus is on using the CLI, this template illustrates how a function is defined:

AWSTemplateFormatVersion: '2010-09-09'
Transform: AWS::Serverless-2016-10-31
Description: An AWS Serverless Application Model template describing your function
Resources:
  my-function:
    Type: AWS::Serverless::Function
    Properties:
      CodeUri: ''
      Description: ''
      MemorySize: 128

Updating Lambda Configuration via CLI

To update the environment variables with the AWS CLI, use a command similar to the following example:

aws lambda update-function-configuration \
  --function-name my-function \
  --environment "Variables={BUCKET=amzn-s3-demo-bucket,KEY=file.txt}"

You can verify the updated configuration with:

aws lambda get-function-configuration \
  --function-name my-function

Integrating Lambda Updates in Jenkinsfile

Next, update your Jenkinsfile to reuse environment variables like Mongo username, Mongo password, and the Mongo URI. Below is an example snippet from the Jenkinsfile:

pipeline {
    agent any
    tools { /* ... */ }
    environment {
        MONGO_URL = "mongodb+srv://supercluster.d83jj.mongodb.net/superData"
        MONGO_DB_CREDS = credentials('mongo-db-credentials')
        MONGO_USERNAME = credentials('mongo-db-username')
        MONGO_PASSWORD = credentials('mongo-db-password')
        SONAR_SCANNER_HOME = tool 'sonarqube-scanner-610'
        GITEA_TOKEN = credentials('gitea-api-token')
    }
    options { /* ... */ }
    stages {
        stage('Installing Dependencies') { /* ... */ }
        stage('Dependency Scanning') { /* ... */ }
        stage('Unit Testing') { /* ... */ }
        stage('Code Coverage') { /* ... */ }
    }
}

Lambda S3 Upload and Deploy Stage

In the Jenkinsfile, the Lambda S3 upload and deploy stage proceeds in two steps: updating the function code and then updating the configuration using the AWS CLI. Here’s how the shell scripts are organized:

  1. Zip the Application Files

    sh """
    zip -qr solar-system-lambda-$BUILD_ID.zip app* package* index.html node*
    ls -ltr solar-system-lambda-$BUILD_ID.zip
    """
    
  2. Upload to S3

    s3Upload(
      file: "solar-system-lambda-${BUILD_ID}.zip",
      bucket: "solar-system-lambda-bucket"
    )
    
  3. Update Lambda Environment Variables

    sh """
    aws lambda update-function-configuration \
        --function-name solar-system-function \
        --environment '{"Variables":{"MONGO_USERNAME":"${MONGO_USERNAME}","MONGO_PASSWORD":"${MONGO_PASSWORD}","MONGO_URI":"${MONGO_URI}"}}'
    """
    
  4. Update Lambda Function Code

    sh """
    aws lambda update-function-code \
        --function-name solar-system-function \
        --s3-bucket solar-system-lambda-bucket \
        --s3-key solar-system-lambda-$BUILD_ID.zip
    """
    

In these scripts, environment variables from Jenkins are dynamically passed to the Lambda configuration. The JSON syntax ensures that AWS Lambda receives the key-value pairs in the expected format.

Modifying the Application File

Prior to packaging, certain modifications are made to the application file (e.g., "app.js"):

sed -i "s/app\\.listen(3000/ s/\\\\//" app.js
sed -i "s/module.exports = app;/module.exports = app;/" app.js
sed -i "s|module.exports.handler|module.exports.handler|" app.js
echo "*********************************************************"
tail -5 app.js

After these changes, the package is zipped, uploaded to S3, and both the Lambda function configuration and code are updated accordingly.

Handling Dependency Vulnerabilities

During the build process, you may encounter dependency issues. For example, the pipeline might initially fail due to a detected critical vulnerability in the "i18n" dependency. To temporarily bypass this issue, you can modify the dependency scanning stage in the Jenkinsfile by setting the stopBuild flag to false.

Warning

It is best practice to resolve such vulnerabilities rather than bypassing them. Use the bypass only as a temporary measure.

Here is an example of the modified dependency scanning stage:

stage('Dependency Scanning') {
    parallel {
        stage('NPM Dependency Audit') {
            // Audit steps...
        }
    }
    
    stage('OWASP Dependency Check') {
        steps {
            dependencyCheck additionalArguments: '''
                --scan ./
                --out ./
                --format 'ALL'
                --disableYarnAudit \
                --prettyPrint''', odcInstallation: 'OWASP-DepCheck-10'
            dependencyCheckPublisher failedTotalCritical: 1, pattern: 'dependency-check-report.xml',
                stopBuild: false
        }
    }
}

Final Deployment and Verification

After committing these modifications and triggering a new Jenkins build, the deployment process will:

  1. Update the Lambda function configuration with the new environment variables.
  2. Upload the updated zipped package to S3.
  3. Update the Lambda function code.

For instance, an updated command might look like:

aws lambda update-function-configuration --function-name solar-system-function --environment "{\"Variables\":{\"MONGO_USERNAME\":\"${MONGO_USERNAME}\",\"MONGO_PASSWORD\":\"${MONGO_PASSWORD}\",\"MONGO_URI\":\"mongodb://${MONGO_USERNAME}:${MONGO_PASSWORD}@supercluster.d83jj.mongodb.net/superData\"}}"

The AWS CLI output confirms that sensitive credentials are masked and that the updated environment variables are correctly applied. Subsequently, the function code is refreshed with:

aws lambda update-function-code --function-name solar-system-function --s3-bucket solar-system-lambda-bucket --s3-key solar-system-lambda-$BUILD_ID.zip

Finally, you can visit the AWS Lambda console to verify that the environment variables appear as expected:

The image shows an AWS Lambda console displaying the configuration tab with environment variables for a function, including keys and values for MongoDB connection details.

After testing, the application should no longer return an internal server error. When you access the application endpoint, the response should be:

{
  "status": "live"
}

This confirms that the Jenkinsfile successfully updates both the Lambda configuration (environment variables) and the application code. In future stages, you might add integration testing to directly invoke the Lambda function from the Jenkinsfile.

Conclusion

This article has demonstrated how to update the AWS Lambda configuration using the Jenkinsfile by leveraging the AWS CLI. By updating both the environment variables and function code, you ensure that changes are effectively deployed. For additional details, visit the AWS Lambda Documentation.

Thank you for following along.

Watch Video

Watch video content

Previous
Lambda Deployment using Jenkinsfile