Jenkins Pipelines
AWS Lambda and Advanced Deployment Techniques
Using GenAI to Generate Steps for Lambda Deployment
Before deploying a Node.js application to AWS Lambda via a Jenkins pipeline, it is essential to modify the application for Lambda compatibility. Originally built and deployed on AWS EC2 using Docker and later on Kubernetes, the application requires adjustments in its business logic to work as a Lambda function.
For a detailed understanding of these changes, please refer to the official AWS Lambda documentation. Alternatively, if you need a quick overview and would like to generate a Jenkins pipeline automatically, leveraging GenAI tools like GitHub Copilot in Action can be very beneficial.
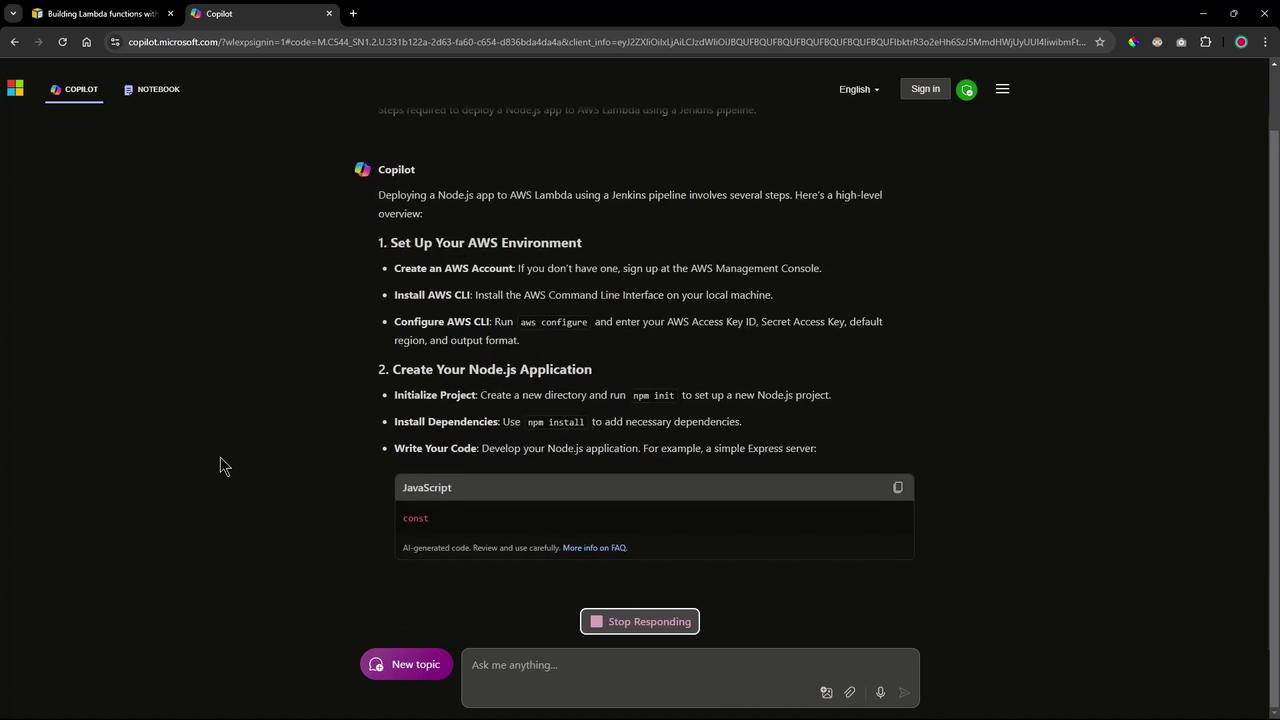
Below is a series of questions and answers generated with GenAI that illustrate how to adapt your Node.js application for AWS Lambda deployment.
1. Steps to Deploy a Node.js Application to AWS Lambda Using a Jenkins Pipeline
The following steps outline the key actions involved:
Setup AWS Environment
Ensure you have an active AWS account to deploy your Lambda function.
Prepare the Node.js Application
Even if your application is ready, make sure to install all necessary dependencies.Package Your Application
Package your application into a zip file for upload. For example:zip -r my-node-app.zip index.js node_modulesDeploy to AWS Lambda
Create a Lambda function using the AWS CLI, ensuring you specify the correct IAM role:aws lambda create-function --function-name my-node-app --zip-file fileb://my-node-app.zip --handler index.handler --runtime nodejs14.x --role arn:aws:iam::<your-account-id>:role/<your-role-name>Configure Jenkins Pipeline
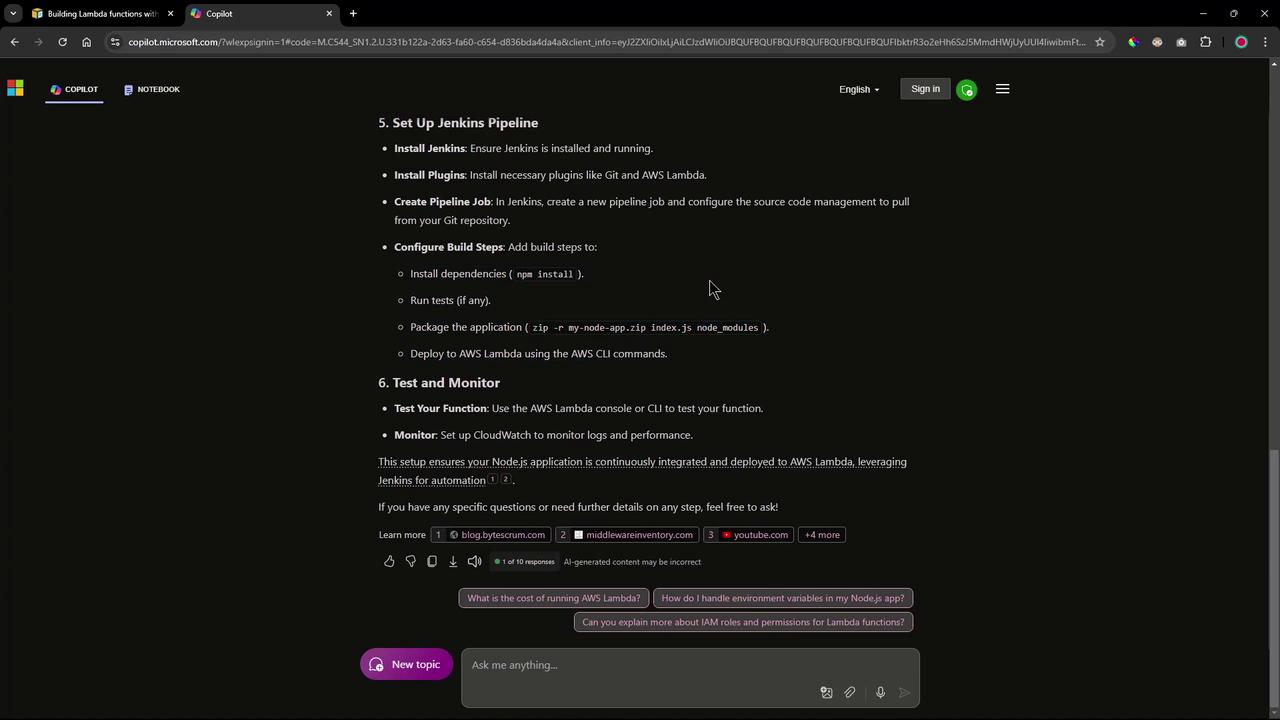
In Jenkins, set up multiple stages including dependency installation, unit testing, packaging, and deployment. Consider installing plugins like Git and AWS Lambda to facilitate the process.
2. Addressing Lambda or Serverless Dependencies in the Node.js Application
When adapting your Node.js application for Lambda, you will often need to include additional dependencies. GenAI recommends adding packages such as serverless and serverless-http along with Express.
You can install these dependencies using:
npm install -g serverless
npm install serverless-http
npm install express
A typical project initialization might look like this:
npm init -y
npm install express serverless-http
And your modified app.js file should be structured as follows:
const express = require('express');
const serverless = require('serverless-http');

const app = express();

app.get('/', (req, res) => {
  res.send('Hello, AWS Lambda!');
});

module.exports.handler = serverless(app);
Additionally, a sample serverless.yml configuration file might be:
service: my-node-app
provider:
  name: aws
  runtime: nodejs14.x
  region: us-east-1
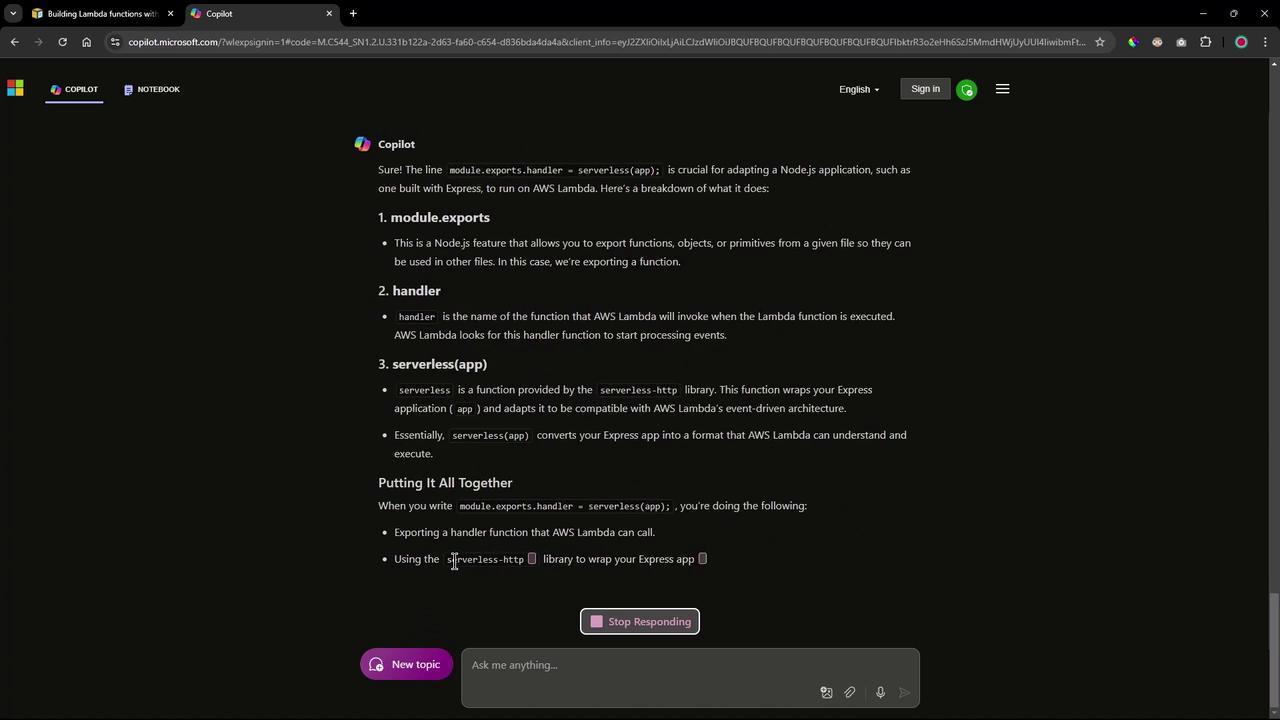
The serverless-http library wraps your Express application and adapts it for AWS Lambda’s event-driven architecture.

3. Modifying the app.js File for Lambda Compatibility
To ensure your application is compatible with AWS Lambda, you need to export the handler using the serverless-http library. This change adapts your Express routes to work within the event-driven model of Lambda. Update your app.js file as shown:
const express = require('express');
const serverless = require('serverless-http');
const app = express();

app.get('/', (req, res) => {
    res.send('Hello, AWS Lambda!');
});

module.exports.handler = serverless(app);
4. Updating a Lambda Function Using the AWS CLI
When updating your Lambda function’s code, you can use the AWS CLI command update-function-code. Based on where your deployment package is stored, you have three options:
Update directly with a zip file:
aws lambda update-function-code --function-name my-function --zip-file fileb://my-function.zipUpdate from an S3 bucket:
aws lambda update-function-code --function-name my-function --s3-bucket my-bucket --s3-key my-function.zipUpdate and publish the new version:
aws lambda update-function-code --function-name my-function --zip-file fileb://my-function.zip --publish
5. Retrieving the Lambda Function URL
After deployment, you can retrieve the function URL by running the following command:
aws lambda get-function-url-config --function-name my-function
This command returns the URL used to invoke your Lambda function.

6. Summary and Final Commands
The key steps for deploying a Node.js application to AWS Lambda using a Jenkins pipeline include:
- Installing necessary dependencies (Express, serverless-http, etc.)
- Packaging your application into a zip file
- Exporting a Lambda-compatible handler from your application
- Updating the function code using AWS CLI commands
- Retrieving and testing your deployed Lambda function
Below is a consolidated example of commands you might execute:
# Install dependencies
npm install
npm init -y
npm install express serverless-http

# Package the application
zip -r my-node-app.zip index.js node_modules

# Update Lambda function using a local zip file
aws lambda update-function-code --function-name my-function --zip-file fileb://my-node-app.zip

# Alternatively, update using an S3 bucket
aws s3 cp my-node-app.zip s3://my-bucket/my-node-app.zip
aws lambda update-function-code --function-name my-function --s3-bucket my-bucket --s3-key my-node-app.zip

# Retrieve function URL configuration
aws lambda get-function-url-config --function-name my-function
For a brief modification of your application code to ensure Lambda compatibility, you can use:
const express = require('express');
const serverless = require('serverless-http');

const app = express();

app.get('/', (req, res) => {
  res.send('Hello, AWS Lambda!');
});

module.exports.handler = serverless(app);
Additionally, to adjust the app.js file if needed, you might run:
# Example commands to comment out local server startup code
sed -i 's/app\.listen(3000/\/\/ app.listen(3000/' app.js
sed -i 's/module.exports = app;/\/\/ module.exports = app;/' app.js
Note
In the next session, these commands will be executed manually to validate the deployment process. Subsequent automation will be implemented using a Jenkins pipeline.
Thank you for following this lesson on using GenAI to streamline Lambda deployment via a Jenkins pipeline.
Watch Video
Watch video content