Viewing Your AWS EC2 Instance
Begin by logging into the AWS Management Console and navigating to the EC2 dashboard. Here, you’ll notice an instance named “dev deploy” that is currently running.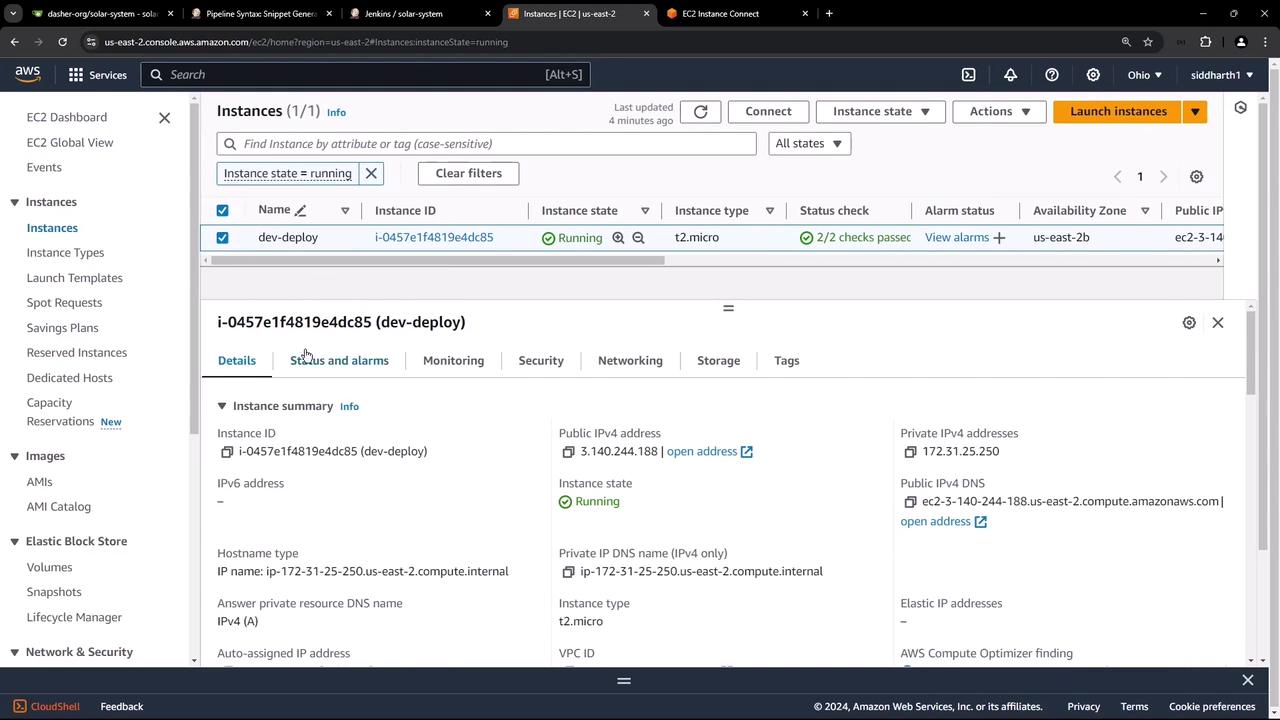
Configuring AWS Credentials for Jenkins
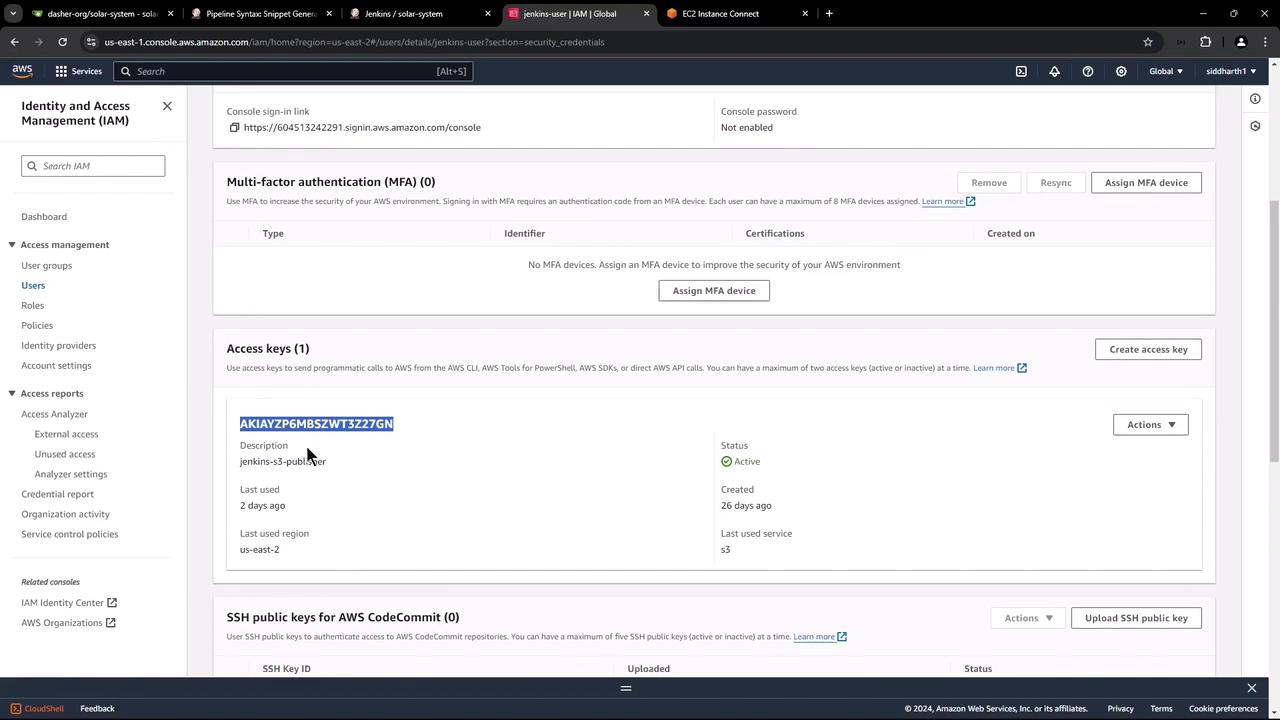
As part of our deployment process, we will eventually push artifacts to an S3 bucket and deploy Lambda functions. To enable Jenkins to interact with these services (EC2, S3, and Lambda), you need an IAM user with the appropriate credentials. Visit the IAM dashboard in the AWS console and locate the user named “jenkins-user,” which has been configured with full access policies for Amazon EC2, Amazon S3, and AWS Lambda.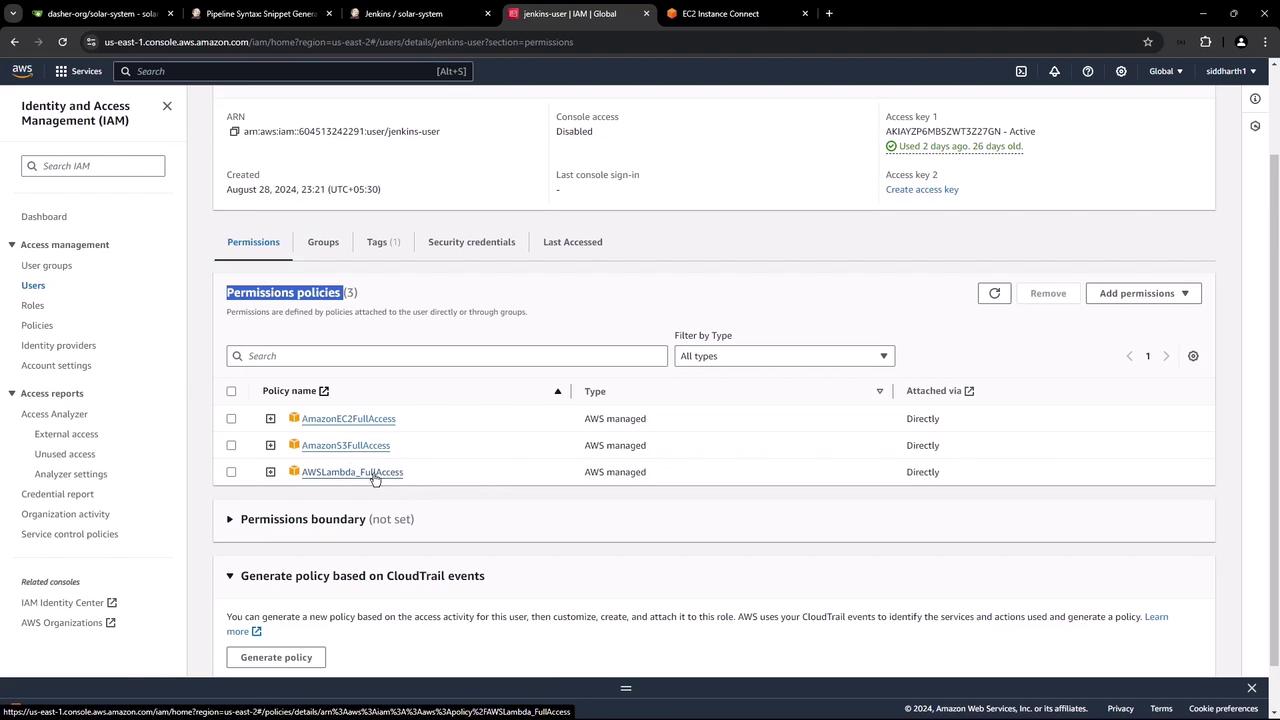
Although full access is provided for demo purposes, it is recommended to use the principle of least privilege in production environments.
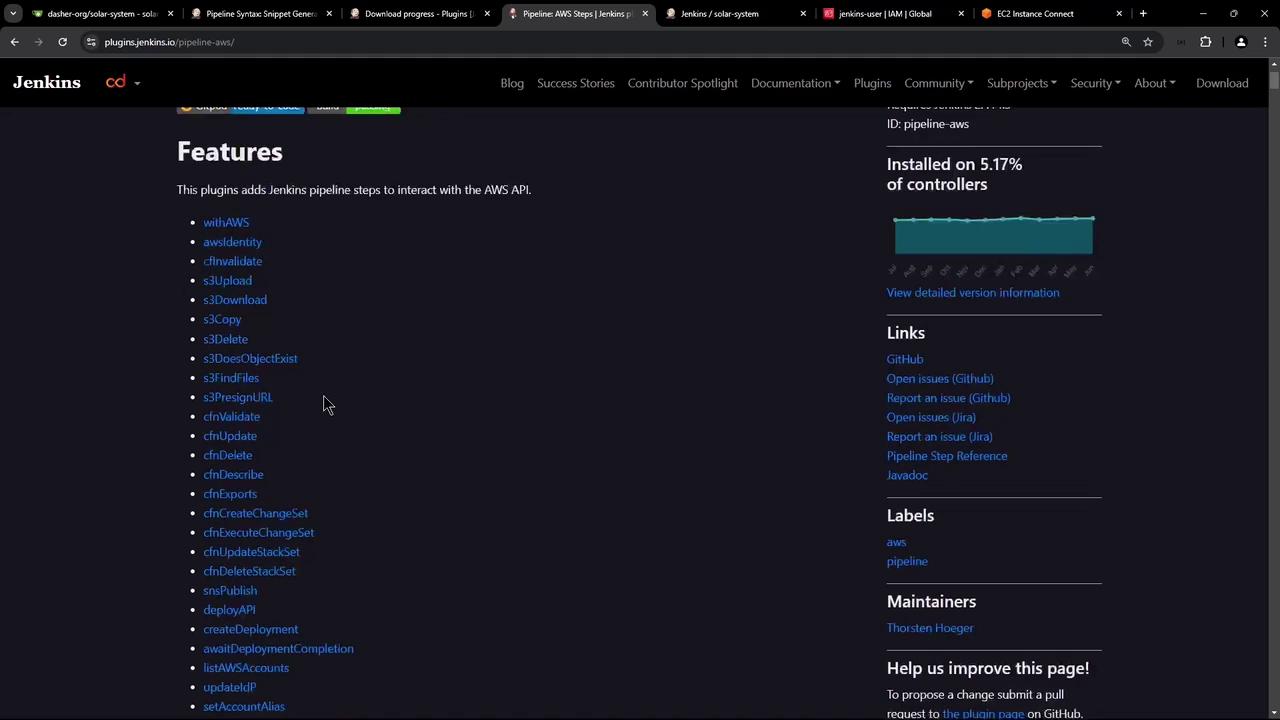
Installing the AWS Step Functions Plugin in Jenkins
Next, you need to configure Jenkins to store the AWS credentials. Start by installing the AWS Step Functions plugin (also known as the AWS Steps plugin) along with other AWS-related plugins available in Jenkins.
Adding AWS Credentials in Jenkins
To add your AWS credentials, navigate to: Manage Jenkins > Credentials > Global > Add Credentials Select the AWS credentials type provided by the plugin. For this demonstration, name the credential “AWS S3-EC2-Lambda” and provide the description “AWS credentials.” Input the access key and secret key obtained from AWS, then click Create. Upon successful creation, Jenkins will confirm that the credentials are valid and have access to multiple availability zones.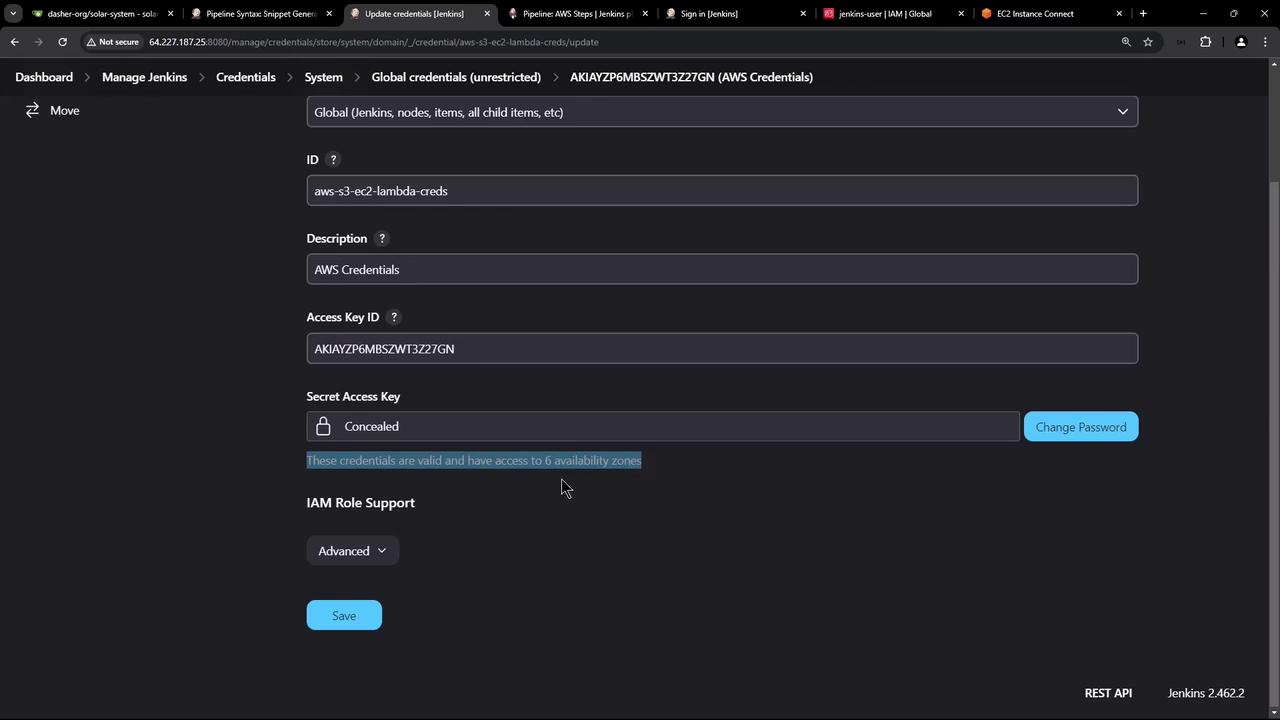
Configuring SSH for EC2 Instance Access
In addition to using AWS credentials, SSH access to the EC2 instance is required. This is achieved using a private key. In Jenkins, install the SSH Agent plugin which simplifies providing SSH credentials to your builds. After the SSH Agent plugin is installed, add a new credential by navigating to: Manage Jenkins > Credentials > Global > Add Credentials Select “SSH Username with private key,” use “Ubuntu” as the username, and paste your private key. It is advisable to name this credential “AWS DevOps deploy EC2 instance” with the description “SSH username and private key for EC2.”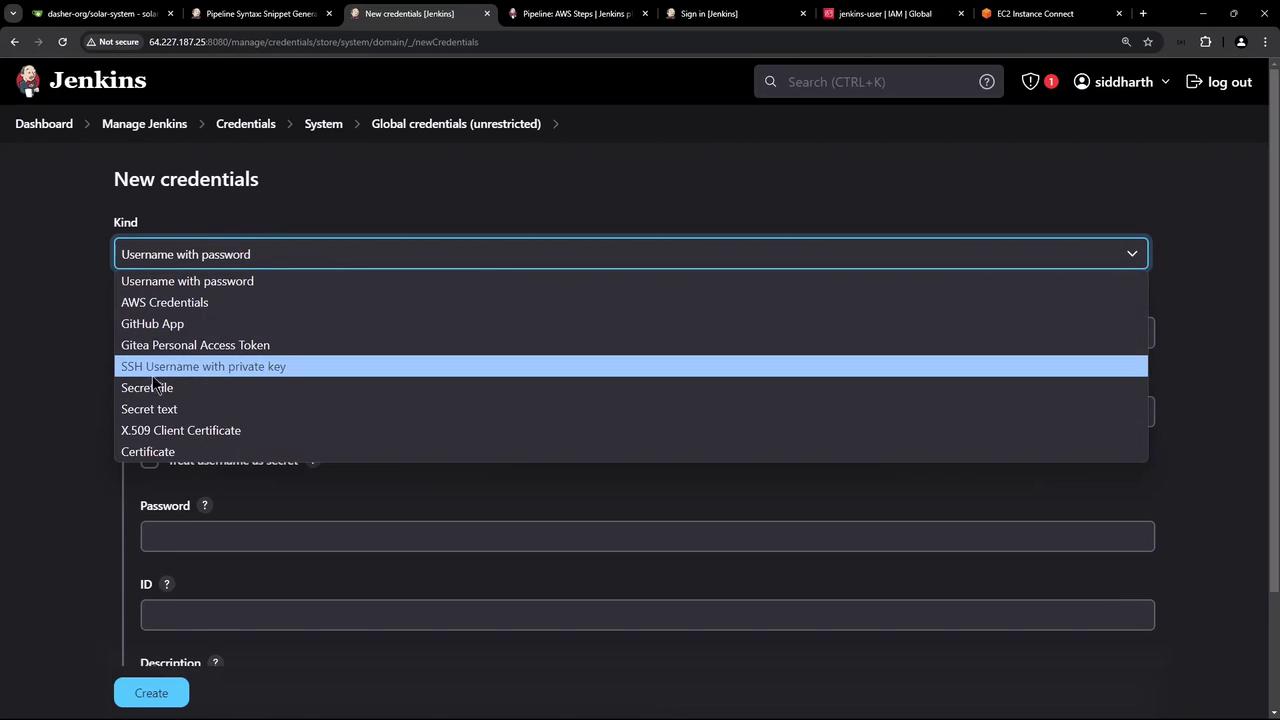
Summary
In this article, we have:- Reviewed the AWS EC2 dashboard and verified that our instance is running a Docker container.
- Configured an IAM user with full access to EC2, S3, and Lambda services.
- Installed the AWS Step Functions plugin in Jenkins and stored the necessary AWS credentials.
- Set up SSH access by installing the SSH Agent plugin and adding the EC2 instance’s private key.