Jenkins Pipelines

Kubernetes and GitOps

Publish Reports to AWS S3

In this guide, we explain how to upload various reports generated by our CI/CD pipeline to an Amazon S3 bucket using a Jenkins pipeline. Follow along to see how to integrate your Jenkins builds with AWS S3 storage seamlessly.

Exploring the Jenkins Workspace

First, examine the files in our workspace through the classic Jenkins UI. The workspace contains multiple files and directories representing various report types generated during the build process:

The image shows a Jenkins workspace interface displaying a list of files and directories with their names, sizes, and modification dates.

Among the files, you will find:

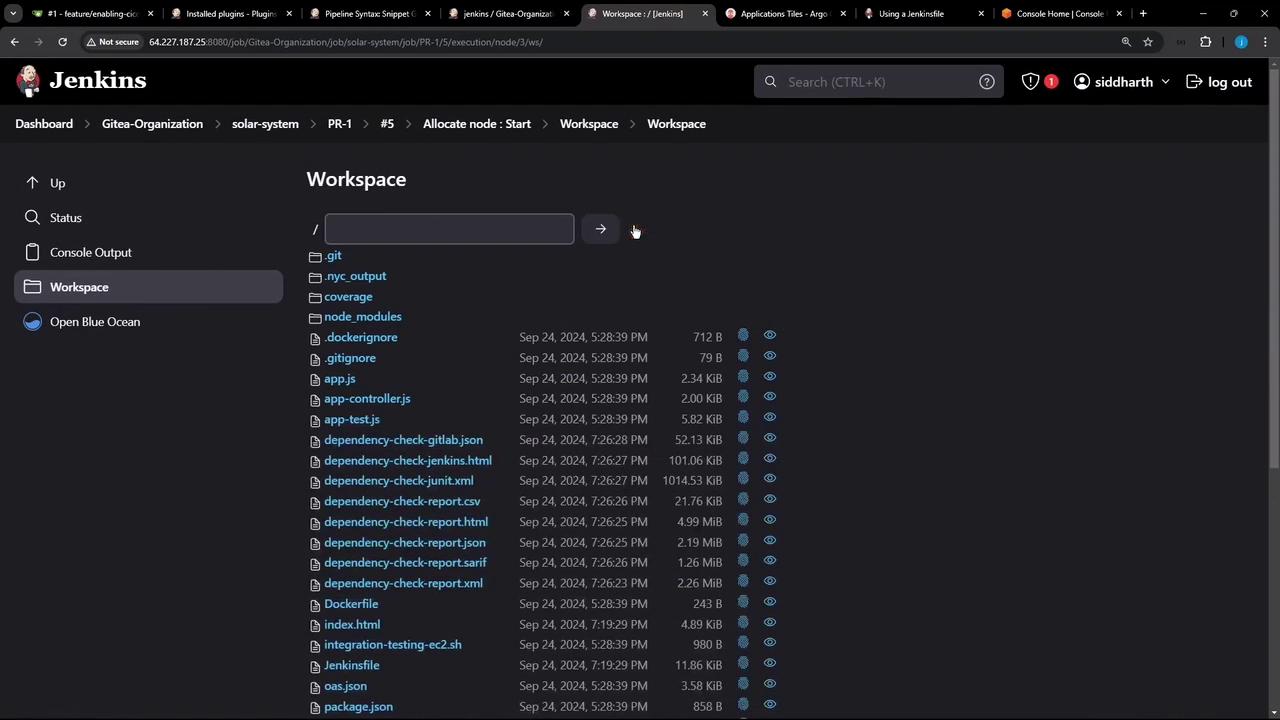
  • Coverage reports located in the coverage folder.
  • Dependency check reports in multiple formats.
  • Unit test report (test-results.xml).
  • Vulnerability scanning reports generated by Trivy.
  • Dynamic Application Security Testing (DAST) reports from ZAP.

All these reports are intended to be uploaded to our designated S3 bucket.

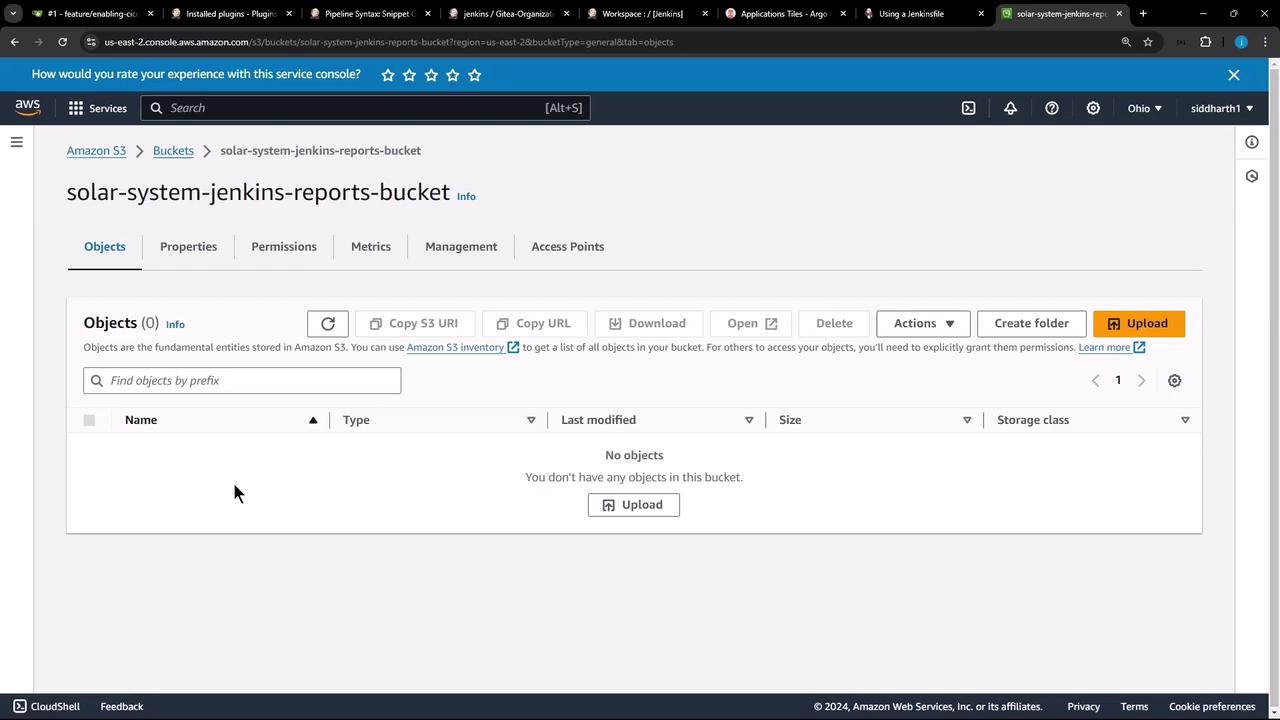
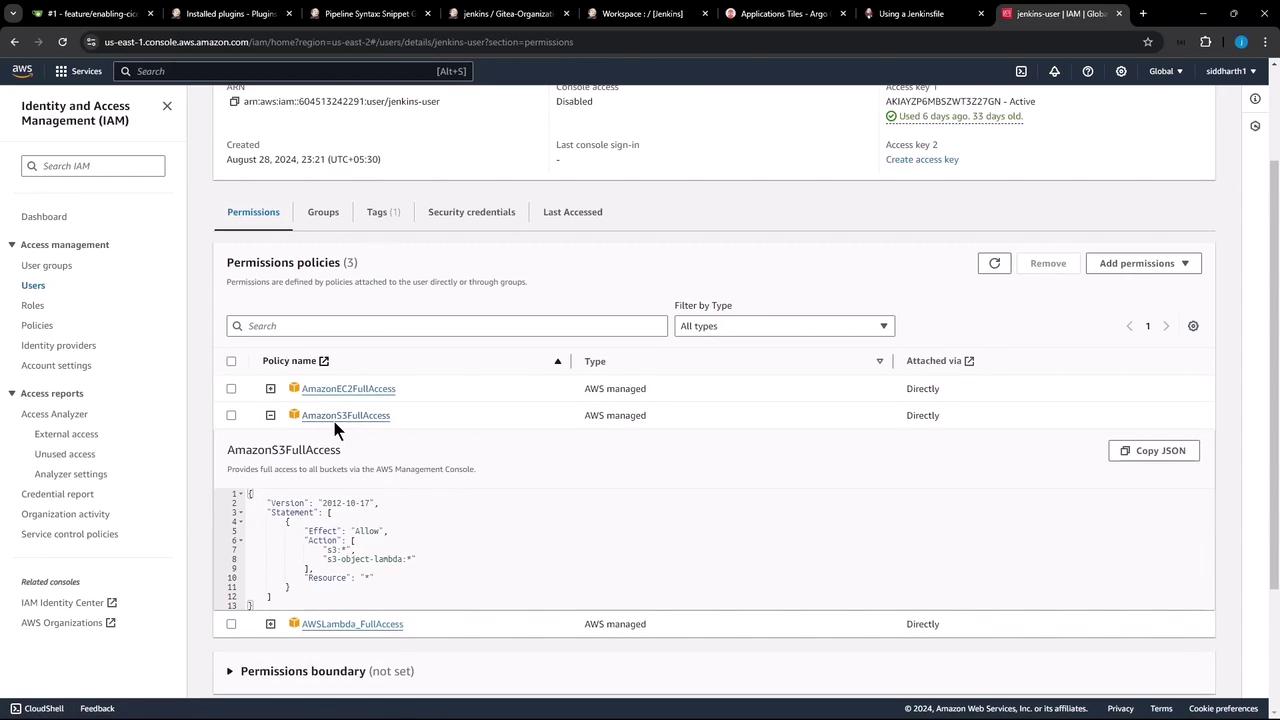
Configuring the S3 Bucket

An S3 bucket named solar-system-jenkins-reports-bucket has been created within our AWS account in the US East 2 region. Currently, the bucket is empty:

The image shows an AWS S3 console with a list of general purpose buckets. One bucket named "solar-system-jenkins-reports-bucket" is displayed, located in the US East (Ohio) region.

The image shows an Amazon S3 console with an empty bucket named "solar-system-jenkins-reports-bucket." There are no objects stored in the bucket, and options for actions like upload and create folder are visible.

To enable file uploads, Jenkins must authenticate using a pre-created user (e.g., "Jenkins user") who has full access to S3, EC2, and Lambda. The associated credentials are securely stored in Jenkins under the credentials ID: aws-s3-ec2-lambda-creds.

Verify your Jenkins credentials settings:

The image shows a Jenkins dashboard displaying a list of stored credentials, including IDs and names for various systems and services.

In AWS IAM, the corresponding policies for the Jenkins user confirm that the necessary permissions (like AmazonEC2FullAccess and AmazonS3FullAccess) are in place:

The image shows an AWS Identity and Access Management (IAM) console screen, displaying the permissions policies for a user named "jenkins-user," with policies like "AmazonEC2FullAccess" and "AmazonS3FullAccess" listed.

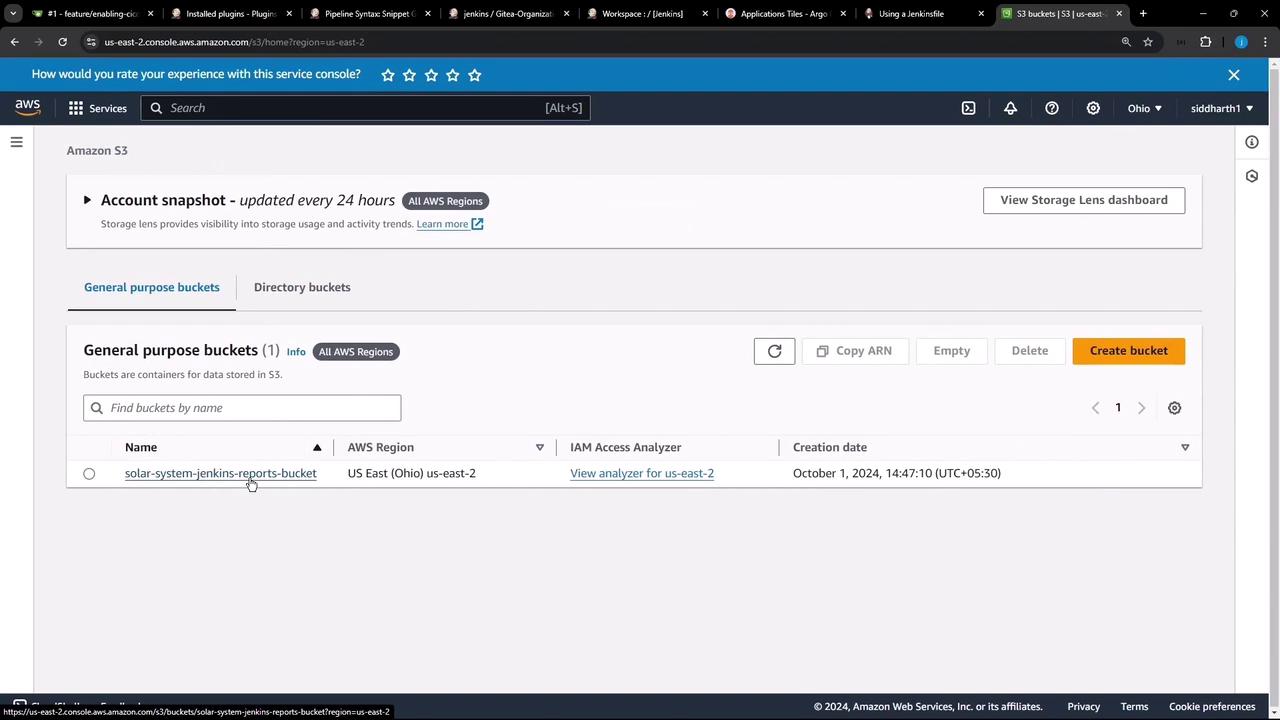
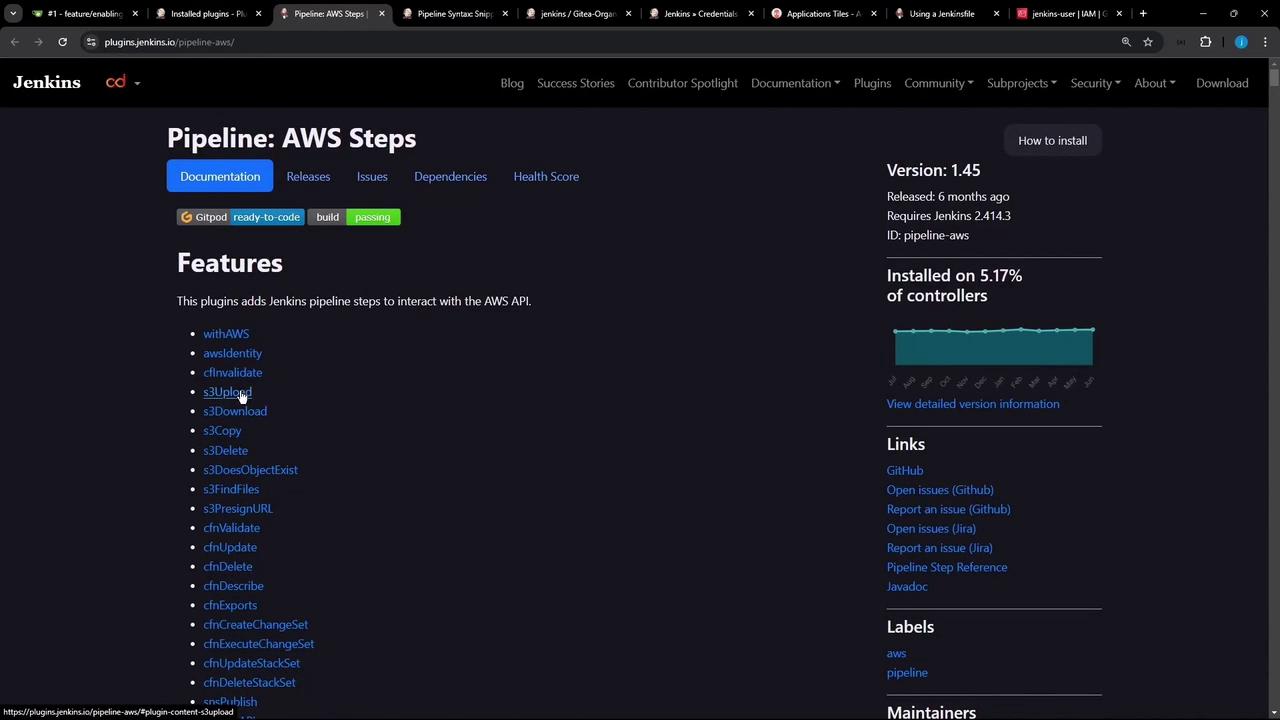
Implementing S3 Upload Functionality in Jenkins

Jenkins leverages the Pipeline AWS Steps plugin which provides an S3 upload step. This step allows you to upload files or directories from your workspace directly to an S3 bucket. Below are some fundamental usage examples:

s3Upload(file: 'file.txt', bucket: 'my-bucket', path: 'path/to/target/file.txt')
s3Upload(file: 'someFolder', bucket: 'my-bucket', path: 'path/to/targetFolder/')
s3Upload(bucket: "my-bucket", path: 'path/to/targetFolder/', includePathPattern: "**/*", workingDir: 'dist', excludePathPattern: '**/exclude/*')
s3Upload(bucket: "my-bucket", path: 'path/to/targetFolder/', includePathPattern: "**/*.svg", workingDir: 'dist', metadata: [key: 'value'])
s3Upload(bucket: "my-bucket", path: 'path/to/targetFolder/', cacheControl: 'max-age=3600')
s3Upload(file: 'file.txt', bucket: 'my-bucket', contentEncoding: 'gzip')

Before calling the S3 upload command, you should prepare a dedicated directory containing only the relevant reports, ensuring extraneous files are excluded.

Jenkinsfile Stage for Preparing and Uploading Reports

The following Jenkinsfile stage illustrates how to create a dedicated reports directory and upload it to S3. Notice the careful use of Groovy string interpolation (with double quotes) to properly substitute the environment variable $BUILD_ID.

stage('Upload - AWS S3') {
    when {
        branch 'PR*'
    }
    steps {
        withAWS(credentials: 'aws-s3-ec2-lambda-creds', region: 'us-east-2') {
            sh '''
                ls -ltr
                mkdir reports-$BUILD_ID
                cp -rf coverage/ reports-$BUILD_ID/
                cp dependency* test-results.xml trivy*.* zap*.* reports-$BUILD_ID/
                ls -ltr reports-$BUILD_ID/
            '''
            s3Upload(
                file: "reports-$BUILD_ID",
                bucket: 'solar-system-jenkins-reports-bucket',
                path: "jenkins-$BUILD_ID/"
            )
        }
    }
}

This stage performs the following actions:

  • Lists all files in the workspace.
  • Creates a new directory named reports-$BUILD_ID.
  • Copies the coverage folder alongside dependency reports, test results, Trivy reports, and ZAP reports into the newly created directory.
  • Invokes the s3Upload step to transfer the directory to the specified S3 bucket in a designated subfolder (incorporating the build ID).

Important

When using environment variables inside Groovy maps (such as during the S3 upload), ensure that you use double quotes to enable proper variable interpolation.

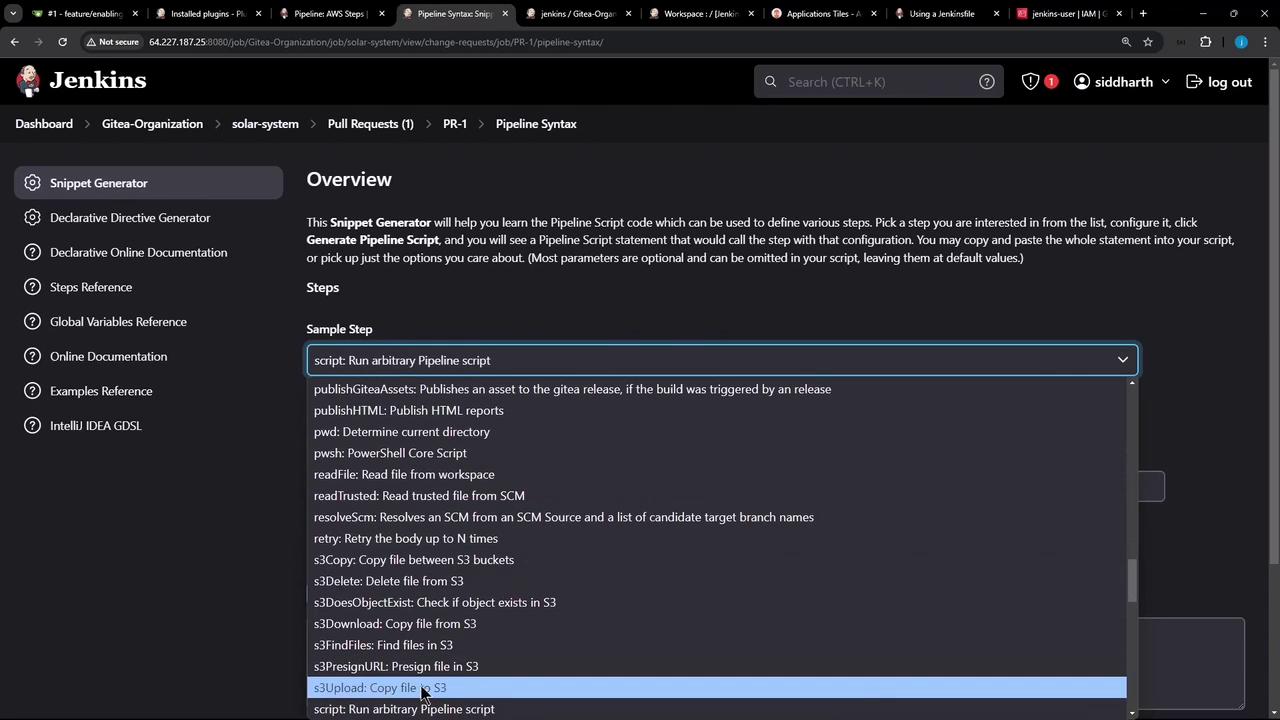
Advanced S3 Upload Options

You have the flexibility to use additional parameters for advanced upload scenarios. For instance, you can exclude files with specific patterns, add metadata, or set cache control headers. Here’s how you can use these options with the snippet generator:

s3Upload acl: 'Private', bucket: '', cacheControl: '', excludePathPattern: '', file: '', includePathPattern: '', metadata: [], redirectLocation: '', sseAlgorithm: '', tags: '', text: '', workingDir: ''

Tip

Experiment with these settings via the Jenkins Snippet Generator to ensure your S3 uploads meet your requirements.

Explore more about the Jenkins Pipeline AWS Steps plugin:

The image shows a webpage for the Jenkins "Pipeline: AWS Steps" plugin, detailing its features, version information, and links for further resources.

The image shows a Jenkins interface with the "Snippet Generator" tool open, allowing users to configure and generate pipeline scripts.

Verifying the Upload

Once you commit your changes to the feature branch, a new build will be triggered. You can verify the process by checking the build logs which should indicate that:

  • The reports directory (reports-$BUILD_ID) is created and populated with the appropriate files.
  • The S3 upload stage successfully uploads the directory to the S3 bucket under a specific path based on the build ID.

To confirm, log in to the AWS console, navigate to the S3 bucket, and refresh the page. You should see a new folder (e.g., 
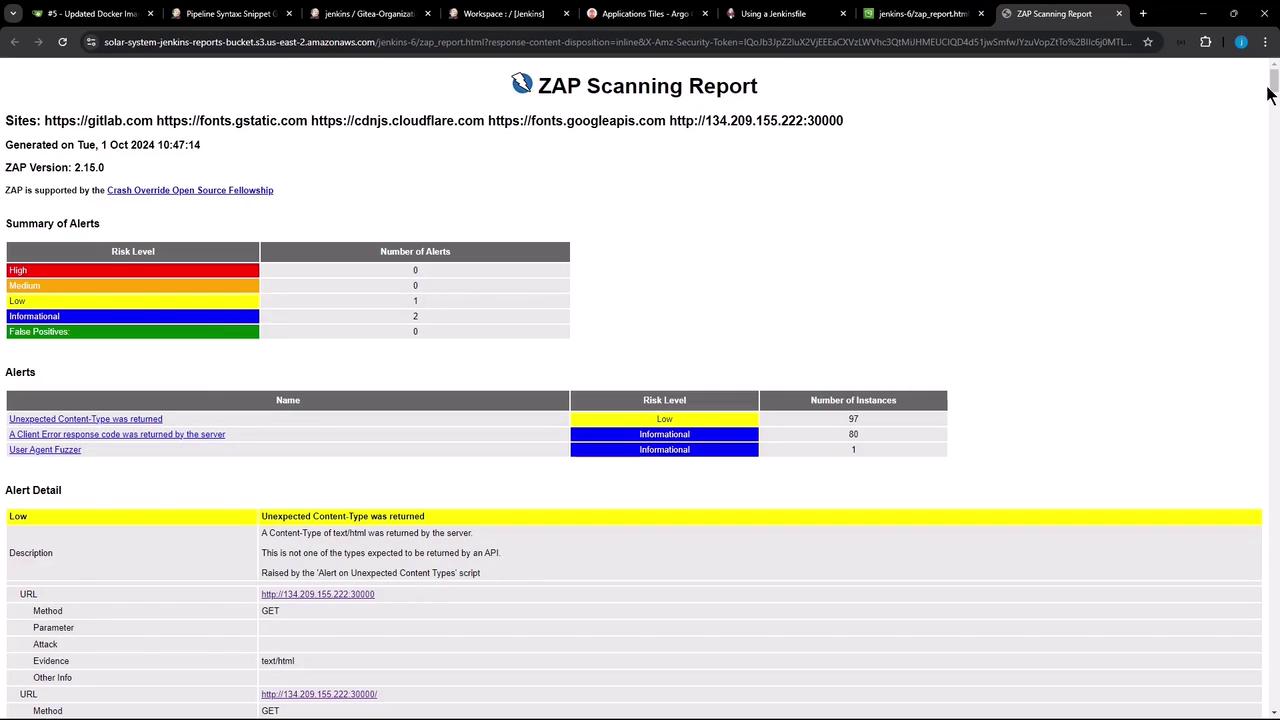
jenkins-6) containing the uploaded reports. Opening one of these reports (for instance, the latest ZAP HTML report) in your browser will verify the upload’s success.

The image shows a ZAP Scanning Report detailing security alerts for various sites, with a summary of alerts categorized by risk level, including low and informational risks.

Summary

In this guide, we demonstrated how to:

  • Prepare a reports directory by selectively copying relevant files from the Jenkins workspace.
  • Use the Jenkins Pipeline AWS Steps plugin to upload these reports to an Amazon S3 bucket.
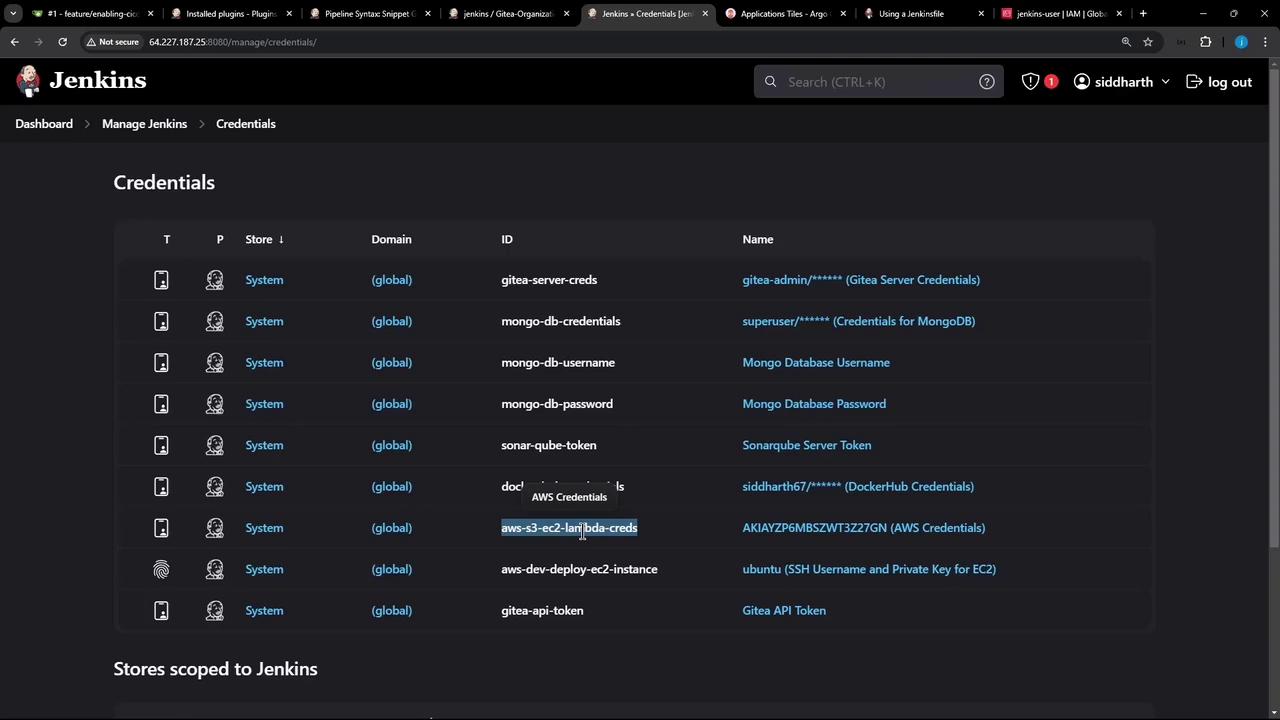
  • Authenticate and make use of AWS credentials with the withAWS step.
  • Apply correct Groovy string interpolation for environment variables.

This approach ensures a clean separation of concerns in your pipeline while efficiently managing report uploads to AWS S3.

Thank you for reading!

Watch Video

Watch video content

Previous
DAST Ignore Rules